wirsbo ProPEX User manual

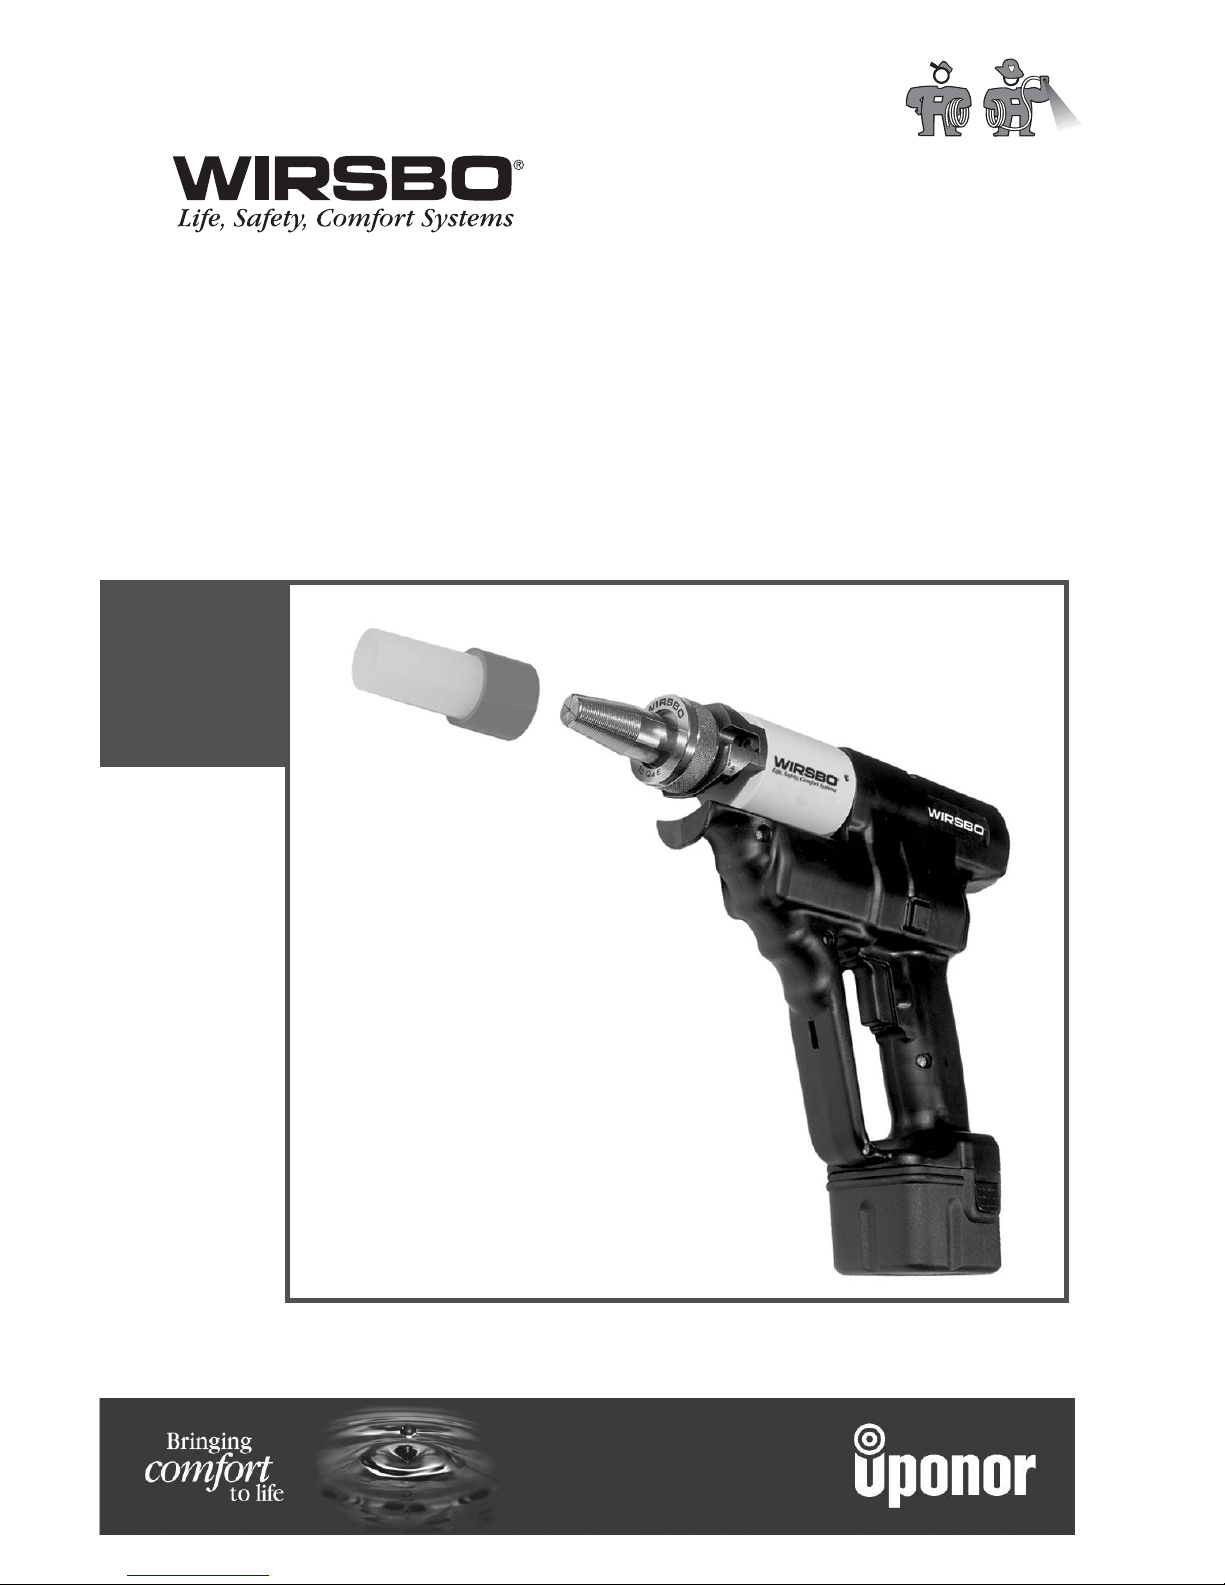
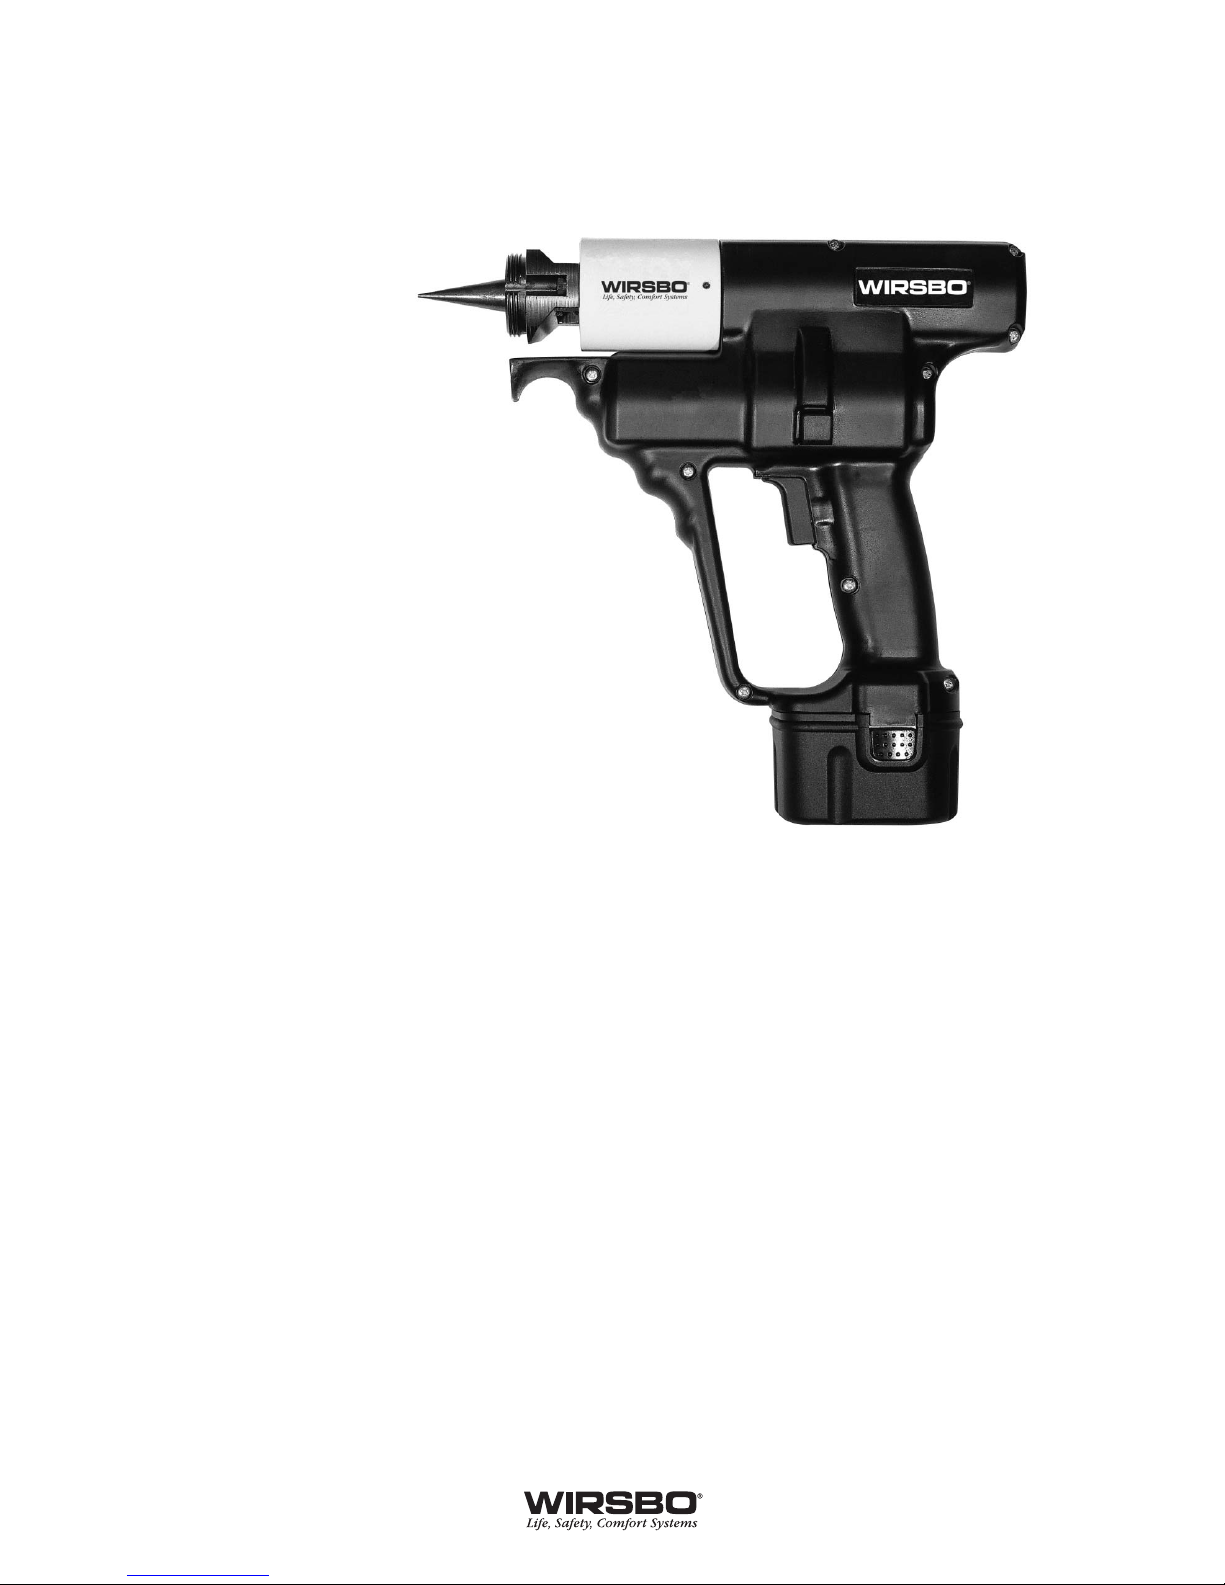
ProPEX®Battery Expander Tool
Installation Guide
Contact Information
and UL Listee for United States:
Uponor Wirsbo, Inc.
5925 148th Street West
Apple Valley, MN 55124
T: (800) 321-4739
F: (952) 431-4025
www.wirsbo.com
Contact Information
and C-UL Listee for Canada:
Uponor Wirsbo
Div of Uponor Canada Inc
655 Park Street
Regina, Saskatchewan
S4N 5N1
T: (888) 994-7726
F: (800) 638-9517
www.wirsbo.ca
Copyright © 2003 Uponor Wirsbo, Printed in the United States BTHB_0603
ProPEX®Battery Expander Tool
Installation Guide

ProPEX®Battery Expander Tool
Installation Guide
Published by Uponor Wirsbo
5925 148th Street West
Apple Valley, MN 55124
(952) 891-2000
© 2003 Uponor Wirsbo
All rights reserved
First Edition
First Printing June 2003
Printed in the United States of America


i
Table of Contents
Section 1
Overview . . . . . . . . . . . . . . . . . . . . . . . . . . . . . . . . . . . . . . 1
Section 2
Technical Data. . . . . . . . . . . . . . . . . . . . . . . . . . . . . . . . . . .2
Section 3
Battery Operation . . . . . . . . . . . . . . . . . . . . . . . . . . . . . . . 3
Charging the Battery. . . . . . . . . . . . . . . . . . . . . . . . . . . . . 3
Battery Handling . . . . . . . . . . . . . . . . . . . . . . . . . . . . . . . . 3
Section 4
Tool Operating Instructions and Guidelines . . . . . . . . . . 5
Tool Maintenance . . . . . . . . . . . . . . . . . . . . . . . . . . . . . . . 5
Troubleshooting. . . . . . . . . . . . . . . . . . . . . . . . . . . . . . . . . 5
Safety Guidelines . . . . . . . . . . . . . . . . . . . . . . . . . . . . . . . 6
Repairs . . . . . . . . . . . . . . . . . . . . . . . . . . . . . . . . . . . . . . . . 7
Warranty. . . . . . . . . . . . . . . . . . . . . . . . . . . . . . . . . . . . . . . 7
Section 5
Making ProPEX®Connections . . . . . . . . . . . . . . . . . . . . . 8
Important Tips . . . . . . . . . . . . . . . . . . . . . . . . . . . . . . . . . . 9
Making ³⁄₈" AQUAPEX ProPEX Connections . . . . . . . . . 10
ProPEX Connection Troubleshooting Guide. . . . . . . . . 12
Cold Weather Expansions. . . . . . . . . . . . . . . . . . . . . . . . 13
Cleaning the ProPEX Expander Tool Heads . . . . . . . . . 13
Product Information . . . . . . . . . . . . . . . . . . . . . . . . . . . . 14

ii
1
------------------------------------------------------------------ Section 1 ----------------------------------------------------------------
Overview
Wirsbo's
ProPEX®Battery
Expander (Part
No. Q6251500), an
electro-hydraulic tool,
makes fast, easy
connections to ³⁄₈", ¹⁄₂",
⁵⁄₈", ³⁄₄", 1", 1¹⁄₄" and 1¹⁄₂"
AQUAPEX®and hePEX™ plus
tubing. The tool eliminates the
need for air compressors, air hoses
and generators — making ProPEX
connections easier than ever.
Tool Components
The ProPEX Battery Expander comes with
the following components.
• ProPEX Battery Expander
• Battery charger
• Two batteries
• Tool lubricant
• Operating instructions
• Carrying case
Keep all tool components in the carrying case, which can store
several expander heads. To protect the internal driver, store
the tool with an expansion head in place. Purchase expander
heads separately.

2
------------------------------------------------------------------ Section 2 ----------------------------------------------------------------
Technical Data
ProPEX Battery Expander
Dimensions 11.8" x 12.6" x 3.3"
Weight 7 lbs. with battery
Max. tubing size 1¹⁄₂"
Power supply 12 V, 2.0 Ah, 20 A
Noise emission 73 decibels
Vibration <2,5 m/s2
Rapid Charger
Power supply 120V, 60 Hz, 2 A
Output voltage 9.6 to 18 V
Recharging time 1 hour
Weight 3 lbs.
Battery
Output 12 VDC, 2.0 Ah
Number of cells 10
Cell construction NiCd with thermal overcharge protection
Weight 1.5 lbs.
Expander Head
Weight 0.3 lb. (average)
Working Range
³⁄₈" tubing ~125-150 fittings/charge
¹⁄₂" tubing ~125-150 fittings/charge
⁵⁄₈" tubing ~80-100 fittings/charge
³⁄₄" tubing ~45-60 fittings/charge
1" tubing ~20-30 fittings/charge
1¹⁄₄" tubing ~20-30 fittings/charge
1¹⁄₂" tubing ~20-30 fittings/charge

3
------------------------------------------------------------------ Section 3 ----------------------------------------------------------------
Battery Operation
Charging the Battery
• Charge the battery before initial operation.
• Only use the rapid charger to charge the ProPEX Battery
Expander Tool.
• Remove charger from case.
• Insert battery into the charger (+pole to +pole) with
minimum force.
• The flashing red light indicates the battery is charging.
• Recharge time takes about one hour (the red indicator light on the
charger stops flashing and remains on when charge is complete).
Battery Handling
The ProPEX Battery Expander uses rechargeable batteries
containing nickel cadmium (NiCd) cells. For the most effective
and proper use of the battery, keep the following in mind.
• Only recharge cool batteries.
• The battery can recharge 1,000 times, and reaches full capacity
after several charges.
• Store batteries at temperatures greater than 40ºF, but less than
100ºF to optimize battery life.
• Only recharge after the battery is completely drained of power.
• Do not use the charger if dropped or damaged.
• Do not connect two chargers together.
• To prevent damage to the battery, do not use the charger at
ambient temperatures of less than 40°F (5°C) or greater than
105°F (40°C).
• Keep the battery in a frost-free and dry place.
• It is normal for the battery and charger to become warm during
the charge cycle.

4
• To avoid shorting the battery contacts, do not allow metal
objects (e.g., screws, cutlery, nails) to come in contact.
• Only use the provided charger to charge the battery. Use of any
battery other than the provided battery will void the warranty.
• Use Wirsbo-recommended charging procedures. Incorrect use
can lead to short circuits, overheating or battery fluid leakage.
• To prolong the battery's life, avoid overcharging. Do not charge
for more than two days.
• Replace the battery if you notice a substantially reduced
operating time after proper charging.
• When this symbol appears, discharge the battery
completely and dispose in accordance to local
environmental regulations. Do not incinerate or
dispose in common waste-removal methods.
This manual suits for next models
1
Table of contents


