Using Your Electric Knife
Sharpener to Sharpen Scissors
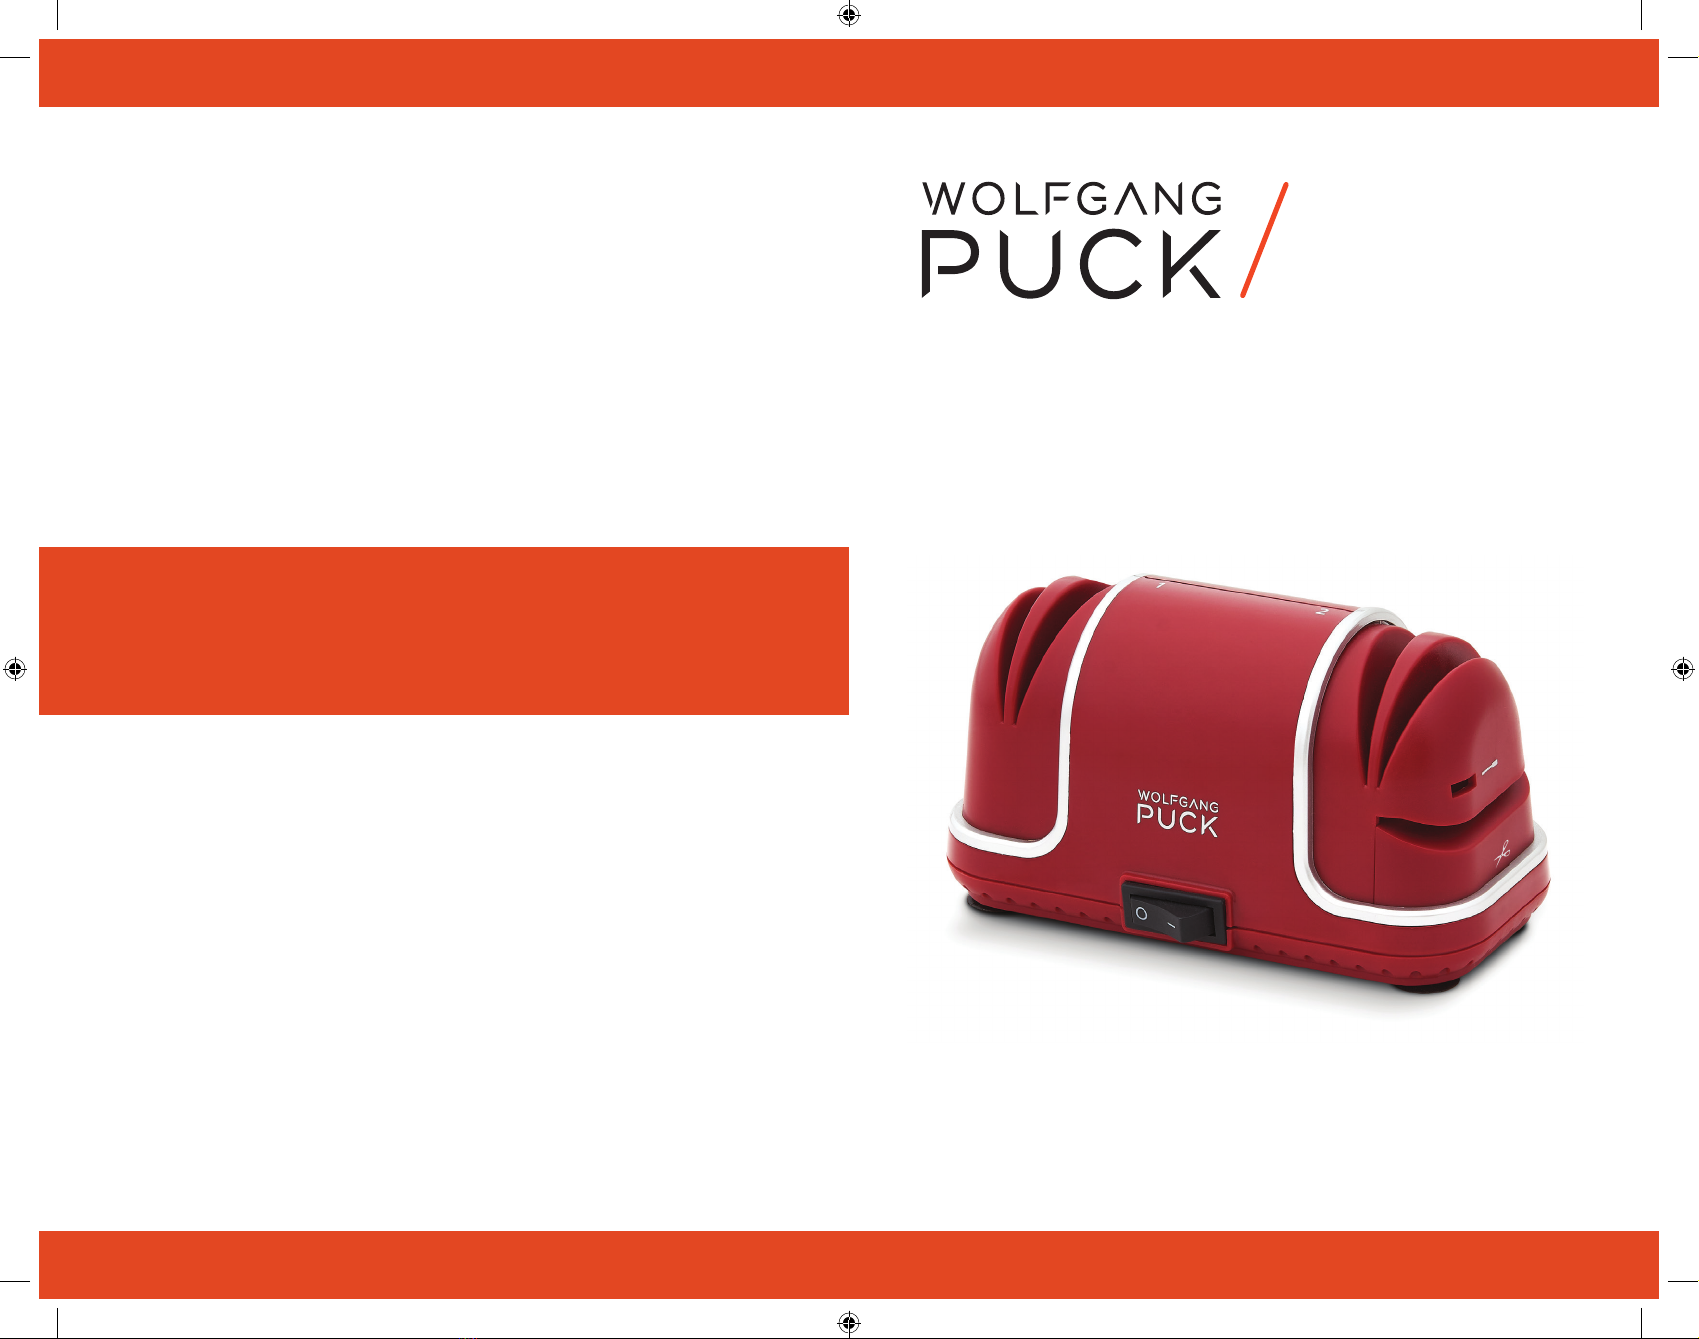
1 Place the Knife Sharpener on a smooth level surface that allows the
Suction Feet to stick to the surface. Make sure the On/Off Switch is
facing you.
2 Plug the Knife Sharpener into the wall outlet.
3 Scissors only have one edge on each blade. When sharpening scissors,
the straight side without an edge should be facing up.
4 Open or separate the scissors and place the edge against the angled
side of the Scissor Sharpener (see Figure 1). Slide the scissor into the
opening until it makes contact with the sharpening wheel.
5 Begin by making four passes through the scissor slot for each scissor
blade (a pass is defined as one draw though the scissor slot). Always
pull the scissors towards you through the slot; do not push the scissors
away from you. If necessary, repeat the process until desired sharpness
is achieved.
6 As a general rule, allow one second for each two inches of blade. Pull
the scissors through in one steady movement and never hold the blade
in one place against the stone while sharpening, as this can damage
the cutting edge and the sharpener.
7 Do not apply excessive force against the stone when drawing the
blade through. Steady, light pressure is all that is needed to sharpen
the scissors.
8 Begin the sharpening process from the handle end first and draw it
through the slot.
Note: It is normal to occasionally see sparks when sharpening scissors,
especially scissors that have a high carbon content.
9 When finished sharpening the scissors, wipe the blades and the
counter surface with a damp cloth to remove any residual metal filings.
Using Your Electric Knife Sharpener
to Sharpen Slot Head Screwdrivers
1 Place the Knife Sharpener on a smooth level surface that allows the
Suction Feet to stick to the surface. Make sure the On/Off Switch is
facing you.
2 Plug the Knife Sharpener into the wall outlet.
3 Only use the screwdriver sharpener on flat head screwdrivers; it is not
intended to repair Phillips-head screwdrivers.
4 To repair the deformed edge of the screwdriver, hold the screwdriver
vertically above Slot B (see Figure 2) then slide it into slot B until
the edge makes contact with the sharpening wheel. Hold in place for
10 seconds. Turn screwdriver around to the other side of the tip and
repeat.
5 Do not apply excessive force against the stone when making contact
with the tip of the screwdriver. Steady, light pressure is all that is
needed to sharpen the screwdriver edge.
6 For the final process, slide the screwdriver into the Screwdriver
Sharpener Slot, holding it parallel to the countertop with the handle
at a slight angle to the left (see Figure 3). Look through the knife
sharpening slot (Slot D) to ensure that the tip of the screwdriver
is perpendicular to the angle of the sharpening wheel. When the
screwdriver contacts the wheel, hold it steady for 5 seconds. Turn
screwdriver around to the other side of the tip and repeat.
7 Inspect the screwdriver head and repeat steps 4 – 6 if necessary.
8 When finished sharpening the screwdriver, wipe the tip and the counter
surface with a damp cloth to remove any residual metal filings.
Figure 3Figure 2Figure 1
B
7 8