WONDOM ICP1 User manual

WONDOM ICP1 User Guide
IN-CIRCUIT PROGRAMMER FOR ADAU1701 DIGITAL SIGNAL - ICP1
By Sure Electronics Co., Ltd.

WONDOM ICP1 is an in-circuit programmer for customer programming of WONDOM products.
On-board self-boot EEPROM is included in ICP1 for operating the board independently of the Analog Devices, Inc.,
SigmaStudio™software.
The package includes:
✓IN-CIRCUIT PROGRAMMER FOR ADAU1701 DIGITAL SIGNAL - ICP1 x 1
✓6-pin cable x 1
Overview
Functions Required Tools Applicable Products
Programming Analog Devices, Inc., SigmaStudio™
WONDOM Products integrated with
ADAU1701 DSP
(APM2, JAB3, JAB3+,JAB4, JAB5)

Product List
Model
Description
APM2
2-
in, 4-out ADAU1701 DSP Kernel Board
JAB3
Mono / Stereo Class D Audio Amplifier Board Integrated with ADAU1701 DSP
JAB3+
Mono / Stereo Audio Amplifier Board Integrated with ADAU1701 DSP & BT V5.0
JAB4
4CH 30W Audio Amplifier Board Integrated with ADAU1701 DSP & BT V5.0, Supporting Configuration
as 4.0 / 2.1 / 2.0 / 0.2 Output Mode
JAB5
4CH 100W Audio Amplifier Board Integrated with ADAU1701 DSP & BT V5.0, Supporting Configuration
as 4.0 / 2.1 / 2.0 / 0.2 Output Mode

Interface Definition
In this document, we will mainly give instructions on the following applications:
1) How to achieve programming of APM2 / JAB3 with WONDOM ICP1
2) How to realize APP control of APM2 / JAB3 with WONDOM ICP1
Micro USB Port
1) DC5V power supply
2) Communication with computer
SW
When programming, please make sure
SW at ①(PROGRAM)
Programming Port
For connection with applicable
products with a 6-pin cable
KEY1
Reset

How to achieve programming of APM2/JAB3
with WONDOM ICP1?
ICP1
IN-CIRCUIT PROGRAMMER FOR ADAU1701
DIGITAL SIGNAL - ICP1

Before starting, please make sure you have the following items on hand.
Checklist
1WONDOM Products with ADAU1701 DSP
2WONDOM ICP1 with a 6-pin cable
3Analog Devices, Inc. SigmaStudio™
4Accessories
Speakers
Cables
Phone
…
+

To quickly get started with the programming of WONDOM
ADAU1701 DSP products via ICP1, do the following steps:
1) Install the SigmaStuido software
2) Connect ICP1to computer
3) Connect audio cables
4) Power up the audio system
5) Connect ICP1 with Target Products
6) Program
Quick Start
Click HERE to watch video.
Since the most steps of programming ADAU1701 DSP products
are the same, we will take APM2 as an example to show you
how to operate. If there is difference or points to note, we will
mark out with red words.

INSTALLING SIGMASTUDIO SOFTWARE CONNECTING THE AUDIO CABLES
1 3 42
SETTING UP THE ICP1
POWERING UP THE BOARD
CONNECTING ICP1 WITH TARGET PRODUCTS
How to program
5
PROGRAMMING
Be sure to follow these connection steps.

Download the installation package for SigmaStudio software in the
Analog.com. Download address is as follows. Click the EXE file and
finish installation according to the prompts.
https://www.analog.com/en/design-center/evaluation-hardware-and-
software/software/ss_sigst_02.html#software-overview
Installing Sigmastudio
software

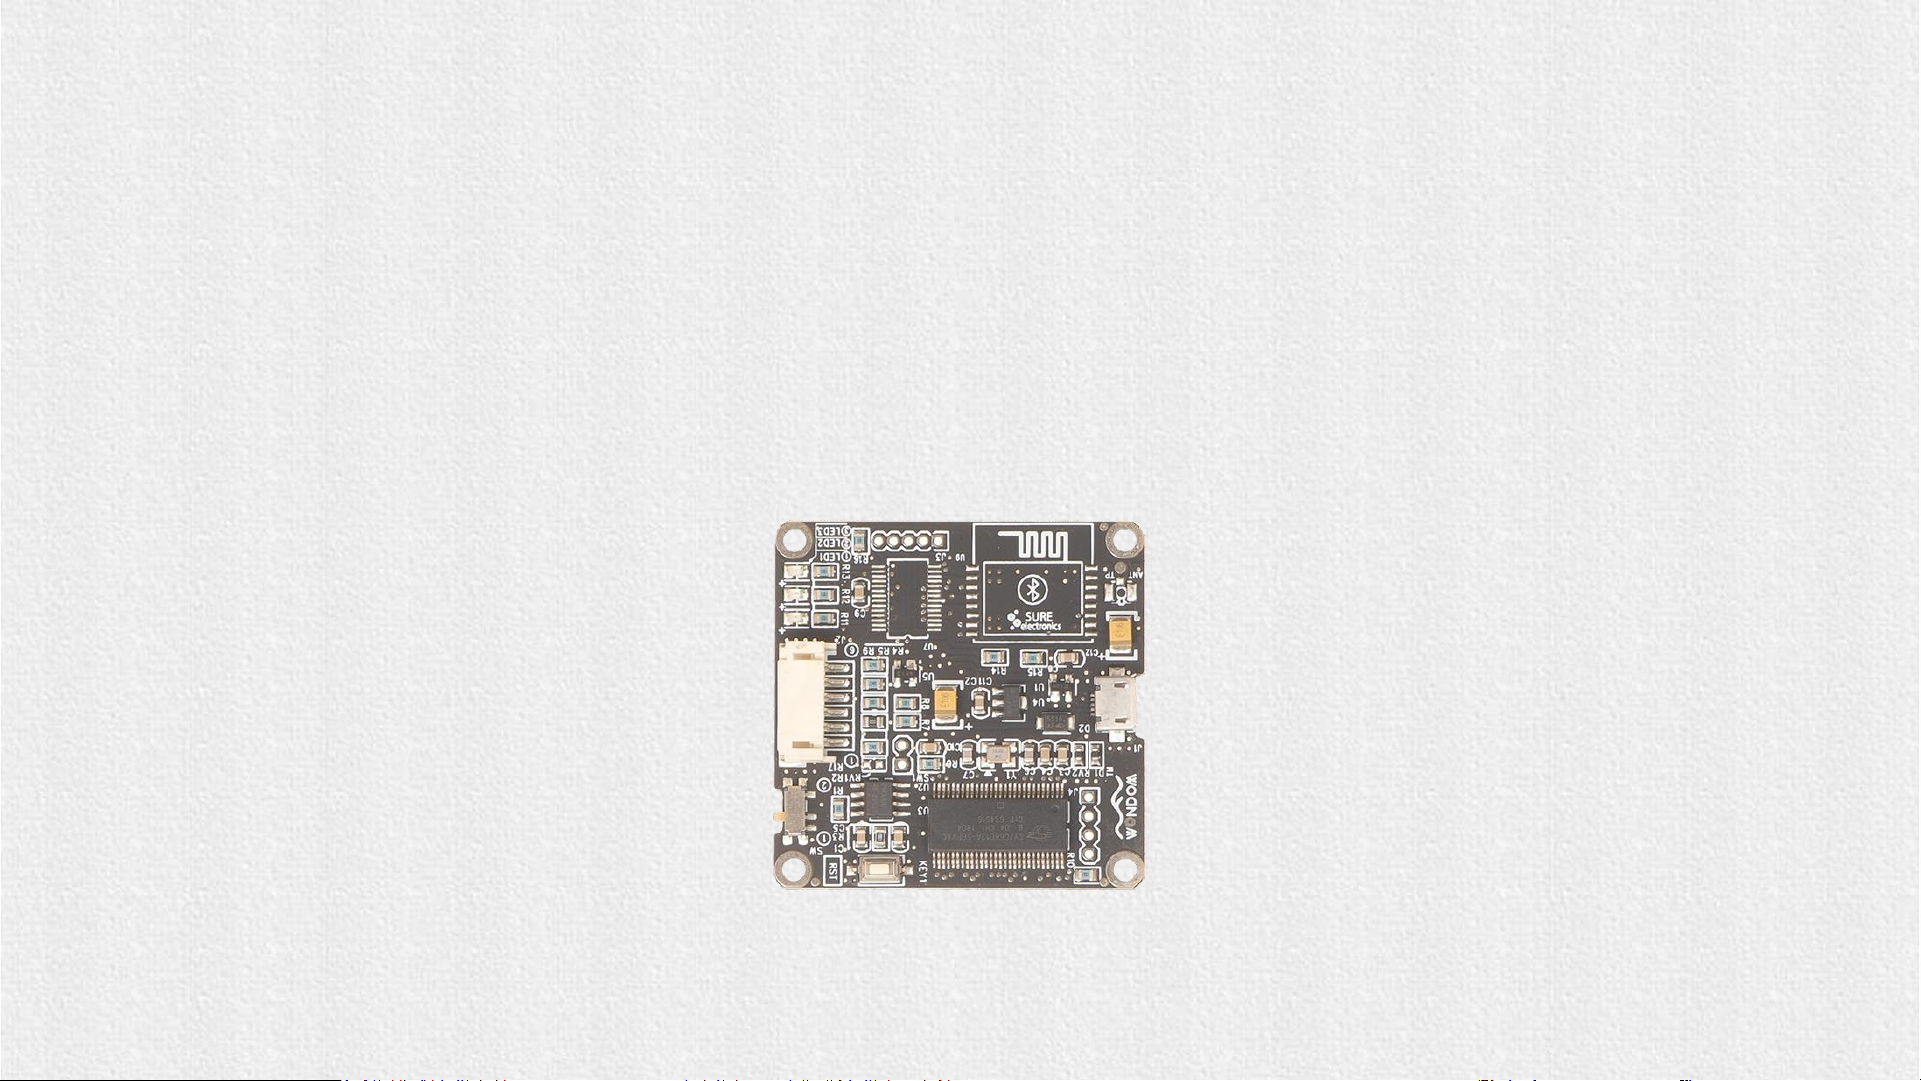
1. Set the SW of ICP1 at (PROGRAM)* and connect
the ICP1 to the computer with a USB cable.
Setting up ICP1
Figure 1
SW
3. Please note whether the ICP1 can be recognized by the
computer, if the underpainting of the “USB” turns green, it
represents the ICP1 is recognized, otherwise it will ture
orrange and you should reconnect the ICP1 until it turn
green. See figure 1.
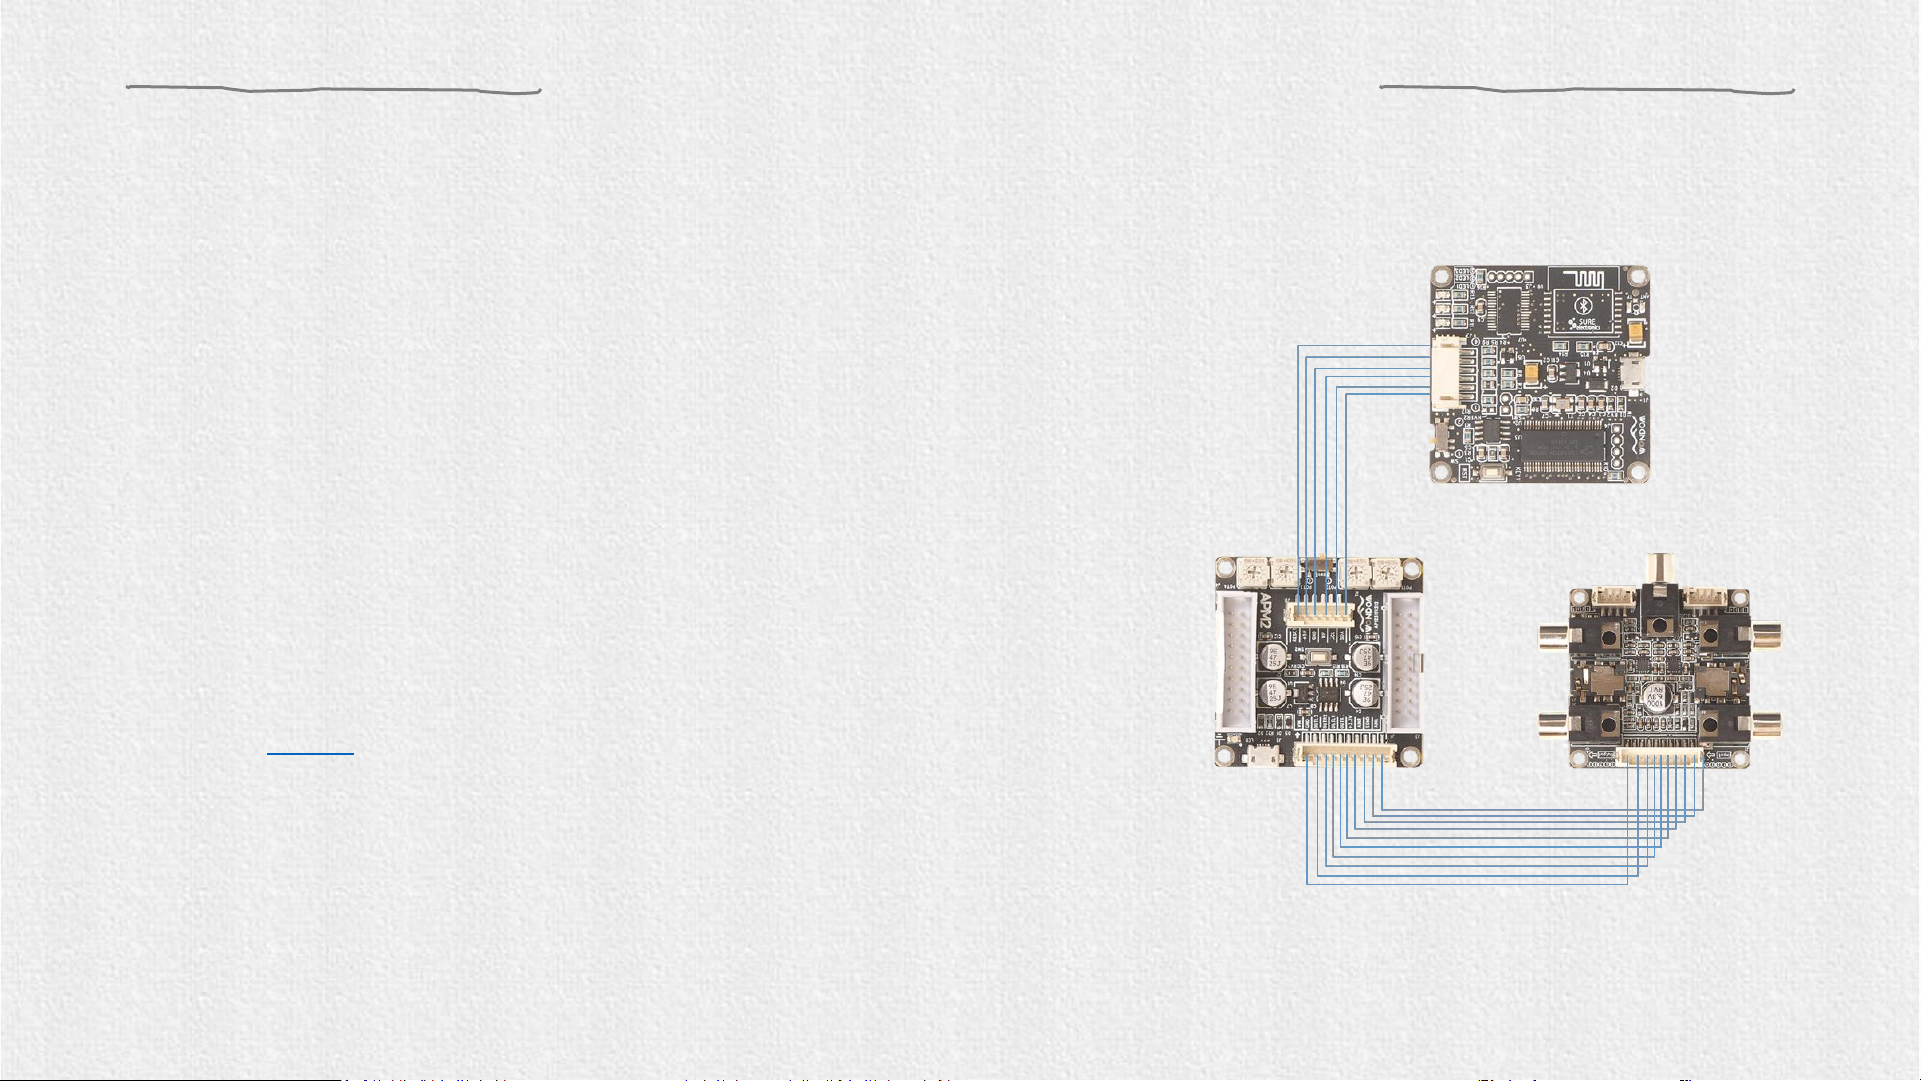
2. Run SigmaStudio software, create a new project.
Select “USBi” from the list on the left and drag it to
the blank area on the right. Repeat the action to
move “ADAU1701” and “E2Prom” to the right.
Complete the logic connection as shown in Figure 1.
Do not connect ICP1 with target products now.
PROGRAM
SW Setting

Connecting Audio Cables
Build an audio system with your target products. As for the connections, please kindly refer to the
datasheet or connection guide of each product.
Model
Document
APM2
AA-AP23122 ADAU1701 Kernel Board
JAB3
Audio Amplifier Boards Integrated with ADAU1701 DSP
JAB3+
Audio Amplifier Boards Integrated with ADAU1701 DSP & Bluetooth V5.0
JAB4
4CH 30W Audio Amplifier Boards Integrated with ADAU1701 DSP & Bluetooth V5.0
JAB5
4CH 100W Audio Amplifier Boards Integrated with ADAU1701 DSP & Bluetooth V5.0

Powering up
Make sure the SW1 of APM2 is set at ①(RUN).
(Skip this step when programming other products with ADAU1701 DSP)
Connect ICP1 with APM3 through 6-pin cable.
After connection is done, please power up the target products and feed music to your audio system.
Power up APM2 with DC5V. APM3 will be powered up by APM2.
AMP
Audio Input Audio Input

Programming
Schematic
Toolbox Schematic Design
Drag desired algorithm here and
complete the logic connection
Algorithms
& Modules
Now, you can write program in the schematic design zone.
It’s suggested to modify program based on the demo program we provide to you.
Click HERE to get the basic guide of SigmaStudio programming.

Programming –Demo Program
Products
Demo Program
Document you may
need
APM2
APM2_
SigmaStudio.dspproj
Download
JAB3
- Mono
JAB3_
SigmaStudio_MONO.dspproj
Download
JAB3
- Stereo
JAB3_
SigmaStudio_STEREO.dspproj
JAB3+
JAB3+_Stereo_ADAU1701_DEMOProgram.dspproj
Download
JAB4
JAB4_ADAU1701_DEMOProgram.dspproj
-
JAB5
JAB5_ADAU1701_DEMOProgram.dspproj
Download
Here are the demo programs for the products. You can download them for reference. It’s highly suggested to make
modification based on the demo program.

Online Debug
2.Click the “Link Compile Download” (see figure 3) and
you will find “Active:Downloaded” in the lower right
corner of your computer.
Figure 3
1. Click the “Link Compile Connect” (see figure
2) and you will find “Ready:Compiled” in the
lower right corner of your computer.
Figure 2
If you want to see the actual effect when programming, you can online debug your program.
Please pay attention to the state on the bottom right of SigmaStudio. If it shows “Design Mode”, you need to click the
following two icons to turn it to “Active:Downloaded” so that the modification of your program can be delivered to the
target products.

Program Write
Select “Write Latest Compilation to E2PBOM” to download the program (see figure 4), then you will see a window,
choose the “I2C” on the right and click “OK” (see figure 5).
Figure 4
Figure 5
If you want the program to run offline, you need to write the program into ADAU1701 DSP.
Make sure the state on the bottom right is “Active: Downloaded”, then go to Hardware Configuration page, do as
follows.

Original Firmware Restore
1. Right click the “E2Prom” (see Figure 6) and click ‘Read/Write Window’. You will see the following interface (Figure 7).
Figure 6 Figure 7
2. Click ‘Click here to browse for file’ and select firmware file (Figure 8). Then click ‘Display File’ like Figure 9.
Figure 8 Figure 9

Original Firmware Restore
3. Click ‘Write Display to E2prom’ then click ‘OK’ of the prompt box (Figure 10).
Figure 10

TROUBLE SHOOTING
TROUBLE HOW TO SOLVE
ICP1
cannot be recognized by PC
➢
Make sure the Micro USB cable is of good quality and supports data
communication
➢
Make sure ICP1 is not connected to controlled device (APM2) when
connected to PC
Cannot
writing the program into APM2 successfully
➢
Make sure the ICP1 be recognized by PC
➢
Make sure the SW of ICP1 is at (PROGRAM) and the SW1 on APM2
is set at (RUN)
Cannot
writing the program into JAB successfully
➢
Make sure the ICP1 be recognized by PC
➢
Make sure the SW of ICP1 is at (PROGRAM)
➢
Make sure the state is “Active: Downloaded”
APM2 cannot
work normally (cannot play music) under powering
condition when connected with ICP1
➢
Make sure the connection steps are correct and check the input /
output cables
➢
Disconnect with ICP1 and re-power APM2
➢
Make sure the SW1 on APM2 is set at (RUN)
Other manuals for ICP1
2
Table of contents
Other WONDOM Motherboard manuals