www.woodbridgebath.com
1234567891011 12 13 14 15 16
LOCATING THE SAUNA
Because the traditional sauna experience involves a heating-cooling-resting regimen, it is important to
plan ahead before installing your sauna. Our method of construction allows you to place your barrel
sauna in a wide variety of settings.
Be sure the surface is firm and level, and can support the weight of the sauna and its users (1,000+ lbs).
A deck or concrete slab is certainly an option, but if your sauna sits directly on the ground, be sure the
cradle supports rest on paver stones or something similar to prevent the cradles from settling into the
ground.
BASIC TOOLS REQUIRE FOR INSTALLATION
These tools are helpful in the assembly of your barrel sauna:
• Cordless drill
• Rubber mallet
• Hammer
• Screwdrivers (Phillips and flathead)
• Utility knife
• Level
• Wrench
BEFORE INSTALLATION
Before beginning assembly, ensure that the installation surface is level. Many garage, basement or deck
floors are sloped for drainage. Aslight slope will not be an issue, but a more pronounced slope will require
shimming to make the sauna level. An uneven installation surface can result in poor-fitting staves
leading to poor sauna function. Also, if the site might receive heavy winds, it is recommended extra
precautions are taken to ensure the door does not blow open. In most situations, this factor will not be a
concern.
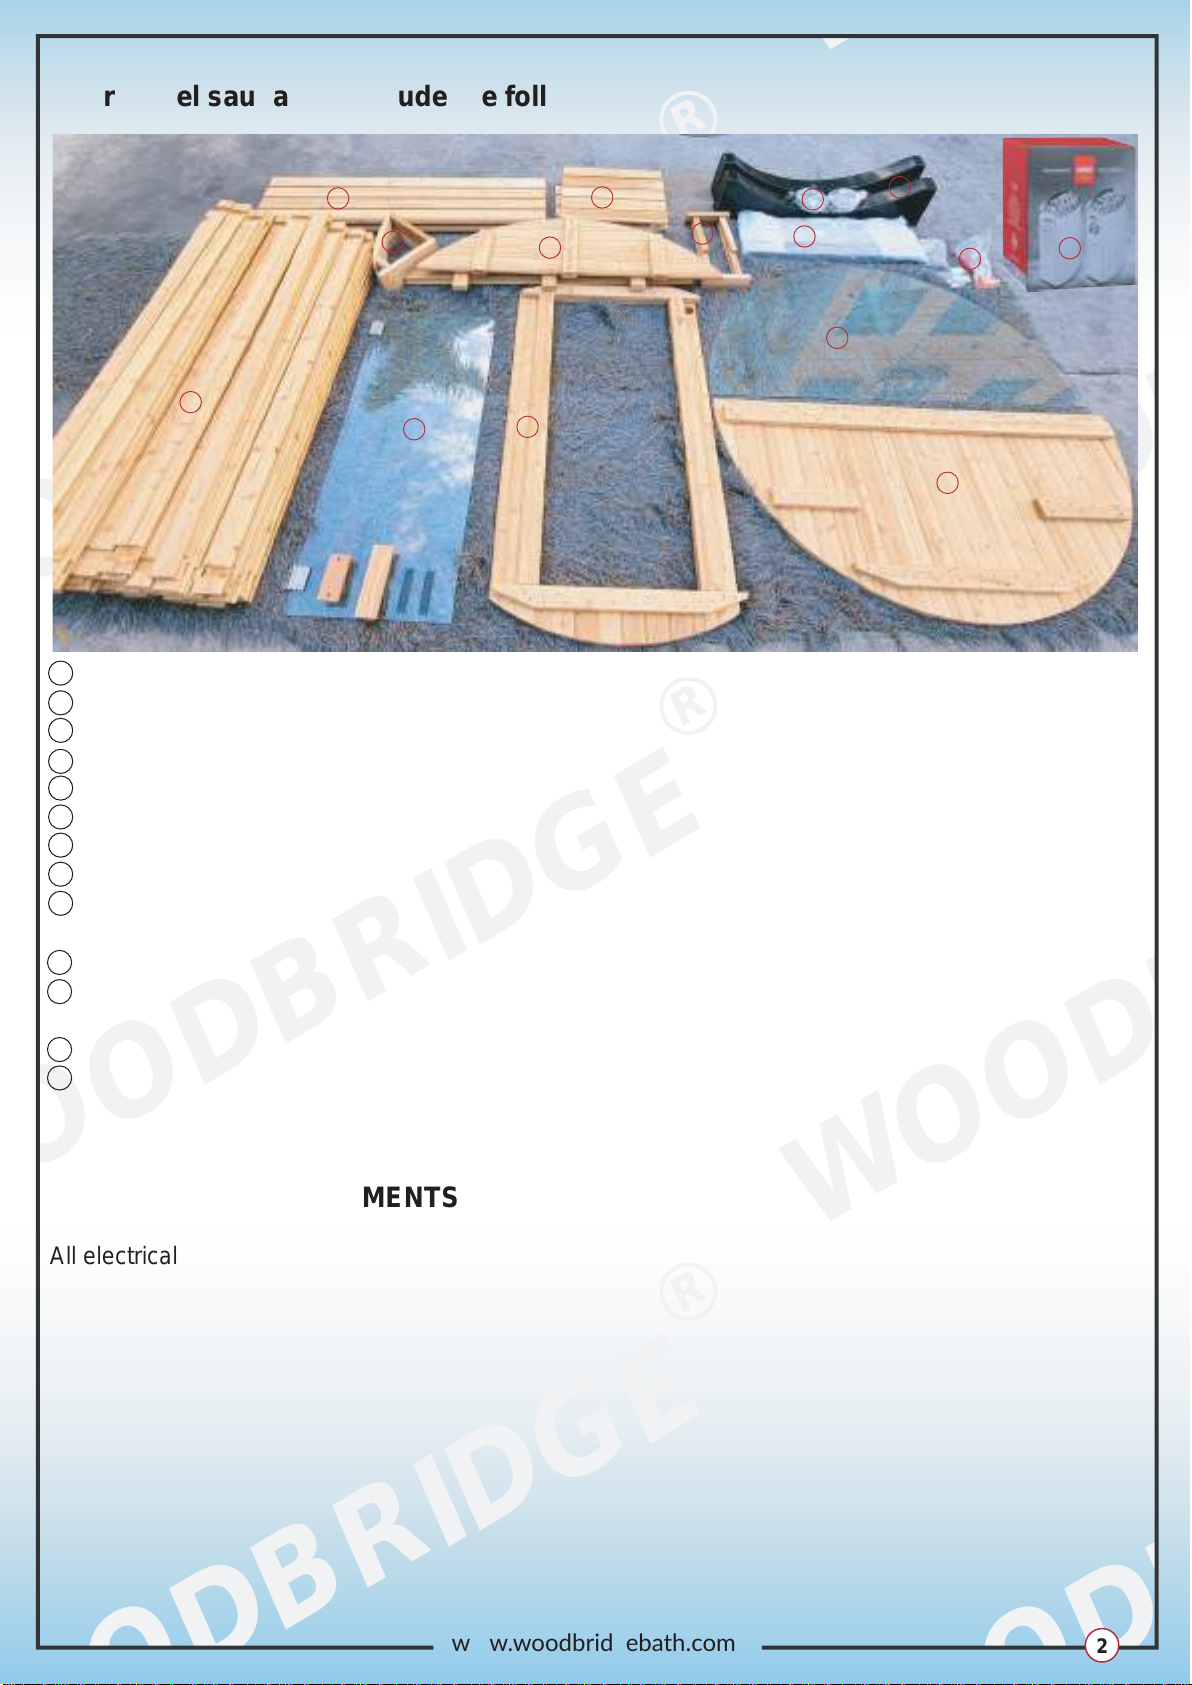
Unpack all staves. Identify the drain stave (it will have one or more drainage holes bored into it). This will
be the bottommost and first stave used
Product information
Product Name: Barrel Sauna
Model: OBS1812-A / OBS1818-A
Size: Φ70-7/8 x 70-7/8 / Φ70-7/8 x 47-1/4
47″
10″
Φ70-78″
47″
10″
L
20″
4″
OBS1812-A : L = 47-1/4″
OBS1818-A : L = 70-7/8″