Gambler-AG Kit
General Assembly Information
Please thoroughly read these instructions carefully before starting construction. Those who have built
balsa models before will find the construction sequence quite straightforward. For those who have not, I
hope to have provided sufficient detail at each step to make the instructions clear. If you have any
questions,
e
-mail [email protected] for assistance. A PDF version of this manual is available on our website which you can print out on your printer with color illustrations.
This kit contains laser-cut parts that may have light charring on the cut surfaces. If you use Ambroid or
aliphatic resin glues, you may want to lightly sand the edges of these parts with 220-grit sandpaper to
allow for better glue bonding. I recommend thin CA (cyanoacrylate a.k.a. ‘super glue’) for assembly of
this kit. It speeds assembly and does not require additional sanding of the laser-cut parts. Except where
indicated, parts can be first held together, then thin CA can be “wicked” into the joints. The laser-cut
parts are held onto the balsa sheets by small, uncut spots on each part. Remove the parts from the sheet
by carefully cutting these spots with a sharp hobby knife as the parts are needed.
Besides the required materials listed above, you should have the following building supplies: 220-grit
sandpaper; a hobby knife; small clamps; straight edge, ruler and right-angle gauges; and a flat work
surface with reference lines on it.
Skilled builders should be able to assemble this kit in three to four evening building sessions. Beginners
should allow four to five evening sessions to comfortably assemble this kit. Both will take an additional
evening to cover the wing and pod with covering. Take your time and enjoy the experience!
Carbon Fiber Ribbon Information
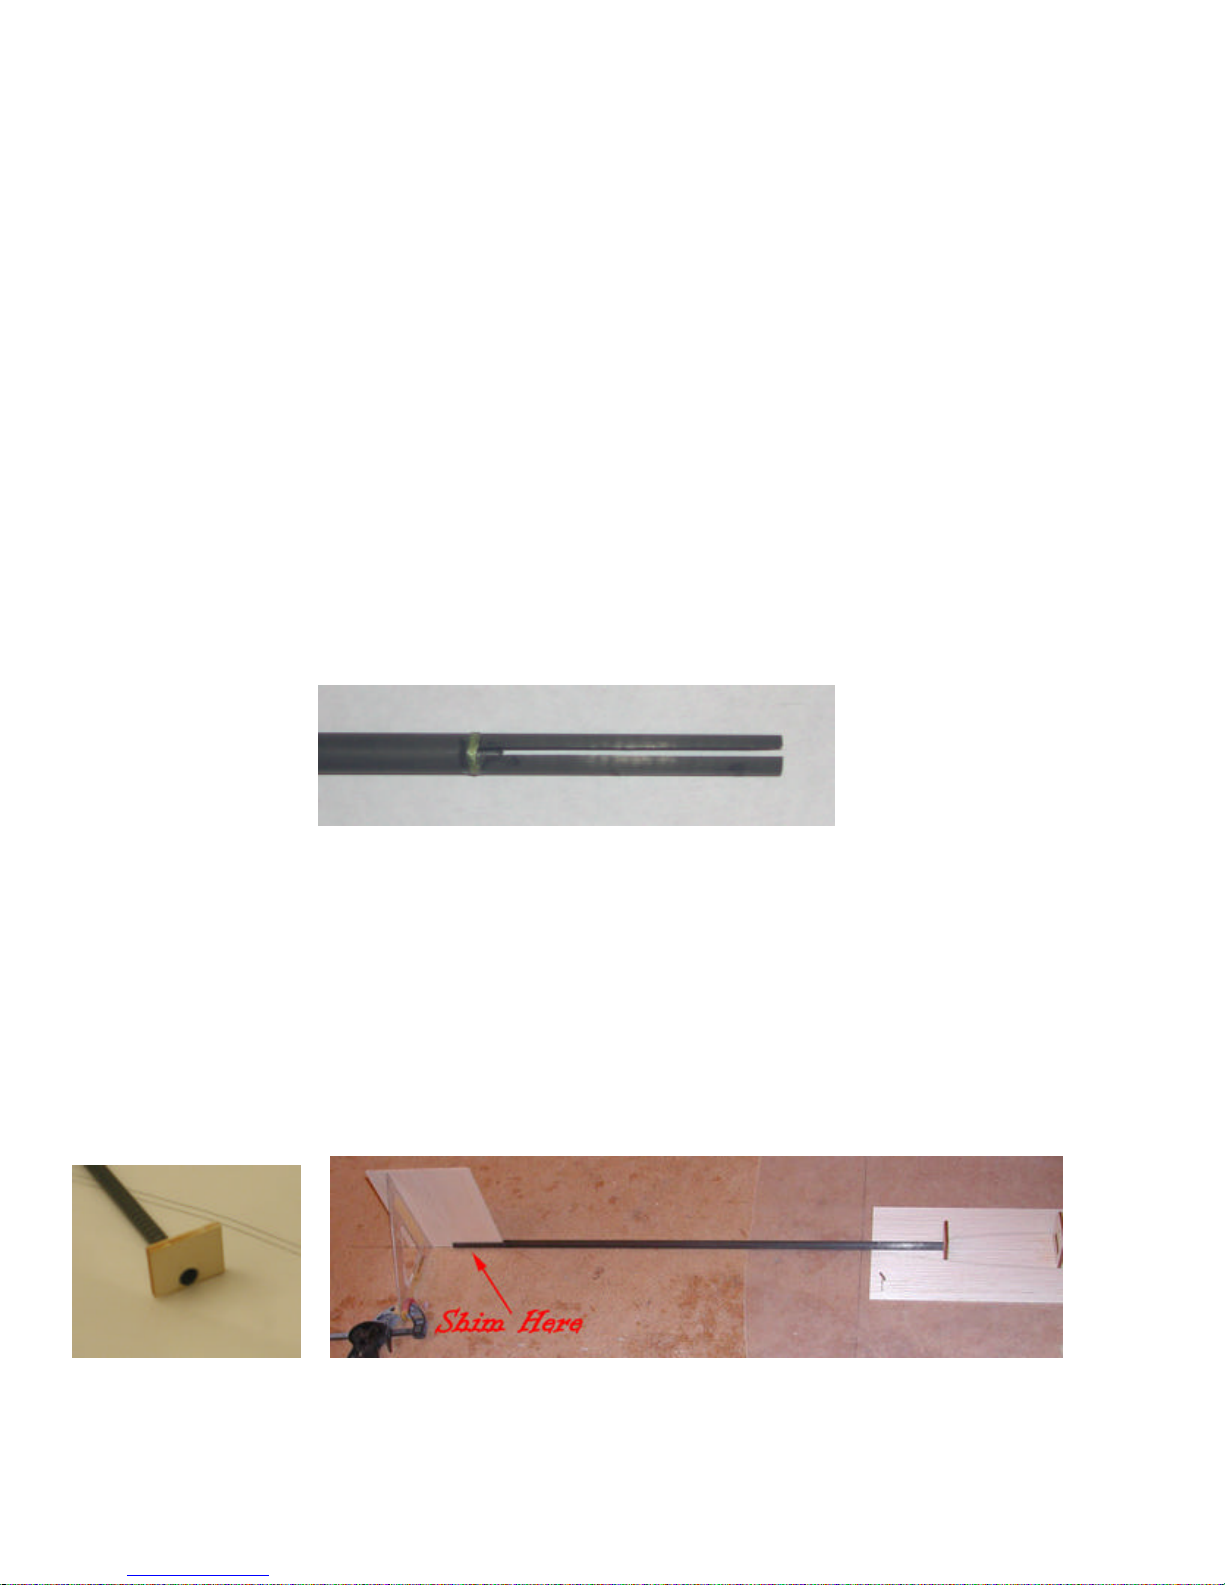
The carbon fiber ribbon provided in this kit is 50” long and approximately 1” wide. You will note that it
is made up of eight (8) 1/8” smaller segments held together with a thermo-plastic cross stitching. In
order to be used to build this kit, this ribbon must be carefully separated into four (4) separate ribbons
each containing two (2) of the 1/8” wide segments. It is tempting to quickly run your hobby knife
between the segments to separate them, but this is not the recommended method for separating the
segments as such a technique is VERY LIKELY TO DAMAGE ONE OR MORE SEGMENTS of
the carbon fiber. Instead it is recommended that the segments be carefully separated a small bit at a time,
periodically checking that the hobby knife remains between the segments and doesn’t drift into one. If
you do partially fray one of your four pieces, you may use that one to cut up into the smaller pieces used
on the fuselage and tail surfaces.
In all cases where the carbon fiber ribbon is to be applied to balsa, the best method for doing this is to
lightly spray one side of the ribbonwith spray adhesive such as 3-M Super 77 or similar and
immediately apply the adhesive side of the ribbon to the balsa. The spray adhesive is just to temporarily
locate the ribbon and allows for easy repositioning. Once you are happy with the location of the ribbon
and are sure that it is fully adhered to the balsa, saturate the carbon a section at a time with thin CA,
rubbing the saturated section with waxed paper. Be careful to do this in a very well ventilated area, as
the CA will ‘kick’ quickly and aggressively when applied to the carbon fiber and will produce copious
fumes which are quite irritating and can cause allergies over prolonged exposure. Odorless or foam safe
CA can be used for this process, but it is not recommended. Everywhere else in the kit construction
either regular or odorless CA may be used.
In all areas where the carbon fiber ribbon is applied, it will be desirable to sand the ribbon smooth until
the thermo-plastic cross stitching is no longer visible and does not produce any noticeable texture. When
doing this 220-grit sandpaper is recommended. Be sure to always sand in the direction of the carbon
fibers, never sand across the carbon fibers as it will unnecessarily weaken them. The provided carbon is