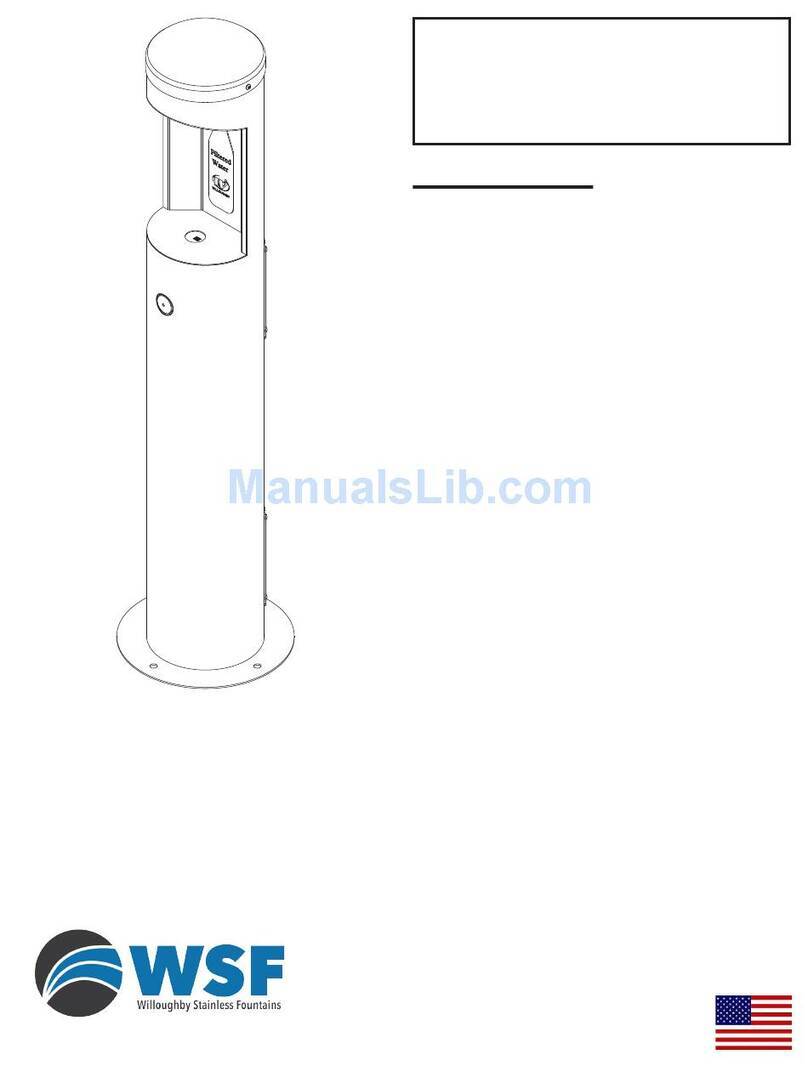
WSF WODF-2WM Series User manual

Installation &
Operation Manual
Rev. 11/2019
MADE IN THE U.S.A.
Willoughby Stainless Fountains
5105 West 78th Street
Indianapolis, IN 46268
Toll Free: (800) 428-4065
Local: (317) 875-0830
Fax: (317) 875-0837
www.willoughbystainlessfountains.com
Table of Contents
Pre-Installation Information������������������������������������� 3
Physical / Rough-in Dimensions�����������������������������4
Required Installation Supplies ��������������������������������5
Parts List and Exploded-view Drawings����������������� 6
Hardware Identication ������������������������������������������7
Installation Instructions ���������������������������������������������
Step 1: Fixture Installation ���������������������������������8
Step 2A: Adjusting Drinking Spout Flow ������������9
Care and Maintenance �����������������������������������������10
Troubleshooting��������������������������������������������������������
Fixture Plumbing����������������������������������������������� 11
Drawings�������������������������������������������������������������������
Pushbutton Details �������������������������������������������12
Warranty���������������������������������������������������������������13
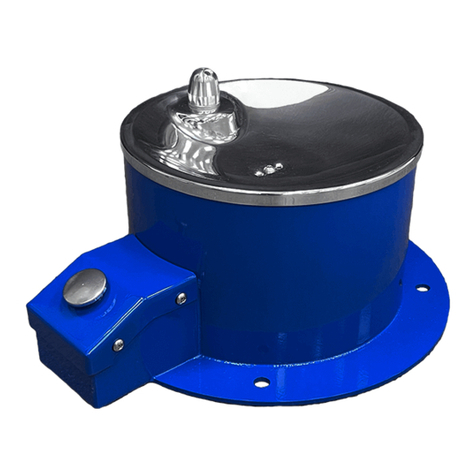
WODF-2WM Series
Outdoor Drinking Fountain
Wall Mounted unit
WODF-2WM

Installation & Operation Manual
Wall Mounted- Outdoor Drinking Fountain
WODF-2WM Series
Willoughby Stainless Fountains TOLL FREE (800) 428-4065 ● LOCAL (317) 875-0830 ● FAX (317) 875-0837
Page 2Rev. 11/2019 www.willoughbystainlessfountains.com
(Page intentionally left blank)

Installation & Operation Manual
Wall Mounted- Outdoor Drinking Fountain
WODF-2WM Series
Willoughby Stainless Fountains TOLL FREE (800) 428-4065 ● LOCAL (317) 875-0830 ● FAX (317) 875-0837
Page 3Rev. 11/2019 www.willoughbystainlessfountains.com
Pre-Installation Information
When installing the Willoughby Stainless Fountains' WODF-2WM Series drinking fountain system:
Before Step 1 of the installation instructions, ensure that rough-ins are in the correct location�
The valve assembly, including the spray head, MUST NOT BE connected until after all lines have
been ushed to remove the small particles of debris that are inherent with new construction projects
and all chemicals that are used in ushing are purged from the system.
Chemicals used in ushing plumbing systems can attack the internal components of the valve and
spray head and severely damage them, so any ushing of the system must be followed by a full
ushing with pure water to clear any harsh chemicals remaining in the system. Debris in the system if
allowed to enter the valve assembly and spray head can cause poor performance or outright failure�
Again DO NOT attempt to connect the valve assembly and spray head until after all ushing is
complete and pure water is the only media that will be passing through the system� Damage to the
valve assembly or spray head caused by harsh chemicals or debris will not be covered by the
manufacturer's warranty�
Any ttings provided by the installer should be made of plastic to electrically isolate the unit from the
building or connected plumbing system�
The grounding of electric equipment such as telephones, computers, etc, to water lines is a common
procedure. This grounding can cause electrical feedback into a water fountain or similar xture,
causing electrolysis, which results in a metallic taste or an increase in the metal content of the water�
This can easily be avoided by using the proper materials as indicated�
INSTALLATION INSTRUCTIONS
Visit our website at http.//www.willoughby-ind.com
2210 West Morris Street • P.O. Box 21217 • Indianapolis, IN 46221
(317) 638-2381 • Fax: (317) 638-6110 • (800) 428-4065
© Rev. 11/2007 Page 3
Installation notice!
Check Rough-in location and flush lines prior to hook up!
When installing the Willoughby Industries’ WAW, WAF, or WWF series
washfountains or lavatory deck systems:
Before Step 1 of the installation instructions, ensure that rough-ins are in the correct
location.
It is essential that the water supply lines be thoroughly flushed prior to making final
connection to the hot and cold water supply lines. These lines must be flushed
sufficiently to remove the small particles of debris that are inherent with new
construction projects. If this debris is not removed, the valving in these units will be
damaged. Do not attempt to remove aerators to flush debris into the lavatory. The
damage can only be fixed by replacing the valves. Damage to valves caused by debris
will not be covered by the manufacturers warranty.
Installation notice!
Check Rough-in location and flush lines prior to hook up!
© Rev. 5/2010
Check Rough-In location PRIOR to installation
Flush lines thoroughly PRIOR to hook-up

Installation & Operation Manual
Wall Mounted- Outdoor Drinking Fountain
WODF-2WM Series
Willoughby Stainless Fountains TOLL FREE (800) 428-4065 ● LOCAL (317) 875-0830 ● FAX (317) 875-0837
Page 4Rev. 11/2019 www.willoughbystainlessfountains.com
Physical / Rough-in Dimensions- WODF-2WM

Installation & Operation Manual
Wall Mounted- Outdoor Drinking Fountain
WODF-2WM Series
Willoughby Stainless Fountains TOLL FREE (800) 428-4065 ● LOCAL (317) 875-0830 ● FAX (317) 875-0837
Page 5Rev. 11/2019 www.willoughbystainlessfountains.com
Required Installation Supplies
• Proper mounting hardware
• Proper plastic ttings as indicated
• Hardware for waste oulet connections
• Shims (for installation if necessary)
• Supply piping
• Silicone caulk
• Plumbers putty
WARNING: Willoughby Stainless Fountains does not assume
any responsibility for personal injury or damage to equipment
due to an improperly installed WODF-2WM Series drinking
fountain system:

Installation & Operation Manual
Wall Mounted- Outdoor Drinking Fountain
WODF-2WM Series
Willoughby Stainless Fountains TOLL FREE (800) 428-4065 ● LOCAL (317) 875-0830 ● FAX (317) 875-0837
Page 6Rev. 11/2019 www.willoughbystainlessfountains.com
Parts List and Exploded-view Drawing-
WODF-2WM

Installation & Operation Manual
Wall Mounted- Outdoor Drinking Fountain
WODF-2WM Series
Willoughby Stainless Fountains TOLL FREE (800) 428-4065 ● LOCAL (317) 875-0830 ● FAX (317) 875-0837
Page 7Rev. 11/2019 www.willoughbystainlessfountains.com
Hardware Identication
WODF Series / CWBF Series Hardware
1/4-20 x 1/2"
SECURITY SCREW
4500NSS
T27
1/4" PINNED TORX BIT
800115
1/4"-20 x 2"
FLAT HEAD SECURITY SCREW
4509SSN
1/4"-20 x 1/2"
PHILLIPS SCREW
800144
1/4-20 x 1"
SECURITY SCREW
800114
3/4" NPT
BRASS LOCKNUT
600612N
1/4"-20 x 2-1/2"
CARRIAGE BOLT
600635N
1/4"-20 HEX NUT
600613N

Installation & Operation Manual
Wall Mounted- Outdoor Drinking Fountain
WODF-2WM Series
Willoughby Stainless Fountains TOLL FREE (800) 428-4065 ● LOCAL (317) 875-0830 ● FAX (317) 875-0837
Page 8Rev. 11/2019 www.willoughbystainlessfountains.com
Installation Instructions
Step 1: Fixture Installation
Note:TheWODFoutdoordrinkingfountainIstobemountedonaat,suitablylevel
surface(wall,concreteorotherwise)withanadequatesupportstructure.
Note:RefertothePhysical/Rough-InDimensionsforlocatingxturemounting
pointsandplumbingconnections.
1�) Install service shut-o valve in water supply line (valve not furnished).
2�) Locate and complete the rough-in mounting holes and plumbnig access hole as specied.
3�) Install the drinking fountain wall mounting plate using hardware supplied by others�
4�) Once the wall mounting plate have been attached, mount the xture by placing it on the
mounting plate. Secure the xture to the plate with the security screws provided.
5�) Make sure that the positioned xture is level, both front to back and side to side, to ensure
proper draining. Adjust as necessary, then fully tighten the nuts to secure the xture.
6�) As noted previously, ush the water supply line with clean drinking water before making nal
connections to the drinking fountain�
7�) Connect water supply line to inline strainer inside the drinking fountain or bottle ller using 3/8"
plastic tubing (extra tubing not furnished). Push tube straight into tting on lter about 3/4" until it
reaches a positive stop� Water supply connection must comply with local codes�
8�) Connect the drain line to drainage system� Drain is to be 1-1/2" MIP minimum to a porous gravel
ll or main sewer line located below frost line. Installer to provide waste trap downstream of drain
connection� Drain and waste trap must comply with local codes�
9�) Turn on water supply and check both the water supply lines and drain lines for leaks�*
*For a Push Button ow adjustment, go to Step 2

Installation & Operation Manual
Wall Mounted- Outdoor Drinking Fountain
WODF-2WM Series
Willoughby Stainless Fountains TOLL FREE (800) 428-4065 ● LOCAL (317) 875-0830 ● FAX (317) 875-0837
Page 9Rev. 11/2019 www.willoughbystainlessfountains.com
Installation Instructions (cont.)
Step 2: Adjusting Drinking Fountain Flow (Push Button)
(WODF-2WM shown)
1�) Insert a standard at-head screwdriver into
adjustment opening on face of pushbutton,
as shown�
2�) Rotate screwdriver to adjust until
desired ow is achieved:
Rotate clockwise to increase ow.
Rotate counterclockwise to decrease ow.

Installation & Operation Manual
Wall Mounted- Outdoor Drinking Fountain
WODF-2WM Series
Willoughby Stainless Fountains TOLL FREE (800) 428-4065 ● LOCAL (317) 875-0830 ● FAX (317) 875-0837
Page 10Rev. 11/2019 www.willoughbystainlessfountains.com
Care and Maintenance
Stainless Steel Care
Stainless Steels are basically alloys of iron and chromium and are corrosion resistant. Stainless
steel has a bright surface that is easy to clean and is free from oxides. Therefore, cleaning of
stainless steel is relatively simple and easy if done on a regular basis.
Frequency of cleaning should depend on the rate at which the xture becomes dirty. Remember
that fresh (soft) deposits of all kinds are relatively easy to remove, while removing older (hard)
deposits are much more difcult. Establish a cleaning SCHEDULE.
Routine cleaning should involve ordinary soap or detergent and water, applied with a sponge,
brush or cloth. Baking soda, borax or any of several non-abrasive commercial cleansing agents
can help hasten the cleaning action. After scrubbing, rinse THOROUGHLY and wipe dry.
DO NOT use common steel wool, scouring pads, scrapers, wire brushes, les or other steel tools to
clean stainless steel. Such items will scratch the surface or leave small particles of iron imbedded
in the surface, which will eventually rust and stain the surface - even appearing as if the stainless
itself was rusting.
Certain chemical compounds, if used on stainless steel, can give the appearance of rust and if
allowed to stand for long periods of time, can pit the surface of even stainless. Products containing
hydrochloric acid, muriatic acid or potassium hydrochloride can ruin the surface.
Unit Care
Willoughby Stainless Fountains’ WODF Outdoor Drinking Fountains are not freeze resistant. The
unit should be disconnected or shut o from the water supply and drained during the colder months.
For more information, refer to the rough-in detail.
In order to ensure adequate ow and cleanliness of water, the inlne strainer in the supply line
should be cleaned or replaced regularly. New inline strainers can be ordered using Willoughby Part
No. 980632.

Installation & Operation Manual
Wall Mounted- Outdoor Drinking Fountain
WODF-2WM Series
Willoughby Stainless Fountains TOLL FREE (800) 428-4065 ● LOCAL (317) 875-0830 ● FAX (317) 875-0837
Page 11Rev. 11/2019 www.willoughbystainlessfountains.com
Troubleshooting- Fixture Plumbing
I� Insucient Flow
A� Ensure the service shut-o valve is fully open (provided by installer).
B� Ensure water supply is within the normal operating range of 40-60 psi�
1� If pressure is too low, ow can be drastically reduced.
2� If pressure is too high, the strainer and/or valve may have been damaged�
3� The unit is rated for a maximum range of 30-105 psi�
C� Inspect the unit's valve for damage, and replace if necessary�
D� Inspect the inline strainer for damage and/or clogging, and clean or replace as necessary�
E� Check all ttings and tubing for damage and leaks. Replace components as necessary.
II� Unit has problems draining
A� Remove and clean the drain screen�
B� Remove any debris from the drain�
C� Remove any debris from the PVC pipe and ttings.
D� Check and clear the waste trap (provided by installer)�

Installation & Operation Manual
Wall Mounted- Outdoor Drinking Fountain
WODF-2WM Series
Willoughby Stainless Fountains TOLL FREE (800) 428-4065 ● LOCAL (317) 875-0830 ● FAX (317) 875-0837
Page 12Rev. 11/2019 www.willoughbystainlessfountains.com
DRAWING: Pushbutton Detail

Installation & Operation Manual
Wall Mounted- Outdoor Drinking Fountain
WODF-2WM Series
Willoughby Stainless Fountains TOLL FREE (800) 428-4065 ● LOCAL (317) 875-0830 ● FAX (317) 875-0837
Page 13Rev. 11/2019 www.willoughbystainlessfountains.com
Warranty
Willoughby Industries, Inc. warrants to commercial and institutional purchasers only that each unit
will be free from defects in workmanship and materials under normal use and service upon the
following terms and conditions for a period of one (1) year from date of shipment.
This warranty does not cover installation or any other labor charges and does not apply to any
components damaged by accident, abuse, improper installation or improper maintenance. This
warranty does not cover any installation that did not comply with national, state and local building,
plumbing or electrical codes. The warranty is limited to replacing or repairing at manufacturer’s
option, transportation charges prepaid by the purchaser, any component or part which upon our
inspection shall be deemed as defective within the limitations of this warranty. The replacement or
repair of defective units as stated in this warranty shall constitute the sole remedy of the purchaser
and the sole liability of Willoughby Industries, Inc. Willoughby Industries, Inc. shall not otherwise be
liable under any indirect damages caused by defects in the repair or replacement thereof.
This warranty only extends to commercial and industrial purchasers and does not extend to any
others, including consumer customers of commercial institutional purchasers. This warranty is in
lieu of all other warranties, expressed or implied, including implied warranty of merchantability or
tness for a particular purpose or otherwise.
Table of contents
Other WSF Outdoor Fountain manuals
Popular Outdoor Fountain manuals by other brands

ASC
ASC SF009 instructions

Woodstock Chimes
Woodstock Chimes Water Bell Fountain Assembly instructions

PEAKTOP
PEAKTOP RJ-19048 Use & care guide

Campania International
Campania International Corsini FT-171A Assembly instructions

Elkay
Elkay SWIRLFLO LRPBD2 8WSC Series Installation & use manual

Elkay
Elkay Swirlflo EDFPB114FP installation manual