Wusik SQ200 User manual

Wusik SQ200
William Kalfelz
www.Wusik.com (c) 2018
www.Beat707.com
www.Kalfelz.com

Table of Contents
Introduction 3
Wusik SQ 200 4
Installing 10
Features 13
The Interface 14
Structures 15
Project Structure 16
Multi-Core Structure 17
Screens Structure 18
Starting Up 20
Your First Project (Song) 21
The Mixer (Looping and Muting) 25
How Long is my Song 26
Exporting 26
Playing with the Computer Keyboard 27
Plugin Parameter Editing 27
MIDI Tracks 27
Working With Sections 28
External Sync (Plugin Version) 29
Internal Compressor 30
Compressor Side Chaining 30
Fade In and Out 31
MIDI Learn 32
Audio Files 33
Keyboard Focus 35
MIDI Processors 36
Plugin's Programs 38
Skins 38
Phil Tone's Skins 40
Wrong window size when changing skins 41
Can I make my own skins? Or make small changes to current ones? 41
Editing Notes 42
Using It Live 44
Input MIDI Channel 45
Live Songs Selector 45
Using Key Switch With Tracks 47

Introduction

Wusik SQ 200
Welcome to Wusik SQ 200, a "hardware" sequencer like no other. Featuring VST/AU hosting for instruments and
effects.
The idea behind this project is to have a sequencer that works just like old hardware sequencers. With little mouse
usage, you get to use keyboard shortcuts for everything. You can still use the mouse in place of keyboard usage, but
using the keyboard makes things go much faster.

With the interface open, click the Wusik SQ200 logo to open the options menu. Click Audio/MIDI Settings. This
option may show up on its own the first time you open the application, until you select an audio device.
Here you can select the type of audio interface you want to use and all the settings. Don't forget the MIDI input. Midi
Output is selected on the track itself, when you add a MIDI track.

The next step is the Plugin Manager, so you can use your VST/AU Instruments/Effects.
Click Options and select Scan at the bottom. On Windows you will see two options, Scan ... VST and Scan ... VST3.
You will need to do two scans to find all your VST and VST3 plugins. On OSX you will see Scan ... AU too.

Add the folders where your plugins are stored at, and click Scan to start.
On Windows, the code will launch a special scanner app to check for plugins. If this app crashes, it won't affect the
main code, which will continue to run and scan the next plugins. It also scans 32 bits plugins in the 64 bits version of
the Wusik SQ200 app/plugin. It uses special internal bridge code to handle the conversion.
On OSX the code will check the files and it a plugin crashes validation you will need to restart the app, but it will add
the last plugin that crashed to the black list.
Click on a plugin line to show the options menu. Here you can change how you want Wusik SQ200 to show this
plugin's name in the plugin's list. You can disable plugins from showing up on the list. You can force a plugin to

show in the Instrument's list. Top of List will show this plugin before all others.
The next option, if you want, is to use your own set of keyboard shortcuts. Open the options menu again and click
Learn Keyboard Keys. The application will prompt you to press keys for each button on the interface. The only keys
you can't change are the Shift and Ctrl keys.
If you plan on using audio files (acid loops supported too) you need to setup the Samples folders.
Just use the + button on the near-bottom left to add folders, and click save when you are done.

Under Options you will see a list of interface options.
Grab Keyboard Focus: will always get the keyboard focus even when you open a plugin's editor (GUI) and use the
mouse with it. There's a keyboard shortcut that disables this behavior temporally until you click back on the main
window. This shortcut is "K".
Auto Save on Exit: this will save your project when you close the application.
Close With the Sequencer Running: if disabled the application won't close until you stop the sequencer.
Copy Audio Files to Project: will copy any audio file you import to the project's folder. If the project was not saved
yet, it will copy to a temporary location and copy again when the project is saved.
Track Limiter Default: when enabled, any new track and project will activate the limiters by default.
Show Complete Message: when activated will display "Completed..." when you perform tasks such as Quantize,
Copy, Erase, Transpose, ... on track events.
Automations Default On: when disabled, any new track and project will have automations disabled by default.
Show Details on Tool Bar: will display project and sequencer information on the application tool bar.
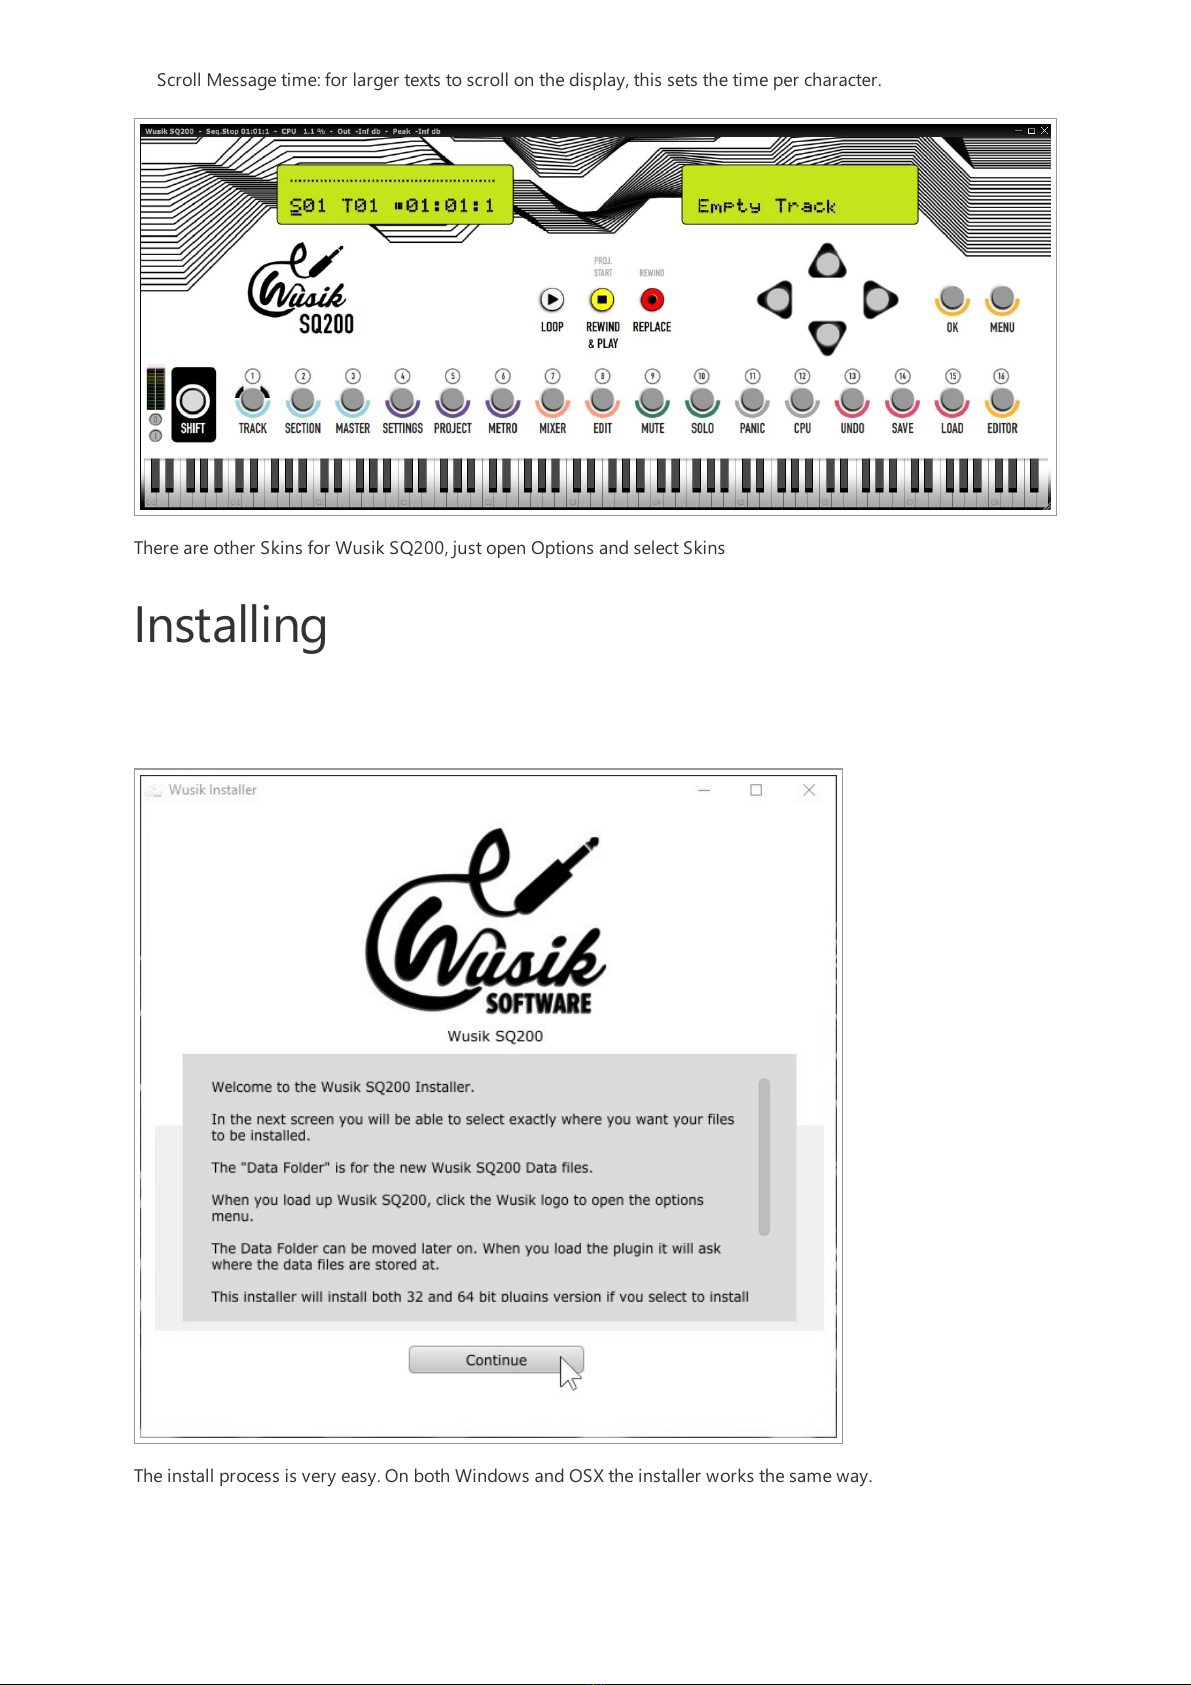
Skin: here you can select a different look for the application. Skins can also be user created or changed. They are
just png files with a text-based XML settings file (which you can open on any text editor).
Metronome: change the sound of the metronome. You can also add new sounds, just open the Data folder /
Extras / Metronome folder and see how files are organized.
File Revisions: here you can set how many revisions of a project are saved on separated files. Each time you hit
save it creates a new file and deletes the oldest file from the revisions list.
Messages Delay: this allows you to change the time a message such as Project Loaded "Complete" shows up.
Play Key: you can set if the Play key / button also stops the sequencer.
Event Editor: resolution options for the event editor and also the auto play event when selecting.
Display Refresh Rate: how often the display is redrawn for showing VUs.
Temporary Msg Delay: when you start or stop the sequencer on a page that is not the Track or Section, it shows a
temporary message of which Section, Track and Measure you are on.

Scroll Message time: for larger texts to scroll on the display, this sets the time per character.
There are other Skins for Wusik SQ200, just open Options and select Skins
Installing
The install process is very easy. On both Windows and OSX the installer works the same way.

Clicking Continue will go to the next page, here you can setup the following:
Application Folder: where the stand-alone (executable) application will be stored. There is a check on the left so you
can unselect this option.
Plugins Folder: where the VST (and AU on OSX) Plugins versions will be stored. There is a check on the left so you
can unselect this option.
Data Folder: where all the extra files required for Wusik SQ200 to run, such as: skins, metronome sounds, extra
internal plugins, ...
Samples Folder: if you have a folder in your computer where you store sample files, such as Acid WAV or MP3, that
you whish to use with Wusik SQ200, you can place this folder there. If you have multiple folders, just add the first
one. When you open Wusik SQ200 you can click on the Wusik logo and select Sample Folders to add more folders.
Replace Files: will overwrite any file, otherwise, it will check for the file-date and only update files that are newer.
Rest User Settings: will delete the "Main Settings.xml" file from the Data Folder, setting the program to default
settings.
Windows Only - Add To Start Menu: will create a link on the Start Menu with the application, uninstaller and manual
shortcuts.
Clicking Install / Update will start the process and only stop when it has finished processing all files.

When the process is completed, you will see the Finished window. Clicking OK will close and it will ask if you want
to read the user manual.
You can check the process log for errors, specially if some files are not been saved. Click Close to finish the
application.
Features

Features
Wusik SQ200 comes in several formats.
- PC Windows and MAC OSX Applications (32 / 64 bits)
- PC Windows and MAC OSX VST/VST3/AU Plugins (32 / 64 bits)
The engine features up to 99 sections and 99 tracks per section. Each track can feature up to 8 effects and the
master section can also host up to 8 effects.
Tracks can be a plugin Instrument, audio file or midi events. Audio tracks can import several types of files that will
be streamed or Acid WAV files that can be looped and stretched to the tempo (plus pitch changes without affecting
the tempo).
The sequencer uses a 960 PPQ time (pulses per quarter note) with option of regular and triplet notes. 4/4 only
mode for now.
There are 4 Master send buses, 8 Master Buses and 16 Extra Outputs.
Each track has volume and pan settings. Plus: limiter, compressor, chain-compressor-send, send to master-sends,
Low Pass, High Pass and 6 customizable Band Pass EQs. MIDI Tracks have a "velocity" volume option, so you can
lower the velocity of all output notes in real time. You can also select Midi Input Channel and Output Channel. Or set
to Omni (**) for both options.
You can rename plugin instrument, plugin effects, tracks and also sections.
Measures are show in AA:BB:CC format. CC is for the beat, BB is for the measure. In the project settings you can
select how many measures will count to increase the AA value. The lowest setting is 4 measures.
Tracks can be muted or soloed.
The event's editor allows you to edit all events in a single screen. There's also a Piano View mode that allows you to
use the mouse to change notes.
You can open the Editor of any plugin at any time to make changes using the mouse.
One plugin instrument can be used by many tracks. But each track will use the instrument's volume, pan and effects.
This is still handy for when you want a track that plays a lower key melody while another track plays something else
on top.
Tracks can be looped. This works like this: if you have 4 tracks, each with 16 measures, and an extra track (5 total)
with only 4 measures, when playing the section it will loop the 5th track until the section ends. You can
enable/disable this option per track.
Sections are played one after the other, to compose a song. You can set a section to repeat #N times. You also have
the option to play and repeat a single section and change sections using the section selector.
When recording, you can select if you want a Metronome sound and pre-counting. The Metronome sound can be
changed or even customized. There are two types of recording, mixed and replacing. Mixed is the default option.

All plugin's parameters can be automated, with the option to enable automation write/read per instrument and
master.
Each track has an optional limiter and compressor, and so the master output and all buses.
The engine is multi-core ready, so tracks are divided into multiple cores for processing.
32 Bits VST Bridge for the Windows App and Plugin running in 64 bits. This way you can load your older 32 bits
plugins in the 64 bits version of the app / plugin.
Internal compressor with per-instrument / send/ bus side-chaining.
MIDI Learn option so you can use any MIDI device knobs/faders/buttons to control any on screen parameter.
The Interface
All the words below buttons are Shift + shortcuts or Right Mouse Click. They allow you to go from one section to
another, directly, or even perform global tasks, such as Panic, Undo, Save, Load, ...
The words above are for Ctrl + shortcuts.
Using the mouse, Shift is Right Click and Ctrl is Middle Click. You can't change or click parameters on the LCD with
the mouse.
Buttons 01 ~ 16 selects tracks directly.
Here's the complete list of default extra (optional) shortcuts:
X - Stop
R - Record
M - Menu
OK - Enter / Return
Y - Yes
N - No
ESC - Go To Track
S - Save Project
K - Disable keyboard focus and allows you to use the keyboard with plugin's editors (GUI).
For the 01 ~ 16 buttons
1 - 01
2 - 02
3 - 03
4 - 04
5 - 05
6 - 06

7 - 07
8 - 08
9 - 09
0 - 10
- - 11
+ - 12
Backspace - 13
Q - 14
W - 15
E - 16
For the Shift + Shortcut
Shift + 1 - Track
Shift + 2 - Section
Shift + 3 - Master
Shift + 4 - Plugin or Audio Settings (depends on the screen that you are) - Press again for the Parameters Editor
Shift + 5 - Project
Shift + 6 - Metronome
Shift + 7 - Mixer (to quit the mixer hit ESC or OK/Return/Enter)
Shift + 8 - Event Editor
Shift + 9 - Mute Track
Shift + 10 - Solo Track
Shift + 11 - Panic (stops and resets all plugins).
Shift + 12 - CPU Monitor
Shift + 13 - Undo Track Changes
Shift + 14 - Save Project
Shift + 15 - Load Another Project (hitting again loads the last saved
Shift + 16 - Open the current plugin editor
Shift + Play - Loops the current section
Shift + Stop - Rewind the current section and play
Shift + Record - Replace mode recording (default is mixed)
Shift + Menu (M) - MIDI Learn Page
For the Ctrl + Shortcut
Ctrl + Play - Plays the current section only one time and stops
Ctrl + Stop - Rewinds to section 01 and starts playing
Ctrl + Record - Rewinds the current section and starts recording
Ctrl + 01 ~16 buttons, while in track mode - selects a section directly
Ctrl + OK (Return / Enter) toggles computer keys to MIDI keyboard input, hit ESC or Ctrl + OK again to exit. Use
Up / Down to change octave.
Ctrl + Left / Right - changes the position of the sequencer. When editing notes goes next and previous editing
note.
The Up / Down / Left / Right allows you to navigate screens and change parameters. Some parameters allow you to
use Shift + Up / Down or Ctrl + Up / Down to change values in a different way. Also, Ctrl + Left / Right will go to the
start / end of a screen. To select something hit OK/Enter/Return.
Finally, on the right you will find the LEDs VU Meter. This will display the current selected track audio or if you are in
the master area it will show the master output or the selected send or bus.
Structures
Project Structure

Project Structure
Each project consists of sections and each section can have multiple tracks. Tracks can point to Instruments and
Audio Files.
Multi-Core Structure

Multi-Core Structure
This graphic shows how a Quad-Core processor will handle parallel processing. The code also supports Single-Core,
Dual-Core, 8-Core and above.
In the place of Instrument it can also be an Audio file (or set of files).
Screens Structure

Screens Structure
When in doubt, hit ESC or Shift + 1 to return to the track screen.

When making backups of your project, be sure to copy the whole folder of the project you want to backup. Or just
backup the entire Projects folder.

Starting Up
Table of contents
Popular Recording Equipment manuals by other brands

Extron electronics
Extron electronics AXI 22 AT D Setup guide

Mitsubishi Electric
Mitsubishi Electric PAC-WF010-E installation manual

Sony
Sony PCM-D50 - Portable Linear Pcm Recorder Specifications

Epson
Epson Connect-It P7 brochure

Alesis
Alesis ProTrack quick start guide

herdstar
herdstar BinTrac HouseLINK HL-10P Installation and operation manual