Xanes T69 User manual

Xanes T69 FullHD 1080p
mini pocket camera
User Manual
1080p, 180° tiltable camera
Infrared LEDs
Status LED
Attachment clip
Micro-SD card slot
Micro-USB slot
Micro
Mode button
Reset button
Overview
Power button
ver 1.0 - January 09, 2018

Camera specifications
The Xanes T69 is especially intended to use as a conference camera. You can
as well record a video or just the voice. The camera can also be used for other
purposes such as a surveillance camera or dashcam.
Properties
Resolution : 1920x1080p - Overall bit rate : ~12 Mb/s - Bit rate : ~25 Mb/s - Audio : PCM
: 1280x720p - Overall bit rate : ~12 Mb/s - Bit rate : ~16 Mb/s - Audio : PCM
Ratio : 16/9
Framerate : 30fps
Video Format : AVI
Video coding : M-JPEG
Audio Format : WAV (256 kb/s - 16 kHz - 16 bits)
Charging time : 90 minutes (on external charger)
Operating time : ~4 hours
Battery : 650 mAh LiPo
Micro-SD card : 8-128 Gb class 10 (not provided)
Size : 90x29x9mm
Weight : 30grs
1080p 720p
Audio
Data sheet for recorded files

Charging
Use the provided USB cable to connect the camera to an external power
source, like your computer, a wall charger, a power bank or a car charger. The
power source should deliver a least a charging current of 500mAh. Do not use
a quick charger as this type of charger can damage the battery. To preserve the
condition of the battery, be sure to charge the camera after each use. Also, if
you do not plan to use the camera for a long time, be sure to fully charge the
battery before storing. In this case repeat the charging operation every month.
As soon as you connect the camera to a charger, the blue status LED goes on
and the camera is in standby mode. In this state, recording is possible. Push the
power button for about 2 seconds to turn off the camera. A green LED now
indicates the charging cycle. Charging time will take about 90 minutes
depending the type of charger. The green LED goes off when the battery is
fully charged (on external charger).
Preparing the camera
Micro-SD card
When you turn on the camera for the first time and there is no micro-SD card
inserted, the blue LED will blink. You can use a class 10 micro-SD card with a
capacity from 8 to 128Gb. Pay attention do not insert or remove the card when
the camera is powered, else you can loose data.
Timestamp
On recording, a timestamp can be displayed. When you insert for the first time
a blank micro-SD card, the system will create two files
('settime.txt' and 'settings.txt'). After recording for the first
time, the system will additionally create two folders
('Record' and 'Video')
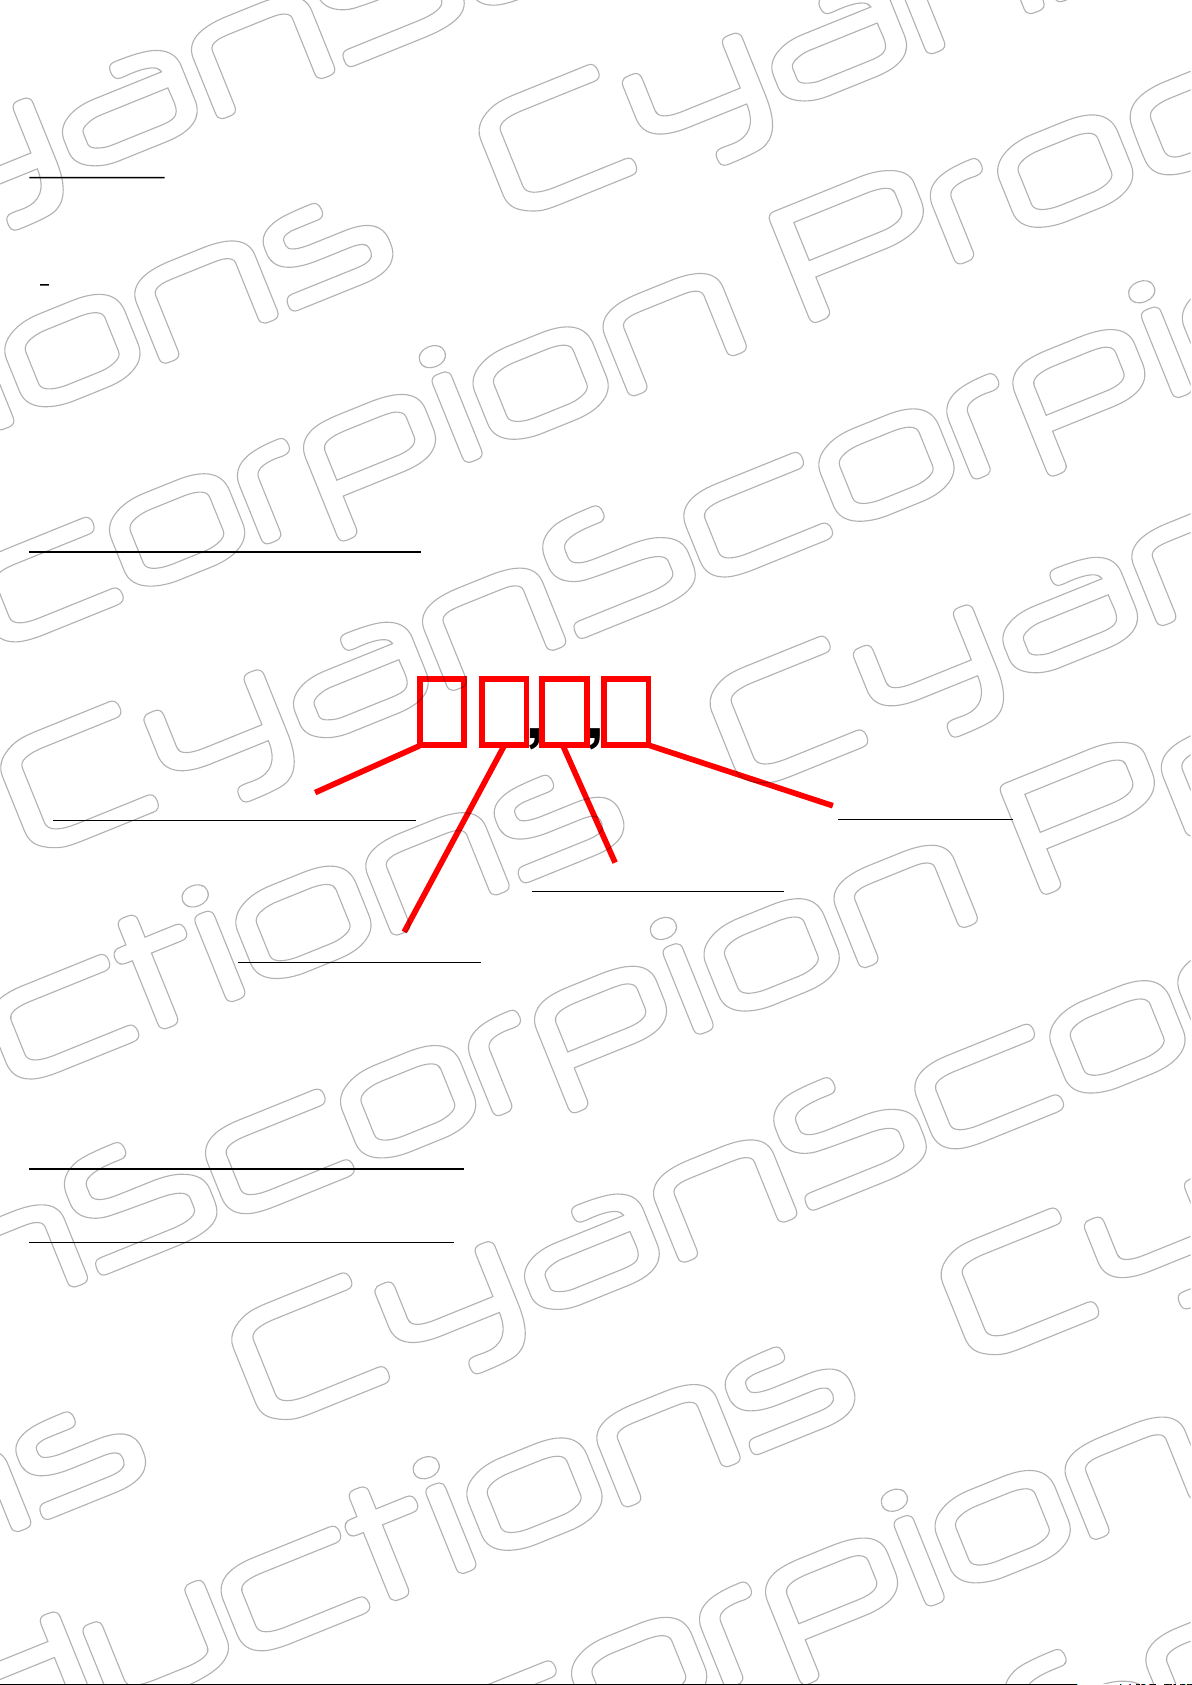
Edit the 'settime.txt' file and change the text to the current date and time.
Example : '2018-01-30,19:10:00 '
Save the file with the current date and time and insert the card directly after
this operation in the camera. Power the camera. The current date will now be
tranferred to the internal clock. As long as the battery is charged, the current
date and time will be displayed by the internal clock of the camera. When you
delete this file, when you format the micro-SD card, when you reinsert the card
in the camera after a file transfer or when the battery is completely drained, you
need to repeat the whole operation, else the camera will consider the default
factory settings.
(without quotes and a space at the end)
Note 1 : the change date/time operation can also be achieved when the camera
is directly connected to the computer. More about connecting the camera to the
computer a little later in this manual.

‘settings.txt’ explanations
Open the ‘settings.txt’ file for editing.
The factory settings are ‘1,0,0,1 ‘ (without quotes and a space at the end)
1,0,0,1
The recording resolution :
- 1=FullHD (1920x1080p)
- 0=HD (1280x720p)
Timestamp :
- 1=On
- 0=Off
Remarks
- If no micro-SD card is inserted, the blue LED is blinking
- On battery, after 3 minutes of inactivity, the camera will automatically power off
- In 'No-Loop' mode, the camera is recording as long as there is free space on
the micro-SD card. Once the maximum recording capacity is reached, the LED
is blinking blue/red for a while and than the camera is powered off.
- When the battery is nearly empty, the last sequence will be saved and the
camera will power off.
- All video modes can be combined.
Motion detection :
- 1=On
- 0=Off
Loop sequences:
- 1=On
- 0=Off
Note 2 : If you do not want a timestamp on your recordings, edit the 'settings.txt'
file as follow : original settings : '1,0,0,1 ', Change to '1,0,0,0 ' (without quotes
and a space at the end)
Camera operations
Before you start recording, be sure to edit the settings in the 'settings.txt' file.
Simple recording operation (considering factory settings {1,0,0,1 })
By default, the recording mode is set to FullHD (1920x1080p) and the timestamp
is active. Turn on the camera by pressing the 'Power button' for a second. The
blue LED will light. To start recording, briefly press the 'Power button'. The blue
LED is flashing 2-3 times and the recording starts. Note: during recording, no
LED is lit. Press again the 'Power button' to stop recording. The blue LED is
lighting again. If you do not stop recording, the camera will record sequences of
8 minutes each until the micro-SD card is full or the battery is empty. Connected
to an external power source, the camera will record as long until you decide to
stop recording or until the micro-SD card is full. If set to ‘Loop’ and connected to
an external power source, the operation can only be inrerrupted by your decision.

Infrared Mode
Turn on the camera by pressing the 'Power button' for a second. The blue LED
will light. Long press the 'Mode' button' until the blue LED changes to solid
blue/red. You are now in 'Infrared Mode'. To start recording, briefly press the
'Power button'. The LED is blinking alternatively 2-3 times blue/red, than the
recording begins. Note: during recording, no LED is lit. Press again the
'Power button' to stop recording. The blue/red LED is lighting again. To exit the
'Infrared Mode', long press again the 'Mode' button'. The LED is changing to blue.
Finally, long press the 'Power button' to turn off the camera.
In 'Loop mode’, the oldest file will be overwritten when the micro-SD card is full.
The lenght of each recorded sequence in ‘Loop mode’ is 5 minutes. The video
files are saved in the 'Video folder'. Finally, long press the 'Power button' to turn
off the camera.
Motion detection
Edit and activate the ‘Motion detection’ in the ‘settings.txt’ file. Turn on the
camera by pressing the 'Power button' for a second. The blue LED will shortly
light up and than the blue LED will blink 2-3 times. The ‘Motion detection’
becomes directly active. Note: during the ‘Motion detection’ operation, no LED
is lit. The camera will record sequences of 1 minute each. After that, the camera
is going in sleep mode, but the ‘Motion detection’ is still active. If the camera
permanently detects movements, it will only stops recording when no more
movement is detected. In this case the recording is stopping after a defined time.
To stop the ‘Motion detection’, press the ‘Power button’ again. Finally, long press
the 'Power button' to turn off the camera. Note : to return back to normal camera
operation, you need to edit again the ‘settings.txt’ file.
Voice recorder only
Turn on the camera by pressing the 'Power button' for a second. The blue LED
will light. Short press the ‘Mode button’. The voice recording begins.
A red LED will blink 3 times. Note: during the ‘Voice recording’ operation, no LED
is lit. To stop the ‘Voice recording’ press the ‘Mode button’ again. The LED is
returning to solid blue. Press the ‘Mode button’ again to record a new sequence.
To stop the ‘Voice recording’ press the ‘Mode button’ again. The voice files are
saved in the 'Record folder'. long press the 'Power button' to turn off the camera.

Video recording with an external power source
Connect the camera to an external power source (not the computer). Turn on
the camera by pressing the 'Power button' for a second. The blue LED will light.
To start recording, briefly press the 'Power button'. A blue/green LED is flashing
2-3 times and the recording starts. The green LED remains activated, indicating
that the camera is connected to an external power source and in charge. Press
again the 'Power button' to stop recording. The blue LED is lighting again, the
camera is in standby mode. To turn the camera off, long press the ‘Power button’.
Now only the green LED lights up, indicating that the camera is in charge.
Infrared video recording with an external power source
Connect the camera to an external power source (not the computer). Turn on
the camera by pressing the 'Power button' for a second. The blue LED will light.
Long press the 'Mode' button' until the blue LED changes to solid blue/red.
You are now in 'Infrared Mode'. To start recording, briefly press the
'Power button'. The LED is blinking alternatively 2-3 times blue/red, than the
recording begins. The green LED remains activated, indicating that the camera
is connected to an external power source and in charge. Press again the
'Power button' to stop recording. The blue/red LED is lighting again. To exit the
'Infrared Mode', long press again the 'Mode' button'. The LED is changing to blue.
Finally, long press the 'Power button' to turn off the camera. Now only the green
LED lights up, indicating that the camera is in charge.
Voice recording with an external power source
Connect the camera to an external power source (not the computer). Turn on
the camera by pressing the 'Power button' for a second. The blue LED will light.
Short press the ‘Mode button’. The voice recording begins. A green/red LED will
blink 3 times. The green LED remains activated, indicating that the camera is
connected to an external power source and in charge. To stop the
‘Voice recording’ press the ‘Mode button’ again. The LED is returning to solid
blue. Press the ‘Mode button’ again to record a new sequence. The voice files
are saved in the 'Record folder'. long press the 'Power button' to turn off the
camera. Now only the green LED lights up, indicating that the camera
is in charge.
External power source usage
Note : Before you record videos when your camera is connected to an
external power source, do not forget to define the parameters in the
'settings.txt' file.

Connecting to a computer
Drivers
Connect the micro-USB plug to the camera and the normal USB plug to your
computer. First the LED status is blue, than the LED is blinking green/yellow.
When you connect the Xanes T69 for the first time to your computer, a few
drivers will be installed :
The camera is recognized as a mass
storage device, but also a video driver, a
sound driver and even a media-player
driver will be installed. This allows you to
use your camera as a webcam.
Webcam
Note : the camera is not really intended to use as a webcam. With a maximum
recording rate of 7fps, the displayed video is a little jerky. Nevertheless you can
use it as a webcam. I suggest using the because
this software provides very good results. Connect the camera to your computer
and launch the application. Configure the settings.
'Debut Video Capture Software'
Folder structure
Note : when connected to a computer, the battery is also charging. A red blinking
LED indicates that the battery is fully charged.
Video Recordings Audio Recordings
Note : When connected to the computer, you can not record to the micro-SD
card, only within the software.
Video settings Audio settings

Resetting the camera
Resetting the camera is really simple
- Turn on the camera. Wait until the blue LED is lighting
- Take a small object like a paperclip
- Insert the paperclip into the hole below the ‘Mode button’
- The blue LED is going off, the reset is done
- Turn on again the camera for normal operations
Note : pay attention do not insert the paperclip into another hole
Software sample
www.cyanscorpion.com
Table of contents