INTRODUCTION 9
Stages of installation on the network
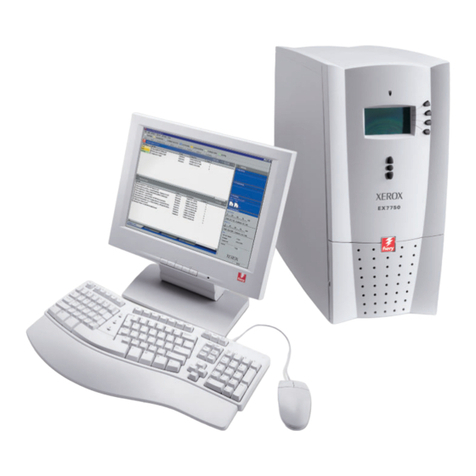
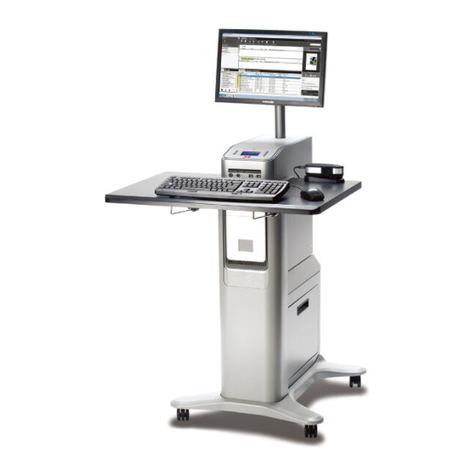
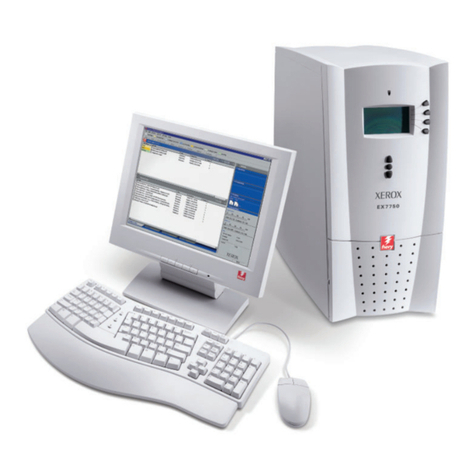
Installing the EX/i Print Server on a network requires configuring the network environment,
connecting the EX/i Print Server, preparing computers for printing, and administering the
EX/i Print Server after installation.
Configure the network and servers, and ensure that there is a live network connection before
you configure network settings in Setup. This allows the EX/i Print Server to query the
network for zones, servers, and server-based queues.
Whenever you change the configuration of the EX/i Print Server, printer, or network at your
site, alter the settings to correspond to the changed environment. Changing network or port
settings may require that you make changes to other Setup options, as well.
TOINSTALL THE EX/IPRINT SERVER ON THE NETWORK
1 Configure the network environment
Configure network servers to provide users with access to the EX/i Print Server as a network
printer. For information about configuring network servers in Windows and UNIX network
environments as they relate specifically to the EX/i Print Server, see page 16. For information
about using your network, see the documentation that accompanies your network.
2 Physically connect the EX/i Print Server to a functioning network
Prepare a network node for the EX/i Print Server. Obtain cable, route it to the location where
the EX/i Print Server is to be installed, and attach the cable to the network connector of the
EX/i Print Server. For details, see page 18.
3 Set up the EX/i Print Server
Configure the EX/i Print Server for your printing and network environment (see page 25).
4 Prepare computers for printing
Install the files needed for printing, install user software, and connect computers to the
network. The software installation is described in Printing.
