xit404 NAUTICAM User manual

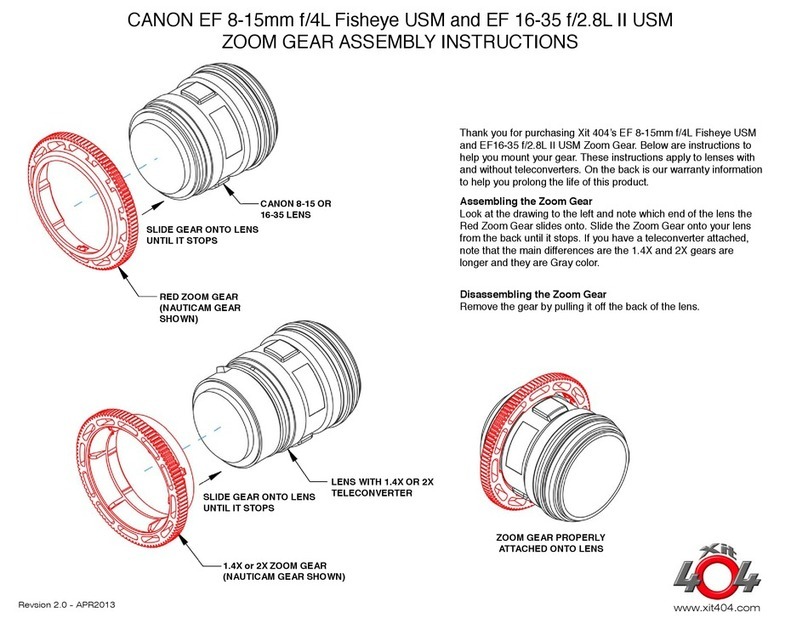
3/16” HEX KEY
1/4-20 X 5/8” SCREW
1/4” WASHERS
TRIPOD LIGHT
BRACKET
ANTI-ROTATE
PLATE
1/4-20 X 7/16”
SCREWS
HOUSING
3/16” HEX KEY
1/4-20 X 5/8” SCREW
1/4” WASHERS
TRIPOD LIGHT
BRACKET
ANTI-ROTATE
PLATE
1/4-20 X 7/16”
SCREWS
HOUSING
Revsion 2.0 - JUL2013 www.xit404.com
NAUTICAM TRIPOD LIGHT BRACKET FOR D800 & 5DMK3
MOUNTING INSTRUCTIONS
Thank you for purchasing Xit 404’s Tripod Light Bracket. Below are instructions to help you prolong the life
of your tripod light bracket. On the back is our warranty. Second sheet has a drawing that shows you how to
attach your Light and Motion battery pods.
Tripod Light Bracket Mounting Instructions
Instructions for attaching our tripod light bracket onto your housing:
1. Assemble all the parts you will need on a flat surface: your housing,the hardware mounting kit (supplied),
Tripod Bracket, corrosion inhibitor such as Lanapro or Lanocote (not included), and drawings.
2. Identify the correct mounting holes to use on the tripod bracket.
3. Attach the Anti-Rotate Plate to the bracket using the two 1/4-20 X 7/16” screws and washers first.
4. Place your housing upside down on a table.
5. Orient the Tripod Bracket so there is one Ball Adaptor on each side, and one towards the back of the
housing.
6. Align the correct mounting hole on the tripod bracket with the hole on your housing.
7. Thread the screw provided with washer on, using corrosion inhibitor on the screw threads, through the
tripod light bracket into your housing. Tighten screw with hex key provided. PLEASE TAKE CARE NOT
TO OVERTIGHTEN THIS SCREW.
IMPORTANT: You need to use corrosion inhibitor on the screw threads, (such as Lanapro or Lanocote).
Be sure to disassemble the tripod light bracket from the housing after each diving trip and clean it of any
salt buildup or corrosion.
Instructions for attaching Light & Motion battery pods onto the tripod light bracket:
1. Now that the tripod light bracket is attached to your housing you can mount the battery pods onto the tripod
light bracket. You will need a left and right-handed style Light and Motion battery pod either with connectors
or attached light heads. The battery pods need to be a minimum of 8" long, the shorter "Mini" battery pods
will not fit on this tripod light bracket.
2. Keep the housing upside down with the tripod light bracket facing up on the table.
3. You will notice a short standoff in the tripod light bracket; this is used to attach the pod locker at a later step.
4. Orient the battery pods as shown on the drawing. Slide the first battery pod, from either end, engaging the
first "T" slot then the second "T" slot. Center the pod on the tripod light bracket. Repeat for the remaining pod.
5. Drop the pod locker between the two pods and over the standoff. Orient the Pod Locker so that it touches
both pods. If it does not, then reorient the pod locker so that it does. You will notice that one side is higher
than the other so that it fits with the battery pods when mounted in a typical "SLR" orientation. Refer to the
drawings for more detail.
6. Install the screw with the washer into the pod locker and tighten down. Tighten just enough so that the
battery pods won't move. Tightening the pod locker with it in the incorrect position will damage both the Pod
Locker and the standoff in the tripod light bracket voiding your warranty. DO NOT FORCE - IF THE SCREW
DOES NOT EASILY THREAD INTO THE STANDOFF YOU HAVE THE POD LOCKER ORIENTED
INCORRECTLY.
NOTE: Battery pods are not required when using the tripod light
bracket as a tripod only.
PRODUCT CODE: TS1005NC (For D800 & 5D3)

www.xit404.com
Revsion 2.0 - JUL2013
LIGHT AND MOTION BATTERY POD MOUNTING INSTRUCTIONS
HOUSING
LIGHT & MOTION BATTERY PODS
SLIDE IN, MAKE SURE THEY ARE IN
THIS ORIENTATION
NOTE: POD LOCKER
TOUCHES PODS
NOTE: HOW ‘T’ RAIL FITS
INTO TRIPOD BRACKET
LOOKING AT END VIEW
OF PODS MOUNTED TO
TRIPOD AND HOUSING
NOTE: POD LOCKER
TOUCHES PODS
NOTE: HOW ‘T’ RAIL FITS
INTO TRIPOD BRACKET
5/32” HEX KEY
POD LOCKER KIT
10-32 X 1-3/4” SCREW
#10 FLAT WASHER
RED POD LOCKER
MOUNTED
TRIPOD
BRACKET
INSTALL PODS AS SHOWN
INSERT POD LOCKER
ALIGN THE ‘L’ WITH THIS BATTERY POD
INSTALL SCREW, IT WILL THREAD EASILY
DO NOT FORCE IT!
HOUSING
LIGHT & MOTION BATTERY PODS
SLIDE IN, MAKE SURE THEY ARE IN
NOTE: POD LOCKER
LOOKING AT END VIEW
OF PODS MOUNTED TO
TRIPOD AND HOUSING
NOTE: POD LOCKER
TOUCHES PODS
5/32” HEX KEY
POD LOCKER KIT
10-32 X 1-3/4” SCREW
#10 FLAT WASHER
RED POD LOCKER
INSTALL PODS AS SHOWN
INSERT POD LOCKER
ALIGN THE ‘L’ WITH THIS BATTERY POD
INSTALL SCREW, IT WILL THREAD EASILY
DO NOT FORCE IT!

Xit 404’S TRIPOD BRACKET MAINTENANCE AND WARRANTY
www.xit404.com
Revsion 2.0 - JUL13
Maintenance Instructions for all Xit 404 Tripod Brackets:
Proper maintenance of the Tripod Bracket and its parts will ensure a long life and is required for warranty coverage. This includes rinsing in fresh water
after each dive, removing any salt build-up when found, disassembling the tripod light bracket from the camera housing after each dive trip and cleaning
in fresh water. Use a salt remover as needed to clean any deposits.
The Ball Adaptors have been locked to the tripod light bracket using Red Locktite and should not be removed. However regularly inspect to ensure they
are tight. If they become loose then remove, clean and reapply Red Locktite (or a similar thread lock compound). Check the O-Ring for wear or cracking
and replace as needed.
We recommend liberal use of a corrosion inhibitor (such as Lanapro available from Xit 404) be applied to screw threads. Failure to use a corrosion inhibitor may
damage your camera housing.
Warranty Policy for all Tripod Brackets:
Tripod Brackets are warranted against manufacturer defects for 1 year starting from date of purchase. The warranty is non-transferrable and does not cover
failures from abuse or misuse. Warranty does not apply to O-rings and mounting hardware kits. If Xit 404 determines that the equipment was damaged due
to abuse or misuse the warranty is no longer valid. Warranty is voided if the product is not properly maintained in accordance with Xit 404 instructions. Proof
of purchase from an authorized dealer is required for all warranty claims.
A special note about corrosion
Aluminum, Stainless Steel, Brass, and other metals interact with each other to a greater or lesser degree in the presence of water. Liberal use of a corrosion
inhibitor between these metals will help minimize corrosion. Xit 404 also coats its metal parts to help minimize corrosion - this just slows it down but does not
stop it. Direct contact between these metals will cause corrosion and Xit 404 does not warrant against this effect. This can happen due to wear, chipped coatings,
scratches, or dents in the coatings caused from normal use and/or lack of a corrosion inhibitor. Through proper care and maintenance you can slow corrosion
significantly and prolong your underwater gear.
All Replacement Kits:
Product Description Product Code
Aquatica 5D Mk2 Mounting Kit TS3001AQ
Aquatica 7D Mounting Kit TS3002AQ
Nauticam Mounting Kit 1 (7D, D7000) TS3004NC
Nauticam Mounting Kit 2 (D800, 5DM3) TS3005NC
Nauticam Mounting Kit 3 (1DX, D600, D7100) TS3006NC
Ikelite Mounting Kit TS3003IK
Sea & Sea Mounting Kit TS3007SS
Subal Mounting Kit TS3008SU
Ball adaptor Kit MB000200
Ball adaptor O-ring Kit MR000100
Pod Locker Kit TS303000
Lanopro Corrosion Inhibitor Grease 1/4 oZ. SG000100
If you wish to purchase replacement kits or have any questions about your Tripod Light Bracket, please contact your local Xit 404 Dealer.
This manual suits for next models
2
Other xit404 Camera Accessories manuals

xit404
xit404 MANTA Series User manual

xit404
xit404 GC400100 User manual

xit404
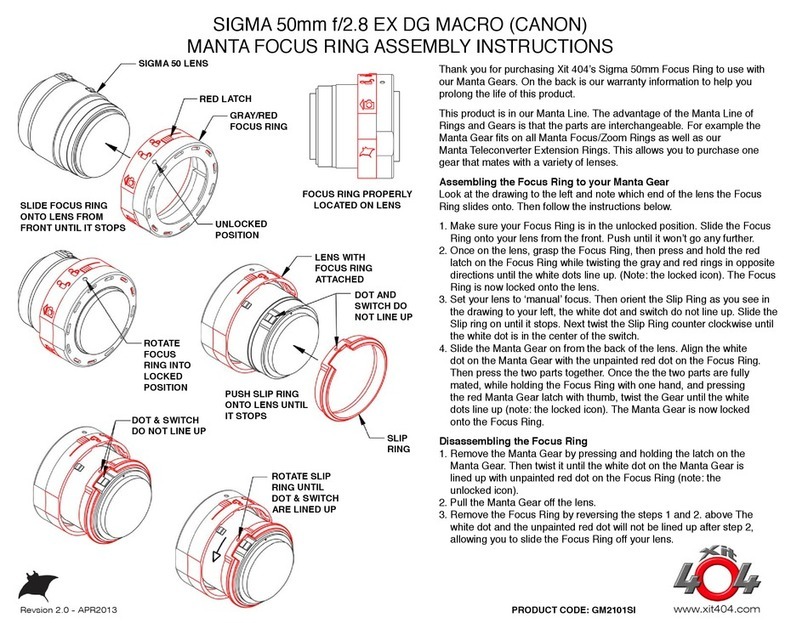
xit404 TOKINA FISHEYE10-17mm 3.5-4.5:2.8 (CANON)MANTA FOCUS... User manual

xit404
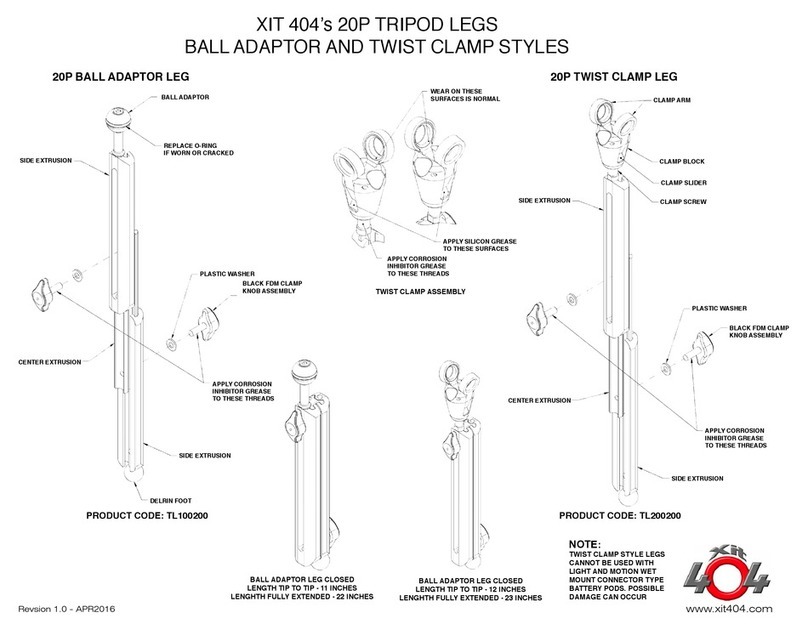
xit404 20P User manual

xit404
xit404 GC1201AQ User manual

xit404
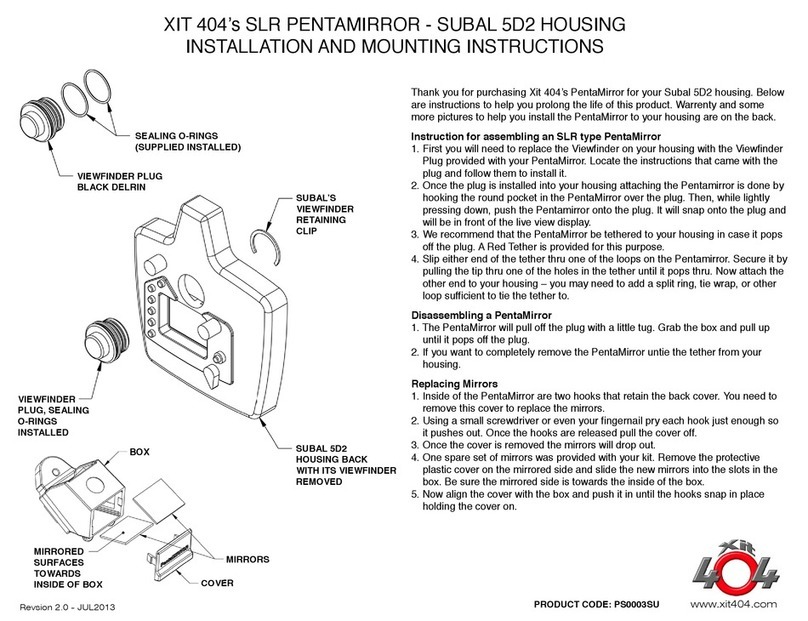
xit404 SLR PENTAMIRROR SUBAL 5D2 User manual

xit404
xit404 TV2001AQ User manual

xit404
xit404 GT210100 User manual

xit404
xit404 NIKON AF-S User manual

xit404
xit404 GC1221AQ User manual