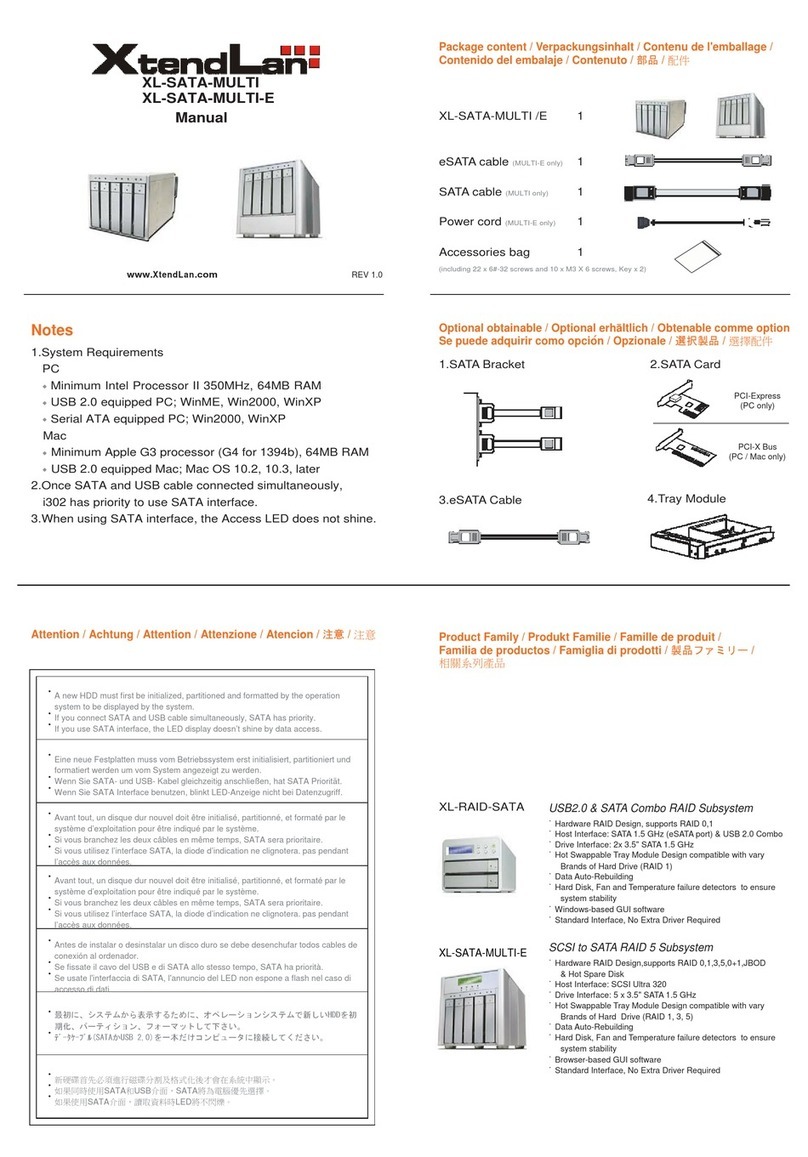
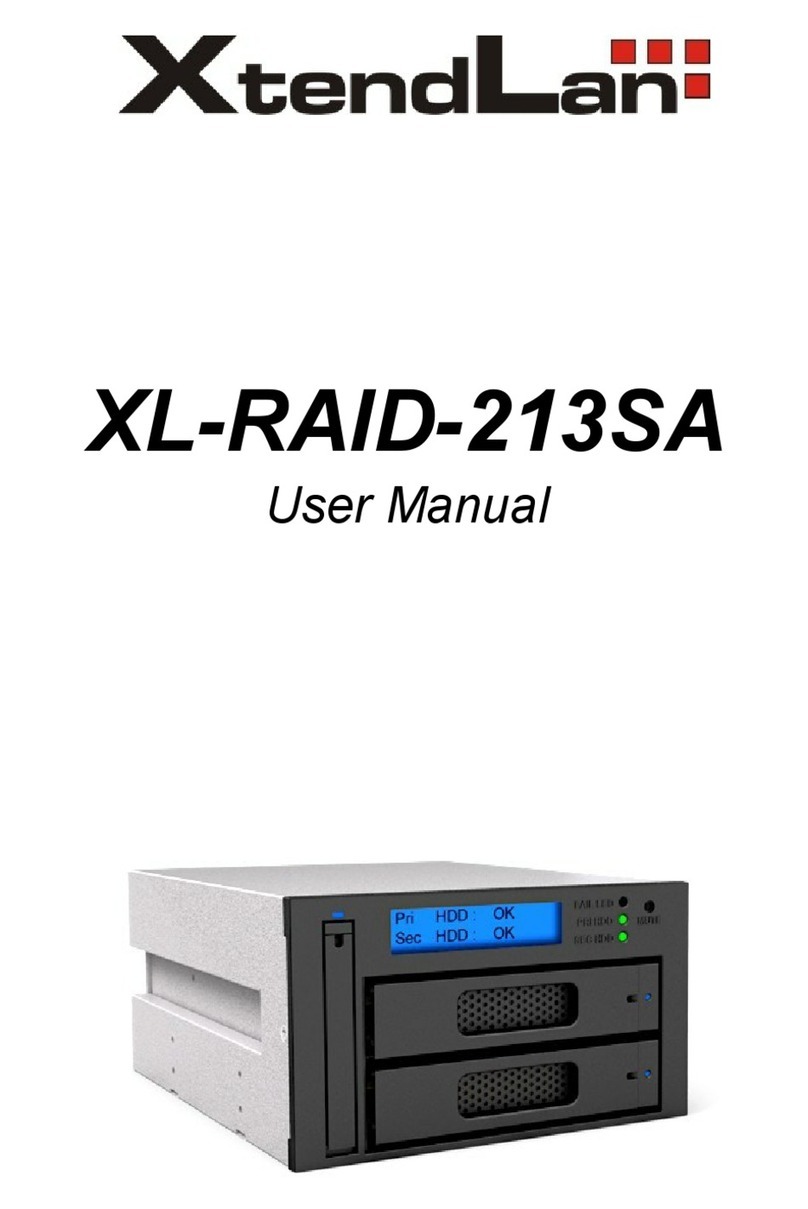
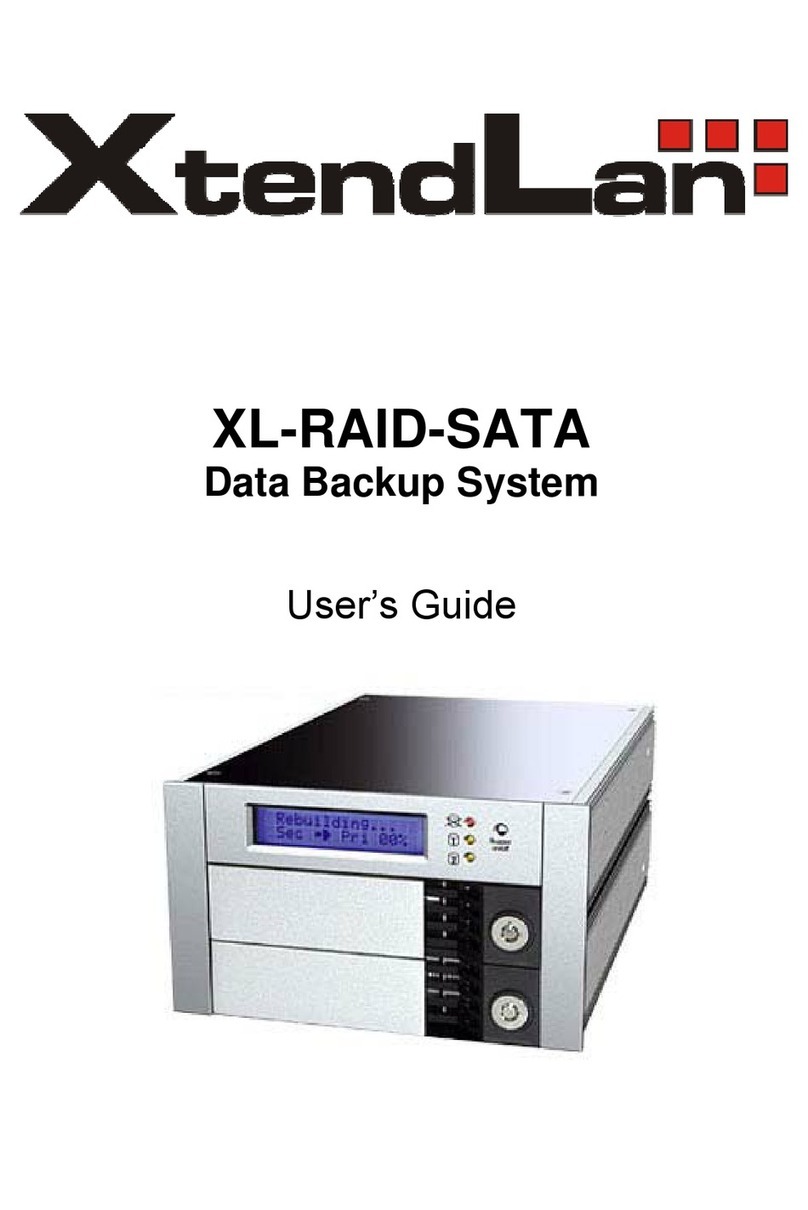
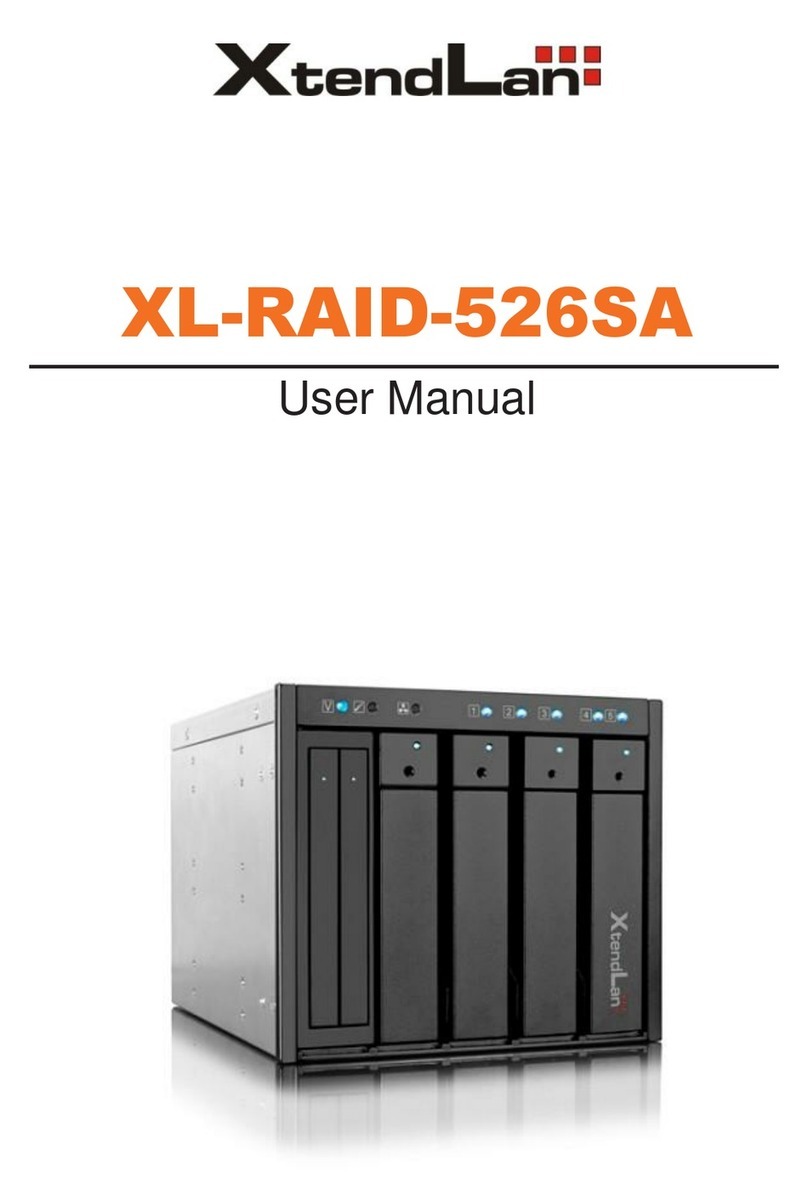
XtendLan XL-NAS-2800SS User manual

XL-NAS-2800SS
2U 8bays SAS/SATA
NAS System
User Manual
Revision 1.0

NAS System
User Manual
2
Table of Contents
Preface..................................................................................................................................... 5
Before You Begin .................................................................................................................. 6
Safety Guidelines
...........................................................................................................................................................................
6
Packaging, Shipment and Delivery
........................................................................................................................................
6
Chapter 1 Introduction...................................................................................................... 7
1.1 Key Features
..........................................................................................................................................................................
8
1.2 Technical Specifications
...................................................................................................................................................
9
Chapter 2 Installation ...................................................................................................... 10
2.1 Unpacking the NAS System........................................................................................................................................ 10
2.2 Identifying Parts of the NAS System...................................................................................................................... 11
2.2.1 Front View
..................................................................................................................................................................
11
2.2.2 Rear View
....................................................................................................................................................................
12
2.2.3 Disk Tray
.....................................................................................................................................................................
13
2.2.3.1 Disk Drive Status Indicator........................................................................................................................ 13
2.2.3.2 Lock Indicator.................................................................................................................................................. 14
2.2.4 LCD Panel
...................................................................................................................................................................
14
2.2.5 LCD Menu Diagram
...............................................................................................................................................
15
2.3 Getting Started with the NAS System
...................................................................................................................
16
2.3.1 NAS Hardware Setup
............................................................................................................................................
16
2.3.2 Installing Hard Drives
...........................................................................................................................................
16
2.3.3 Connecting to NAS Management GUI
.........................................................................................................
18
2.3.4 Quick Setup
...............................................................................................................................................................
20
2.4 Overview of the NAS Setup Phases........................................................................................................................ 24
Chapter 3 proNAS Manager........................................................................................... 25
3.1 Storage/Share
................................................................................................................................................................
25
3.1.1 RAID / Disk Information
......................................................................................................................................
25
3.1.1.1 Create New RAID and Join Disk to Storage Pool
..........................................................................
27
3.1.1.2 Set a Spare Disk
.............................................................................................................................................
32
3.1.2 Volume
........................................................................................................................................................................
33

NAS System
User Manual
3
3.1.2.1 Join a Disk to Storage Pool...................................................................................................................... 34
3.1.2.2 Create a Volume
............................................................................................................................................
35
3.1.2.3 Delete a Volume
............................................................................................................................................
37
3.1.2.4 Extend a Volume Capacity
........................................................................................................................
38
3.1.2.5 Setup Volume as iSCSI Target................................................................................................................. 39
3.1.2.6 Disable iSCSI Configuration in a Volume........................................................................................... 42
3.1.2.7 Remove iSCSI Configuration and Restore to NAS Volume....................................................... 43
3.1.3 Share/Security
..........................................................................................................................................................
45
3.1.3.1 Create New Share Folder........................................................................................................................... 46
3.1.3.2 Assign Permission to Share
......................................................................................................................
51
3.1.3.3 Edit Share Folder
...........................................................................................................................................
54
3.1.3.4 Delete Share Folder...................................................................................................................................... 55
3.2 Network
............................................................................................................................................................................
56
3.2.1 Device Configuration
............................................................................................................................................
56
3.2.1.1 Configure Network Trunking
...................................................................................................................
58
3.2.1.2 Cancel Network Trunking
..........................................................................................................................
61
3.2.2 ADS/NIS
......................................................................................................................................................................
62
3.2.2.1 Join NAS to Windows AD Domain........................................................................................................ 63
3.2.2.2 Join NAS to NIS Domain
...........................................................................................................................
66
3.2.3 DHCP (Internet Gateway)
....................................................................................................................................
67
3.2.4 P2P
.................................................................................................................................................................................
68
3.2.4.1 Status
...................................................................................................................................................................
69
3.2.4.2 Server
..................................................................................................................................................................
70
3.2.4.3 Options............................................................................................................................................................... 71
3.2.4.4 Shares.................................................................................................................................................................. 72
3.2.4.5 Example of Download from Link and Torrent
.................................................................................
73
3.3 System............................................................................................................................................................................... 77
3.3.1 System Information
...............................................................................................................................................
77
3.3.2 Service.......................................................................................................................................................................... 79
3.3.2.1 Photo
...................................................................................................................................................................
85
3.3.3 Miscellaneous (Time and Serial Port)............................................................................................................ 89
3.3.4 Boot/Shutdown........................................................................................................................................................ 91
3.3.5 Upgrade
......................................................................................................................................................................
94
3.3.5.1 Remote Upgrade
...........................................................................................................................................
94
3.3.5.2 Local Upgrade................................................................................................................................................. 95
3.3.6 Log
.................................................................................................................................................................................
96
3.3.7 Notification
................................................................................................................................................................
97
NAS System
User Manual
4
3.3.7.1 Event Option.................................................................................................................................................... 97
3.3.7.2 Email Setting.................................................................................................................................................... 98
3.3.8 System Tools
.............................................................................................................................................................
99
3.4 Account
...........................................................................................................................................................................
104
3.4.1 Account
.....................................................................................................................................................................
104
3.4.1.1 Create Account
.............................................................................................................................................
105
3.4.1.2 Delete Account
.............................................................................................................................................
106
3.4.1.3 Edit Account
...................................................................................................................................................
107
3.4.1.4 Import Account.......................................
......................................................................................................
108
3.4.2 Group
.........................................................................................................................................................................
109
3.4.2.1 Create Group
.................................................................................................................................................
110
3.4.2.2 Delete Group
.................................................................................................................................................
111
3.4.2.3 Edit Group
.......................................................................................................................................................
112
3.5 Data Backup
.................................................................................................................................................................
113
3.5.1 Backup List
...............................................................................................................................................................
113
3.5.1.1 Create Backup Plan
.....................................................................................................................................
114
3.5.1.2 Create Immediate Backup
.......................................................................................................................118
3.5.1.3 Delete Backup Plan
.....................................................................................................................................
119
3.5.1.4 Edit Backup Plan
..........................................................................................................................................
119
3.5.1.5 Delete a Backup Log
..................................................................................................................................
120
3.5.1.6 Restore a Backup
.........................................................................................................................................
120
3.5.2 Schedule
....................................................................................................................................................................
121
3.5.2.1 Setup Scheduled Backup Task
..............................................................................................................122
3.5.2.2 Edit Scheduled Backup Task
...................................................................................................................
123

NAS System
User Manual
5
Preface
About this manual
This manual provides information regarding the quick installation and hardware features
of the NAS system. This document also describes how to use the storage management
software. Information contained in the manual has been reviewed for accuracy, but not
for product warranty because of the various environment/OS/settings. Information and
specifications will be changed without further notice.
This manual uses section numbering for every topics being discussed for easy and
convenient way of finding information in accordance with the user’s needs. The following
icons are being used for some details and information to be considered in going through
with this manual:
NOTES:
These are notes that contain useful information and tips
that the user must give attention to in going through with
the subsystem operation.
IMPORTANT!
These are the important information that the user must
remember.
WARNING!
These are the warnings that the user must follow to avoid
unnecessary errors and bodily injury during hardware and
software operation of the subsystem.
CAUTION:
These are the cautions that user must be aware of to
prevent damage to the equipment and its components.
Copyright
No part of this publication may be reproduced, stored in a retrieval system, or
transmitted in any form or by any means, electronic, mechanical, photocopying,
recording or otherwise, without the prior written consent.
Trademarks
All products and trade names used in this document are trademarks or registered
trademarks of their respective owners.
Changes
The material in this document is for information only and is subject to change without
notice.
NOTE: Some screen shots may differ from actual NAS system model.

NAS System
User Manual
6
Before You Begin
Before going through with this manual, you should read and focus to the following safety
guidelines. Notes about the subsystem product packaging and delivery are also included.
Safety Guidelines
To provide reasonable protection against any harm on the part of the user and to obtain
maximum performance, user is advised to be aware of the following safety guidelines
particularly in handling hardware components:
Upon receiving of the product:
™ Place the product in its proper location.
™ To avoid unnecessary dropping out, make sure that somebody is around for
immediate assistance.
™ It should be handled with care to avoid dropping that may cause damage to the
product. Always use the correct lifting procedures.
Upon installing of the product:
™ Ambient temperature is very important for the installation site. It must not exceed
30°C. Due to seasonal climate changes; regulate the installation site temperature
making it not to exceed the allowed ambient temperature.
™ Before plugging-in any power cords, cables and connectors, make sure that the
power switches are turned off. Disconnect first any power connection if the power
supply module is being removed from the enclosure.
™ Outlets must be accessible to the equipment.
™ All external connections should be made using shielded cables and as much as
possible should not be performed by bare hand. Using anti-static hand gloves is
recommended.
™ In installing components, secure all the mounting screws and locks. Make sure that
all screws are fully tightened. Follow correctly all the listed procedures in this manual
for reliable performance.
Packaging, Shipment and Delivery
™Before removing the subsystem from the shipping carton, you should visually inspect
the physical condition of the shipping carton.
™ Unpack and verify that the contents of the shipping carton are complete and in good
condition.
™ Exterior damage to the shipping carton may indicate that the contents of the carton
are damaged.
™ If any damage is found, do not remove the components; contact the dealer where
you purchased the subsystem for further instructions.

NAS System
User Manual
7
Chapter 1 Introduction
The NAS System
Storage networks become more and more complex. If you need to easily expand storage
capacity while providing uninterrupted high-performance data access across your LAN, you
may want to consider a NAS (Network Attached Storage) appliance. When budgets are tight
and a quick fix is required, a NAS appliance is a low-cost, efficient solution to dodge that
network-to-storage logjam. That's why more and more users select NAS architecture as
their storage networking.
The SAS/SATA NAS System is a reliable, cost-effective way to add storage to the network.
It comes with 8 drive trays accommodating 3.5" SAS/SATA drives while SCA II single
connector architecture enables true hot swap capability. Built-in Intel Celeron 1.6G CPU (or
above), up to 4GB DDR2-667MHz SDRAM and two Gigabit Ethernet ports offers high
performance NAS platform. Linux based embedded OS design within Disk on Module for
guarantee reliability and boot quickly. The NAS System is managed and configured by Flex /
Ruby browser based software, including pre-configure disk capacity, users setting, volume
management, quick installed on popular network platform, Multi-protocol support, etc. It is
equipped with RAID function to offer fault tolerant data protection. It is a full featured data
protection system supporting RAID levels 0, 1, 5, 6, 10, and Linear (JBOD).

NAS System
User Manual
8
1.1 Key Features
™Configurable to 19” rack-mountable 2U chassis
™ Supports up to Eight (8) 1” hot-swappable SAS/SATA hard drives
™ Supports RAID levels 0, 1, 5, 6, 10, and Linear (JBOD)
™ Smart-function LCD panel for RAID setting & status (Option)
™ Supports hot spare and automatic hot rebuild
™ Linux based embedded OS design
™ Provides file access services to multiple users over the LAN, the intranet and / or the
internet
™ Multi protocol support (TCP / IP, DHCP, Apple Talk, Mac zone, SMB, NFS, CIFS, AFP
over TCP / IP)

NAS System
User Manual
9
1.2 Technical Specifications
Hardware Platform
ƒIntel Celeron 1.6G CPU (or
above)
ƒCache memory: 1GB ~ 4GB
DDR2-667MHz
ƒSupports 8 SAS/SATA hard
drives
ƒTwo Gigabit Ethernet port
ƒEnvironmental monitoring
unit
Macintosh Support
ƒAFP over AppleTalk
ƒAFP over TCP/IP
ƒMac Zone
ƒiTunes service
Storage
ƒEquipped with software RAID
function to offer fault tolerant
data protection
ƒSupports RAID levels 0, 1, 5,
6, 10, Linear
ƒVolume Management
ƒDisk usage statistics
ƒHot spare capability
Connectivity
ƒSMB over TCP / IP
ƒNFS over UDP / IP
ƒCIFS over TCP / IP
ƒNAT
ƒDHCP
ƒFTP
ƒInternet Server
ƒUnit acts as a DHCP server
ƒUnit act as a master browser
ƒShare level security
ƒUser ID security for NFS
General
ƒSupports Volume as iSCSI
Target
ƒFile Server Independent
ƒLocalized language support
ƒWith Quick Setup function
ƒSupports trunking / load
balance / fail over /
LACP(802.3ad)
ƒSupport UPS management
ƒSupports USB print server
ƒSupport BT download
ƒSupport U-Share
System Management
ƒWindows and Macintosh
Client Discover Utility Tool
ƒAutomatic IP address
configuration
ƒManagement through Web
browser
ƒFlash upgradeable unit
ƒSupports Microsoft ADS/PDC
and Unix NIS accounts import
ƒFail-free online firmware
upgrade
ƒUnicode support
Backup / Restore Support
ƒBackup Solution
Power Requirements
ƒTwo (2) 400W PSU with PFC
ƒ100V ~ 240V AC Full Range
(50/60Hz)
Environmental
Relative Humidity: 10% ~ 85%
Non-condensing
Operating Temp: 10°C ~ 40°C
(5O°F ~ 104°F)
Physical Dimensions
88 (H) x 482 (W) x 500 (D)

NAS System
User Manual
10
Chapter 2 Installation
2.1 Unpacking the NAS System
The package contains the following items:
• System unit
• Two power cords
• Two Ethernet LAN cables
• Installation Reference Guide
If any of these items are missing or damaged, please contact your dealer or sales
representative for assistance.

NAS System
User Manual
11
2.2 Identifying Parts of the NAS System
The illustrations below identify the various parts of the NAS system.
2.2.1 Front View
Power LED – LED is green when the NAS system in on.
Fan1, Fan2 Fault LED – LED is red when Fan1 or Fan2 fails.
Power On/Off Switch – Use this switch to power on or power off the NAS system.

NAS System
User Manual
12
2.2.2 Rear View
LAN0, LAN1 – The NAS system has 2 Ethernet Gigabit LAN ports.
Power Supply – The NAS system has 2 power supplies.
AC Power Input Socket – This is where the power cord is connected.
Power On/Fail LED – Shows the status of the power supply. A green LED means power
supply works fine. LED is off when power supply is not working or failed.
Mute Alarm – Use this button to mute the power supply alarm buzzer. The buzzer will
alarm when a power supply fails.
COM1 – The NAS system has one serial port.

NAS System
User Manual
13
2.2.3 Disk Tray
The Disk Tray houses a 3.5 inch hard disk drive. It is designed for maximum airflow
and incorporates a carrier locking mechanism to prevent unauthorized access to the
HDD.
2.2.3.1 Disk Drive Status Indicator
Every Disk Tray has 2 status indicator lights. The Disk Status Indicator light is for
Power On/Error status. When this light is GREEN the disk drive’s power is on and
everything is functioning normally. When the light is RED, a disk error or failure has
happened that requires the user’s attention. When disk is in rebuilding status, the LED
is blinking RED.
The other status indicator light is the hard disk drive access light. Access LED will light
up blue if the SAS HD is installed. Access LED will not light up if the SATA HD is
installed. When the hard disk drive is being accessed, this light will flash BLUE.
In addition, both indicator lights are viewable within a 170° arc.
Status Light
Indicator
Disk
Activity
Indicator
Disk Status
Indicator

NAS System
User Manual
14
2.2.3.2 Lock Indicator
Every Disk Tray is lockable and is fitted with a lock indicator to indicate whether or not
the disk tray is locked into the chassis. Each tray is also fitted with an ergonomic
handle for easy carrier removal.
Drive Carrier
is Unlocked
Drive
Carrier is
locked
2.2.4 LCD Panel
Parts
Function
Power LED
Green LED indicates power is on.
Up and Down
Arrow buttons
Use the Up or Down arrow keys to go through
the information on the LCD screen. This is also
used to move between each menu.
Select button
This is used to enter the option you have
selected.
Exit button EXIT
Press this button to return to the previous menu.

NAS System
User Manual
15
2.2.5 LCD Menu Diagram
Disk Status Information:
S 001 - means slot number 1
*O* - means disk drive in slot is Online or detected
*X* - means no disk drive in slot or disk drive not detected
*R* - means the disk drive is rebuilding
*F* - means the disk drive is failed

NAS System
User Manual
16
2.3 Getting Started with the NAS System
2.3.1 NAS Hardware Setup
1. Attach network cable to LAN0 Ethernet port. Connect the other end of network cable
to your network hub or switch. You may also connect the other Ethernet ports if
needed.
2. Plug in the power cord into the AC Power Input Socket located at the rear of the
subsystem.
3. To turn on the NAS, press the Power On/Off Switch.
4. The Power LED on the front panel will turn green.
2.3.2 Installing Hard Drives
This section describes the location of the hard drives in the NAS system and gives
instructions on installing a hard drive. The system supports hot-swapping allowing you
to install or replace a hard drive while the system is running.
a. Make sure the lock indicator is in unlocked position. To pull out a disk tray, press
the Lock Indicator Button. Pull the handle outwards to remove the disk tray from
the enclosure.
b. Place the hard drive in the disk tray. Make sure the holes of the disk tray align with
the holes of the hard drive.

NAS System
User Manual
17
c. Install the mounting screws on the bottom part to secure the drive in the disk tray.
d. Slide the tray into a slot and push the Lock Indicator Button.
e. Press the handle until you hear the latch click into place. The HDD status LED will
turn green if subsystem is on.

NAS System
User Manual
18
2.3.3 Connecting to NAS Management GUI
1. Setup network setting of your host system (computer that will be used to manage
the NAS) to enable connection to NAS default IP 172.16.0.1. Refer to Table below.
2. Open web browser and type in the address bar http://172.16.0.1:3000.
3. The proNAS Login Page will be displayed.
4. Enter the Login Name account and Password. Refer to the default settings in the
table below.
Entity
Default Value
LAN0 (eth0) IP address
172.16.0.1
TCP port
3000
Net Mask
255.255.0.0
Hostname
NAS
Login Name
admin
Password
00000000
NAS Default Settings
NOTE: When the system initially has no NAS configuration (Unit is
new and drives have just been used and inserted in the disk slots),
after login to GUI, the Quick Setup option will be displayed.

NAS System
User Manual
19
5. A warning message will be displayed. Select “Yes” to configure the NAS for the first
time using Quick Setup (see next Section how to configure with Quick Setup).
6. If you select “No” in the message shown in item #5 (no existing NAS configuration,
or NAS system has been configured already, after login, the proNAS Manager GUI
will be displayed.
NOTE: Enable Timeout is enabled by default. When there is no
activity in the proNAS Manager GUI, admin will be automatically
logged out after 15 minutes. To disable timeout, remove check mark
in Enable Timeout.
NOTE: The Language options supports: English, Chinese, Japanese,
Korean, and Spanish.

NAS System
User Manual
20
2.3.4 Quick Setup
The Quick Setup provides a quick and easy way to setup the basic NAS
configuration. This function will create the NASVG, which is a Volume
Group that holds the NAS configurations and must be created or
initialized the first time the NAS is used. The Quick Setup will make
use of all available disk drives in the NAS.
The Quick Setup options are listed below:
1. RAID
This is used for selecting the RAID Level.
2. Storage/Share
This shows the default Home share capacity which can be changed. It also shows
default share named “share” which can be renamed and whose size can be changed.
3. Network Adapter
This is for configuring the primary Ethernet interface LAN0 (eth0) network settings.
After changing the settings, admin need to login using the new IP address.
4. Service
This is for enabling the basic file sharing Services provided by proNAS. Windows
(Samba) service is enabled by default.
The Quick Setup Steps:
1. Configure the software RAID by selecting the RAID Level.
The RAID Level options are:
(a) Max. Capacity (RAID0)
(b) Clone Data (RAID1)
(c) Max. Security (RAID5)
Without initializing – This will create the Raid storage device without
initialization.
Table of contents
Other XtendLan Storage manuals

XtendLan
XtendLan XL-RAID-4300ESFU User manual

XtendLan
XtendLan XL-RAID-SATA2 User manual

XtendLan
XtendLan XL-NAS-500SA Operator's manual

XtendLan
XtendLan XL-RAID4-USB3 User manual

XtendLan
XtendLan XL-RAID133v2 User manual

XtendLan
XtendLan XL-RAID-SATA-USB User manual

XtendLan
XtendLan XL-RAID-526SA User manual

XtendLan
XtendLan xl-raid-2804issa Manual

XtendLan
XtendLan XL-RAID-2123ISSA User manual

XtendLan
XtendLan XL-RAID-SATA User manual