manuals.online logo
Brands
  1. Home
  2. •
  3. Brands
  4. •
  5. Xtreme Garage
  6. •
  7. Garage Door Opener
  8. •
  9. Xtreme Garage 425-1671 User manual

Xtreme Garage 425-1671 User manual

Master Link Set
(Including 1x spare set)
x 2
x 1
End Segment with Trolley Stop Bolt (53-1/5 inch)
Extended Chain Segment (approx. 40-4/5 inch)
Kit Inventory
x 1
Components Required from Opener Inventory
End Segment with Trolley Stop Bolt
(53-1/5 inch)
Header Segment (53-1/5 inch)
WARNING
- Discard all FIVE of the original rail segment.
- ONLY 3 pieces of extended rail segment should be applied. NEVER connect extra rail segments.
- The opener only services door to max. of 10 FT. height. Door, with other size please call service before installation.
STEP 1. To Assemble Rail with “Extended Middle Segment”
Middle Segment (53-1/5 inch)
GARAGE DOOR OPENER EXTENSION KIT
MODEL: 425-1671
WARNING
To prevent SERIOUS INJURY or DEATH:
- DO NOT connect power until instructed.
- CLOSE the door before installation.
Extended Cable
(approx. 144-1/2 inch)
x 1
Chain Trolley Shaft
and Cable
Please refer to “Rail and Trolley Assembly” in Owner’s Manual.
Trolley
1
Rail — Header Segment
Rail — Middle Segment
Rail — End Segment with Trolley Stop Bolt
www.gdohelp.com
1-877-GDO-4402
1-877-436-4402
2301 Traffic St NE
Minneapolis, MN 55413
Discard all 5 segments from original opener
x 1
Middle Segment (53-1/5 inch)
x 1
Header Segment (53-1/5 inch)
Step 2. Extending the Chain
2
2. To Connect “Extended Chain Segment” to Chain
Connect the “Extended Chain Segment” between
the “Chain-to-Cable Connector” and the original
chain by using two master link sets.
Original chain pack
Chain-to-Cable Connector
Extended Chain Segment (40 - 4/5 inch)
Replace the original cable with the “Extended Cable”
I. Disconnect the “Trolley Shaft” from
the original cable by removing the
master link.
Discard the original cable.
Original Trolley Shaft and Ca-
ble from Opener inventory
Original cable
(to be discarded)
II. Align the “Trolley Shaft” to one of
the eyelets of the “Extended
Cable”, connect them together
using the master link set.
1. To Disconnect “Chain to Cable Connector” from the Original Chain
Disconnect the “Chain to Cable
Connector” from the original chain by
removing the master link.
Keep all the hardware in this step.
Original chain pack
Chain-to-Cable Connector
Master link
Step 3. Extending the Cable
I
II
Cable eyelet from
Extended Cable
(121-1/2 inch)
The Rail Assembly Extension has now been finished.
The Rail Assembly consists of 3 pieces of extended rail segments, chain segment and cable with eyelets.
ALL 5 pieces of original rail segment and original cable are discarded.
Please proceed installation of opener starting with “Rail and Trolley Assembly” in Owner’s Manual.
Step 4. Proceeding with Installation of Opener
REV 1406

Other Xtreme Garage Garage Door Opener manuals

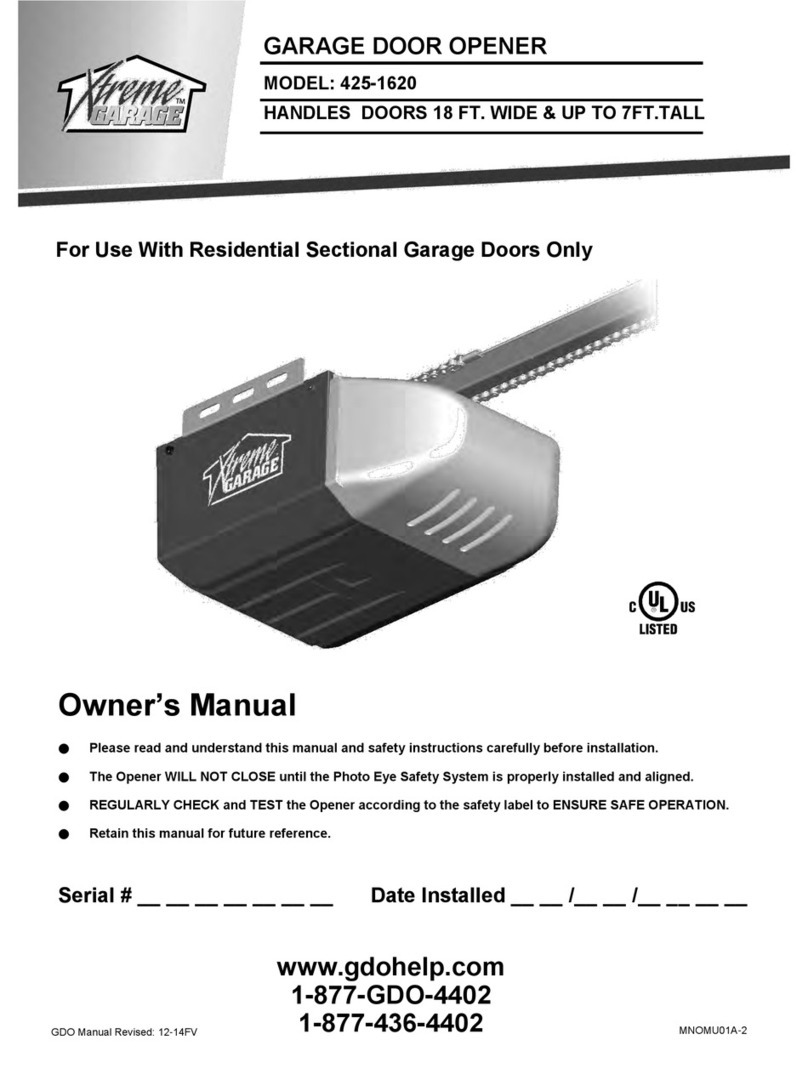
Xtreme Garage 425-1620 User manual

Xtreme Garage

Xtreme Garage 425-1620 User manual

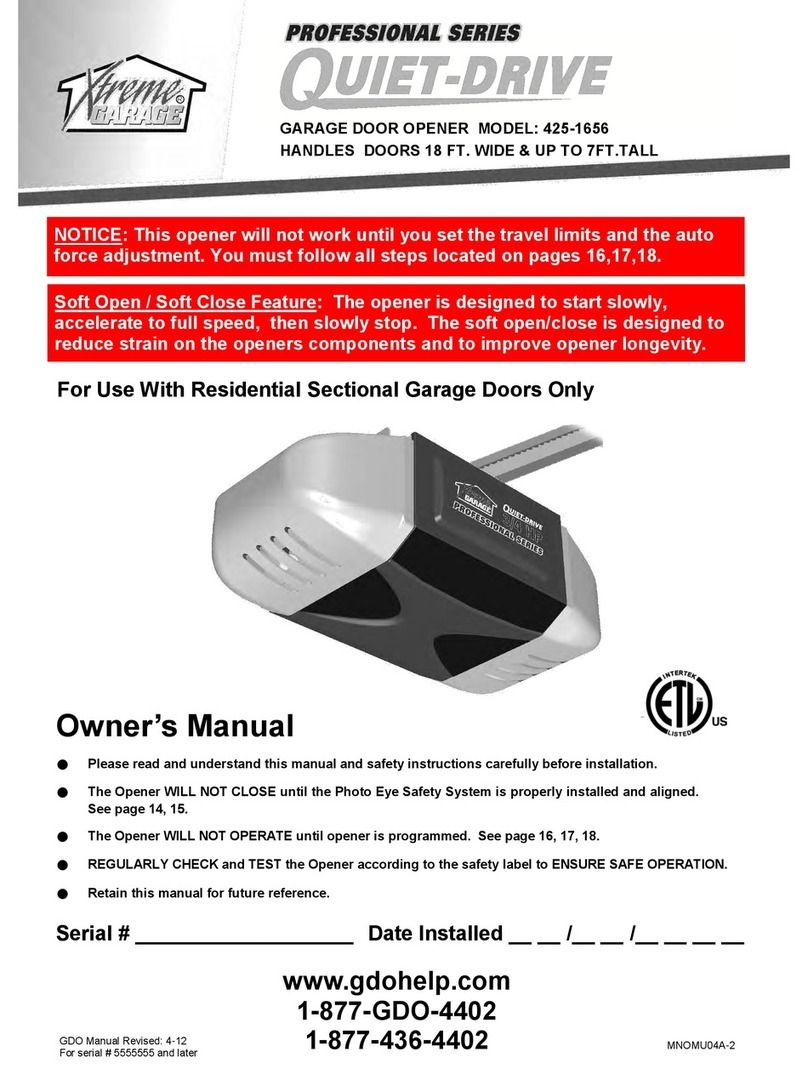
Xtreme Garage Quiet-Drive 425-1656 User manual

Xtreme Garage

Xtreme Garage Quiet-Drive 425-1656 User manual

Xtreme Garage 425-1605 User manual

Xtreme Garage

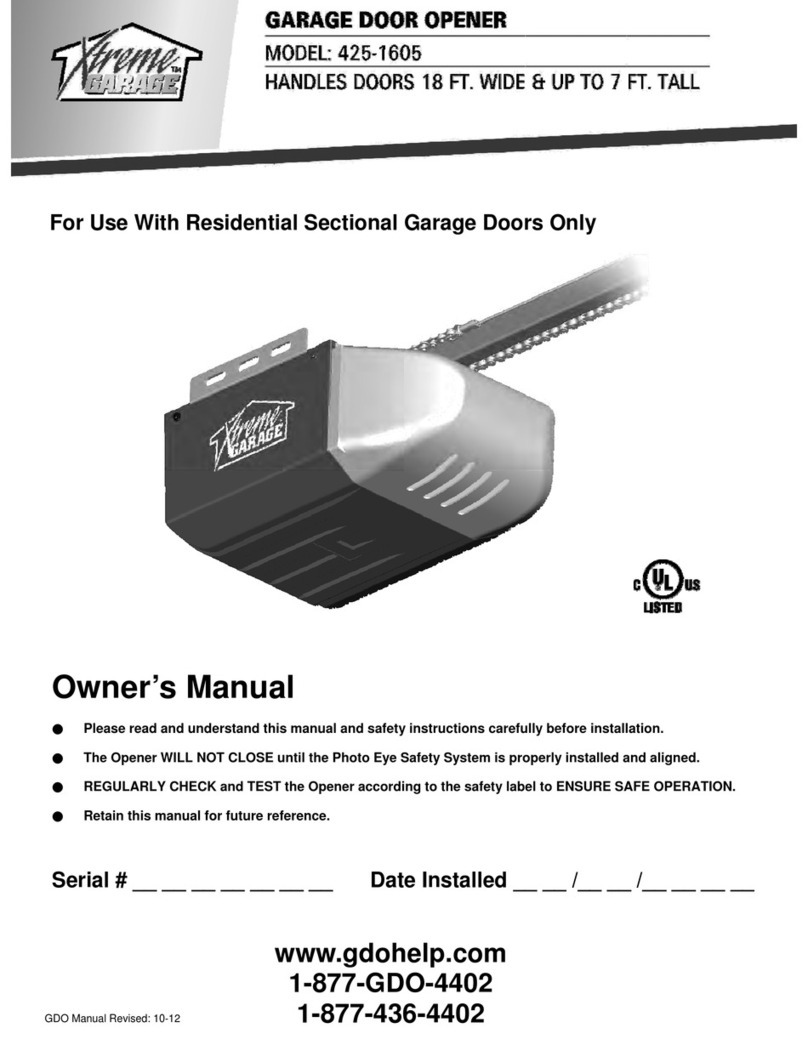
Xtreme Garage 425-1605 User manual

Xtreme Garage 425-1600 User manual

Xtreme Garage

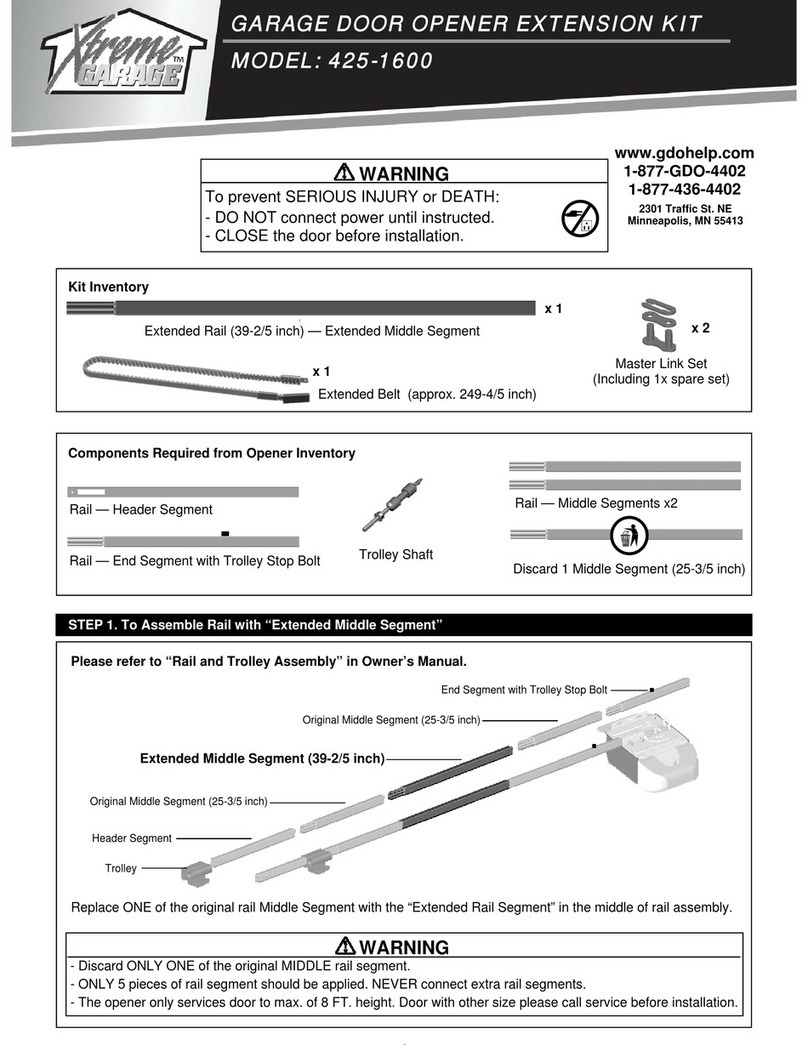
Xtreme Garage 425-1600 User manual

Popular Garage Door Opener manuals by other brands

ATA GDO-6 EasyRoller instruction manual

ATA

ATA GDO-6 EasyRoller instruction manual

CAME F4000 Series installation manual

CAME

CAME F4000 Series installation manual

Garaga SECURITY+ 3265GCM 1HP owner's manual

Garaga

Garaga SECURITY+ 3265GCM 1HP owner's manual

Chamberlain Whisper Drive SECURITY+ WD822K Series owner's manual

Chamberlain

Chamberlain Whisper Drive SECURITY+ WD822K Series owner's manual

Chase Doors DuraShield installation manual

Chase Doors

Chase Doors DuraShield installation manual

CSI Classic installation instructions

CSI

CSI Classic installation instructions

Chamberlain Elite 3575S owner's manual

Chamberlain

Chamberlain Elite 3575S owner's manual

Richmond GTR156 user manual

Richmond

Richmond GTR156 user manual

B&D Controll-A-Door 5 instruction manual

B&D

B&D Controll-A-Door 5 instruction manual

Chamberlain MyQ 940ESTD owner's manual

Chamberlain

Chamberlain MyQ 940ESTD owner's manual

Automatic Technology GDO-9V1 SecuraLift installation instructions

Automatic Technology

Automatic Technology GDO-9V1 SecuraLift installation instructions

Westfalia 19 36 07 instruction manual

Westfalia

Westfalia 19 36 07 instruction manual

Chamberlain HD520EVP manual

Chamberlain

Chamberlain HD520EVP manual

Cardin BL Series instruction manual

Cardin

Cardin BL Series instruction manual

Chamberlain 8355 - 1/2 hp installation instructions

Chamberlain

Chamberlain 8355 - 1/2 hp installation instructions

Bauer CROSS18 Application. Installation and Maintenance Manual

Bauer

Bauer CROSS18 Application. Installation and Maintenance Manual

Dorma ES 90 manual

Dorma

Dorma ES 90 manual

Wayne-Dalton 8124 Installation instructions and owner's manual
Wayne-Dalton

Wayne-Dalton 8124 Installation instructions and owner's manual
manuals.online logo
manuals.online logoBrands
  • About & Mission
  • Contact us
  • Privacy Policy
  • Terms and Conditions

Copyright 2025 Manuals.Online. All Rights Reserved.