29
Table Of Contents
1. Before you start............................................................................................................. 1
1.1 Overview......................................................................................................................................1
1.2 Getting started ............................................................................................................................1
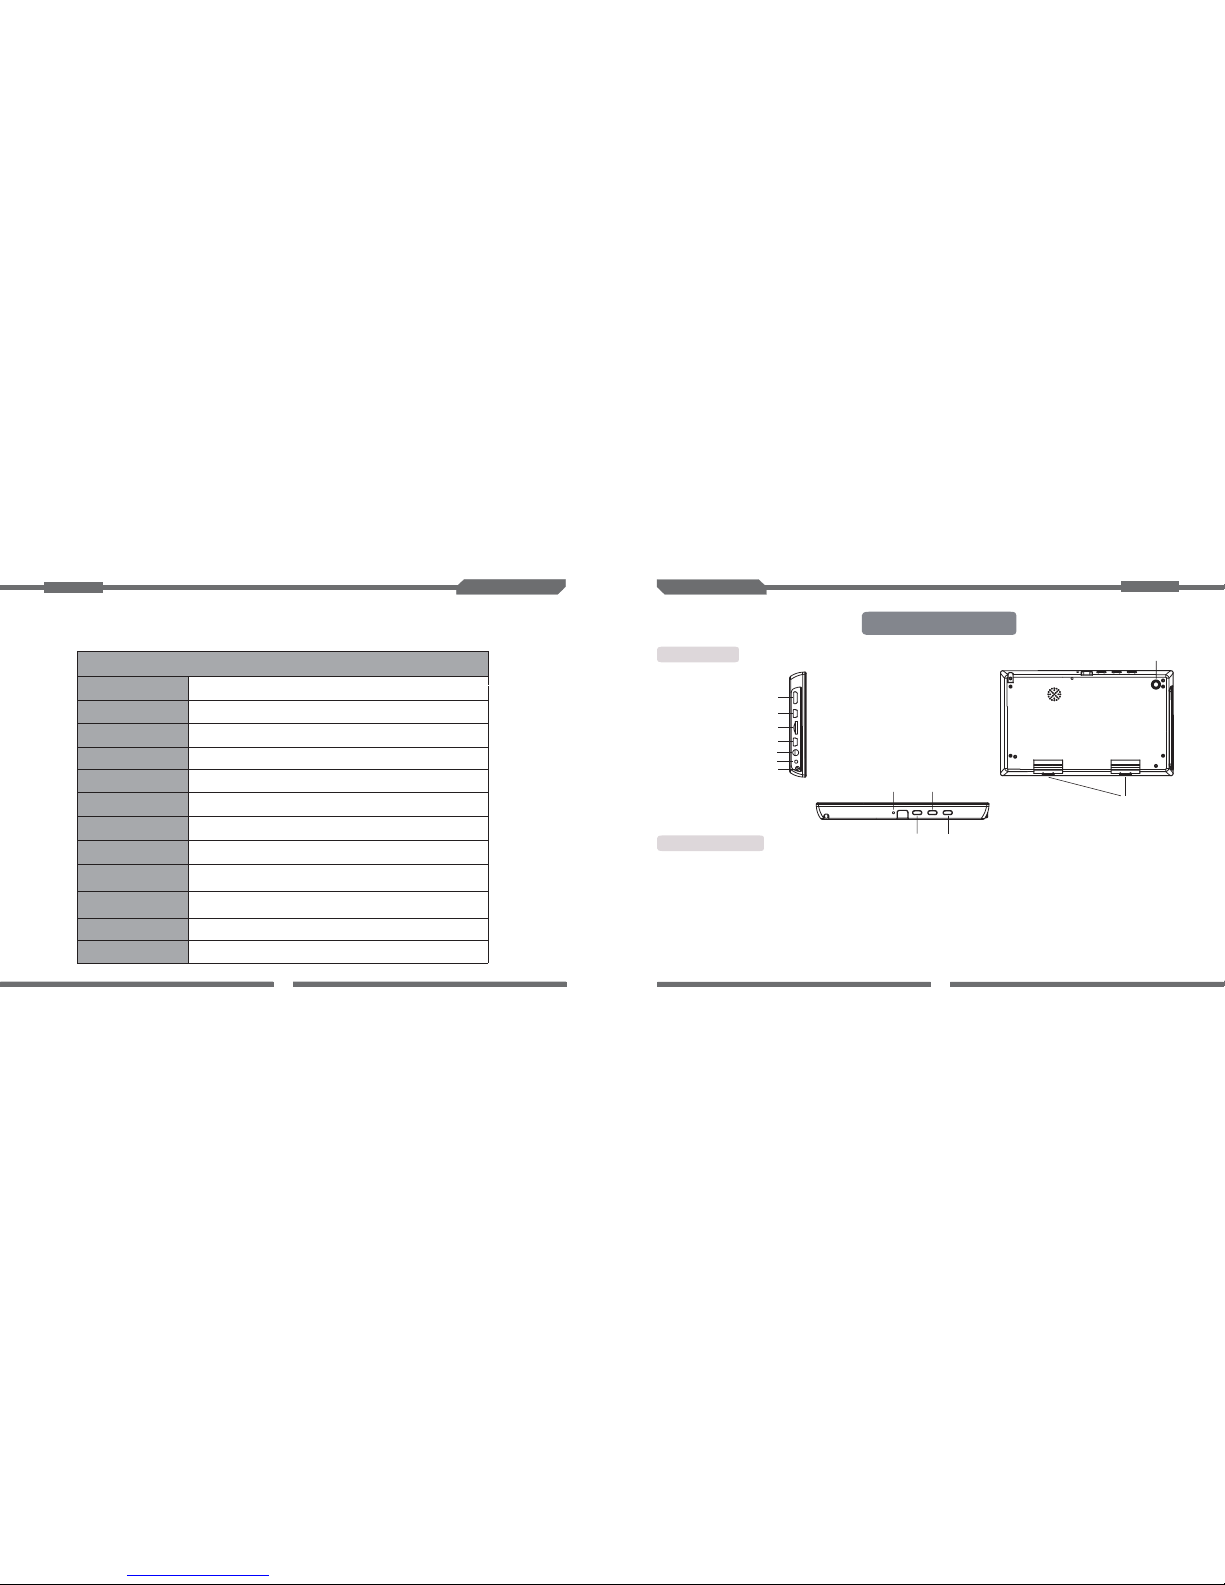
1.2.1 Buttons ...........................................................................................................................1
1.2.2 Battery ............................................................................................................................2
1.2.3 SD Card ..........................................................................................................................2
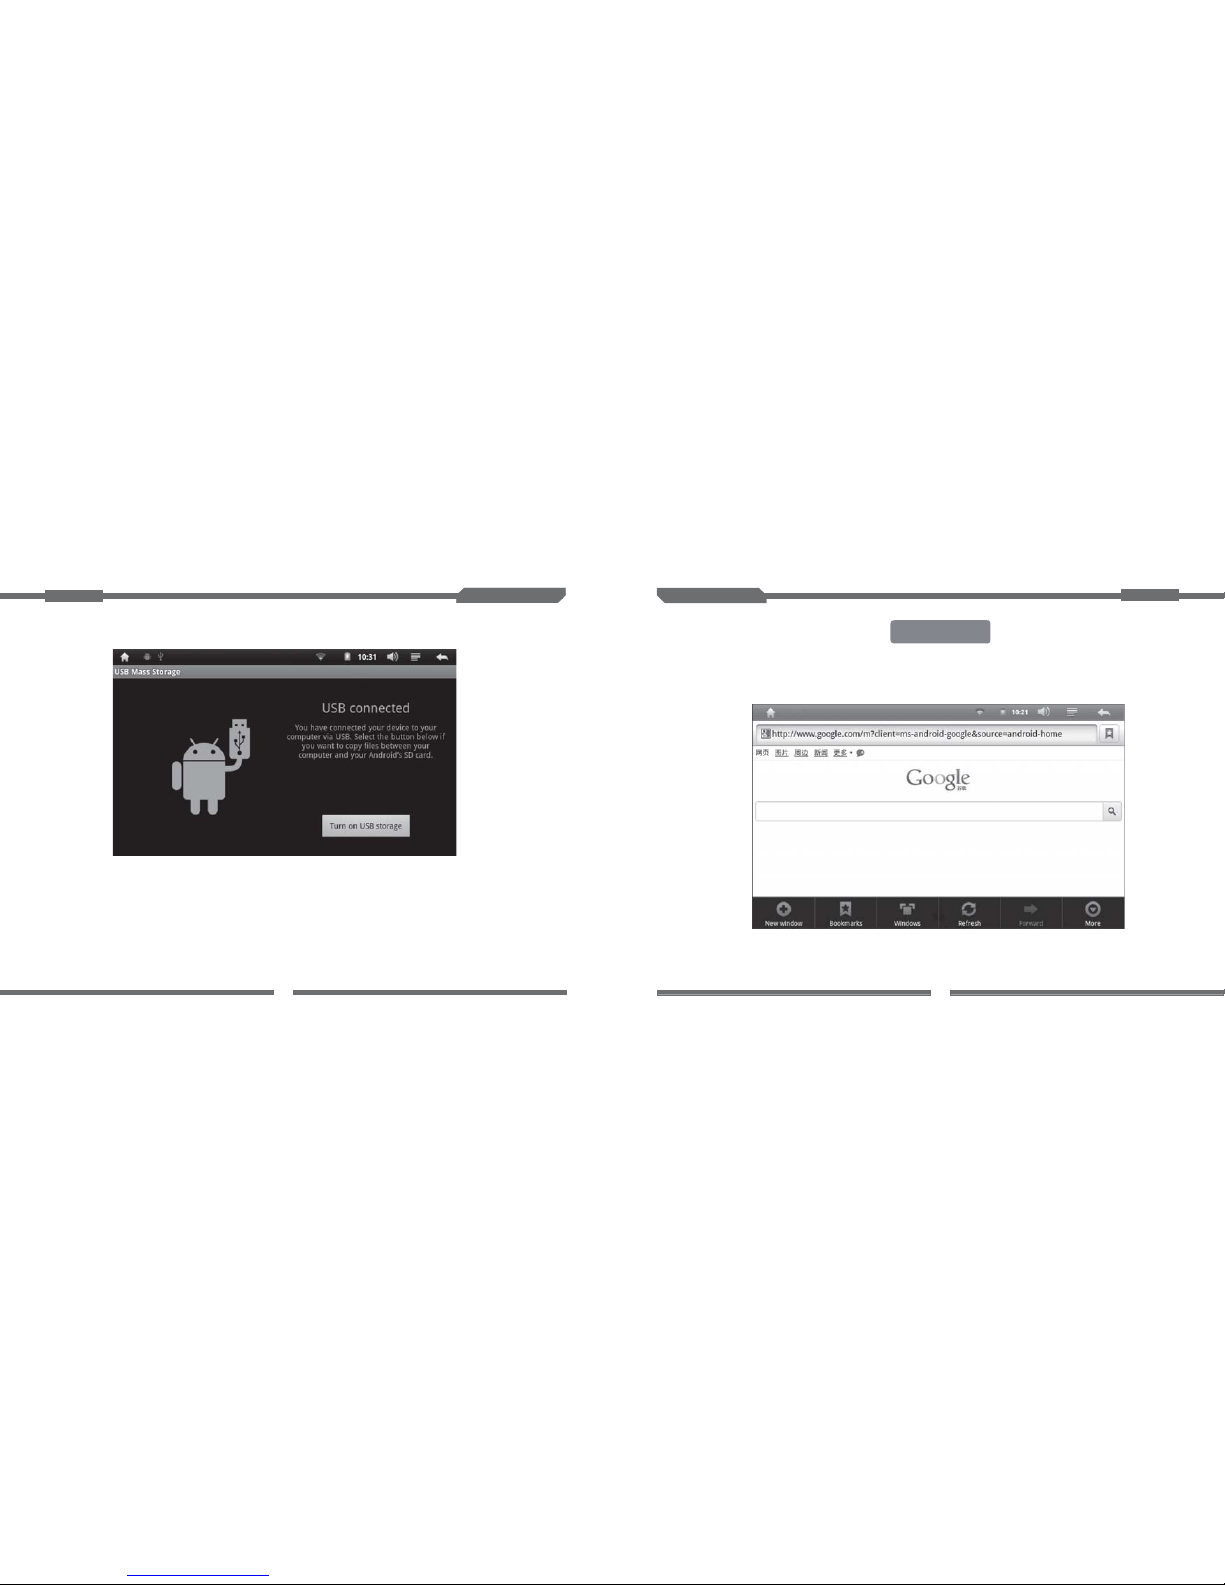
1.2.4 Connectting to your computer .....................................................................................3
2. Main screen operation and setup ......................................................................................................5
2.1 Main screen.................................................................................................................................5
2.2 Notice bar and taskbar icons.....................................................................................................7
2.3 Settings........................................................................................................................................9
2.3.1 Wi-Fi connection ...........................................................................................................9
2.3.2 Sound............................................................................................................................11
2.3.3 Display..........................................................................................................................11
2.3.4 Application...................................................................................................................12
2.3.5 Accounts&sync............................................................................................................13
2.3.7 Storage.........................................................................................................................13
2.3.8 Language&keyboard..................................................................................................14
2.3.10Time&data ..................................................................................................................15
2.3.11 About device..............................................................................................................16
3. Application..........................................................................................................................................17
3.1 Music..........................................................................................................................................18
3.2 Video..........................................................................................................................................20
3.3 Camera ......................................................................................................................................21
3.4 Gallery .......................................................................................................................................22
4. Installation..........................................................................................................................................24
5. Browser...............................................................................................................................................25
.........................................................................................................................................27
...................................................................................................................28
6. Packing list
Appendix 1 Specification:
Instruction Manual
Auto Multimedia System
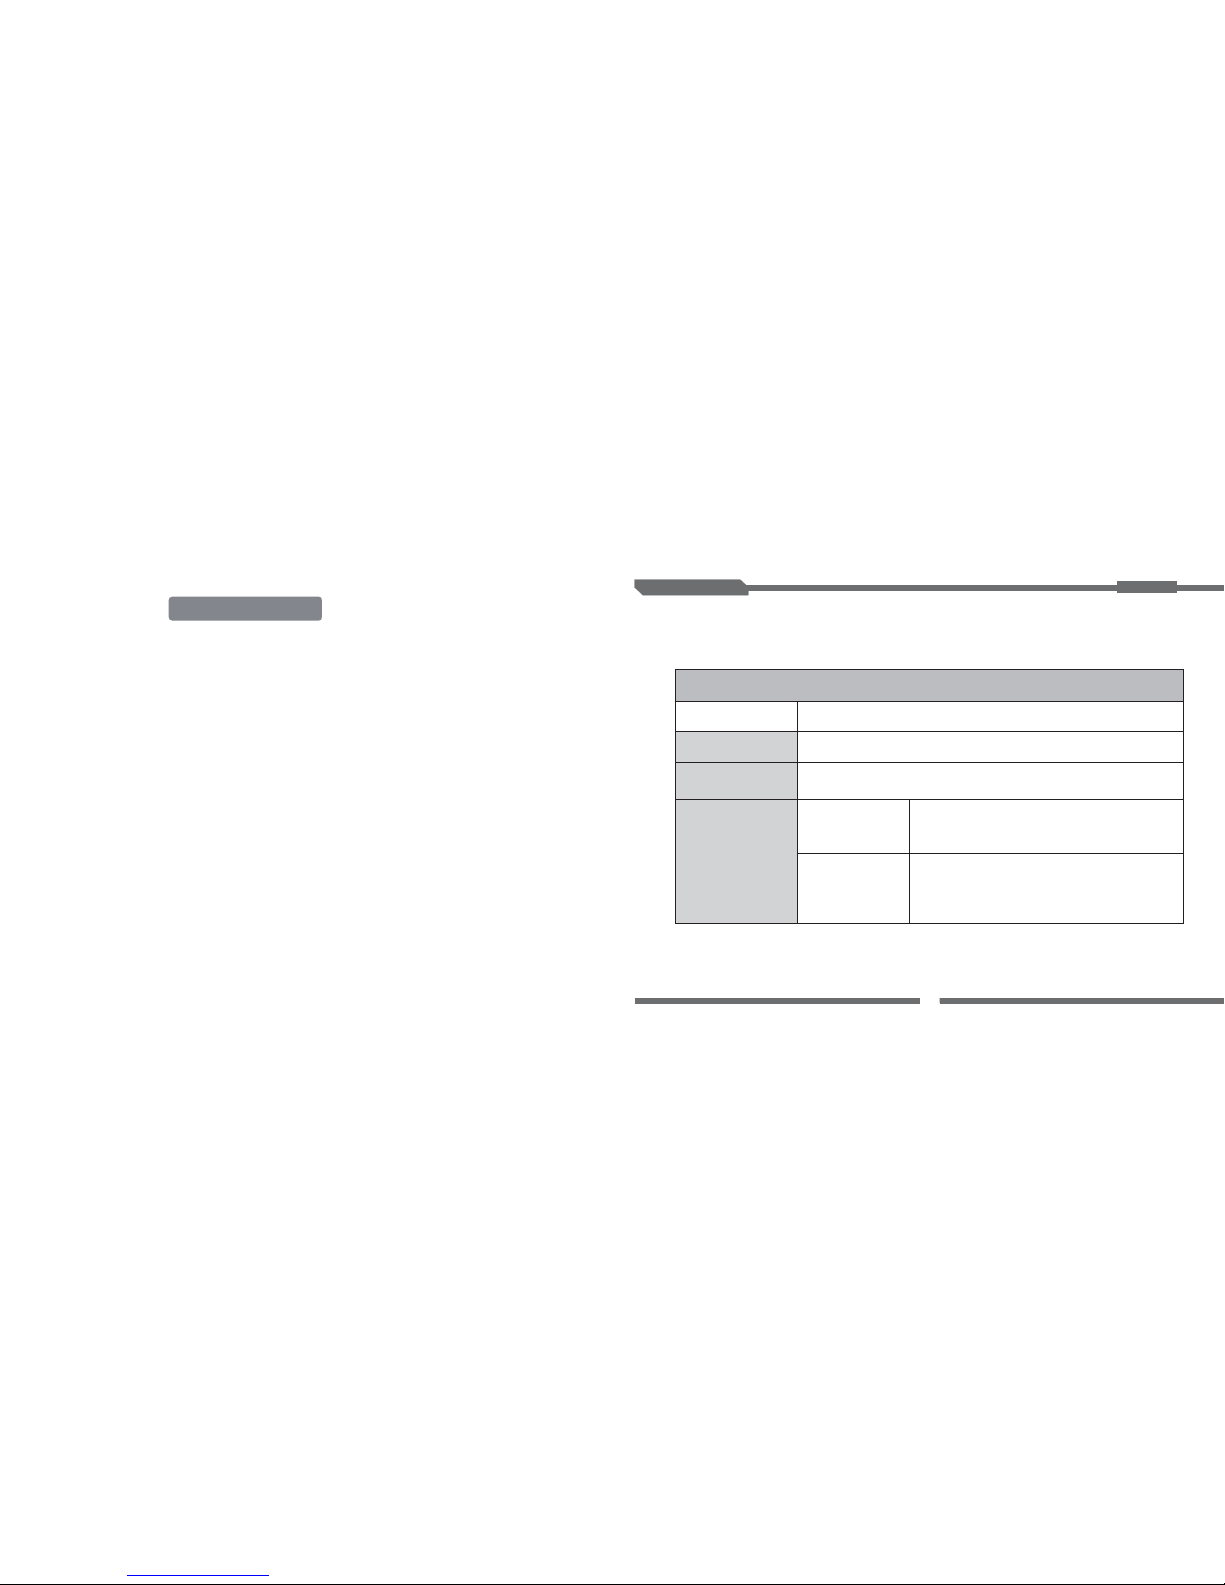
Audio Specification
Type Description
Audio playback Supported formats: mp3 wav ogg、、
Video playback
Audio Up to 6 hours of continuous playing time
Playback time
Video Up to 4 hours of continuous playing time
Supported formats: 3gp mp4、