User’s Manual/English/ Version 1.0/ Hypersound 128
Page5 Index
Chapter 2Install Software
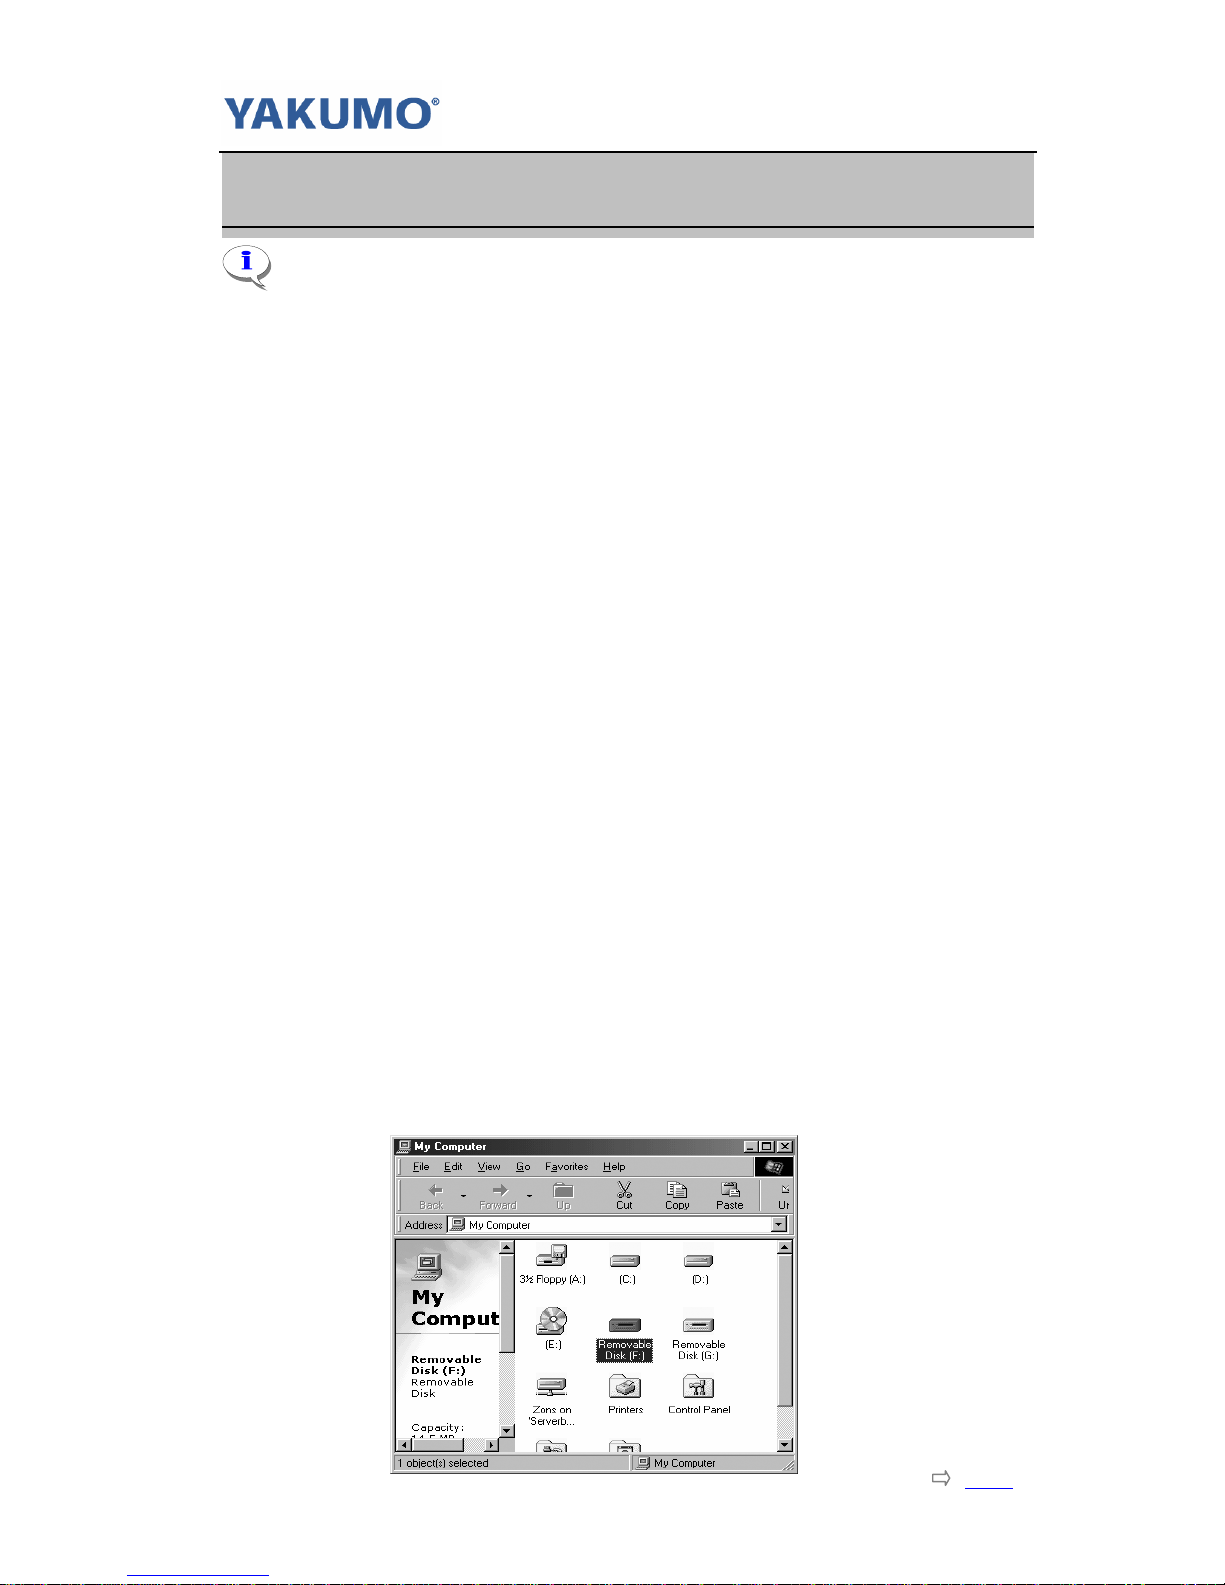
If you are using Windows Me/XP/2000, it is no need to install driver. Just
connect the player to your PC, the player will be detected and install one general
driver. The built-in flash memory of the player will appear in “My Computer” as
one Removable Disk. After it is finished, you can upload, download and manage
the files in the player.
You still need to install the driver from bundled CD if you want to upgrade the
firmware or completely format the flash memory of the player.
If you are using Windows 98 or 98SE, you need install the driver from bundled CD.
Otherwise you can not upload, download and manage the files in the player,
because Windows 98 has not integrated general drivers for USB MP3 player.
How To Install Driver – Step by Step
2-1 For Windows
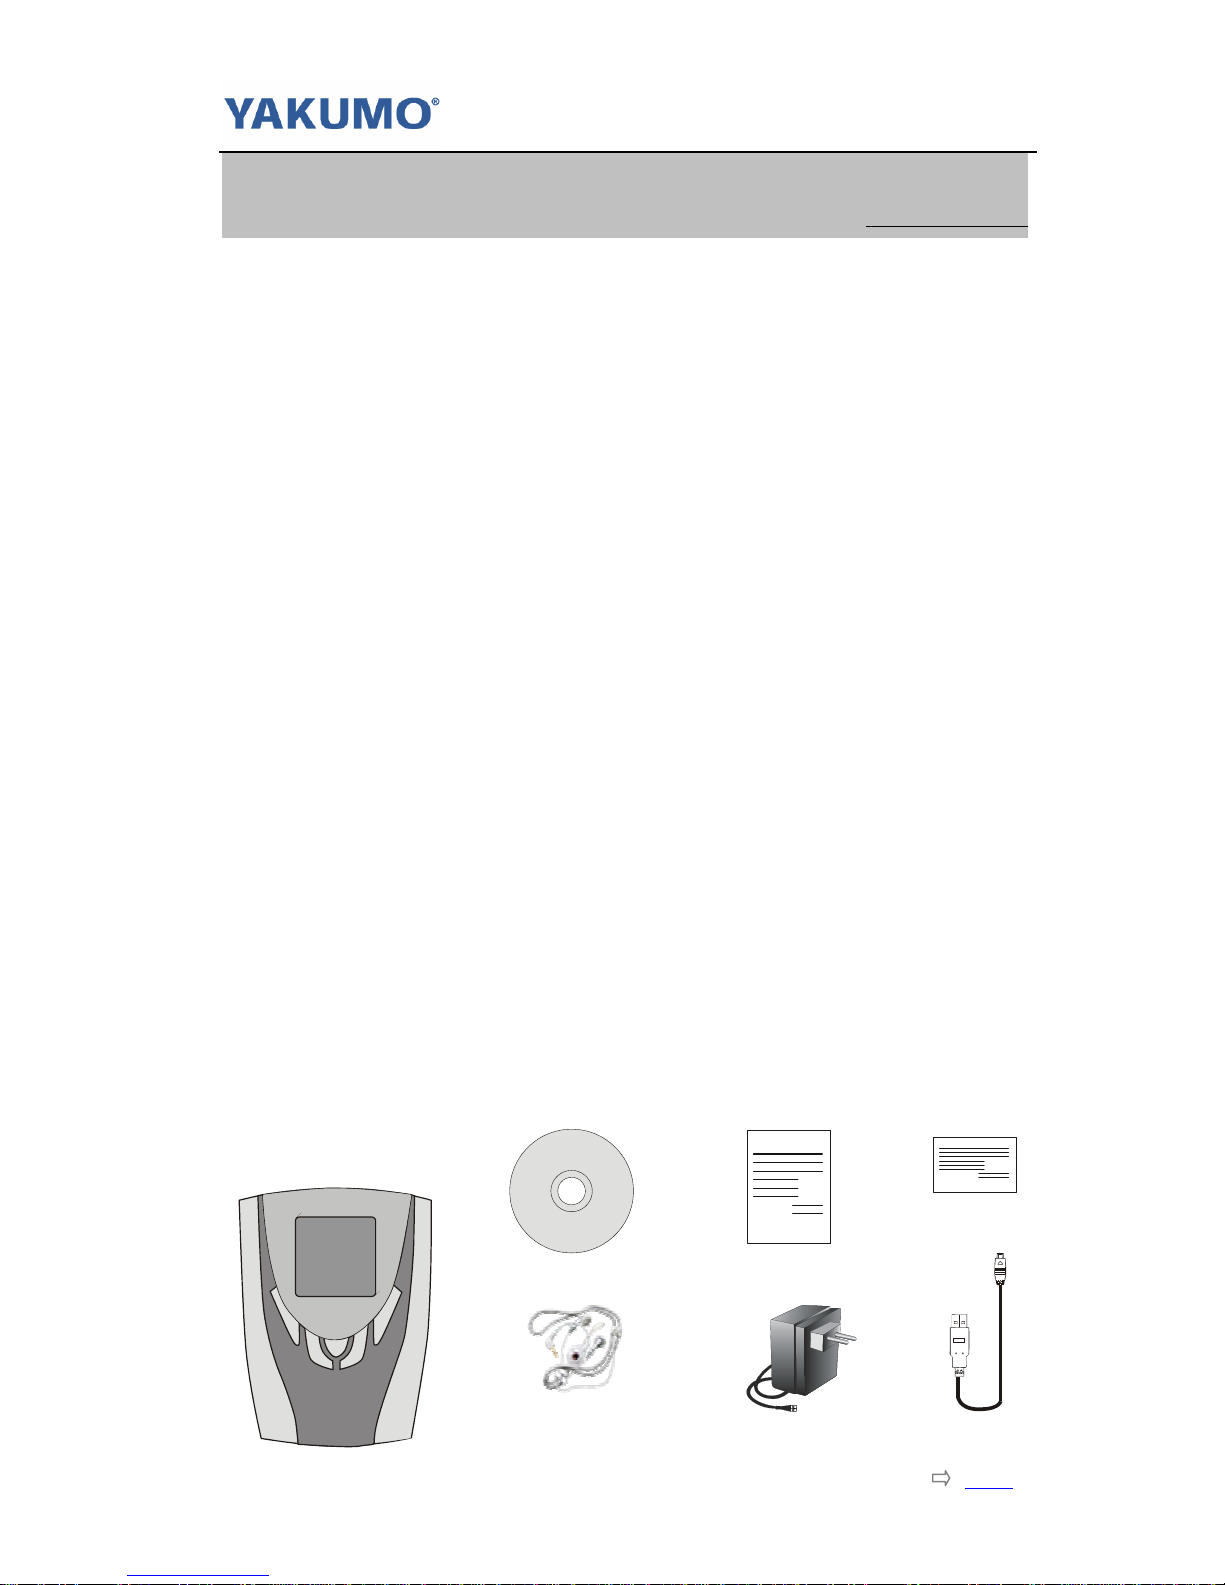
Step 1. Insert the bundled CD into the CD-ROM
drive. If the Setup program does not run
automatically, do steps 2 through 3.
Otherwise, skip to step 4.
Step 2. Click Start -> Run.
Step 3. In the Run dialog, type
D:\showmenu.exe (where D:\ is your
CD-ROM drive) and click OK.
Step 4. At the YAKUMO Driver & Menu Select screen, Click and Select “English”
from the Manual Language Select bar.
Step 5. Click on the “View Manual” button on the right side of the screen. The
manual screen will pop up. If it is the first time to use the product, please
read the manual carefully.
Step 6. Click on the “Setup Driver” button below the “View Manual” button on
the right side of the screen. The driver install wizard starts to guide you
install the driver.
Step 7. Click on the “logomaker” button below the “Setup Driver” button on
the right side of the screen. The logomaker setup program is running
automatically. (About logomaker, please refer to Make your own Opening
Screen in appendix.)
Step 8. Click [Next] start to install driver. Follow the instructions on the screen.
(Simply Bypass Logo Testing Message- Choose "Continue" if prompted
this question under Windows XP/2K/ME).