M7CL firmware V1.10 contains the following changes and additions relative to
V1.05. (Changes in V1.06 are also included here.)
* The Help function in V1.10 and later of this product uses bitmap fonts from the Ricoh Corporation.
• Speed of synchronization with M7CL Editor has been
improved.
• In the ATT/HPF/EQ popup window (1ch) and the
DYNAMICS popup window (1ch), the location of the
ON button has been distanced from the “ ×” (close) but-
ton in order to prevent accidental operation.
• By pressing a GEQ fader in the GEQ popup window,
you can now switch the faders assigned to the Central-
ogic section. The numbers of the assigned faders are
shown on the GEQ faders.
• The position of the window has been improved so that
the channel number and channel name field at the bot-
tom of the display can be seen even when a popup win-
dow or the SCENE LIST window is displayed.
•When you use the SAVE/LOAD screen to save all of the
M7CL’s internal data (except for user authentication key
data) in a single operation, the user level, user-defined
keys, and preference settings of the administrator and
guest will also be saved. On the M7CL console, this
data can be loaded only when the administrator logs in.
In M7CL Editor (V2.1.1 or later), this data can be read
at any time. However on earlier versions of the M7CL
console or M7CL Editor, this data that was saved in
V1.10 or later cannot be read.
•You can now view the M7CL’s Help by pressing the
(Help) button in the function access area. For
details, refer to “Using the Help function.”
• The assigned user-defined key will now blink while
you’re viewing a screen or popup window that’s book-
marked by a user-defined key.
•You can now reset the GAIN to the default value (0.0
dB) for each band by simultaneously pressing the
SELECTED CHANNEL section EQ [Q] encoder and
EQ [GAIN] encoder.
• The following have been added as parameters that can
be assigned to the user-defined keys.
• PRE FADER (immediately before the fader) has been
added as a position for direct output from an INPUT
channel.
• If you’re using the M7CL V1.10, you must use V2.1.1
or later of M7CL Editor. You can download the most
recent version of M7CL Editor from the following web-
site.
http://www.yamahaproaudio.com/
M7CL V1.10 Supplementary Manual
Changes in V1.06
Changes in V1.10
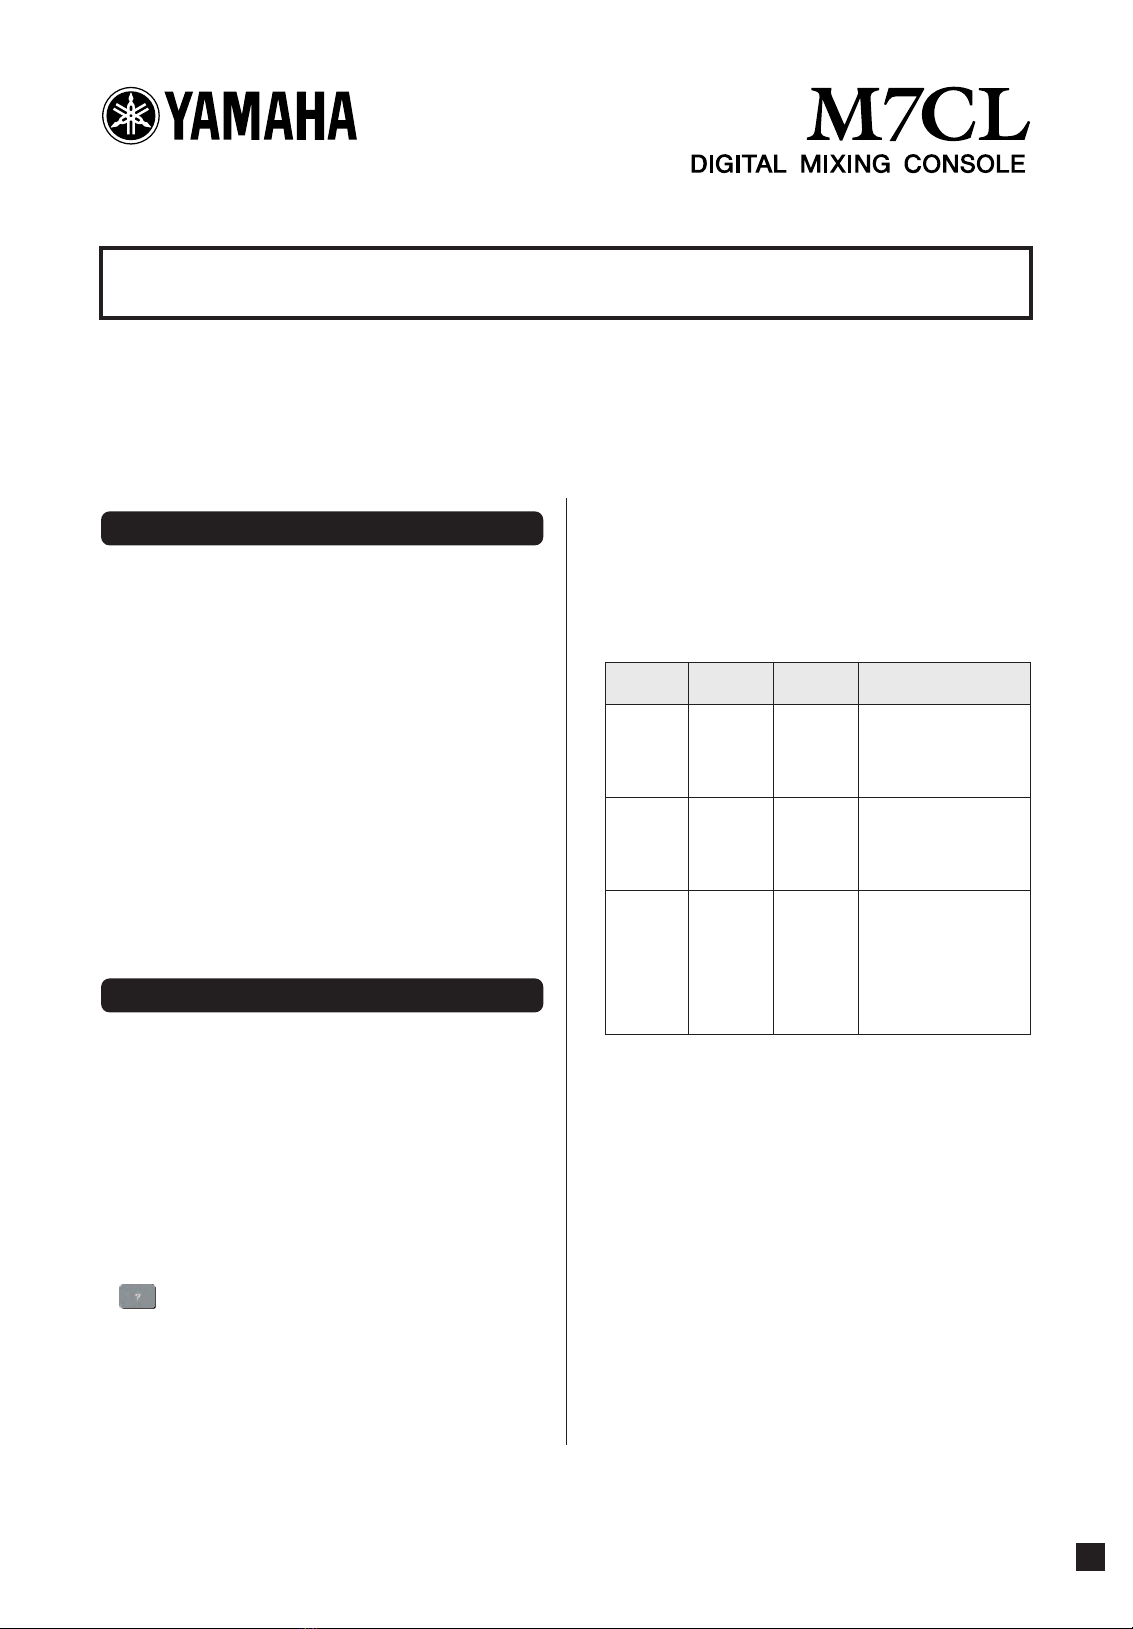
FUNCTION PARAME-
TER 1
PARAME-
TER 2 Description
SET BY
SEL
SET
[INSERT
ON]
—
By holding down this key
and pressing the [SEL] key
of a channel, that chan-
nel’s INSERT ON can be
switched on/off.
SET BY
SEL
SET
[DIRECT
OUT ON]
—
By holding down this key
and pressing the [SEL] key
of a channel, that chan-
nel’s DIRECT OUT ON
can be switched on/off.
HELP — —
Opens or closes the HELP
popup window. If you hold
down this key and operate
a panel controller (except
for the faders) or an on-
screen controller, the cor-
responding explanation
will appear.
EN


