PM5D / PM5D-RH Quick Start Guide Part 3
7
Installing the software.
Full instructions for installing the software are available form the download pages. The wizards will guide you through
the installation. Use the default settings unless you have particular requirements on where to install things.
If I don’t have access to a PM5D can I still get started and use
the software?
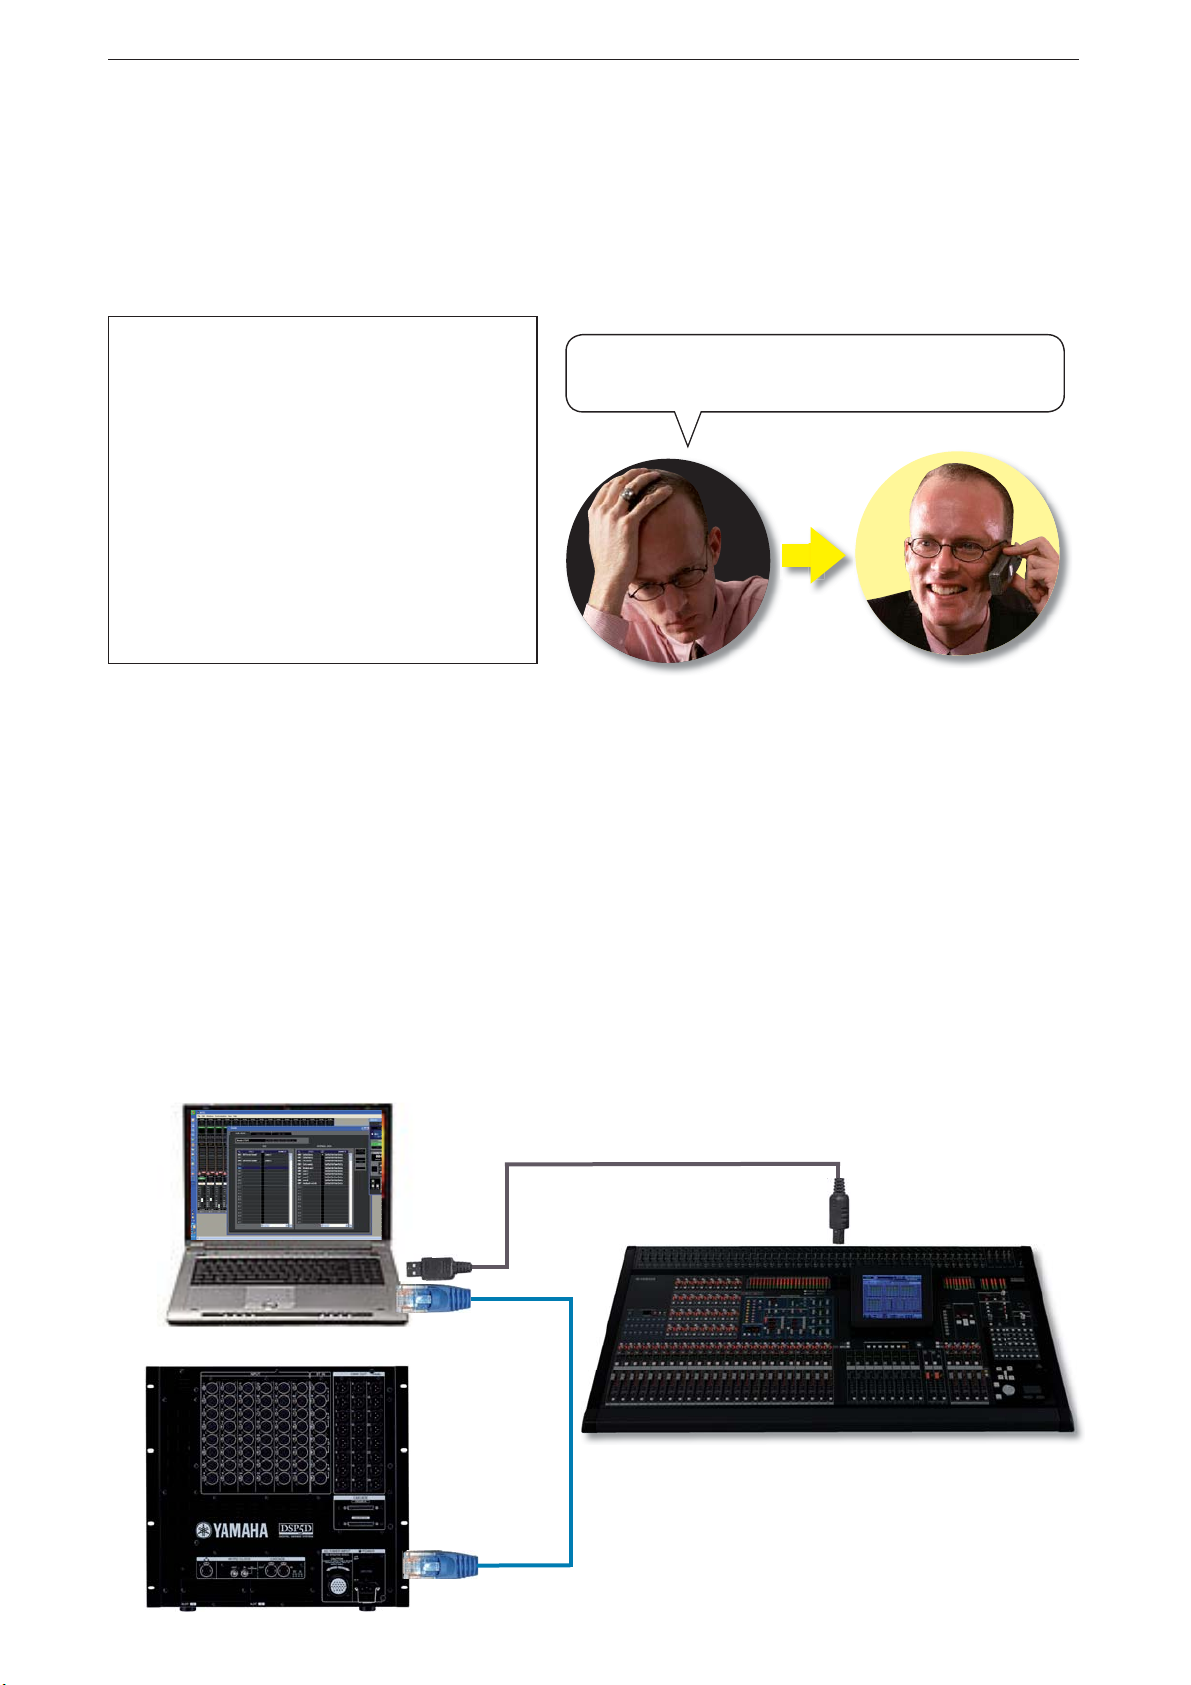
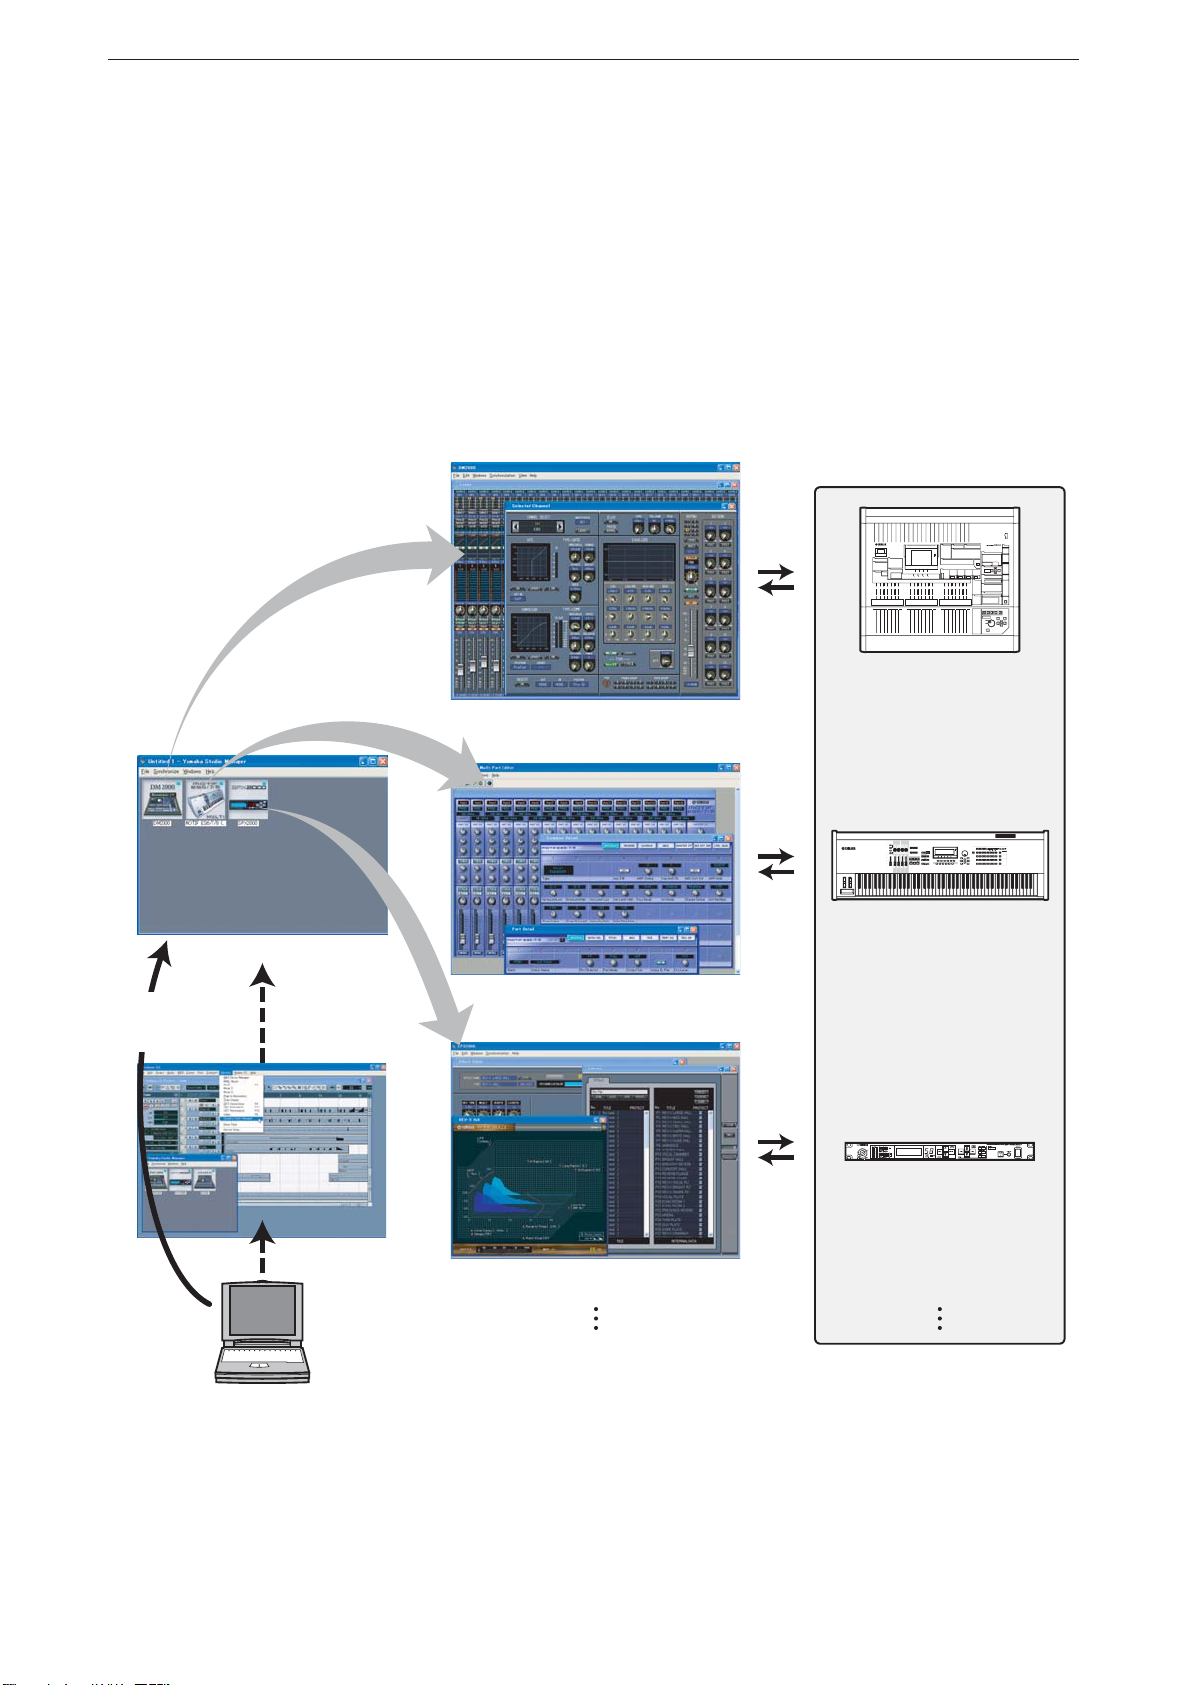
Yes. Once the software is installed correctly you can open the Studio Manager without a console. However you should
understand that the PM5DV2 Editor graphics are not the same as those in the console and that studying PM5DV2 Edi-
tor is not an efficient way to learn how the actual console appears and works. The USB-MIDI Driver cannot be opened
without the PM5D, but this is only required for communication when a PM5D is connected.
Which Version of Software should I use?
Yamaha constantly develops the PM5D mixing system,
sometimes new versions are released that include new
features and sometimes versions simply tweak the existing
system to improve performance and “bug fix”. When new
console versions are released, new Studio Manager and
Editor versions are often required to keep compatibility.
All files saved in mixers are .PM5 type files and these will
open in all future mixer versions, however it is not pos-
sible to guarantee future files will still be compatible with
older mixers. For this reason Yamaha strongly recom-
mends the use of current mixer firmware in all consoles. If
you own the mixer, keep it up to date or visiting engineers
may not be able to open their files. If you are a touring
freelance engineer carry latest firmware and PCMCIA or
CF card for upgrading. Console firmware is provided free
of charge on www.yamahaproaudio.com
Files saved in Studio Manager can have other formats (see
page 15/16 of this guide). If a file was saved as a .YSM or
.YSE file in V1 of Studio Manager it will not open in V2.
Yamaha always recommends the latest version of console firmware and the latest version of Studio Manager and PM-
5DV2 Editor. This combination is compatible for on-line connection and synchronization, will have the latest features
and least known bug problems. However, we understand that in the real world there are older versions of consoles in
circulation and that some engineers may have saved data in older versions of the SM and Editor.
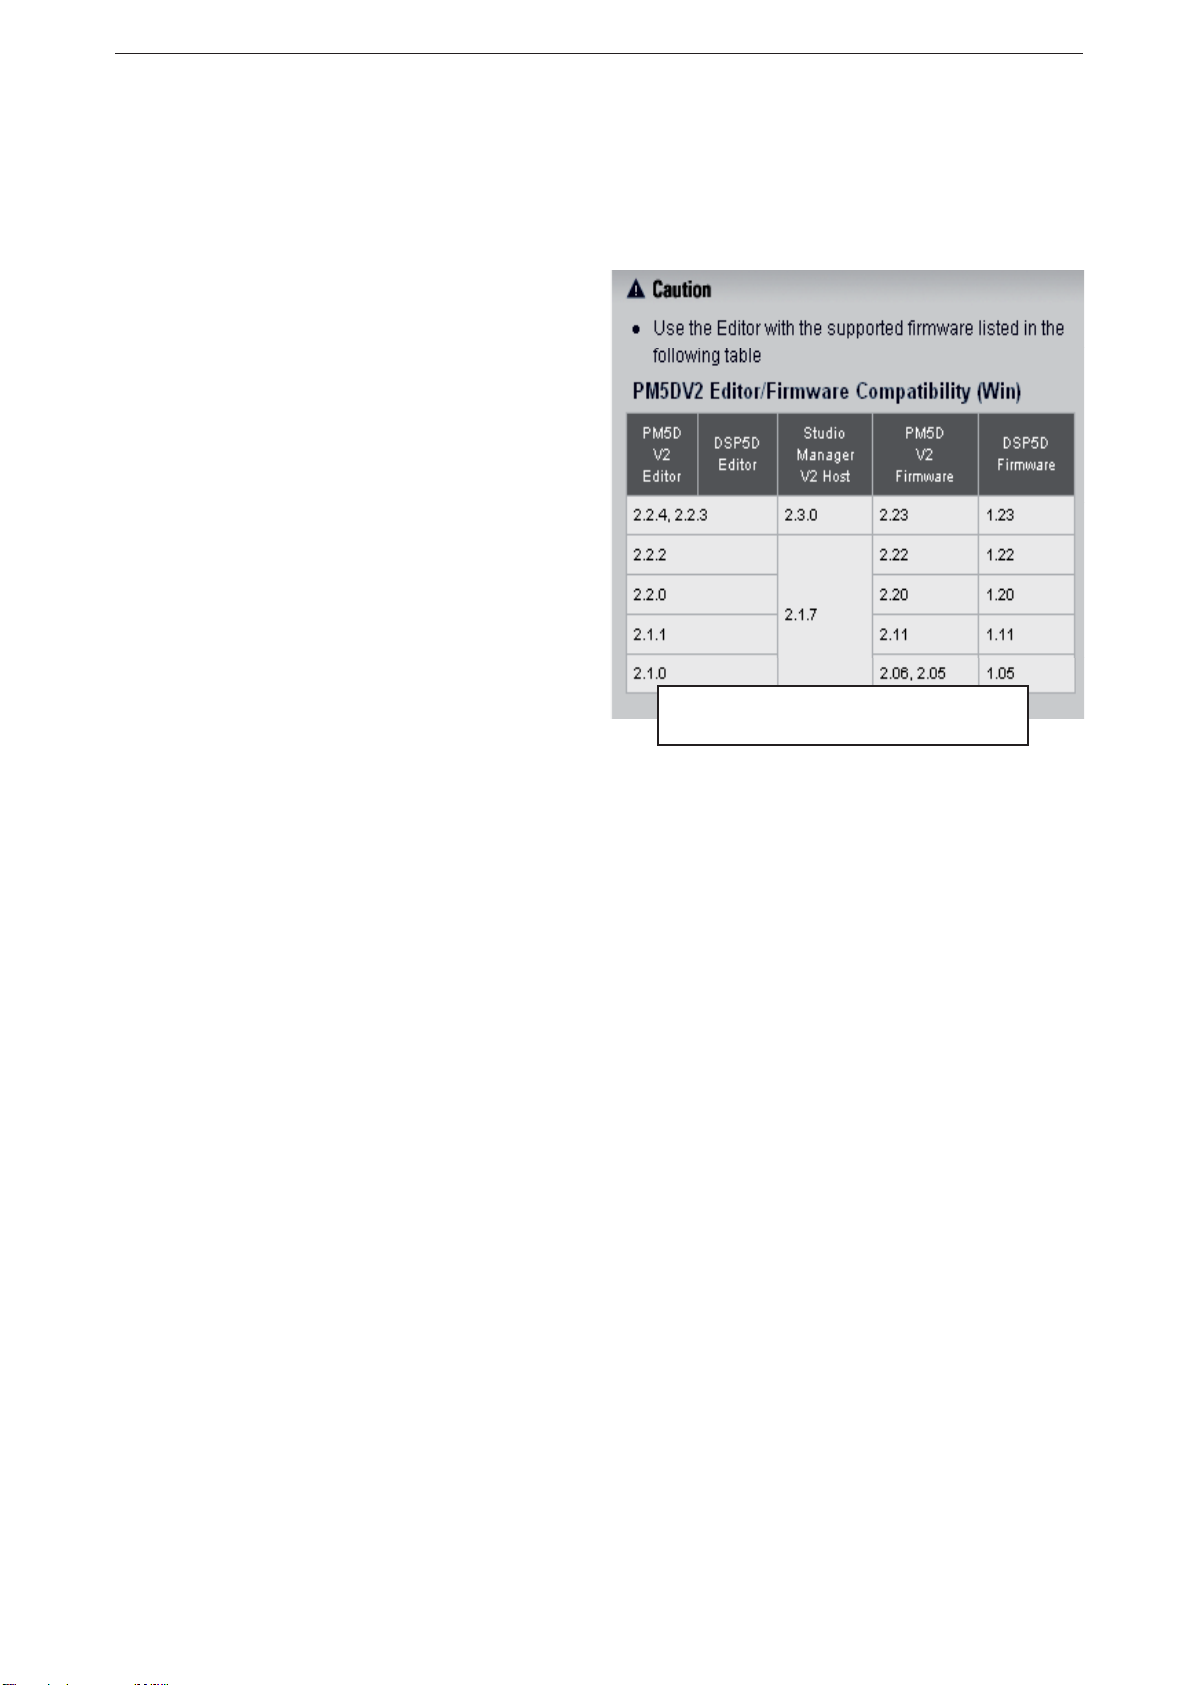
How can I deal with older versions?
This table is an example from Dec 2008; get
the latest from www.yamahaproaudio.com
To ensure that no files become unusable there are two PC and two Mac versions of Studio Manager PM5D Editor avail-
able from the www.yamahaproaudio.com download pages. These relate to the last V1 and the latest V2 of the PM5D
mixer firmware. If you have existing V1 Editor files saved as .YSM or .YSE type files you need to use the V1 versions.
You can then re-save these as .PM5 files that will load into any version. If the console is V2 then the newly saved file
will be upgraded to V2 and you can move on to using V2 Studio Manager and Editor.
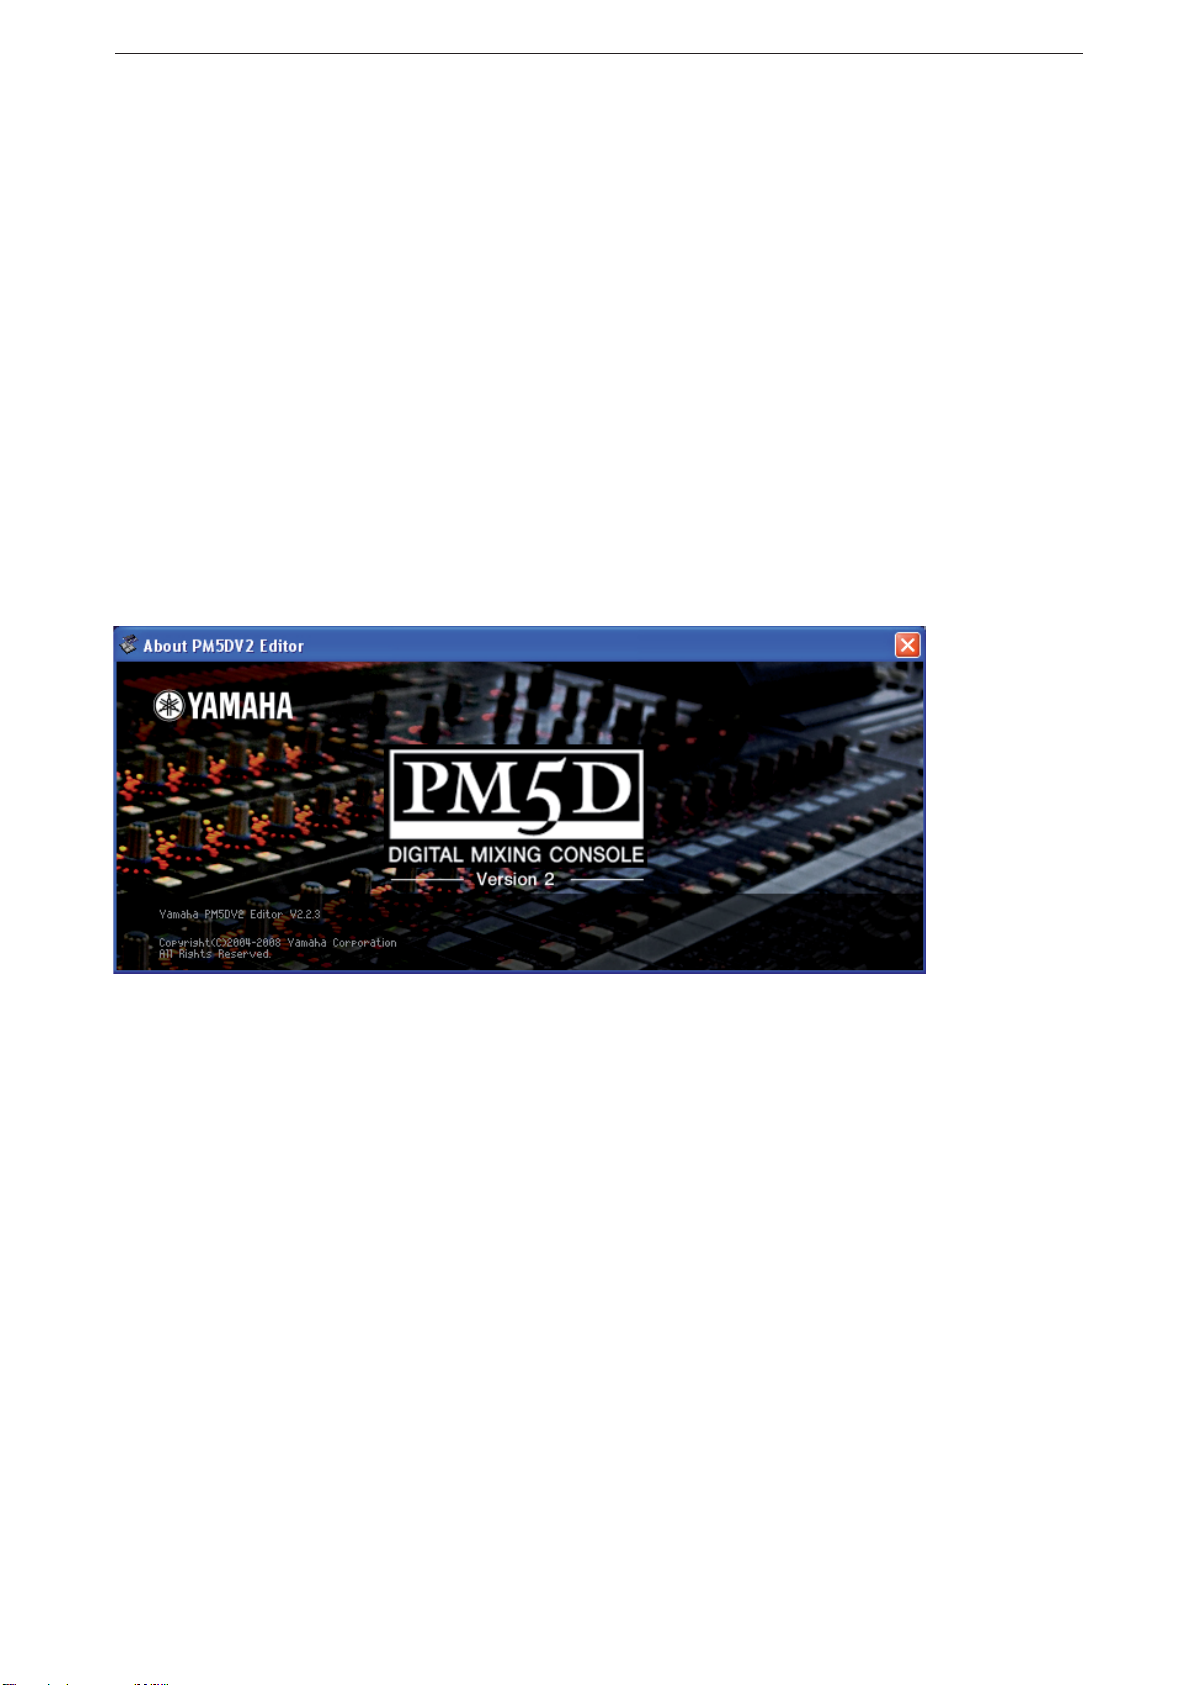
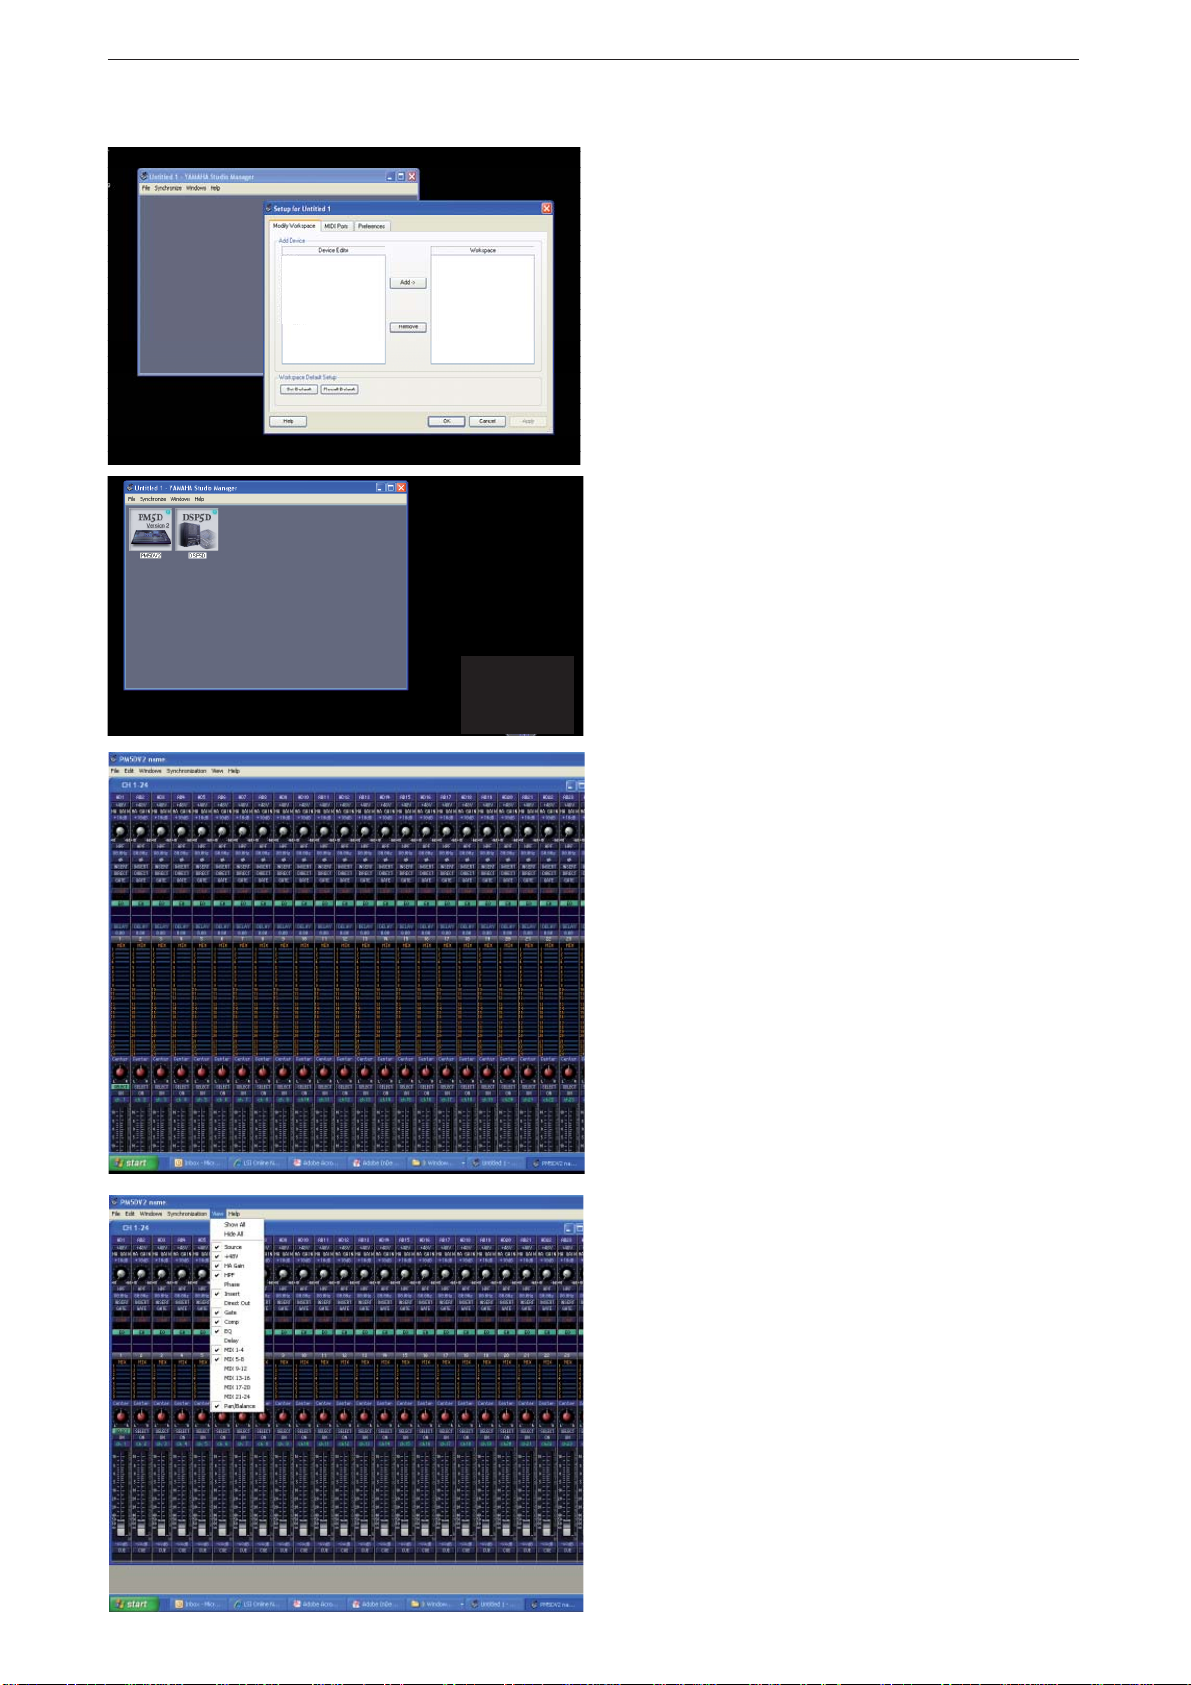
Open Studio Manager like any other programme;
click“Start”..............