6
SAFETY INSTRUCTIONS
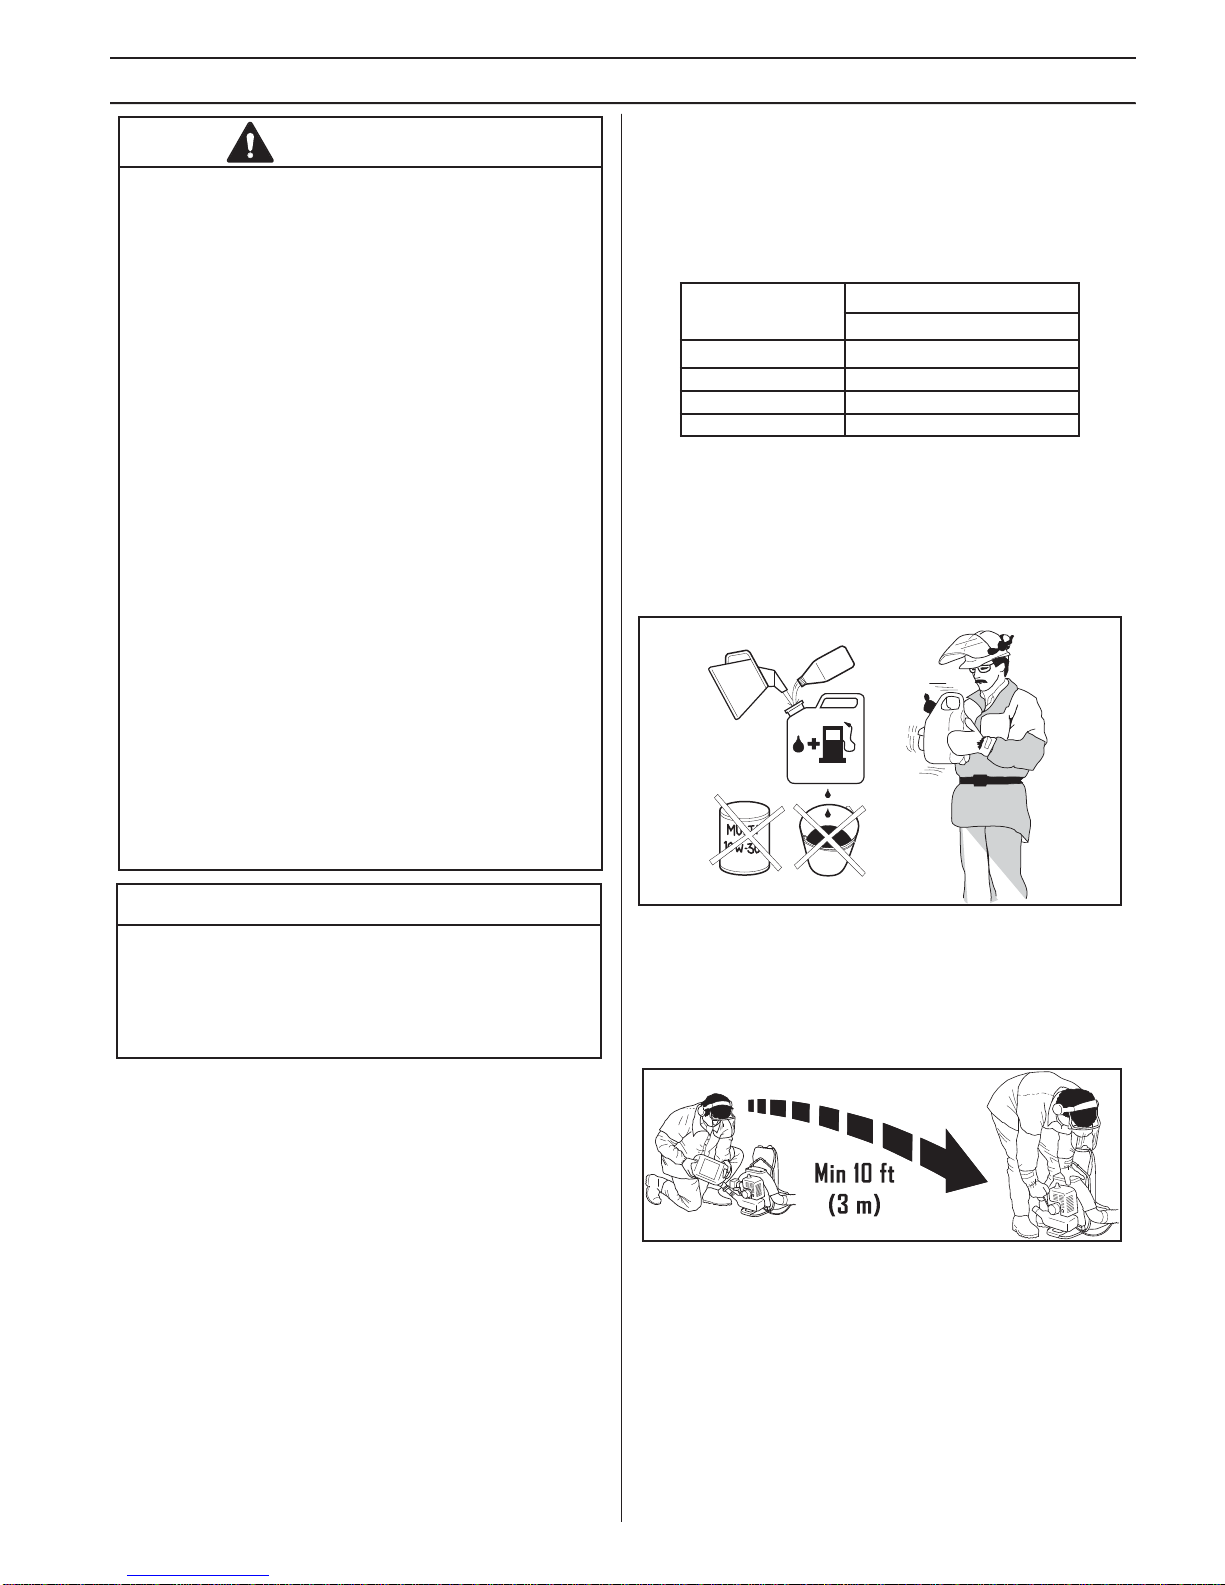
Fuel safety
- Always use a fuel container with an anti-spill valve.
- Never refuel the machine while the engine is running.
Always stop the engine and let it cool for a few minutes
before refuelling.
- Make sure there is plenty of ventilation when refuelling or
mixing fuel (petrol and 2-stroke oil).
- Avoid all skin contact with fuel. Fuel is a skin irritant and
may even cause injury to the skin.
- Move the machine at least 10 feet (3 meters) from the
refuelling point before starting it.
Never start the machine if:
- If you spill fuel on the blower. Wipe off any spillage and
allow remaining fuel to evaporate.
- If you spill fuel on yourself or your clothes, change your
clothes. Wash any part of your body that has come in
contact with fuel. Use soap and water.
- If the machine is leaking fuel. Check regularly for leaks
from the fuel cap and fuel lines.
Transport and storage
- Store and transport the machine and fuel so that there is no
risk of any leakage or fumes coming into contact with sparks or
naked flames, for example, from electrical machinery, electric
motors, electrical relays/switches or boilers.
- When storing and transporting fuel always use approved
containers intended for this purpose.
- When storing the machine for long periods the fuel tank must
be emptied. Contact your local petrol station to find out where
to dispose of excess fuel.
- Ensure the machine is cleaned and that a complete
service is carried out before long-term storage.
General working instructions
Show consideration to persons in your surroundings by
avoiding using the machine at unsuitable times, such as late in
the evening or early in the morning. Read through and follow
the simple directions so that you disturb your surroundings as
little as possible.
- Use the blower with the lowest possible throttle. It is seldom
necessary to use full throttle, and many work procedures can
be done at half throttle. A lower throttle means less noise and
less dust, and it is also easier to keep control over the rubbish
collected together/moved.
- Use a rake or a brush to release rubbish stuck to the ground.
- Hold the opening of the blower as close to the ground as
possible.
- Observe your surroundings. If anyone approaches your
work area, set the throttle control to the lowest throttle until
the person is at a safe distance. Direct the blower away from
people, animals, play areas, and cars etc.
- Clean up afterwards. Make sure that you have not blown
rubbish into someone’s garden.
- No unauthorized persons or animals may be present in the
working area, which is 50 feet (15 meters).
- The powerful currents of air can move objects at such a
speed that they can bounce back and cause serious eye
injuries.
- Do not direct the air jet towards people or animals.
- Stop the engine before assembling or dismantling
accessories or other parts.
- Do not use the machine in bad weather, such as dense fog,
heavy rain, strong wind, intense cold, etc. Working in bad
weather is tiring and can lead to dangerous conditions, e.g.
slippery surfaces.
- Make sure you can move and stand safely. Check the area
around you for possible obstacles (roots, rocks, branches,
ditches, etc.) in case you have to move suddenly. Take great
care when working on sloping ground.
- Never put the machine down with the engine running unless
you have it in clear sight.
- Engine exhaust fumes contain carbon monoxide, which can
cause carbon monoxide poisoning. For this reason you should
not start or run the machine indoors, or anywhere that is poorly
ventilated.
- The blower must not be used
while on a ladder or scaffolding.