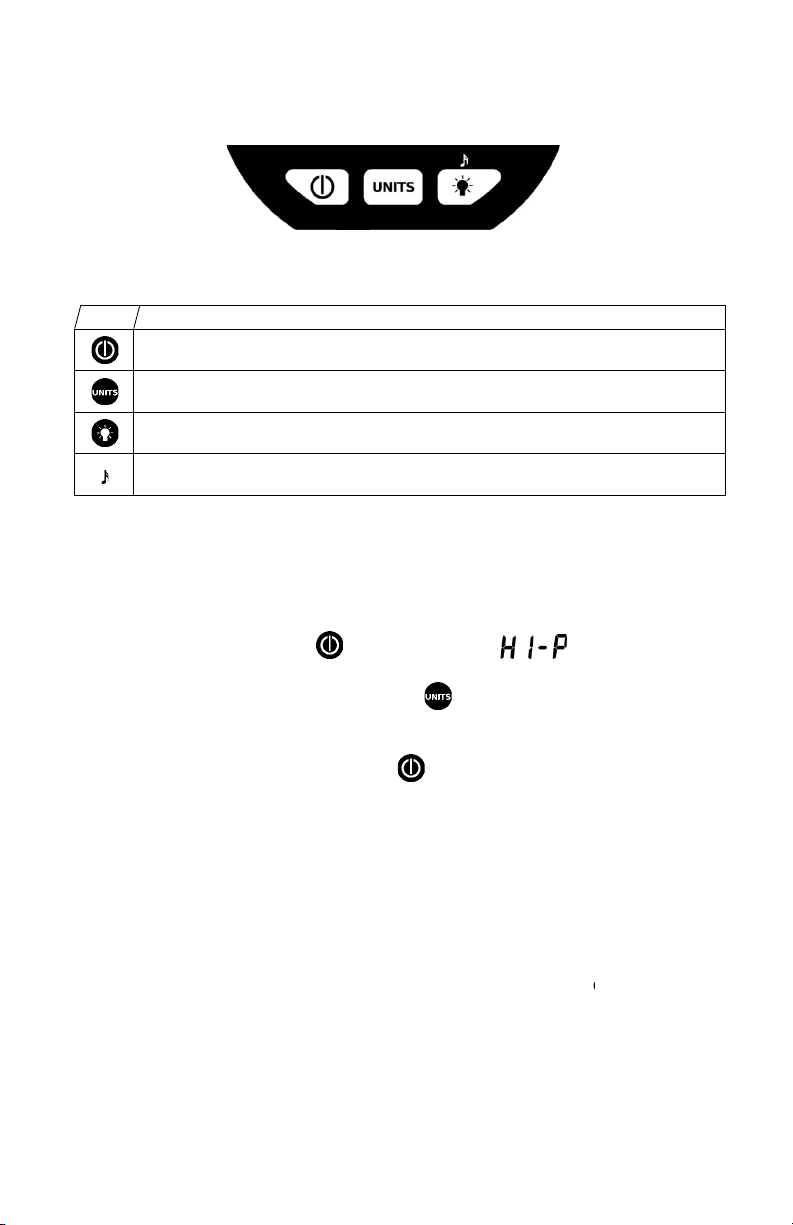
BACKLIGHT
To activate the Backlight temporarily, press once. The indica
tor on the display will flash,
and the backlight will turn off automatically after 1 minute. To activate the Backlight permanently,
press again. The
indicator on the display will show solid. Turn off the backlight by pressing
repeatedly until the
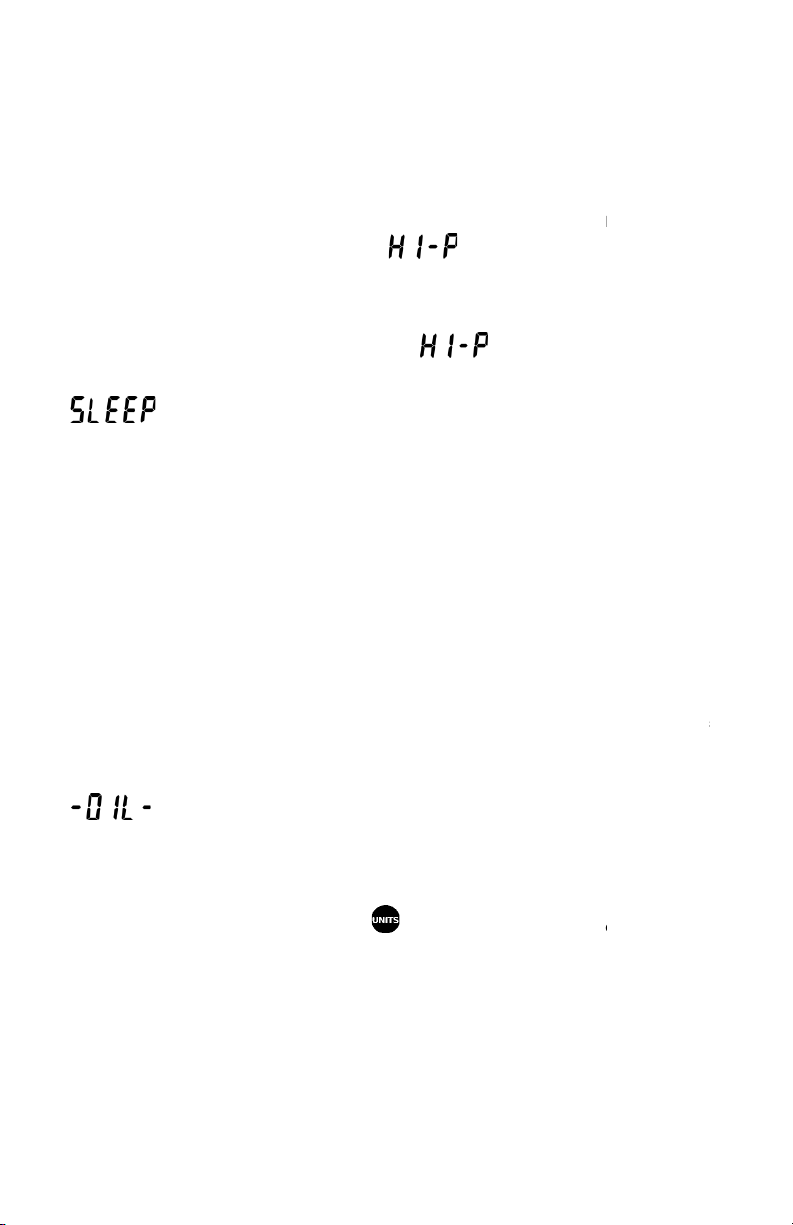
indicator turns off.During Sleep Mode,the backlight will turn off to help
conserve battery power, but will turn on again automatically upon resumption of normal operation if it
was previously set in the permanent-on mode.
SOUND
The EVac I has an i
nternal speaker that will emit a beepfor each valid key press, and also functions
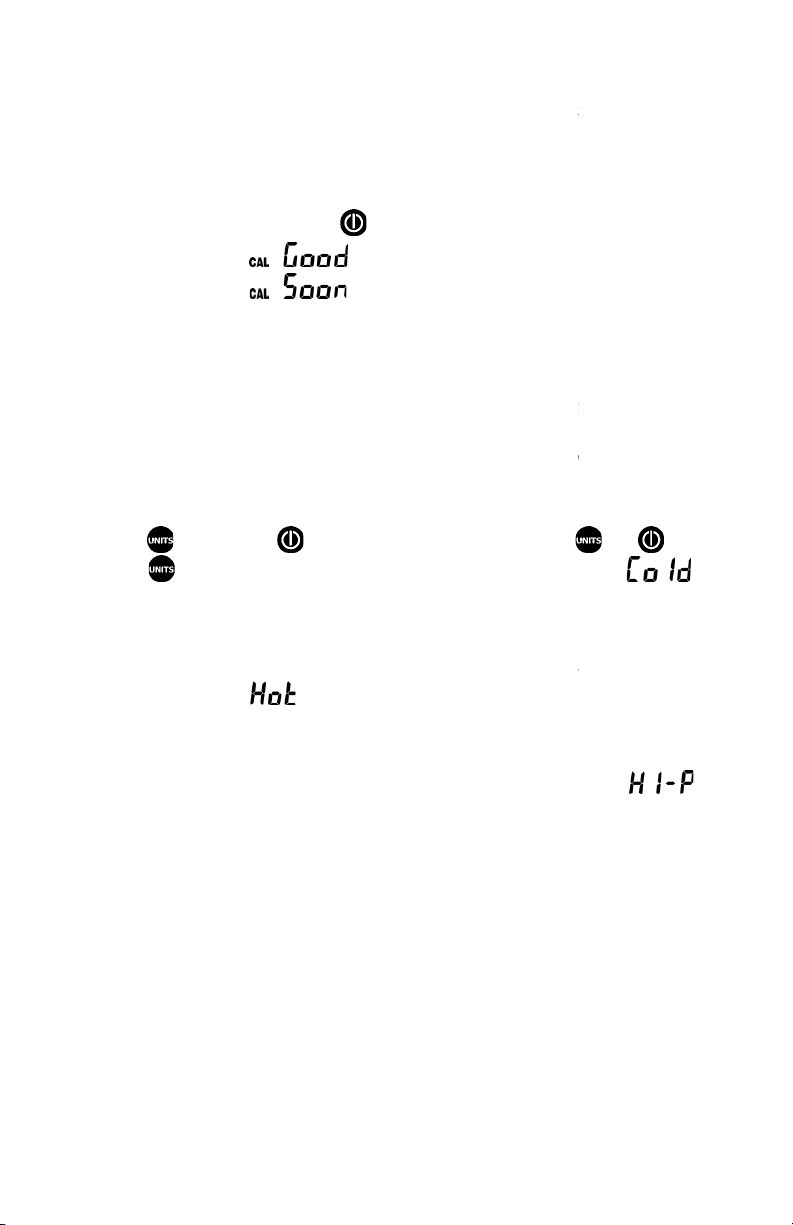
as an alarm in the Calibration mode (see the Calibration section below). It will also beep every 5
minutes in Sleep Mode. For silent operation, the sound can be muted by p
key. The Calibration mode alarm is not affected by the mute status. The
display indicates thatthe sound is on (not muted).
SWIVEL HOOK
The EVac I’s removable stainless steel swivel hook enables hanging o
f the gauge and will allow it to
swivel freely in any direction. The gauge may be operated with or without the hook attached. When
fastening the hookto the gauge, turn it finger tight only. Use of a tool totighten the hook may result in
damageto the EVac I case.
MAINTENANCE
The EVac I
should provide many years of service with no maintenance required. When not in use, the
dust cap should remain in place over the sensor port. Clean the plastic enclosure with a damp (not
wet) rag. Mild detergent is acce
ptable, but use no solvents. Take care not to expose the vacuum
sensor to oil. If the Oil Sensor (described above) indicates a contaminated sensor, follow the Sensor
Cleaning Procedure below.
CLEANING THE VACUUM SENSOR
If the vacuum sensor becomes cont
aminated with oil (as indicated by the Oil Sensor), carefully follow
this procedure:
1. Turn the EVac I power off.
2. Shake the gauge to remove any large quantities of oil from the sensor.
3. Apply a few drops of rubbing alcohol inside the sensor vacuum port. (DO
OBJECT INTO THE PORT, AS THIS WILL PERMANENTLY DAMAGE THE SENSOR
4. Place yourfinger over the port and shake for a few moments.
5. Remove your finger and shake out the alcohol.
6. Repeat steps (3) – (5) at least three times.
7. Allow the sensor to a
ir dry over at least an hour, or pull a vacuum on the sensor to clean it more
quickly.
8.
Replace the battery andturn on the gauge. The Oil Indicator should be off. If it is still on, repeat
the cleaning procedure.
9. If full accuracy is desired, perform a c
alibration cycle as detailed in the Calibration section below.
Note
: It is important to remove all alcohol vapors from the sensor, eitherthrough air
vacuum. Any remaining vapors will cause an incorrect vacuum reading.
tor on the display will flash,
and the backlight will turn off automatically after 1 minute. To activate the Backlight permanently,
indicator on the display will show solid. Turn off the backlight by pressing
indicator turns off.During Sleep Mode,the backlight will turn off to help
conserve battery power, but will turn on again automatically upon resumption of normal operation if it
nternal speaker that will emit a beepfor each valid key press, and also functions
as an alarm in the Calibration mode (see the Calibration section below). It will also beep every 5
f the gauge and will allow it to
swivel freely in any direction. The gauge may be operated with or without the hook attached. When
fastening the hookto the gauge, turn it finger tight only. Use of a tool totighten the hook may result in
should provide many years of service with no maintenance required. When not in use, the
dust cap should remain in place over the sensor port. Clean the plastic enclosure with a damp (not
ptable, but use no solvents. Take care not to expose the vacuum
sensor to oil. If the Oil Sensor (described above) indicates a contaminated sensor, follow the Sensor
aminated with oil (as indicated by the Oil Sensor), carefully follow
NOT INSERT ANY
OBJECT INTO THE PORT, AS THIS WILL PERMANENTLY DAMAGE THE SENSOR
).
ir dry over at least an hour, or pull a vacuum on the sensor to clean it more
Replace the battery andturn on the gauge. The Oil Indicator should be off. If it is still on, repeat
alibration cycle as detailed in the Calibration section below.
: It is important to remove all alcohol vapors from the sensor, eitherthrough air
-drying or via