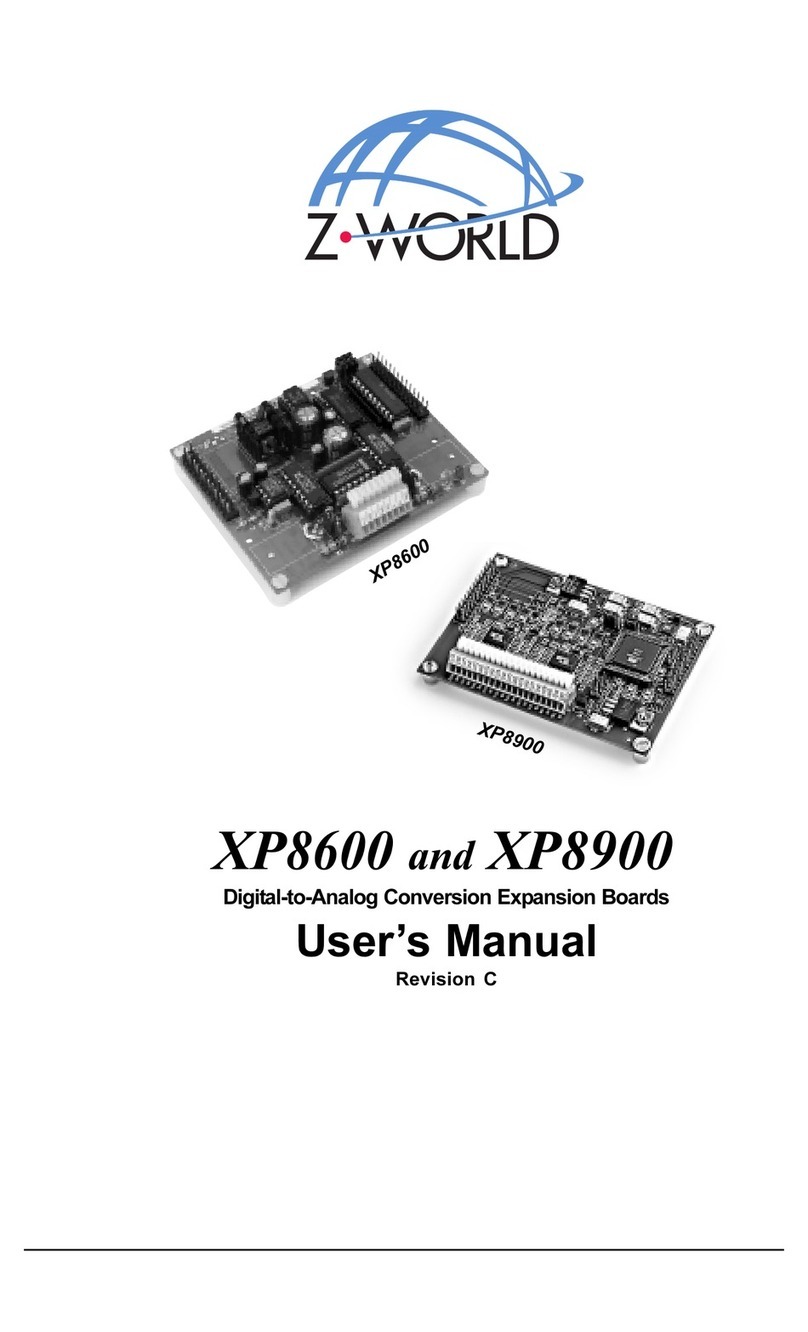
Z-World Exp-A/D12 User manual

XP8500
XP
850
0 and Exp-A/D12
Analog-to-Digital Conversion Expansion Boards
Users Manual
Revision B
Exp-A/D12

XP8500 and Exp-A/D12 Users Manual
Part Number 019-0055
Revision B
Last revised on April 9, 1999 Printed in U.S.A.
Copyright
© 1999 Z-World All rights reserved.
Z-World reserves the right to make changes and improvements to its
products without providing notice.
Trademarks
Dynamic C®is a registered trademark of Z-World
Windows® is a registered trademark of Microsoft Corporation
PLCBusis a trademark of Z-World
Hayes Smart Modem® is a registered trademark of Hayes Microcom-
puter Products, Inc.
Notice to Users
When a system failure may cause serious consequences, protecting life and
property against such consequences with a backup system or safety device
is essential. The buyer agrees that protection against consequences
resulting from system failure is the buyers responsibility.
This device is not approved for life-support or medical systems.
All Z-World products are 100 percent functionally tested. Additional
testing may include visual quality control inspections or mechanical
defects analyzer inspections. Specifications are based on characterization
of tested sample units rather than testing over temperature and voltage of
each unit. Z-World may qualify components to operate within a range of
parameters that is different from the manufacturers recommended range.
This strategy is believed to be more economical and effective. Additional
testing or burn-in of an individual unit is available by special arrangement.
Company Address
Z-World
2900 Spafford Street
Davis, California 95616-6800
USA
Telephone:
Facsimile:
Web Site:
E-Mail:
(530) 757-3737
(530) 753-5141
http://www.zworld.com
zworld@zworld.com

XP8500 and Exp-A/D12 Contents siii
TABLE OF CONTENTS
About This Manual vii
XP8500
Chapter 1: Overview 13
Chapter 2: Getting Started 15
XP8500 Components ........................................................................... 16
Connecting Expansion Boards to a Z-World Controller ...................... 17
Setting Expansion Board Addresses .................................................... 18
XP8500 Addresses ..........................................................................18
Power ................................................................................................... 18
Chapter 3: I/O Configurations 19
XP8500 Pin Assignments..................................................................... 20
Operating Modes ................................................................................. 20
Using Analog-to-Digital Converter Boards .........................................21
How to Set Up An XP8500 .................................................................. 22
Conditioned Inputs (CH0CH3) .....................................................22
Excitation Resistors ......................................................................24
EEPROM ......................................................................................24
Unconditioned Inputs (AIN4AIN10) ............................................ 25
Internal Test Voltages ......................................................................25
Power-Down Mode ......................................................................... 25
Drift .................................................................................................26
Selecting Gain and Bias Resistors .......................................................27
Chapter 4: Software Reference 33
Expansion Board Addresses ................................................................ 34
XP8500 Software ................................................................................. 35
Dynamic C Libraries .......................................................................35
Initialization Software ..................................................................... 36
XP8500 Drivers ..............................................................................37
Other XP8500 Drivers ..................................................................39
Correcting Readings ..................................................................... 44
Sample Program .............................................................................. 44
Advanced XP8500 Programming ........................................................ 47
PLCBus-Level Communication ...................................................... 47

iv sContents XP8500 and Exp-A/D12
Exp-A/D12
Chapter 5: Overview 51
Chapter 6: Getting Started 53
Exp-A/D12 Components ...................................................................... 54
Connecting Expansion Boards to a Z-World Controller ...................... 55
Setting Expansion Board Addresses .................................................... 56
Exp-A/D12 Addresses ..................................................................... 56
Power ................................................................................................... 56
Chapter 7: I/O Configurations 59
Exp-A/D12 Pin Assignments ............................................................... 60
Using Analog-to-Digital Converter Boards .........................................60
How to Set Up An Exp-A/D12 ............................................................61
The Multiplexers .............................................................................62
The Op-Amps .................................................................................. 62
The A/D Converter .......................................................................... 63
Chapter 8: Software Reference 65
Expansion Board Addresses ................................................................ 66
Logical Addresses ........................................................................... 66
Exp-A/D12 Software ........................................................................... 67
The Signal Table ............................................................................. 67
Constants and Data Types ............................................................... 67
A/D Conversion Modes ..................................................................68
General Exp-A/D12 Functions ........................................................69
A/D Conversion ..............................................................................69
Accessing EEPROM ....................................................................... 70
Sample Program .............................................................................. 71

XP8500 and Exp-A/D12 Contents sv
APPENDICES
Appendix A: PLCBus 75
PLCBus Overview ............................................................................... 76
Allocation of Devices on the Bus ........................................................80
4-Bit Devices .................................................................................. 80
8-Bit Devices .................................................................................. 81
Expansion Bus Software ...................................................................... 81
Appendix B: Specifications 87
XP8500 Hardware Specifications ........................................................88
Exp-A/D12 Hardware Specifications ..................................................90
Appendix C: Connecting and Mounting Multiple
Boards 93
Connecting Multiple Boards ................................................................94
Mounting Expansion Boards................................................................96
Appendix D: Simulated PLCBus Connection 97
BL1400 and BL1500 ........................................................................... 98
Appendix E: Technical Circuit Details 99
XP8500 ..............................................................................................100
Voltage Reference ......................................................................... 100
Conversion Modes ........................................................................ 100
Data Conversion............................................................................ 101
Limitations on Output Range ........................................................101
Exp-A/D12 .........................................................................................102
Input Stability ................................................................................102
Effects of the OP6300 on Stability................................................102
Multiplexer Settling Time .............................................................102
Index 105

vi sContents XP8500 and Exp-A/D12
Blank

XP8500 and Exp-A/D12 About This Manual svii
ABOUT THIS MANUAL
This manual provides instructions for installing, testing, configuring, and
interconnecting the Z-World XP8500 and Exp-A/D12 analog-to-digital
conversion expansion boards. Instructions are also provided for using
Dynamic C functions.
Assumptions
Assumptions are made regarding the user's knowledge and experience in
the following areas:
Ability to design and engineer the target system that is controlled by a
controller with analog-to-digital conversion expansion boards.
Understanding of the basics of operating a software program and
editing files under Windows on a PC.
Knowledge of the basics of C programming.
For a full treatment of C, refer to the following texts.
The C Programming Language by Kernighan and Ritchie
C: A Reference Manual by Harbison and Steel
Knowledge of basic Z80 assembly language and architecture for
controllers with a Z180 microprocessor.
For documentation from Zilog, refer to the following texts.
Z180 MPU User's Manual
Z180 Serial Communication Controllers
Z80 Microprocessor Family User's Manual
Knowledge of basic Intel assembly language and architecture for
controllers with an Intel386 EX processor.
For documentation from Intel, refer to the following texts.
Intel386 EX Embedded Microprocessor Users Manual
Intel386 SX Microprocessor Programmers Reference
Manual
$
$
$

XP8500 and Exp-A/D12viii sAbout This Manual
Acronyms
Table 1 lists and defines the acronyms that may be used in this manual.
Icons
Table 2 displays and defines icons that may be used in this manual.
Table 1. Acronyms
Acronym Meaning
EPROM Erasable Programmable Read-Only Memory
EEPROM Electronically Erasable Programmable Read-Only Memory
LCD Liquid Crystal Display
LED Light-Emitting Diode
NMI Nonmaskable Interrupt
PIO Parallel Input/Output Circuit
(Individually Programmable Input/Output)
PRT Programmable Reload Timer
RAM Random Access Memory
RTC Real-Time Clock
SIB Serial Interface Board
SRAM Static Random Access Memory
UART Universal Asynchronous Receiver Transmitter
Table 2. Icons
Icon Meaning Icon Meaning
$
Refer to or see
!
Note
(
Please contact
High Voltage
Caution
7LS
Tip
)'
Factory Default

XP8500 and Exp-A/D12 About This Manual six
Conventions
Table 3 lists and defines the typographical conventions that may be used in
this manual.
Pin Number 1
A black square indicates
pin 1 of all headers.
Measurements
All diagram and graphic measurements are in inches followed by millime-
ters enclosed in parenthesis.
J1
Pin 1
Table 3. Typographical Conventions
Example Description
while Courier font (bold) indicates a program, a fragment of a
program, or a Dynamic C keyword or phrase.
// IN-01… Program comments are written in Courier font, plain face.
Italics Indicates that something should be typed instead of the
italicized words (e.g., in place of filename, type a file’s
name).
Edit Sans serif font (bold) signifies a menu or menu selection.
. . . An ellipsis indicates that (1) irrelevant program text is
omitted for brevity or that (2) preceding program text may
be repeated indefinitely.
[ ] Brackets in a C function’s definition or program segment
indicate that the enclosed directive is optional.
‹ › Angle brackets occasionally enclose classes of terms.
a | b | c A vertical bar indicates that a choice should be made from
among the items listed.

XP8500 and Exp-A/D12xsAbout This Manual
Blank

XP8500

Blank

XP8500 Overview s13
CHAPTER 1: OVERVIEW
Chapter 1 provides an overview and description of the XP8500 analog-to-
digital conversion expansion boards.

XP850014 sOverview
(
The XP8500 provides 11 channels of 12-bit analog-to-digital (A/D)
conversion, with onboard signal conditioning for four of these channels to
match the input voltage range between 0 V and 10 V. Gain and bias
resistors may be selected and installed by the user to determine the voltage
ranges of the conditioned input signals.
The XP8500 may be operated either in a ratiometric mode (a mode that
reduces errors arising from power-supply variations) or in an absolute
mode (where an onboard precision voltage reference assures accurate
measurements). The printed circuit board has space for optional sensor-
excitation resistors.
Each XP8500 has its zero offset and gain for the four conditioned channels
stored in an onboard, serial EEPROM. An application can use library
functions to access the EEPROMs calibration constants to correct
measurements for offset and gain error.
The XP8500 receives its power from the PLCBus +24 V and +5 V. An
onboard voltage regulator develops a clean +5 V supply for the boards
analog circuitry from the +24 V PLCBus. The same version of the
XP8500 works with both +12 V and +24 V controllers.
Like other Z-World expansion boards, the XP8500 boards can be installed
in modular plastic circuit-board holders attached to a DIN rail. The
XP8500 boards can also be mounted, with plastic standoffs, on any surface
that will accept screws. Up to 16 XP8500 boards addresses are possible
on a single PLCBus.
For ordering information, call your Z-World Sales Representa-
tive at (530) 757-3737.

XP8500 Getting Started s15
CHAPTER 2: GETTING STARTED
Chapter 2 provides instructions for connecting XP8500 expansion boards
to a Z-World controller. The following sections are included.
XP8500 Components
Connecting Expansion Boards to a Z-World Controller
Setting Expansion Board Addresses
Power

XP850016 sGetting Started
XP8500 Components
The XP8500 boards offer eleven channels of 12-bit analog-to-digital
conversion. Figure 2-1 illustrates the basic layout and orientation of
components, headers, and connectors.
Figure 2-1. XP8500 Board Layout
P1
P2
H1
U1
J2 J1
H2
Regulator
U8
PAL
U9
C11
J3
U5
U2
U7
U3
U6
J4J5
RP4
RP3
Gain and Bias
Resistors

XP8500 Getting Started s17
Connecting Expansion Boards to a Z-World
Controller
Use the 26-conductor ribbon cable supplied with an expansion board to
connect the expansion board to the PLCBus on a Z-World controller. See
Figure 2-2. The expansion boards two 26-pin PLCBus connectors, P1 and
P2, are used with the ribbon cable. Z-World recommends using the cable
supplied to avoid any connection problems.
Figure 2-2. Connecting XP8500 Expansion Board to Controller PLCBus
Be sure power to the controller is disconnected before adding
any expansion board to the PLCBus.
Follow these steps to connect an expansion board to a Z-World controller.
1. Attach the 26-pin ribbon cable to the expansion boards P2 PLCBus
header.
2. Connect the other end of the ribbon cable to the PLCBus port of the
controller.
Be sure pin 1 of the connector cable matches up with pin 1 of
both the controller and the expansion board(s).
3. If additional expansion boards are to be added, connect header P2 on
the new board to header P1 of the board that is already connected.
Lay the expansion boards side by side with headers P1/H1 and P2/H2
on adjacent boards close together, and make sure that all expansion
boards are facing right side up.
See Appendix C, Connecting and Mounting Multiple
Boards, for more information on connecting multiple expan-
sion boards.
Controller
PLCBus Port
Controller With PLCBus
H1
U1
H2
U8
PAL
U9
C11
J3
U5
U2
U7
U3
U6
P1
XP8500
P2
1
Pin 1
$

XP850018 sGetting Started
4. Each expansion board comes with a factory-default board address. If
more than one expansion board of each type is to be used, be sure to
set a unique address for each board.
The following section on Setting Expansion Board Ad-
dresses, and Chapter 4, Software Reference, provide details
on how to set and use expansion board addresses.
5. Power may be applied to the controller once the controller and the
expansion boards are properly connected using the PLCBus ribbon
cable.
See Appendix D, Simulated PLCBus Connection, for details
on the special connections that enable XP8500 expansion
boards to be used with BL1400 and BL1500 controllers.
Setting Expansion Board Addresses
Z-World has established an addressing scheme for the PLCBus on its
controllers to allow multiple expansion boards to be connected to a
controller.
Remember that each expansion board must have a unique
PLCBus address if multiple boards are to be connected. If two
boards have the same address, communication problems will
occur that may go undetected by the controller.
XP8500 Addresses
XP8600 expansion boards are shipped from the factory with no pins on
header J4 or J5 connected. Four different PALs are available. There are
four different ways to configure the pair of pins on header J4 and J5, and
so up to 16 XP8500s may be addressed individually over a single PLCBus.
See Chapter 4, Software Reference, for further details on
how to determine the physical address for XP8500 expansion
boards based on whether the pins on header J4 or header J5 are
connected.
Power
Z-Worlds expansion boards receive power from the controller over the
+24 V line of the PLCBus. An onboard regulator converts this to the +5V
reference used by the XP8500. The XP8500 draws 32 mA at +24 V.
The XP8500 may be used with +12 V controllers without having any
modifications.
$
$
!
$

XP8500 I/O Configurations s19
CHAPTER 3: I/O CONFIGURATIONS
Chapter 3 describes the built-in flexibility of the XP8500 expansion
boards, and describes how to configure the available inputs/outputs. The
following sections are included.
XP8500 Pin Assignments
Operating Modes
Using A/D Converter Boards
How to Set Up an XP8500
Selecting Gain and Bias Resistors

XP850020 sI/O Configurations
XP8500 Pin Assignments
The XP8500s eleven 12-bit analog-to-digital converter channels are ac-
cessed through Wago connector H1 (conditioned channels CH0CH3) and
header H2 (unconditioned channels AIN4AIN10), as shown in Fig-
ure3-1. The bias voltage set by J1, VREF+, is available on header H2,
and +5 V (analog) is available on both Wago connector H1 and header H2.
Figure 3-1. XP8500 Pin Assignments
Operating Modes
The XP8500 operates in an absolute mode (as configured in the factory),
or in a ratiometric mode. Jumpers J1 and J2 configure the XP8500 to
operate in either the absolute or ratiometric mode. J1 selects the reference
voltage supplied to the op-amps bias networks, and J2 selects the reference
voltage supplied to the A/D converter chip. Figure 3-2 summarizes the
jumper connections.
Figure 3-2. XP8500 Jumper Settings for Absolute or Ratiometric Modes
H1
GND
CH0
CH1
GND
CH2
CH3
GND
+5ANA
10
12
12
34
56
78
9
11
13 14
GND
GND
GND
GND
GND
VREF+
+5ANA
AIN10
AIN9
AIN8
AIN7
AIN6
AIN5
AIN4
H2
J1
Absolute Mode
J2
FD
J1
J2
Ratiometric Mode
This manual suits for next models
1
Table of contents
Other Z-World Computer Hardware manuals
Popular Computer Hardware manuals by other brands

Thermaltake
Thermaltake Floe Ultra 360 RGB manual

Snell Advanced Media
Snell Advanced Media IQEDGE-25-6B user manual

Elenco Electronics
Elenco Electronics K-23 Assembly and instruction manual

AK-NORD
AK-NORD AK-ADSL manual

Tech N
Tech N GPU Waterblock RX 6800 user manual

Thermaltake
Thermaltake Level 10 GT Battle Edition VN10008W2N user manual