manuals.online logo
Brands
  1. Home
  2. •
  3. Brands
  4. •
  5. ZANKER
  6. •
  7. Dishwasher
  8. •
  9. ZANKER ZKDW14 User manual

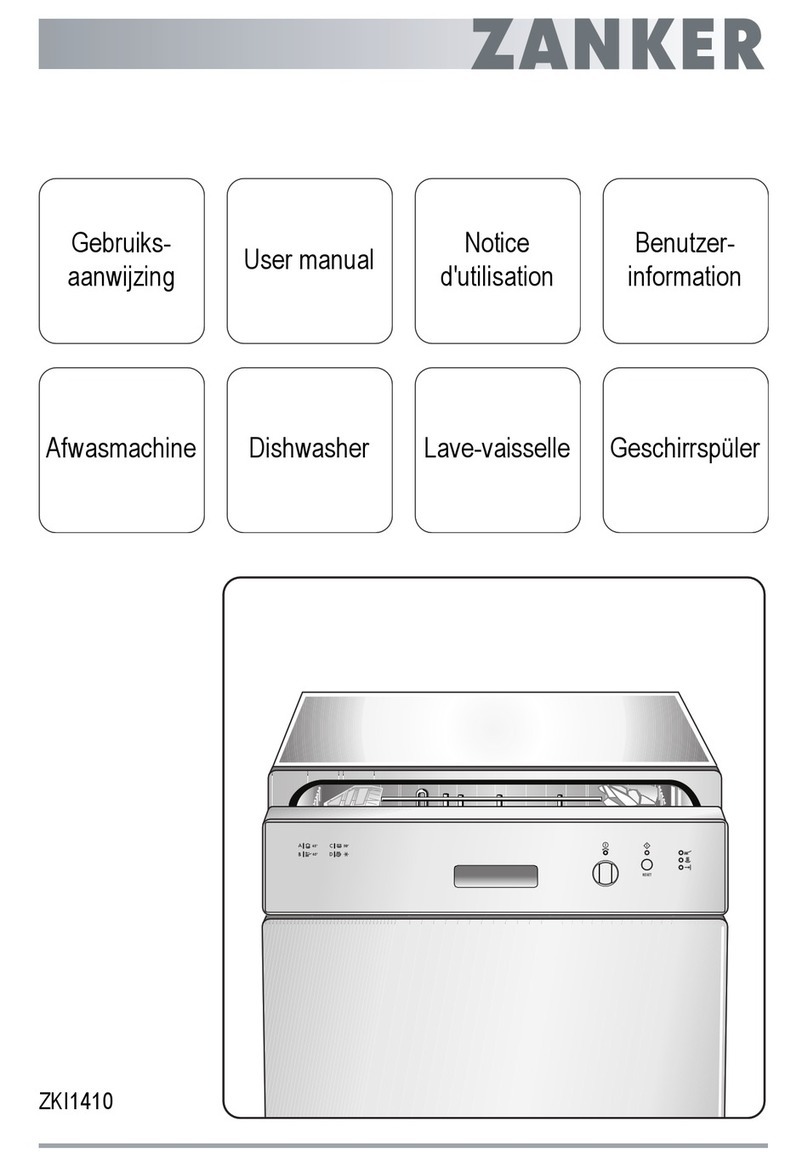
ZANKER ZKDW14 User manual

Geschirrspüler ZKDW 14
Dishwasher
Bedienungsanleitung (Teil 2) 2
Instruction ook (part 2) 9
9
The control panel
1. On/Off indicator light
2. On/Off push utton
3. Programme guide
4. Door handle
5. Programme marker
6. Programme selector dial
7. Programme sequence indicator
As the programme progresses, the programme
selector dial turns, to show the phase in the wash
programme the appliance has reached.
Prewash / Rinse and Hold
Wash
Cold rinse
Hot rinse
Drying
Description of the appliance
1. Water hardness adjustment
2. Levelling spacers
3. Upper basket stop
4. Salt container
5. Large ilter
6. Detergent dispenser
7. Control panel
8. Rating plate
9. Rinse aid dispenser
10. Central ilter
11. Lower spray arm
12. Upper spray arm
13. Upper basket
14. Worktop
1
2
3
4
5
6
7
8
9
10
11
12
13
14
IN68
10
Washing programmes
Programme Degree of soil
and
type of load
Required
push uttons Recommended
quantity of detergent
wash prewash
Starting position
of the
programme
selector
Normal soil.
Crockery and cutlery
Light soil.
Crockery and cutlery
Light soil.
Crockery and party
crockery
Any.
Partial load (to be
completed later in
the day).
Cycle description
Main wash up to 65°C
1 cold rinse
1 hot rinse
Drying
Cold prewash
Main wash up to 65°C
1 cold rinse
1 hot rinse
Drying
Main wash up to 65°C
1 cold rinse
1 hot rinse
1 cold rinse
(to avoid ood scraps
rom sticking together).
*Testing programme or EN 50242. (see "Hints or test centres").
** This is a speciaal programme or quick washing a ull load o lightly soiled dishes, glasses and crockery (except pots) so
that you may re-use promptly.
On/Off
On/Off
On/Off
On/Off
25 g 5 g
30 g /
30 g /
//
A
B
C
D
*Normal 65°C
with prewash
** Quick wash
65°C
Normal 65°C
no prewash
Rinse and Hold
11
1. Check the filters
Ensure that they are clean and properly positioned.
(See "Maintenance and cleaning" - Instruction
ook - Part 1)
2. Check that there is rinse aid and
salt
(See Instruction ook - Part 1)
3. Load the dishes
Remove any scraps o ood.
Pull the lower basket out and arrange the
saucepans, plates and cutlery in it.
Pull the upper basket out and arrange the plates,
saucers, glasses and cups etc. in it.
Slide the baskets back into the machine.
4. Ensure that the spray arms can
rotate freely
5. Measure out detergent
Add the detergent into the dispenser according to
the dosage quantity given in the "Washing
programmes" chart.
Close the detergent dispenser lid.
6. Close the dishwasher door
7. Set the programme
Turn the programme selector dial clockwise until
the letter o the programme you wish to select
corresponds with the programme marker on the
control panel.
8. Start the programme
Depress the On/O push button.
The On/O indicator light will come on and the
machine will start.
I you wish to interrupt the washing programme at
any time press this button again.
9. At the end of the washing
programme
At the end o the programme the dishwasher will
automatically stop.
The On/O indicator light remains on until the On/O
push button is depressed.
10. Switch off the dishwasher
Switch o the dishwasher by pressing the On/O
push button.
Wait 15/20 minutes efore opening the
dishwasher’s door; in this way you will avoid
burning yoursel when removing the dishes and
avoid also the damage o the nearby urniture
caused by the escape o steam.
Empty the lower basket irst and then the upper one;
this will avoid water dripping rom the upper basket
onto the dishes in the lower one.
When the washing programme has finished, it
is recommended that the dishwasher is
unplugged and the water tap turned off.
In general it is not advisa le to open the door
while the machine is working; if the door is
opened however, a safety device ensures that
the machine stops.
Important!
Care must e taken if the door is opened during
the hot phase or immediately after a
programme has finished, as steam may escape.
Operating sequence
12
Loading your appliance
Be ore placing dishes in the machine, remove any scraps o
ood, to avoid clogging the ilters and consequently reducing
the per ormance.
Do not load very small items which can fall
through the askets.
The lower asket
The lower basket is designed to take saucepans, lids,
plates, salad bowls, cutlery etc.
Large dishes and lids should be arranged around the edge
o the basket, ensuring that the upper spray arm can turn
reely.
The cutlery asket
Long laded knives stored in an upright position
are a potential hazard.
Long and/or sharp items of cutlery such as
carving knives must e positioned horizontally in
the upper asket.
Take care when loading or unloading sharp items
such as knives.
Cutlery should be placed in the removable cutlery basket
with the handles acing downwards.
I the handles protrude rom the bottom o the basket,
obstructing the lower spray arm, load the cutlery with the
handles acing upwards.
Mix spoons with other cutlery to prevent them rom sticking
together.
Silver cutlery tends to go black i mixed with steel cutlery.
Place it in the cutlery basket separate rom the others.
Using your appliance
UI49
UI19
UI04
13
The upper asket
The upper basket is designed or plates (dessert plates,
saucers, dinner plates o up to 25 cm in diameter), salad
bowls, cups and glasses.
Arrange items so that water can reach all sur aces.
Light items (plastic bowls etc.) should be loaded in the upper
basket and arranged so they do not move.
In case that plates are loaded in the upper
basket:
load them starting from the rear positions of the basket;
tilting them slightly forwards and avoiding the front positions
near the door.
Before closing the door, ensure that the spray
arms can rotate freely.
Adjusting the height of the upper
asket
I washing very large plates (over 27 cm and up to 32 cm in
diameter) you can load them in the lower basket a ter
moving the upper basket to the higher position.
To move to the higher position proceed as follows:
1. Move the ront runner stops (A) o the upper basket
outward and slide the basket out.
2. Re it the basket in the higher position and replace the
stops (A) in their original position.
When the top asket is in the higher position it
will only take plates up to 20 cm in diameter and
you will not e a le to use the cup racks.
After loading your machine always close the
door, as an open door can e a hazard.
US64
A
RC01
US71
Be ore starting any test it is necessary to ill completely with salt the salt container and with rinse aid the rinse aid
dispenser.
Hints for test centres
Test standard: EN 50242
Re erence programme: Normal 65°C with prewash
Load: 12 standard place settings
Rinse aid selector: position 5
Detergent dosage: 25 g in the dispenser
5 g on the dispenser lid
14
Dimensions Width 60 cm
Height with worktop 85 cm
Height without worktop 82 cm
Max depth 60 cm
Max depth with open door 115.2 cm
Electrical connection Voltage 230 V - 50 Hz
Motor rating during wash 200 W
Power o heating element 2100 W
Overall power 2300 W
Water supply pressure Minimum 50 kPa (0.5 bar)
Maximum 800 kPa (8 bar)
Water supply connection Water cold/hot cold
Capacity 12 place settings
Technical specifications
Arrangement upper basket Arrangement lower basket
15
Fitting under a counter
(kitchen worktop or sink)
By removing the machine’s worktop, you can install it under
a close itting sink unit or a pre-existing top, providing the
dimensions o the recess correspond to those shown in the
picture.
Proceed as follows:
- Remove the machine’s worktop by unscrewing the
two rear retaining screws, pull rom the ront and
slide out the rear slots, li ting the worktop.
Insert the machine a ter adjusting height and levelling with
the adjustable eet. When inserting the machine, ensure that
the water inlet and drain hoses are not kinked or squashed.
Levelling
Good levelling is essential or correct closure and sealing o
the door.
When the appliance is correctly levelled, the door will not
catch on the levelling spacers on either side o the cabinet.
I the door does not close correctly, loosen or tighten the
adjustable eet until the machine is per ectly level.
820
570 - 600
600
IN05
GBD
152976 48/0 0 08/01

This manual suits for next models

3

Other ZANKER Dishwasher manuals

ZANKER KDV10030FA User manual

ZANKER

ZANKER KDV10030FA User manual

ZANKER ZKS 5453 IE User manual

ZANKER

ZANKER ZKS 5453 IE User manual

ZANKER ZKI1530 User manual

ZANKER

ZANKER ZKI1530 User manual

ZANKER KDT10001FB User manual

ZANKER

ZANKER KDT10001FB User manual

ZANKER KDT10053FK User manual

ZANKER

ZANKER KDT10053FK User manual

ZANKER ZKS 5640 User manual

ZANKER

ZANKER ZKS 5640 User manual

ZANKER ZKI1410 User manual

ZANKER

ZANKER ZKI1410 User manual

ZANKER ZKS 5644 User manual

ZANKER

ZANKER ZKS 5644 User manual

ZANKER KDT10000 User manual

ZANKER

ZANKER KDT10000 User manual

ZANKER ZKI1415 User manual

ZANKER

ZANKER ZKI1415 User manual

ZANKER KDT10042FK User manual

ZANKER

ZANKER KDT10042FK User manual

ZANKER ZKS 5619 IE User manual

ZANKER

ZANKER ZKS 5619 IE User manual

ZANKER ZKI1530 User manual

ZANKER

ZANKER ZKI1530 User manual

ZANKER ZKS5444 User manual

ZANKER

ZANKER ZKS5444 User manual

ZANKER ZKS5653XL User manual

ZANKER

ZANKER ZKS5653XL User manual

ZANKER ZKS 5618 IE User manual

ZANKER

ZANKER ZKS 5618 IE User manual

ZANKER ZKS 5684 User manual

ZANKER

ZANKER ZKS 5684 User manual

ZANKER ZKVS1530 User manual

ZANKER

ZANKER ZKVS1530 User manual

ZANKER KDI10000XK User manual

ZANKER

ZANKER KDI10000XK User manual

ZANKER KDT11002FK User manual

ZANKER

ZANKER KDT11002FK User manual

ZANKER KDI11002XK User manual

ZANKER

ZANKER KDI11002XK User manual

ZANKER ZKVS 1530 User manual

ZANKER

ZANKER ZKVS 1530 User manual

ZANKER KDI10000XB User manual

ZANKER

ZANKER KDI10000XB User manual

ZANKER ZKS5453IE User manual

ZANKER

ZANKER ZKS5453IE User manual

Popular Dishwasher manuals by other brands

Euromaid EDWB14G user manual

Euromaid

Euromaid EDWB14G user manual

Electrolux FAVORIT 55090I user manual

Electrolux

Electrolux FAVORIT 55090I user manual

AEG FAVORIT 65050 VI User instructions

AEG

AEG FAVORIT 65050 VI User instructions

Bosch SMS2HTI54E user manual

Bosch

Bosch SMS2HTI54E user manual

Zanussi ZDLN1512 user manual

Zanussi

Zanussi ZDLN1512 user manual

Beko DVS04020W user manual

Beko

Beko DVS04020W user manual

inventum IVW6008AXL user manual

inventum

inventum IVW6008AXL user manual

Nikkei VNDW12BI user manual

Nikkei

Nikkei VNDW12BI user manual

AEG FAVORIT 88705 IM0P user manual

AEG

AEG FAVORIT 88705 IM0P user manual

GE Triton GSD5900G owner's manual

GE

GE Triton GSD5900G owner's manual

Zanussi DWS 949 Instruction booklet

Zanussi

Zanussi DWS 949 Instruction booklet

Bosch SHV4HCX48E user manual

Bosch

Bosch SHV4HCX48E user manual

arcelik 6566 I user manual

arcelik

arcelik 6566 I user manual

Teka DW9 70 FI instruction manual

Teka

Teka DW9 70 FI instruction manual

Bosch SMS50E92GC instruction manual

Bosch

Bosch SMS50E92GC instruction manual

elvita CDM2450V user manual

elvita

elvita CDM2450V user manual

Bosch SMD6ZDX49E user manual

Bosch

Bosch SMD6ZDX49E user manual

Bertazzoni DW 24XV Use & care manual

Bertazzoni

Bertazzoni DW 24XV Use & care manual

manuals.online logo
manuals.online logoBrands
  • About & Mission
  • Contact us
  • Privacy Policy
  • Terms and Conditions

Copyright 2025 Manuals.Online. All Rights Reserved.