manuals.online logo
Brands
  1. Home
  2. •
  3. Brands
  4. •
  5. Zanussi
  6. •
  7. Dishwasher
  8. •
  9. Zanussi ZDT 6253 User manual

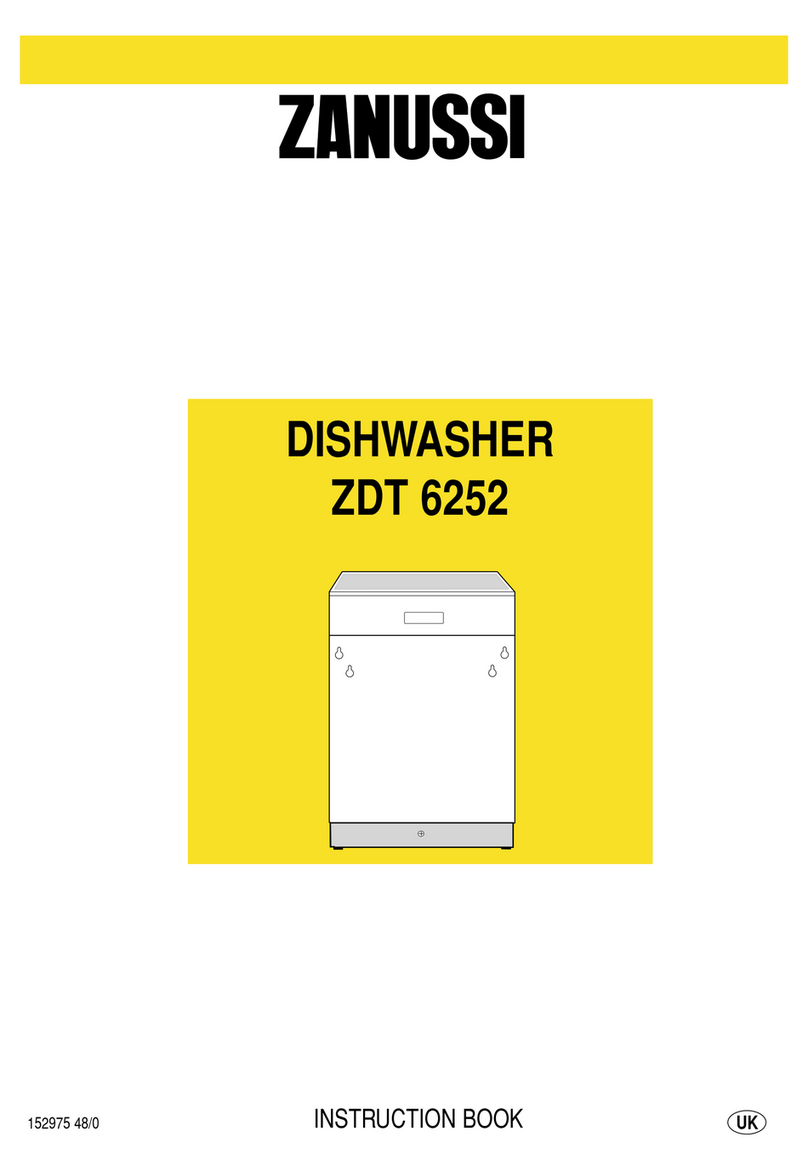
Zanussi ZDT 6253 User manual

DISHWASHER
ZDT 6253
INSTRUCTION BOOK
152975 52/0 UK
COP04
In this fully integrated appliance the controls are located on
the top of the door. When selecting a programme, the door
needs to be open.
1. On/Off push button
2. Half load push button
This option is very useful and economical hen only a
fe dishes need ashing.
Load crockery and cutlery only in the lower basket.
3. Salt indicator light
See Instruction Book - part 1
4. On/Off indicator light
5. rogramme selection push buttons
6. End of cycle indicator light
Audible signals
Audible signals have been introduced to help indicate hich
operations the dish asher is performing.
Short "instruction accepted" signal
When any of the push buttons are pressed (except the
On/Off push button), a short audible signal informs you that
the machine has accepted the instruction given.
Long "programme run" signal
A continuous audible signal, heard only hen you close the
door, informs you that the ashing programme is starting.
Intermittent "end of programme" signal
An intermittent audible signal informs you that the ash
programme has ended.
To deactivate the audible signals, press simultaneously and
keep pressed both 3and 4push buttons, during the pressure
of the push buttons an intermittent audible signal ill be heard
for about 3 seconds, after this time the audible signal ill turn
off, this means that the audible signals have been deactivated.
To reactivate the audible signals, press simultaneously and
keep pressed both 3and 4push buttons, during the pressure
of the push buttons an intermittent audible signal ill be heard
for about 3 seconds, after this time an intermittent audible
signal ill start, this means that the audible signals have been
reactivated.
Both operations (to deactivate or reactivate the audible
signals) must be carried out before starting a washing
programme; the setting will remain memorised after
switching off the dishwasher.
The control panel
SO323
2
1. Levelling spacers
2. Upper basket stop
3. Upper spray arm
4. Salt container
5. Large filter
6. Detergent dispenser
7. Control panel
8. Rating plate
9. Rinse aid dispenser
10. Central filter
11. Lo er spray arm
12. Upper basket
13. "SID" detergent dispenser (Super Intensity Dispenser)
1
2
3
4
5
6
7
8
9
10
11
12
13
IN84
Description of the appliance
3
*Testing programme for EN 50242 (see "Hints for Test Centres).
** This is a special programme for quick ashing a full load of lightly soiled dishes, glasses and crockery (except pots) so that you
may re-use them promptly
Washing programmes
rogramme Type of load
and
degree of soil
Required
push buttons
Any. Partial load (to be
completed later in the day)
Heavy soil.
Crockery, cutlery, pots and
pans
Normal soil.
Crockery and cutlery
Normal soil.
Crockery and cutlery
Light soil.
Crockery, cutlery and party
crockery
Cycle
description
Recommended
quantity of detergent
wash prewash
RINSE AND
HOLD
INTENSIVE
70°c
NORMAL
65°c
*BIO
50°c
** QUICK
50°c
20 g 10 g
25 g 5 g
25 g 5 g
//
30 g /
1 cold rinse (to avoid food
scraps from sticking together)
Hot pre ash
Main ash up to 70°C
2 cold rinses
1 hot rinse
Active drying
Cold pre ash
Main ash up to 65°C
1 cold rinse
1 hot rinse
Active drying
Cold pre ash
Main ash up to 50°C
1 cold rinse
1 hot rinse
Active drying
Main ash up to 50°C
1 cold rinse
1 hot rinse
On/Off
+
RINSE AND HOLD
On/Off
+
INTENSIVE 70°c
On/Off
+
NORMAL 65°c
On/Off
+
BIO 50°c
On/Off
+
QUICK 50°c
This dish asher model is
supplied ith the SID
detergent dispenser, located
in the centre of the upper
basket. In this case add the
required detergent for the
pre ash in the SID.
Check that the SID is not
clogged ith detergent
residue. If necessary rinse it
under running ater after
having removed it from the
basket by t isting it
anticlock ise and pulling it
up ards.
Fasten it back onto the
support by turning it
clock ise.
Never use our dishwasher without the SID dispenser.
Since SID also ensures correct distribution of the water to
the upper spray arm, running the dishwasher without it
will impair the washing results.
MA12
DE14
1. Check the filters
Ensure they are clean and properly positioned (see
"Maintenance and cleaning").
2. ress the On/Off push button
The On/Off indicator light comes on.
3. Check that there is rinse aid and salt
4. Load the dishes
Remove any scraps of food.
Pull the lo er basket out and arrange the saucepans,
plates and cutlery in it.
Pull the upper basket out and arrange the plates,
saucers, glasses and cups etc. in it.
Slide the baskets back into the machine.
If half load option is selected remember to arrange
crockery and cutlery only in the lower basket.
5. Ensure that the spray arms can
rotate freely
6. Measure out detergent
Add the required amount of detergent according to the
dosage quantity given in the "Washing programmes"
chart.
If you select the half load option remember to reduce the
quantity of detergent.
Close the detergent dispenser lid.
7. Set the programme
The selection of the programme occurs ith the open
door.
Press the programme push button hich corresponds to
the ashing programme you ish to select, the
corresponding indicator light ill flash.
If you ant to change ashing programme, simply press
another programme push button.
8. Start the programme
Close the door.
An audible signal advises you that the programme has
started.
The indicator light hich corresponds to the programme
under ay is no permanently on.
9. At the end of the washing
programme
The dish asher ill automatically stop and an audible
signal informs you that the programme has ended.
The "end of cycle" indicator light flashes.
The On/Off indicator light remains on until the On/Off
push button is depressed.
Wait until the end of the audible signal before opening
the door.
10. Switch off the dishwasher
Open the door and s itch off the dish asher by
pressing the On/Off push button.
Wait a fe minutes before removing the dishes; in this
ay they ill be cooler.
Empty the lo er basket first and then the upper one; this
ill avoid ater dripping from the upper basket onto the
dishes in the lo er one.
11. Cancel a programme
To change a programme in progress, open the door and
press the push button of the programme under ay for
more then 1 second, until the corresponding indicator
light goes out.
The dish asher is no reset and you can select a ne
programme.
Important!
In general it is not advisable to open the door while the
machine is working; if the door is opened however, a
safety device ensures that the machine stops.
Care must be taken if the door is opened during the hot
phase or immediately after a programme has finished, as
steam may escape.
When the washing programme has finished, it is
recommended that the dishwasher is unplugged and the
water tap turned off.
4
Operating sequence
Loading your appliance
Before placing dishes in the machine, remove any scraps of
food, to avoid clogging the filters and consequently reducing
the performance.
Do not load very small items which can fall through the
baskets.
Open the door and slide out the baskets to load the dishes.
The lower basket
The lo er basket is designed to take saucepans, lids, plates,
salad bo ls, cutlery etc.
Serving dishes and large lids should be arranged around the
edge of the basket, ensuring that the upper spray arm can
turn freely.
The cutlery basket
Long bladed knives stored in an upright position are a
potential hazard.
Long and/or sharp items of cutlery such as carving knives
must be positioned horizontally in the upper basket.
Take care when loading or unloading sharp items such as
knives.
Cutlery should be placed in the removable cutlery basket ith
the handles facing do n ards.
If the handles protrude from the bottom of the basket,
obstructing the lo er spray arm, load the cutlery ith the
handles facing up ards.
Mix spoons ith other cutlery to prevent them from sticking
together.
Silver cutlery tends to go black if mixed ith steel cutlery.
Place it in the cutlery basket separate from the others.
For best results e recommend to use the cutlery grids
provided (if the size and dimensions of the cutlery allo it).
The cutlery basket is in t o parts hich can be separated to
give greater loading flexibility. To separate the t o parts, slide
them horizontally in opposite directions and pull them apart. to
reassemble, reverse the procedure.
The upper basket
The upper basket is designed for plates (dessert plates,
saucers, dinner plates of up to 24 cm in diameter), salad
bo ls, cups and glasses.
Arrange items so that ater
can reach all surfaces.
Glasses ith long stems can
be placed upside do n in the
cup racks.
Light items (plastic bo ls
etc.) should be loaded in the
upper basket and arranged
so they do not move.
In case that plates are loaded in the upper
basket:
load them starting from the
rear positions of the basket,
tilting them forwards and
avoiding the front positions
near the door.
Attention!
Before closing the door, ensure that the spray arms can
rotate freely.
Adjusting the height of the upper
basket
If ashing very large plates (over 27 cm and up to 31 cm in
diameter) you can load them in the lo er basket after moving
the upper basket to the higher position.
To move to the higher position proceed as follows:
1. Move the front runner
stops (A) of the upper
basket out ards and slide
the basket out.
2. Refit the basket in the
higher position and
replace the stops (A) in
their original position.
When the top basket is in the higher position it ill only take
plates up to 20 cm in diameter and you ill not be able to use
the cup racks.
Attention!
After loading your machine always close the door, as an
open door can be a hazard.
5
Using your appliance
UI63
UI62
UI48
UI21
US47
A
RC01
US71

Other manuals for ZDT 6253

2

Other Zanussi Dishwasher manuals

Zanussi DS30 User manual

Zanussi

Zanussi DS30 User manual

Zanussi DCS11 User manual

Zanussi

Zanussi DCS11 User manual

Zanussi ZT 6910 User manual

Zanussi

Zanussi ZT 6910 User manual

Zanussi ZP 3626 User manual

Zanussi

Zanussi ZP 3626 User manual

Zanussi ZDF4010 X User manual

Zanussi

Zanussi ZDF4010 X User manual

Zanussi ZDT 6255 User manual

Zanussi

Zanussi ZDT 6255 User manual

Zanussi ZD 694 User manual

Zanussi

Zanussi ZD 694 User manual

Zanussi ZWS 744 User manual

Zanussi

Zanussi ZWS 744 User manual

Zanussi ZDI 6743 User manual

Zanussi

Zanussi ZDI 6743 User manual

Zanussi DS 22 User manual

Zanussi

Zanussi DS 22 User manual

Zanussi DE 4944 User manual

Zanussi

Zanussi DE 4944 User manual

Zanussi ZDV14003FA User manual

Zanussi

Zanussi ZDV14003FA User manual

Zanussi DW401/A Quick reference guide

Zanussi

Zanussi DW401/A Quick reference guide

Zanussi ZDI 6254 User manual

Zanussi

Zanussi ZDI 6254 User manual

Zanussi ZDV14002FA User manual

Zanussi

Zanussi ZDV14002FA User manual

Zanussi ZP 3796 User manual

Zanussi

Zanussi ZP 3796 User manual

Zanussi ZDI11001 User manual

Zanussi

Zanussi ZDI11001 User manual

Zanussi ZDSN151X2 User manual

Zanussi

Zanussi ZDSN151X2 User manual

Zanussi DW 65 TCR Operating and safety instructions

Zanussi

Zanussi DW 65 TCR Operating and safety instructions

Zanussi ZDI26001XA User manual

Zanussi

Zanussi ZDI26001XA User manual

Zanussi ZT 6810 User manual

Zanussi

Zanussi ZT 6810 User manual

Zanussi ZDSN653X1 User manual

Zanussi

Zanussi ZDSN653X1 User manual

Zanussi DE 6965 User manual

Zanussi

Zanussi DE 6965 User manual

Zanussi ZDI 6052 User manual

Zanussi

Zanussi ZDI 6052 User manual

Popular Dishwasher manuals by other brands

Samsung DW-FN320T user manual

Samsung

Samsung DW-FN320T user manual

LG LDS 5811WW Service manual

LG

LG LDS 5811WW Service manual

Elba EDW-B1462D owner's manual

Elba

Elba EDW-B1462D owner's manual

VESTEL NOVUS Series Service manual

VESTEL

VESTEL NOVUS Series Service manual

Bosch SMS4EMW00E Instructions for use

Bosch

Bosch SMS4EMW00E Instructions for use

Global-Tek GT-CR 2 manual

Global-Tek

Global-Tek GT-CR 2 manual

Smeg Dishwasher 85028 Instructions for installation and use

Smeg

Smeg Dishwasher 85028 Instructions for installation and use

LG LD-4080W Service manual

LG

LG LD-4080W Service manual

Bauknecht GCF 625 operating instructions

Bauknecht

Bauknecht GCF 625 operating instructions

Sharp QW-HX13F47EI-EU user manual

Sharp

Sharp QW-HX13F47EI-EU user manual

Asko D5536XLFI operating instructions

Asko

Asko D5536XLFI operating instructions

Modena WP 7134 WVM User manual book

Modena

Modena WP 7134 WVM User manual book

Beko DFN39340X instruction manual

Beko

Beko DFN39340X instruction manual

AEG FAVORIT 65050 VI1P user manual

AEG

AEG FAVORIT 65050 VI1P user manual

Siemens SN23HI37VE user manual

Siemens

Siemens SN23HI37VE user manual

Maytag MDB4651AWB - Tall Tub Dishwasher User instructions

Maytag

Maytag MDB4651AWB - Tall Tub Dishwasher User instructions

Hotpoint Ariston LL 42 Instruction book

Hotpoint Ariston

Hotpoint Ariston LL 42 Instruction book

Siemens SN45ZW56CS user manual

Siemens

Siemens SN45ZW56CS user manual

manuals.online logo
manuals.online logoBrands
  • About & Mission
  • Contact us
  • Privacy Policy
  • Terms and Conditions

Copyright 2025 Manuals.Online. All Rights Reserved.