4
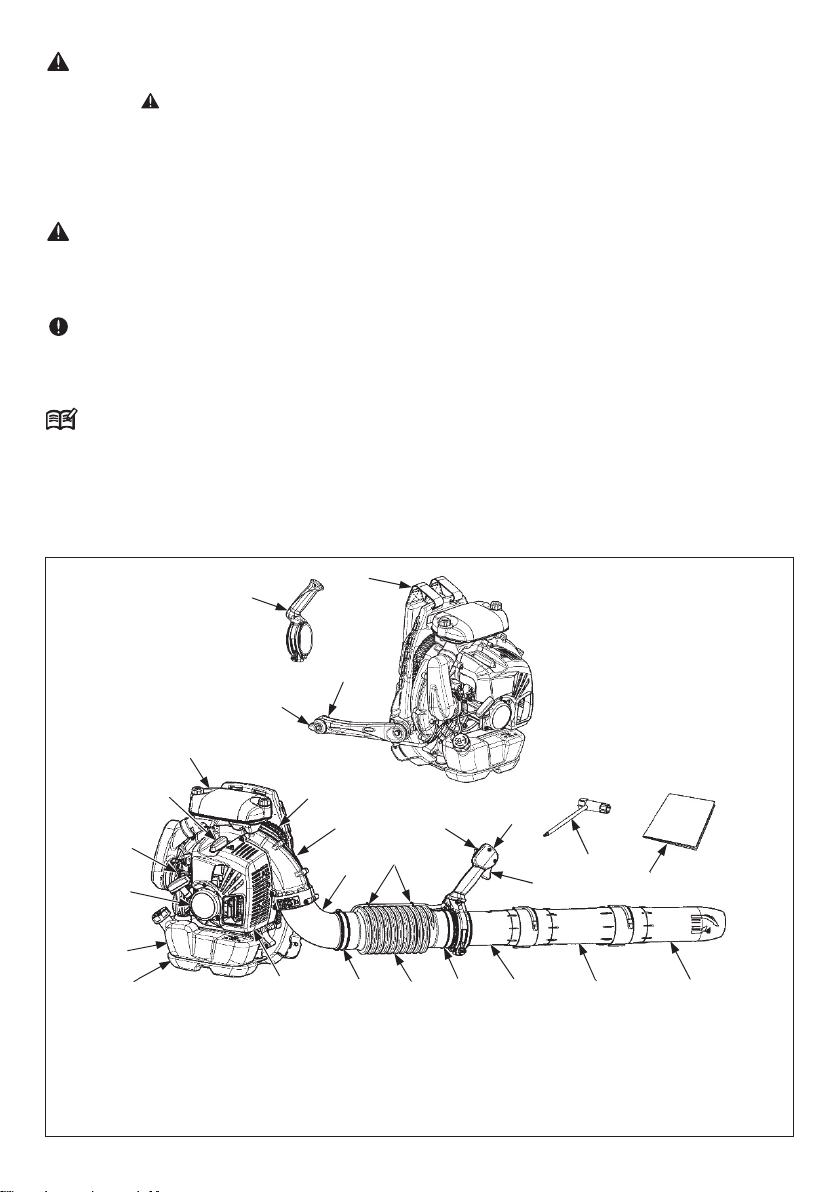
EBZ7500/ EBZ7500RH
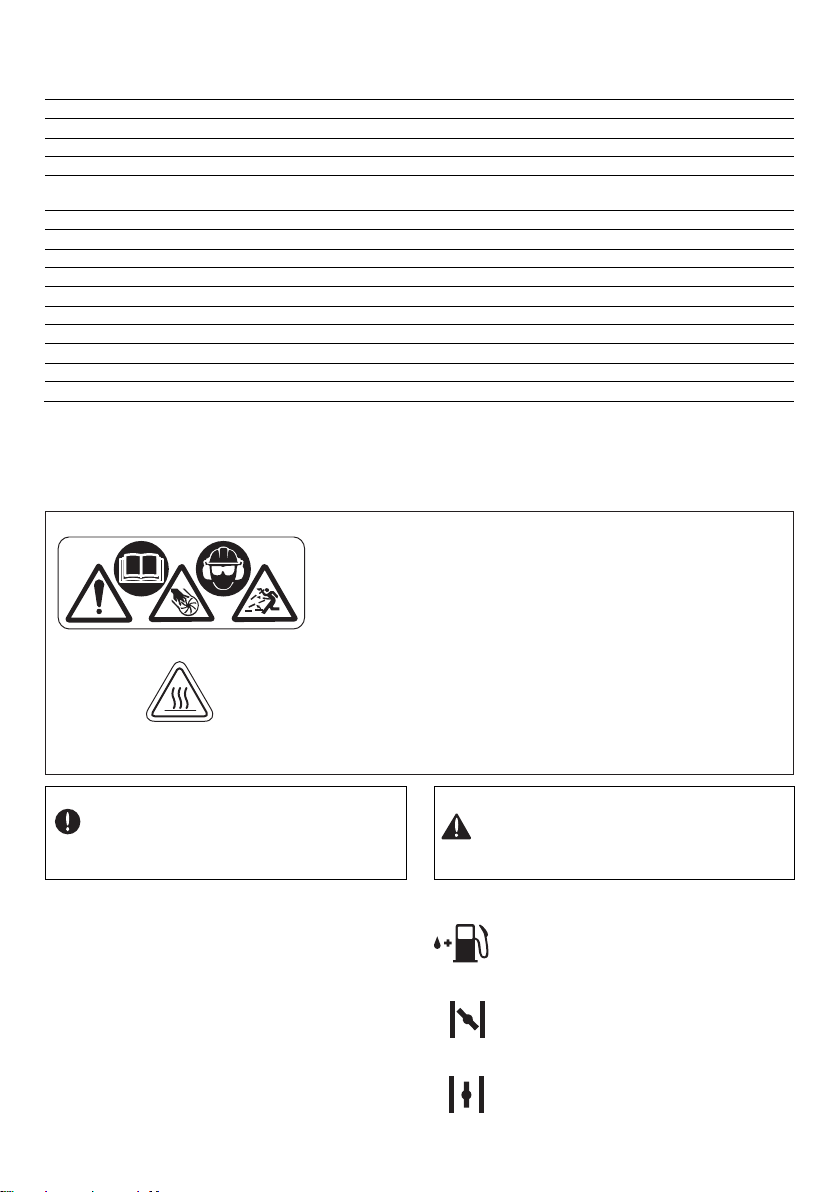
5. For safe operation
ARNING
1. Read this manual carefully un-
til you completely understand
and follow all safety and oper-
ating instructions.
2. Keep this manual handy so
that you may refer to it later
whenever any questions arise.
Also note, if you have any
questions which cannot be
answered herein, contact the
dealer from whom you pur-
chased the product.
3. Always be sure to include this
manual when selling, lending,
or otherwise transferring the
ownership of this product.
4. Do not lend or rent your ma-
chine without the owner’s
manual.
5. Be sure that anyone using
your unit understands the in-
formation contained in this
manual.
6. Never let a child under 13
years old use the machine.
7. Long-term exposure to noise
can result in permanent hear-
ing impairment. So always use
approved hearing protection.
8. Under no circumstances may
the design of the machine be
modified without the permis-
sion of the manufacturer. Al-
ways use genuine accesso-
ries. Non-authorized modifica-
tions and/or accessories can
result in serious personal in-
jury or the death of the opera-
tor or others.
9. A blower is a dangerous tool if
used carelessly or incorrectly
and can cause serious, even
fatal injuries. It is extremely
important that you read and
understand the contents of
this Operator’s manual.
10.Husqvarna Zenoah has a pol-
icy of continuous product de-
velopment and therefore re-
serves the right to modify the
design and appearance of
products without prior notice.
11. The machine is only designed
for blowing lawns, pathways,
asphalt roads and the like.
5. For safe operation
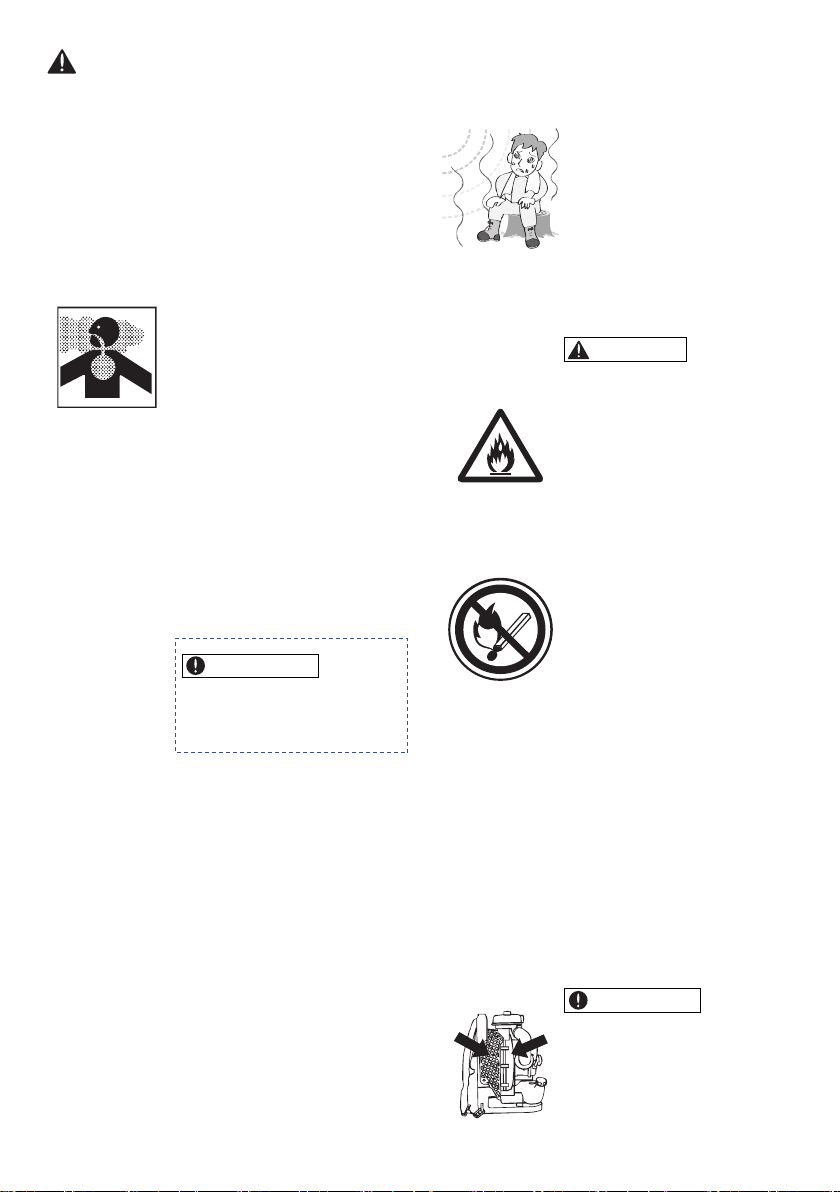
WORKING CONDITION
1. Refrain from operating the blower
if you are tired, ill, or upset, or if
you are under the influence of
alcohol, drugs or medication.
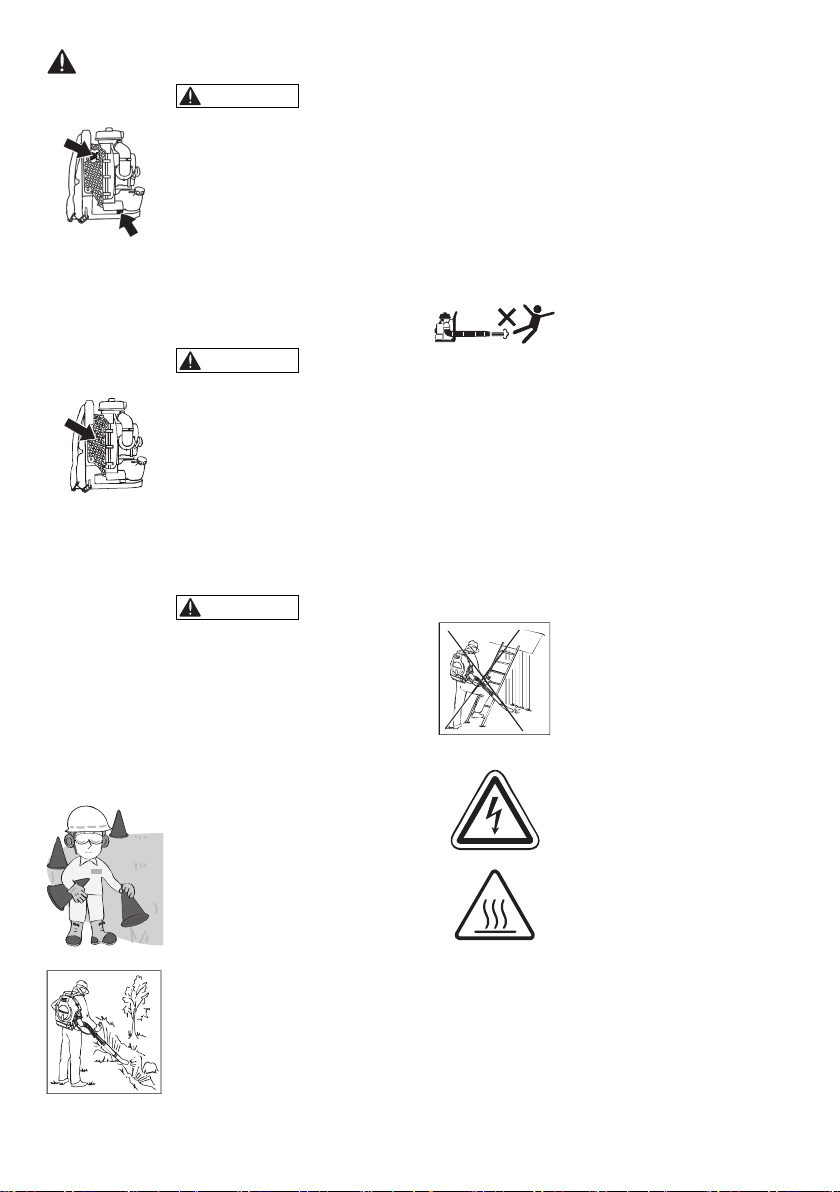
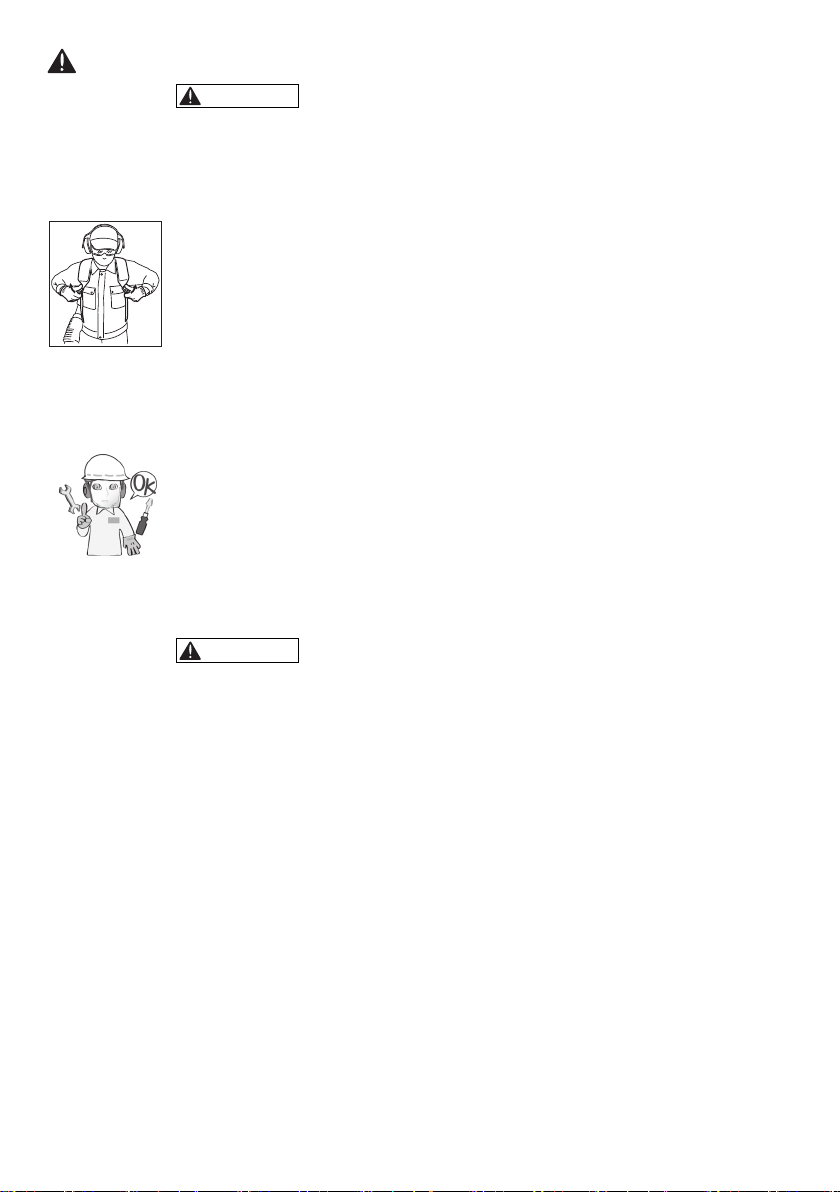
2. To reduce the risk of hearing
loss associated with sound
level(s), hearing protection is
required.
3. To reduce the risk of injury as-
sociated with thrown objects, al-
ways wear eye protection and
foot protection. Eye protection
should meet the requirements
of ANSI Z87.1.
4. To reduce the risk of injury as-
sociated with the inhalation of
dust, use a face filter mask in
dusty conditions.
5. Wear sturdy rubber-soled shoes
or shoes with some other form
of anti-slip protection to help
protect you against falling.
6. To reduce the risk of injury as-
sociated with objects being
drawn into rotating parts, do not
wear loose clothing, scarves,
neck chains, hair longer than
shoulder length, or other loose
material.
7. Prolonged use of a blower, ex-
posing the operator to vibra-
tions and cold may produce
whitefinger disease (Raynaud’s
phenomenon), which symptoms
are tingling and burning sensa-
tions followed by loss of color
and numbness in the fingers. All
factors which contribute to white-
finger disease are not known, but
cold weather, smoking diseases
or physical conditions as well as
long periods of exposure to vi-
bration are mentioned as fac-
tors. In order to reduce the risk
of whitefinger disease, the fol-
lowing precautions are strongly
recommended;
a) Keep your body warm. Never
use blower during rains.
b) Wear thick anti-vibration gloves.
c) Take more than 5 minutes of
break in warm place frequently.
d) Maintain a firm grip at all times,
but do not squeeze the handles
with constant, excessive pres-
sures.
e) If you feel discomfort, redness
and swelling of your fingers or
any other part of your body, see
a doctor before getting worse.