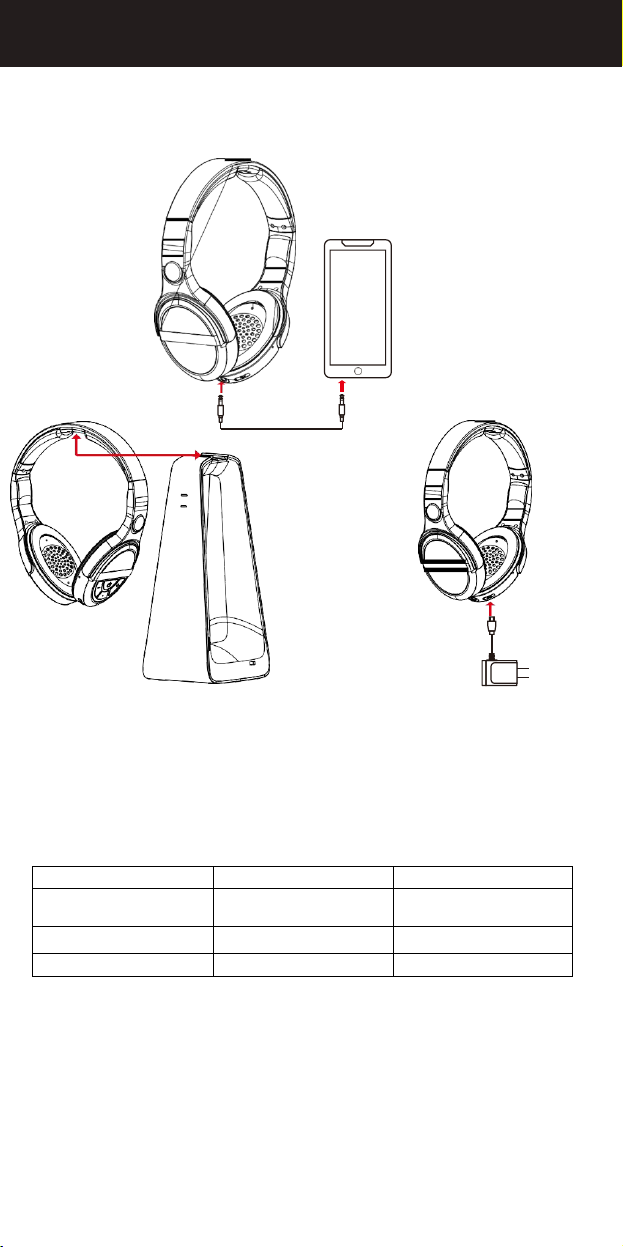
This Headphone can be used as a regular Wired Headphone by connecting
your Audio Source with the 3.5MM Male to Male Audio Cable to the
Headphone Jack shown below.
Note : When plugged in the cable , the headphone will be turned off automatically.
1.Place the headphone on the headphone holder of the transmitter ,the
headphone automatically switch off and the charge status LED on the
transmitter and headphone all light up red . When the rechargeable batteries
are fully charged , the charge status LED will be off.
2.When the transmitter is unconnected, there will be two situations for
the
charge status LED on the headphone
if charge the headphone with USB
charger :
3.When connect the transmitter and charge the headphone with
USB charger, If no
Audio Signal detected , the
charge status LED on the headphone will be purple
then change to red and goes out when fully charged .
NOTE 1 : If the headphones have no audio input, it will shut down automatically
after five minutes.
NOTE2: Before using the headphone for the first time, please charge the
batteries for 6 hours. When not in use, please place the headphone
back on the transmitter.
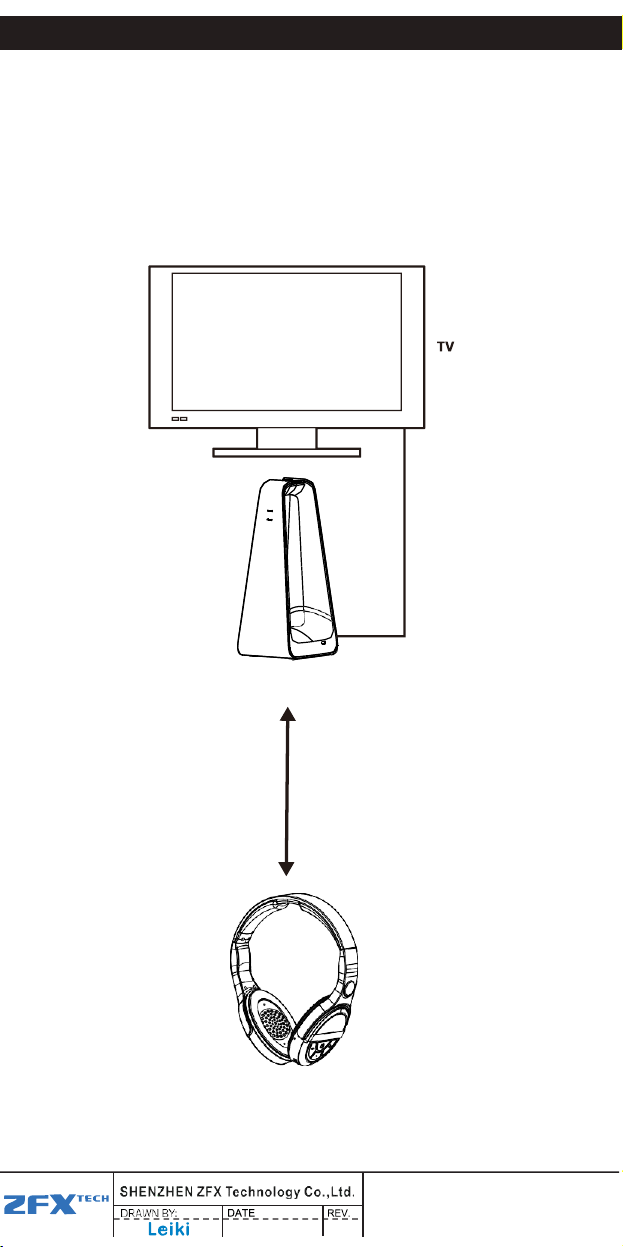
PRIVATE LISTENING THROUGH YOUR HEADPHONE