Zibro Clima PX150 User manual

CLIMATE CONTROL
4
14
24
34
44
54
64
74
GEBRAUCHSANWEISUNG
BRUGSANVISNING
INSTRUCCIONES DE USO
MANUEL D'UTILISATION
OPERATING MANUAL
ISTRUZIONI D’USO
GEBRUIKSAANWIJZING
INSTRUKCJA OBSŁUGI
2
6
5
3
4
>
1
:
PX150

2ALGEMEINE SICHERHEIT
Zur Sicherheit, Gebrauchsanweisung vor Inbetriebnahme sorgfältig lesen! Personen,
die mit der Betriebsanleitung nicht vertraut sind dürfen das Gerät nicht bedienen. Wir
empfehlen Ihnen, diese Anleitung an einem sicheren Ort aufzubewahren.
6SIKKERHED GENERELT
Læs denne brugsanvisning grundigt igennem af hensyn til sikkerheden! Personer, som
ikke er fortrolige med brugsanvisningens indhold, må ikke anvende dette klimaanlæg.
Vi anbefaler, at De gemmer denne brugsanvisning et sikkert sted med henblik på sene-
re brug.
5MEDIDAS DE SEGURIDAD
¡Consulte atentamente el modo de empleo y preste atención a las medidas de seguri-
dad! Aquellos que no estén familiarizados con estas medidas de seguridad, no deben
utilizar este acondicionador de aire. Aconsejamos guardar en sitio seguro este manual
para poder consultar en caso necesario.
3SÉCURITÉ GÉNÉRALE
Par mesure de sécurité, consulter attentivement ce manuel d’instructions ! Les person-
nes qui ne sont pas familiarisées avec le manuel d’instructions, ne doivent pas utiliser
ce climatiseur de l’air. Nous vous conseillons de ranger ce manuel d’instructions à un
endroit sûr pour pouvoir le consulter ultérieurement.
A. Ne pas utiliser de câble endommagé.
B. Ne pas serrer ou plier le câble.
C. Placer sur une surface égale.
D. Ne pas placer devant une fenêtre ouverte.
E. Ne pas mettre en contact avec des produits chimi-
ques.
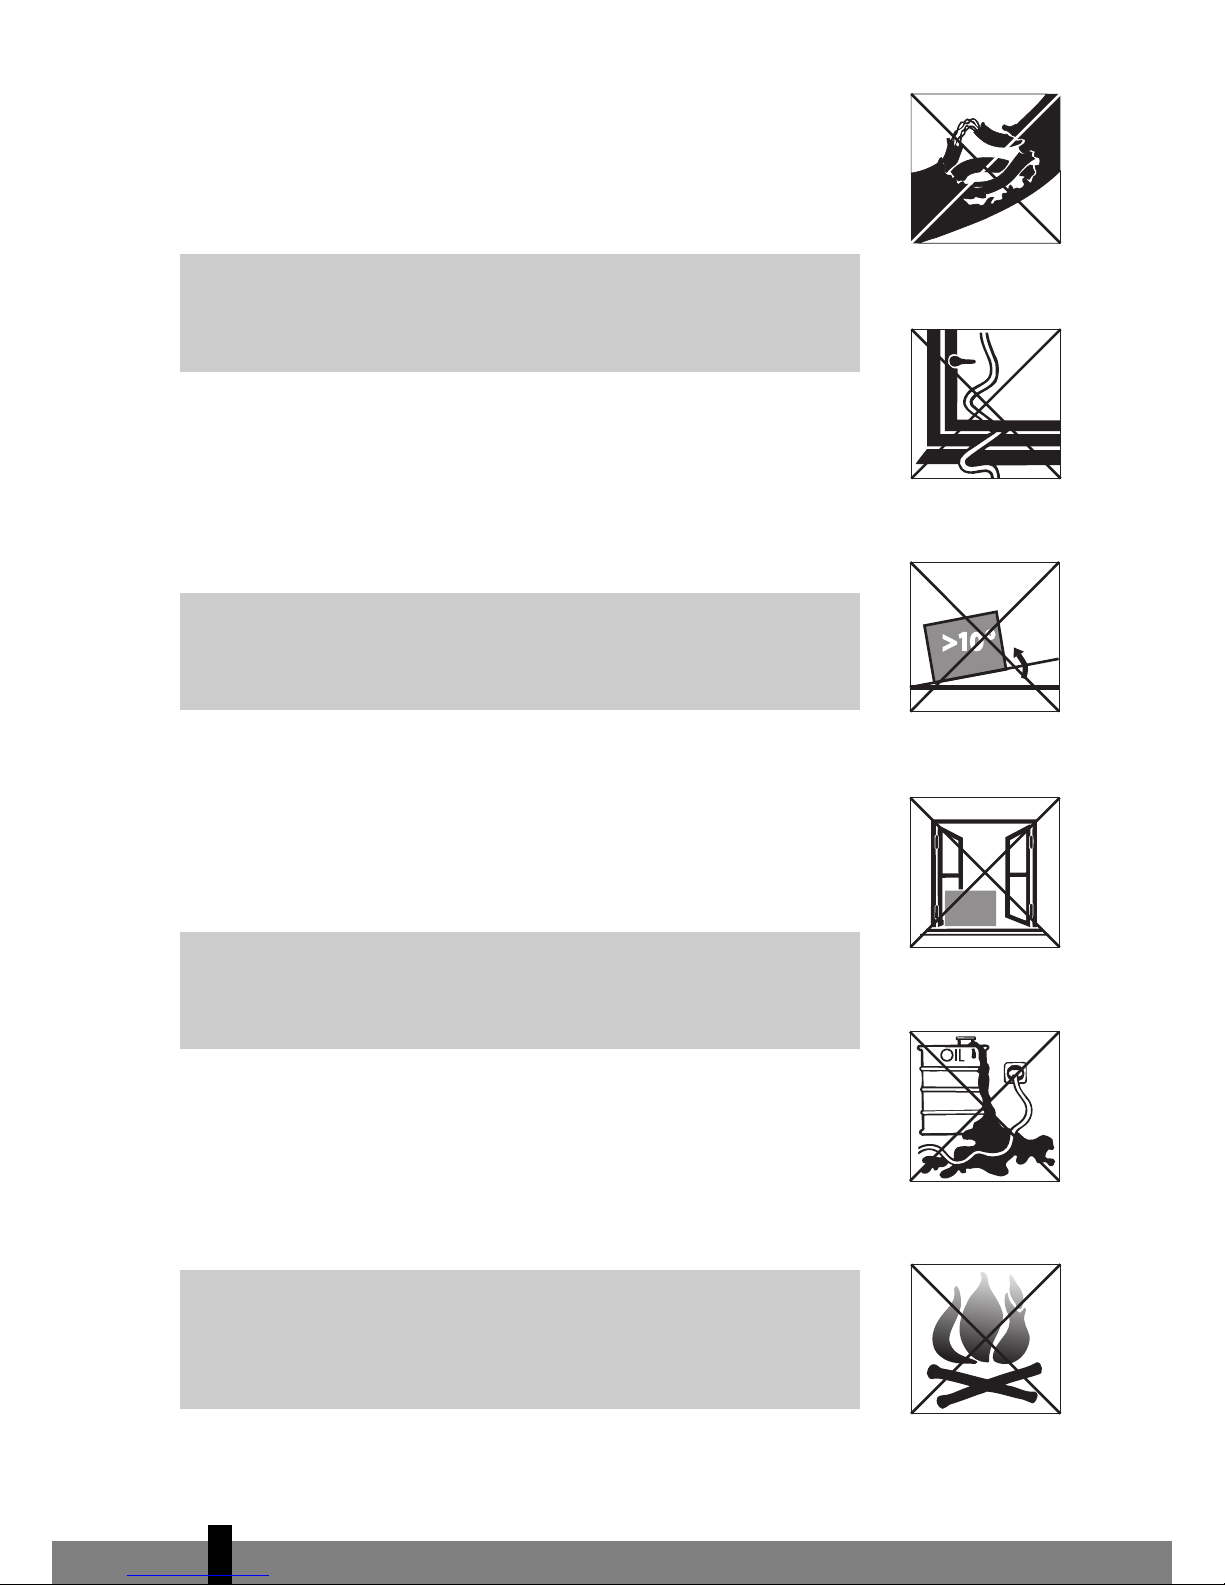
F. Ne pas placer auprès d’une source de chaleur.
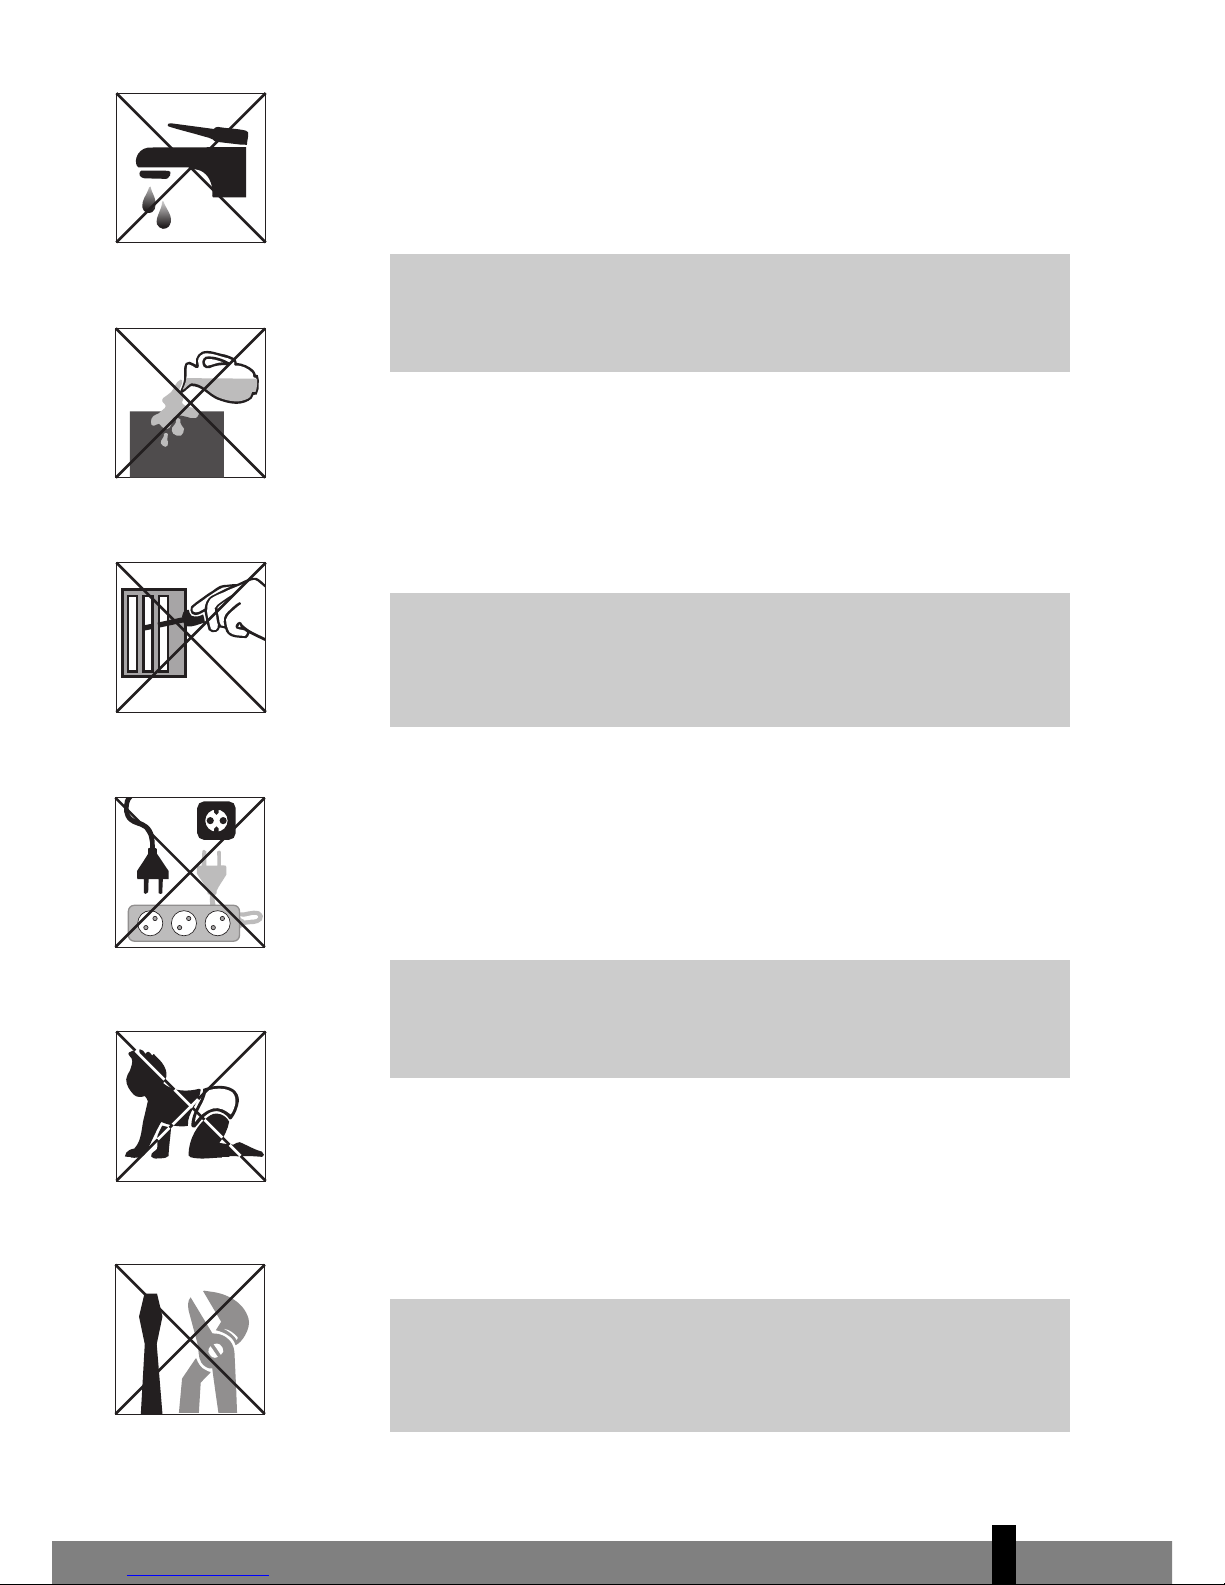
G. Ne pas immerger.
H. Ne pas renverser.
I. Ne rien introduire dans l’appareil.
J. Ne pas utiliser de câble de rallonge.
K. A tenir hors de portée des enfants.
L. Ne pas réparer soi-même.
A. No utilizar un cable deteriorado.
B. No averiar o doblar el cable.
C. Colocar en superficie llana
D. No colocar delante de ventana abierta.
E. No poner en contacto con productos químicos.
F. No poner en contacto con fuente de calor.
G. No sumergir en líquidos.
H. No verter líquidos.
I. No introducir objetos en el aparato.
J. No utilizar cable de extensión.
K. Poner fuera del alcance de los niños.
L. No hacer reparaciones.
A. Brug ikke beskadigede kabler.
B. Kabel må ikke sættes i klemme eller knækkes.
C. Anbringes på et plant gulv.
D. Må ikke anbringes ved et åbent vindue.
E. Måikke komme i kontakt med kemikalier.
F. Må ikke anbringes ved en varmekilde.
G. Må ikke sænkes ned i vand.
H. Pas på med at spilde.
I. Der må ikke stikkes noget ind i apparatet.
J. Der må ikke bruges forlængerkabler.
K. Bruges uden for børns rækkevidde.
L. De må ikke selv reparere apparatet.
A. Kein beschädigtes Kabel verwenden.
B. Kabel nicht kneifen oder knicken.
C. Nicht uneben aufstellen.
D. Nicht vor geöffnete Fenster aufstellen.
E. Nicht mit Chemikalien in Kontakt bringen.
F. Nicht bei Wärmequellen aufstellen.
G. Nicht in Wasser untertauchen.
H. Kein Flüssigkeiten verschütten.
I. Nichts hineinstecken.
J. Kein Verlängerungskabel verwenden.
K. Außer Reichweite von Kindern halten.
L. Nicht selbst reparieren.
2
A
B
C
D
E
F

3
4GENERAL SAFETY
For safety reasons, please read this manual carefully before operating. Persons who are
not familiar with this manual must not use this air conditioner. We strongly recommend
keeping this manual in a safe place for future reference.
>SICUREZZA
Per motivi di sicurezza, si raccomanda di leggere attentamente il manuale prima di uti-
lizzare l’apparecchio. Le persone che non conoscono il funzionamento del climatizza-
tore non devono usarlo. Si raccomanda di riporre il manuale in un luogo sicuro per
future referenze.
1VEILIGHEID ALGEMEEN
Bestudeer voor de veiligheid deze gebruiksaanwijzing zorgvuldig! Personen, die met
de gebruiksaanwijzing niet vertrouwd zijn, mogen deze airconditioner niet gebruiken.
Wij raden u aan deze gebruiksaanwijzing op een veilige plaats te bewaren voor latere
raadpleging.
:OGÓLNE ZASADY BEZPIECZEŃTWA
Dla własnego bezpieczeństwa przeczytaj dokładnie treść instrukcji obsługi klimatyzatora!
Osobom, które nie zapoznały się z instrukcją obsługi niniejszego urządzenia, zabrania się z
niego korzystać. Radzimy przechowywać instrukcję obsługi w bezpiecznym miejscu, aby w
razie potrzeby móc skorzystać z niej w przyszłości.
A. Nie używać uszkodzonego przewodu zasilającego.
B. Nie uciskać ani nie zginać przewodu.
C. Urządzenie umieścić na płaskim podłożu.
D. Nie umieszczać urządzenia przed otwartym oknem.
E. Nie stosować żadnych środków chemicznych.
F. Nie umieszczać w bezpośrednim sąsiedztwie źródeł
ciepła.
G. Nie zanurzać w wodzie.
H. Nie rozlewać cieczy.
I. Nie wtykać obcych przedmiotów do aparatu.
J. Nie używać przedłużacza.
K. Trzymać z daleka od dzieci.
L. Nie próbować naprawiać klimatyzatora samodziel-
nie.
A. Gebruik geen beschadigde kabel.
B. Kabel niet afklemmen of knikken.
C. Plaats op een vlakke ondergrond.
D. Niet voor een open raam plaatsen.
E. Niet met chemicaliën in contact brengen.
F. Niet bij een warmtebron plaatsen.
G. Niet onderdompelen.
H. Niets morsen.
I. Niets in het apparaat steken.
J. Geen verlengkabel gebruiken.
K. Buiten bereik van kinderen houden.
L. Niet zelf repareren.
A. Non usare il cavo, se danneggiato.
B. Non bloccare o piegare il cavo.
C. Collocare l’apparecchio su una superficie piana.
D. Non collocarel’apparecchio davanti alla finestra
aperta.
E. Non porlo a contatto con prodotti chimici.
F. Non posizionarlo vicino ad una fonte di calore.
G. Non immergerlo nell’acqua.
H. Non versare liquidi sull’apparecchio.
I. Non inserire alcun oggetto nell’apparecchio.
J. Non usareprolunghe.
K. Tenere l’apparecchio lontano dalla portata dei
bambini.
L. Non cercare di riparare l’apparecchio.
A. Do not use a damaged cable.
B. Do not clamp or bend the cable.
C. Do not place unevenly.
D. Do not place in front of an open window.
E. Do not bring in contact with chemicals.
F. Do not place near a heat source.
G. Do not immerse in water.
H. Do not spill.
I. Do not insert anything.
J. Do not use an extension cord.
K. Keep out of the reach of children.
L. Do not repair.
G
H
I
J
K
L

IMPORTANT
COMPONENTS
Control panel
Cool air outlet
Handle
Casters
Connection tube
Handle of outdoor
unit
Exhaust air outlet
Air inlet
Power cable
compartment
Power cord
Cord hanger
Connection box
Active carbon filter
Bracket fro moun-
ting outdoor unit
Spanners
Spacer, screws,
protection caps
Remote controller
A
B
C
4
E
F
G
H
I
J
K
L
M
N
O
P
Q
1. READ THE DIRECTIONS FOR USE FIRST.
2. IN CASE OF ANY DOUBT, CONTACT YOUR DEALER.
4
44
A
B
C
D
I
J
KL4
3
5
6
N
O
PQ
H
E
F
M
G

4
45
Dear Sir, Madam,
Congratulations on the purchase of your Zibro Clima air conditioner. In addition to air
cooling, this air conditioner has two other functions, namely air dehumidification and
circulation. The mobile Zibro Clima air conditioner is extremely easy to operate and move.
You have acquired a high quality product that will provide you with many years of
pleasure, on condition that you use it responsibly. Reading these instructions for use before
operating your Zibro Clima will optimise its life span. We wish you coolness and comfort
with your Zibro Clima.
Yours sincerely,
PVG International b.v.
Customer service department

ASAFETY INSTRUCTIONS
If you are in any doubt about the electrical installation, have it checked and if
necessary modified by a qualified electrician.
• The air conditioner is safe. However, as with other electrical appliances, use it
with care.
• Keep out of the reach of children.
• Do not clean the air conditioner by spraying it or immersing it in water.
• Do not insert any object into the opening of the air conditioner.
• Disconnect from the mains before cleaning the unit or any of its components.
• Never connect to an electrical outlet using an extension cord. If an outlet is
not available, one should be installed by a licenced electrician.
• Any service other than regular cleaning or filter replacement should be
performed by an authorized service representative. Failure to do so could
result in a loss of warranty.
A damaged supply cord should be replaced by the manufacturer, its service agent
or a qualified person in order to avoid a hazard.
WARNING
GNever operate this appliance if it has a damaged cord or plug. Do not lead the
cord over sharp edges.
IMPORTANT
GThe unit is designed for indoor operation.
Rating: This unit must be connected to a 230 V / 50 Hz earthed outlet.
The installation must be in accordance with regulations of the country where the
unit is used.
4
46

4
47
BPOSITIONING YOUR AIR CONDITIONER
The air conditioner consists of an indoor mobile unit and an outdoor unit. The
units are connected to each other by a 3 metre flexible tube. The outdoor unit can
be placed on the floor (of a balcony) or hung on a wall.
• The maximum distance from the top of the outdoor unit to the floor is 1.5 m.
• To avoid damaging the connection tube, leave the window ajar.
Installation of the outdoor unit
Apply the spacer (16) to the outdoor unit.
Firmly screw the bracket (14) to the wall.
Hang the outdoor unit.
Energy saving tips
• Use the unit in the recommended room size (see specifications).
•Do not locate the air conditioner where furniture or other objects can
obstruct the airflow.
• Keep blinds/curtains closed during the sunniest part of the day.
•Close the fireplace damper and floor and wall grills so that cool air does not
escape through the chimney or ductwork.
• Keep the filters clean.
• Set the unit to maximum cooling and high-speed fan initially, then adjust the
unit to a comfortable setting.
3
2
1
WARNING
GBefore using the air conditioner it should be left in an upright position for at
least 2 hours.

COPERATING THE AIR CONDITIONER
ON/OFF
Press to switch the unit on or off. The unit selects the mode depending on
the room temperature:
- higher than 23°C, cooling mode;
- between 20°C and 23°C, fan mode.
Time switch
Use to set a working time between 1 and 12 hours. The unit switches off
when this time has run down.
Mode switch
Select with : automatic, cooling or fan. The corresponding LED will lit:
, or .
Fan speed
Select with the fan speed: low, high. LED will show this.
Temperature selection
Set the temperature that must be maintained (in the range from 16°C to 30°C)
with switched and . The display will show the setting.
Digital display
When the unit is ON the display shows the room temperature ( is on). Use
or to see the set temperature ( is on), after a few of seconds the
room temperature will again be displayed.
‘SLEEP’ setting
This setting can only be used when the cooling function is activated. Press .
Every hour the temperature setpoint will raise with 1°C, after 2 hours the
temperature remains the same. After 12 hours the air-conditioner will
automatically turn off. Pressing again de-activates this function. In ‘SLEEP’-
mode the temperature set cannot be changed.
Remote control
The air conditioner can be operated with remote control. Two AAA-batteries are
required to use the remote control.
7
6
5
4
3
2
1
4
48

4
49
DAIR FLOW
Turn the roller to control the air flow direction of the vertical louvres.
Move the air vent directly to adjust the air flow direction of the horizontal
louvres.
EDRAINAGE
The unit is equipped with an automatic drainage function. The condensed water
will be discharged from the hole placed at the back of the indoor unit. You may
also connect a water tube (dia. 14.5 mm) to the discharge hole to channel the
water away. Make sure the water always drains away freely.
NOTICES!
G
- The compressor has been set so that it starts functioning three minutes after
the (re)start of the air conditioner.
- The cooling will switch off when the room temperature is lower than the set
one. Ventilation will however continue to work on the set level. When the
room temperature rises above the selected value, the cooling will work again.
- The air conditioner is equipped with an ANTI-FROST function. While using the
heating function during low temperatures, heating will occasionally stop for
a while in order to melt the internal frost. When this occurs, just wait for
heating to resume.

FDISCONNECTING THE INDOOR AND OUTDOOR UNIT
(FOR QUALIFIED PERSONNEL)
If the indoor unit needs to be disconnected from the outdoor unit, to place it in a
more suitable position, follow these steps:
Disconnecting
Open the tube connection box (12) situated at the back of the indoor unit.
Disconnect the drain tube (C).
Disconnect the electrical cable (A).
Disconnect the refrigerant tubes (B and D) using the spanners (15) provided.
The terminals are fitted with automatic self-sealing valves to prevent the gas
from leaking. Loosen the nuts quickly, so the seal is made promptly. During
the operation take extreme care not to break the refrigerant tubes.
Cap the terminals with the caps (16) provided to protect them from dust.
Mount the outdoor unit on the bracket as described on page 5.
Connecting
Pass the connection tube through the hole (at least dia. 50 mm) if present.
Remove the protection caps (if used previously).
Reconnect the refrigerant tubes (tighten the nuts quickly to make a good
seal), the drain tube and the electrical cable.
Close the connection box on the indoor unit.
4
3
2
1
5
4
3
2
1
4
50

4
51
GCLEANING
First of all switch off the unit and pull the plug.
Clean the housing with a soft, damp cloth. Never use aggressive chemicals, petrol,
detergents or other cleansing solutions. Clean the filter regularly with a vacuum
cleaner or under streaming water. Let the filter dry out completely.
HSTORAGE
Drain the condensed water completely. To remove remaining water, tip the
unit over and remove the rubber stop.
Clean (or replace) the filter.
Put the unit on a sunny day in fan mode for a couple of hours to ensure that
the inside becomes completely dry.
Store cable as shown, protect the unit against dust and store in a dry place
not accessible for children.
4
3
2
1
NOTICE!
GNever use the air conditioner without filter.

ITROUBLE SHOOTING
Never try to repair or dismantle the air conditioner yourself. Incompetent repairs
result in loss of warranty and can endanger the user.
JGUARANTEE CONDITIONS
The air conditioner is supplied with a 24-month guarantee, commencing on the
date of purchase. All material and manufacturing defects will be repaired or
replaced free of charge within this period. The following rules apply:
We expressly refute all further damage claims, including claims for collateral
damage.
Repairs to or replacement of components within the guarantee period will
not result in an extension of the guarantee.
The guarantee is invalidated if any modifications have been made, non
genuine parts are fitted or repairs are carried out by third parties.
Components subject to normal wear, such as the filter, are not covered by the
guarantee.
The guarantee is valid only when you present the original, dated purchase
invoice and if no modifications have been made.
The guarantee is invalid for damage caused by neglect or by actions that
deviate from those in this instruction booklet.
Transportation costs and the risks involved during the transportation of the
air conditioner or air conditioner components shall always be for the account
of the purchaser.
7
6
5
4
3
2
1
Problem Cause Solution
Connect to a functioning outlet
and switch on
Room temperature outside
operating temperature range
In direct sunlight Close curtains
Windows or doors open, many
people or heat source in room
Dirty filter Clean or replace filter
Room temperature lower than
selected value
Change temperature selection
The unit is noisy Unit stands uneven
Place on even surface (less
vibrations)
The compressor
does not work
Overheat protection probably
activated
Wait until room temperature
lowers
The unit does
not function
The unit does
not seem to
perform
Air inlet or air outlet blocked
Remove blockage
4
52

4
53
To prevent unnecessary expense, we recommend that you always first carefully
consult the instructions for use. Take the air conditioner to your dealer for repairs
if these instructions do not provide a solution.
KTECHNICAL DATA
To be used as indication, subject to modifications
This data may vary for technical reasons; for greater precision, please refer to the
rating label placed at the back of the unit. Capacities measured under the
following conditions:
* Cooling indoor 27 °C, 60% relative humidity (enthalpy difference).
** Moisture removal at 32°C, 80% RH.
PX150
Cooling capacity * W 4100
Power consumption W 1180
Current nom. A 5,3
Mains (1PH) V / Hz 220-240 / 50
Air delivery max. m3
/h 550
Dehumidification max. ** L/24h 30
Room size m3100
Compressor model rotary
Refrigerant gr R407C / 670
Thermostat range °C 16 - 30
Fan speeds 2
Noise level indoor unit dB 52-58
Noise level outdoor unit dB < 64
Length flexible tube mm 300
Dimensions indoor unit (b x d x h) mm 380x400x750
Dimensions outdoor unit (b x d x h) mm 450x240x580
Weight indoor unit kg 29
Weight outdoor unit kg 12
Unit protection indoor unit IP20
Unit protection outdoor unit IP24
Model

ELENCO PARTI
Pannello di controllo
Bocchetta d’aria
Impugnatura
Rotelle girevoli
Adattatore tubo
Impugnatura
Uscita d’aria di
scarico
Presa d’aria
Pulsante di
chiusura??
Cavo d’alimentazione
Avvolgicavo
Scatola di
collegamento
Filtro d’aria
Guida per la
sospensione
Chiavi a corredo per
la manutenzione
Distanziatore, viti e
cappucci di
protezione
Telecomando
A
B
C
4
E
F
G
H
I
J
K
L
M
N
O
P
Q
1. LEGGERE DAPPRIMA LE ISTRUZIONI D'USO.
2. IN CASO DI DUBBIO, RIVOLGERSI AL RIVENDITORE.
>
54
A
B
C
D
I
J
KL4
3
5
6
N
O
PQ
H
E
F
M
G

>
55
Gentile Signore, Signora,
Congratulazioni per l’acquisto del condizionatore d’aria, Zibro Clima. Oltre al
raffreddamento dell’aria, il condizionatore offre due funzioni supplementari, ovvero la
deumidificazione e la circolazione dell’aria. Il condizionatore mobile d’aria Zibro Clima è
estremamente facile da usare e da spostare. Lei ha acquistato un prodotto di qualità, che
Le offrirà molti anni di comfort, a condizione che venga usato in modo responsabile. Per
una durata ottimale dello Zibro Clima La invitiamo a leggere le istruzioni d’uso. Le
auguriamo molta freschezza e comfort con il Suo Zibro Clima.
Cordiali saluti,
PVG International b.v.
Reparto Assistenza Clienti

AISTRUZIONI PER LA SICUREZZA
Se vi sono dei dubbi in merito all’installazione, farla controllare ed eventualmente
modificare da un tecnico qualificato.
• Il climatizzatore è uno strumento sicuro. Tuttavia, trattandosi di un
apparecchio elettrico, usare la massima cautela.
• Tenerlo lontano dalla portata dei bambini.
• Non pulire il climatizzatore versandovi dei prodotti liquidi o immergendolo
nell’acqua.
• Non inserire alcun oggetto nelle aperture del climatizzatore.
• Estrarre la spina dalla presa prima di pulire l’apparecchio o uno dei suoi
componenti.
• Non collegare mai l’apparecchio alla presa elettrica utilizzando una prolunga.
Se non è disponibile una presa nelle vicinanze dell’apparecchio, farla
installare da un tecnico qualificato.
•Qualsiasi intervento, ad eccezione della regolare pulizia e della sostituzione
del filtro, deve essere effettuato da un tecnico dell’assistenza autorizzato. In
caso contrario si potrebbe invalidare la garanzia.
Il cavo di alimentazione difettoso deve essere sostituito dalla casa produttrice, dal
proprio distributore o da persona qualificata, per evitare qualsiasi pericolo.
AVVERTENZA
GNon far funzionare l’apparecchio in presenza di cavo o spina difettosi. Non far
passare il cavo sopra bordi taglienti.
IMPORTANTE
GL’apparecchio è stato realizzato per funzionare in ambiente chiuso.
Classificazione: questo apparecchio deve essere collegato ad una presa con messa
a terra da 230 V/50 Hz. L’installazione deve essere conforme ai requisiti elettrici
locali.
>
56

>
57
BINSTALLAZIONE DEL CLIMATIZZATORE
Il condizionatore è composto da una unità interna ed una esterna collegate tra
loro da un cavo flessibile lungo 3 metri. L’unità interna viene situata nel locale.
A tale proposito fare attenzione ai seguenti punti:
• Porre il condizionatore in posizione verticale e su una superficie piatta.
• Non usare il condizionatore vicino o nel bagno, nella doccia o in un altro
ambiente umido o ricco di vapore acqueo.
• Per una buona circolazione dell'aria lasciare intorno al condizionatore uno
spazio libero di almeno 50 cm.
L’unità esterna può essere montata su un davanzale o sul balcone. Il
condizionatore può essere anche appeso al muro esterno, ad un'altezza dal
pavimento non superiore a 1,5 metri. E' necessario praticare nella finestra o nella
porta un’apertura, attraverso la quale si può far passare l'adattatore del tubo
flessibile.
Per appendere l’unità esterna al muro
Montare il distanziatore (16).
Fissare bene la guida di sospensione (14) al muro.
Appendere l’unità esterna alla guida.
3
2
1
AVVERTENZA
GPrima di usare il climatizzatore, lasciarlo in posizione verticale per almeno due
ore.

CFUNZIONAMENTO DEL CLIMATIZZATORE
ON/OFF
Premere questo tasto per accendere o spegnere il climatizzatore.
L’apparecchio seleziona la modalità in base alla temperatura ambiente:
- oltre i 23°C, modalità raffreddamento;
- tra i 20°C e i 23°C, modalità ventola.
Interruttore timer
Usarlo per impostare un periodo di funzionamento tra 1 e 12 ore.
L’apparecchio si spegne quando il tempo selezionato è trascorso.
Interruttore modalità
Seleziona le funzioni : automatico, raffreddamento o ventola. Il LED
corrispondente si accende: , o .
Velocità ventola
Permette di selezionare la velocità della ventola . Il LED (minima) o
(massima) indica queste due possibilità.
Selezione temperatura
Per impostare la temperatura da mantenere (nell’intervallo da 16°C a 30°C)
premere e . Il display indica l’impostazione scelta.
Display digitale
Quando l’apparecchio è acceso il display indica la temperature ambiente (è attiva
l’indicazione ). Usare l’interruttore o (temp. su o giù) per
visualizzare la temperature impostata (è attiva l’indicazione ). Dopo alcuni
secondi riappare la temperatura ambiente.
Posizione ‘SLEEP’
Questa installazione è possibile soltanto quando è attiva la funzione
condizionamento. Premere . Ogni ora la temperatura aumenterà di 1°C
rispetto alla temperatura impostata: questo vale per le due ore successive. Dopo
12 ore il condizionatore d’aria si spegnerà automaticamente. Per disattivare
questa funzione, premere di nuovo . Quando la funzione “SLEEP” è attiva,
la temperatura non può essere cambiata.
7
6
5
4
3
2
1
>
58

>
59
Telecomando
Il climatizzatore può essere attivato con il telecomando. Inserire 2 batterie tipo
AAA per far funzionare il telecomando.
DFLUSSO DELL'ARIA
Girare la rotellina per controllare la direzione del flusso d’aria delle feritoie di
ventilazione verticali.
Orientare direttamente la presa di ventilazione per regolare la direzione del
flusso di aria delle feritoie di ventilazione orizzontali.
ESVUOTAMENTO DEL SERBATOIO DELL'ACQUA
Il condizionatore ha uno scarico dell'acqua automatico. L'acqua condensata
fuoriesce da un piccolo tubo di scarico che si trova sul retro dell’unità esterna. Qui
si può installare anche un tubo di scarico flessibile con un diametro di 1,45 cm per
condurre l'acqua ad un altro scarico. Il tubo di scarico flessibile non deve
ostacolare in alcun modo il flusso dell'acqua.
OSSERVAZIONI!
G
- Il compressore è stato impostato in modo tale da entrare in funzione solo tre
minuti dopo che il condizionatore è stato riacceso. In questo modo si prolun
ga la durata del compressore.
- La funzione di raffreddamento si disattiva quando la temperatura ambiente
risulta minore di quella impostata. La ventilazione tuttavia continua a
funzionare al livello impostato. Quando la temperatura ambiente è
superiore rispetto al valore selezionato, la funzione di raffreddamento
riparte.
- Il condizionatore ha una funzione di scongelamento (ANTI-FROST) che
previene una scarsa deumidificazione o la formazione di ghiaccio sulla
spirale di raffreddamento a bassa temperatura. Il compressore si accende e
si spegne automaticamente, mentre il ventilatore rimane acceso.

FSMONTAGGIO DELLE PARTI
(UNICAMENTE PER IL TECNICO QUALIFICATO)
Smontaggio
Aprire la scatola dei collegamenti (12) sul retro dell’unità interna.
Smontare il tubo di scarico dell'acqua (C).
Staccare il cavo di alimentazione (A).
Con la chiave (15) smontare i tubi del refrigerante (B, D). Le valvole
automatiche nei collegamenti prevengono eventuali perdite. Occorre fare
attenzione a non danneggiare i tubi del refrigerante.
Proteggere i collegamenti con i cappucci di protezione antipolvere.
Appendere l’unità esterna nel nuovo luogo (cfr. pag. 30).
Collegamento
Fare passare l'adattatore del tubo attraverso l'apertura (diametro di 50 mm).
Togliere i cappucci di protezione.
Collegare di nuovo i tubi in ordine inverso.
Chiudere la scatola dei collegamenti.
4
3
2
1
6
5
4
3
2
1
>
60
Other manuals for Clima PX150
1
Table of contents
Languages:
Other Zibro Air Conditioner manuals