Zinglife ZL101 User manual

10” zinglife e-tab User Guide to Android™
MODEL ZL101
USER MANUAL

zinglife
Thank you for purchasing the zinglife e-tab !!
Before using the unit, please read this manual thoroughly and retain it
for future reference. This manual will help you get the best out of your
e-tab, as well as what to do in case you experience any issues.
Technical Support
To help you get the best out of your product we provide you with a
Support Helpdesk (terms and conditions apply).
customercare@zinglife.in
www.zinglife.in/support
It‟s well worth checking our website at www.zinglife.in for the latest
firmware updates that become available over time.
Package Contents
When you open your box, please check your package is complete and
all items are in good order. Your box should contain:
•10” Zinglife e-tab
•AC Power Adapter
•Broadband Connector
•User Manual
If you have anything missing or any items are damaged please contact
your place of purchase.

10” zinglife e-tab User Guide to Android™
About your zinglife e-tab
Power Button Press and hold for 1 second to turn ON or OFF.
Back Button Click to „Go Back‟ to the previous screen.
Menu Button Click the Menu Button at any time to bring up a menu of
options relevant to the App you have opened.

zinglife
Network Port For Broadband Connection (Adaptor included).
USB 2.0 Port Supports Pen-Drive and 3G Data Dongles.
App Manager Button Click to bring up a list of Apps you currently have
open, then tap an App to switch between apps (multi-tasking).

10” zinglife e-tab User Guide to Android™
Setting up your e-tab
Open the package and carefully remove the packaging. It‟s
recommended that you retain the package for the duration of the
warranty period.
Your Zinglife e-tab has a screen protector (a thin film to protect the
screen during transit). Please slowly and carefully remove this from the
screen as it will reduce the quality of the screen image. Wipe the
screen with a clean damp cloth.
Battery Charging
Your Zinglife e-tab has a built-in rechargeable lithium battery. We
recommend that you charge the battery for at least 8 Hours for its first
charge, to achieve the best battery life.
To maximise your battery life it‟s recommended that you always fully
charge the battery and then use the Zinglife e-tab unplugged until the
battery power is low, at which point you can recharge the battery.
Using full charging and draining cycles is much better than charging
the battery bit by bit.
To charge the battery, simply connect the power adaptor to your mains
wall socket and the DC Power Input and switch it on.
The LED Battery Indicator (at the top right of the e-tab) will
illuminate red.
Once the battery is fully charged the LED will turn off.
You can see the battery charge status in the menu bar at the
top of your e-tab‟s screen.
NOTE: The LED will illuminate ‘Blue’when the eTouch is powered
ON (even when in standby mode). It will show Blue and Red
when powered ON and charging.
Battery Icon The Battery icon shows in the menu bar at the
top of your screen. It shows the amount of charge in your
battery. Only use the authorised Zinglife power adaptor as
supplied in your package.

zinglife
Turning your e-tab ON
Once you‟ve charged the battery (or connected the
power adaptor) you can turn the e-tab ON by pressing
the power button and the Android™ operating system
will load.
To unlock the screen (it‟s locked to avoid accidentally
pressing buttons when not being used) slide the padlock
icon until it covers the green dot.
The e-tab will then load your home screen for you to start
navigating to your chosen App.
The screen will automatically lock after a period of non-use
(you can change the length of this time period in the Settings
menu, or you can lock it at any point by pressing the Padlock
icon in the menu bar)
Security
You can increase the security settings to protect your e-tab by using a
unique unlock pattern.
From your home screen tap Settings > Location
and Security > Set Unlock Pattern and follow the
on-screen instructions.
Please Note that your unlock pattern should use
at least 4 dots and the e-tab will be more
secure with a greater number of dots included
in the pattern.
To turn your eTouch OFF simply press and hold the Power button for
about 1 second and tap Power off then OK.

10” zinglife e-tab User Guide to Android™
About your Home Screens
The e-tab has 5 home screens where you can add shortcuts to places
and Apps as well as adding widgets (apps that reside on your home
screen such as a clock/calendar).
Your e-tab has 5 home screens to let you personalise your working
environment to suit your lifestyle. For example you can set up one
screen with your favourite apps on it, another screen with widgets to
your favourite social networking sites and another page with shortcuts
to your work files.

zinglife
To access your other home screens you can simply touch the screen
and swipe it left or right.
Customising your Home Screens
To add a widget or shortcut to your home screen
tap the Menu icon (or right tap) and tap Add.
(or just tap & hold an empty location on the Home screen).
Please Note: If there are no empty positions on the Home screen
or the ‘Add’button is dimmed you must delete or move an item
before you can add another, OR switch to another Home
screen with more free space.
In the menu that pops up, tap the type of item you wish to add.
You can then add the following types of items to the Home
screen:
Shortcuts
Add shortcuts to applications, a bookmarked webpage, a File
location, a Gmail label or a particular setting and many other items.
The shortcuts available depend on the applications you have
installed.

10” zinglife e-tab User Guide to Android™
Widgets
Widgets are miniature applications that stay on your Home screen
and feed information to you in an accessible manner. For example
you can have a widget that shows the latest eMails you‟ve
received, social networking updates or the current weather
conditions.
You can also download widgets from the Android Market. Most
Widgets use different sized spaces on your home screen so you
might have to move some icons around to create some space.
Folders
Add a folder where you can organize Home screen items. For
example if you want to group a set of Internet Bookmarks, or a set
off similar Apps you can create a folder on your Home screen and
drag and drop items into the folder. Your folders contents are
automatically kept up to date.
Moving and Deleting Home Screen Items
To Move a widget or shortcut simply tap and hold the item until it
enlarges slightly. Then you can move the item to some free space of
your choice.
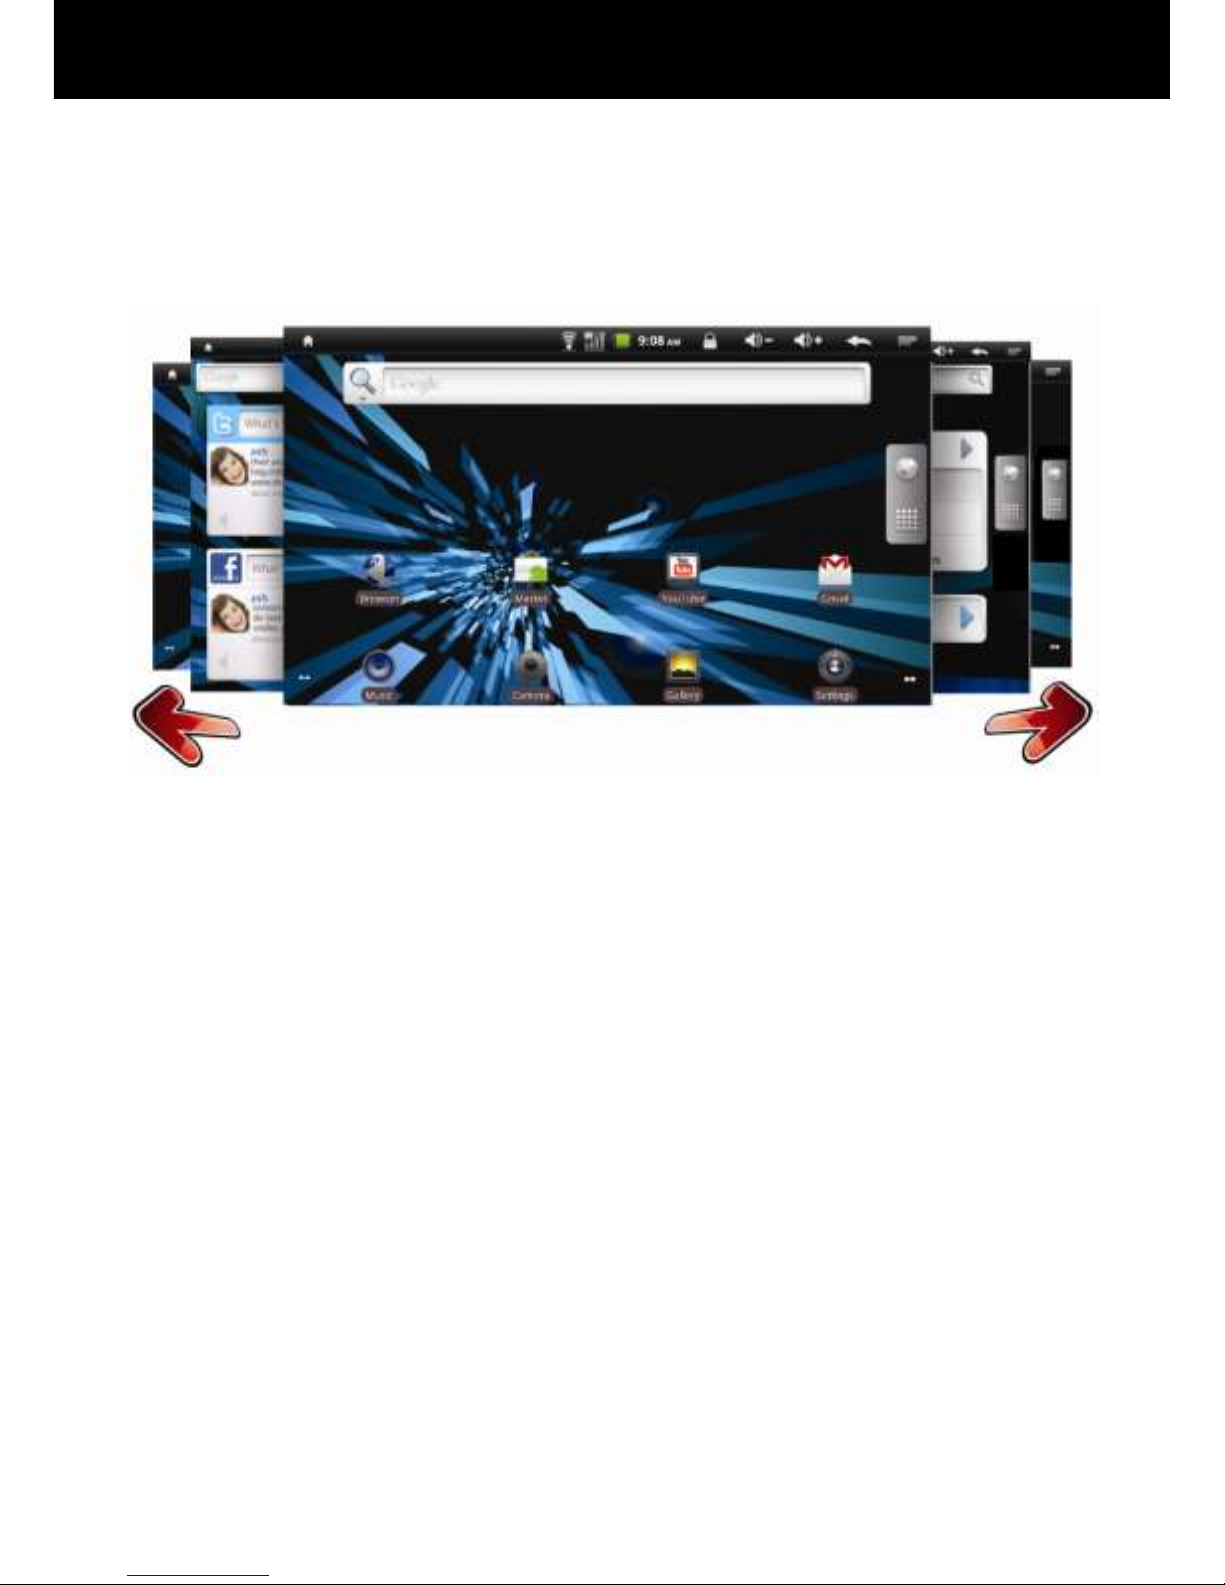
You can move an item from one home screen to another by tapping
and holding the item and dragging it to the left or right side of the
screen. The screen will slide to the next home screen where you can
drop the item into some free space.
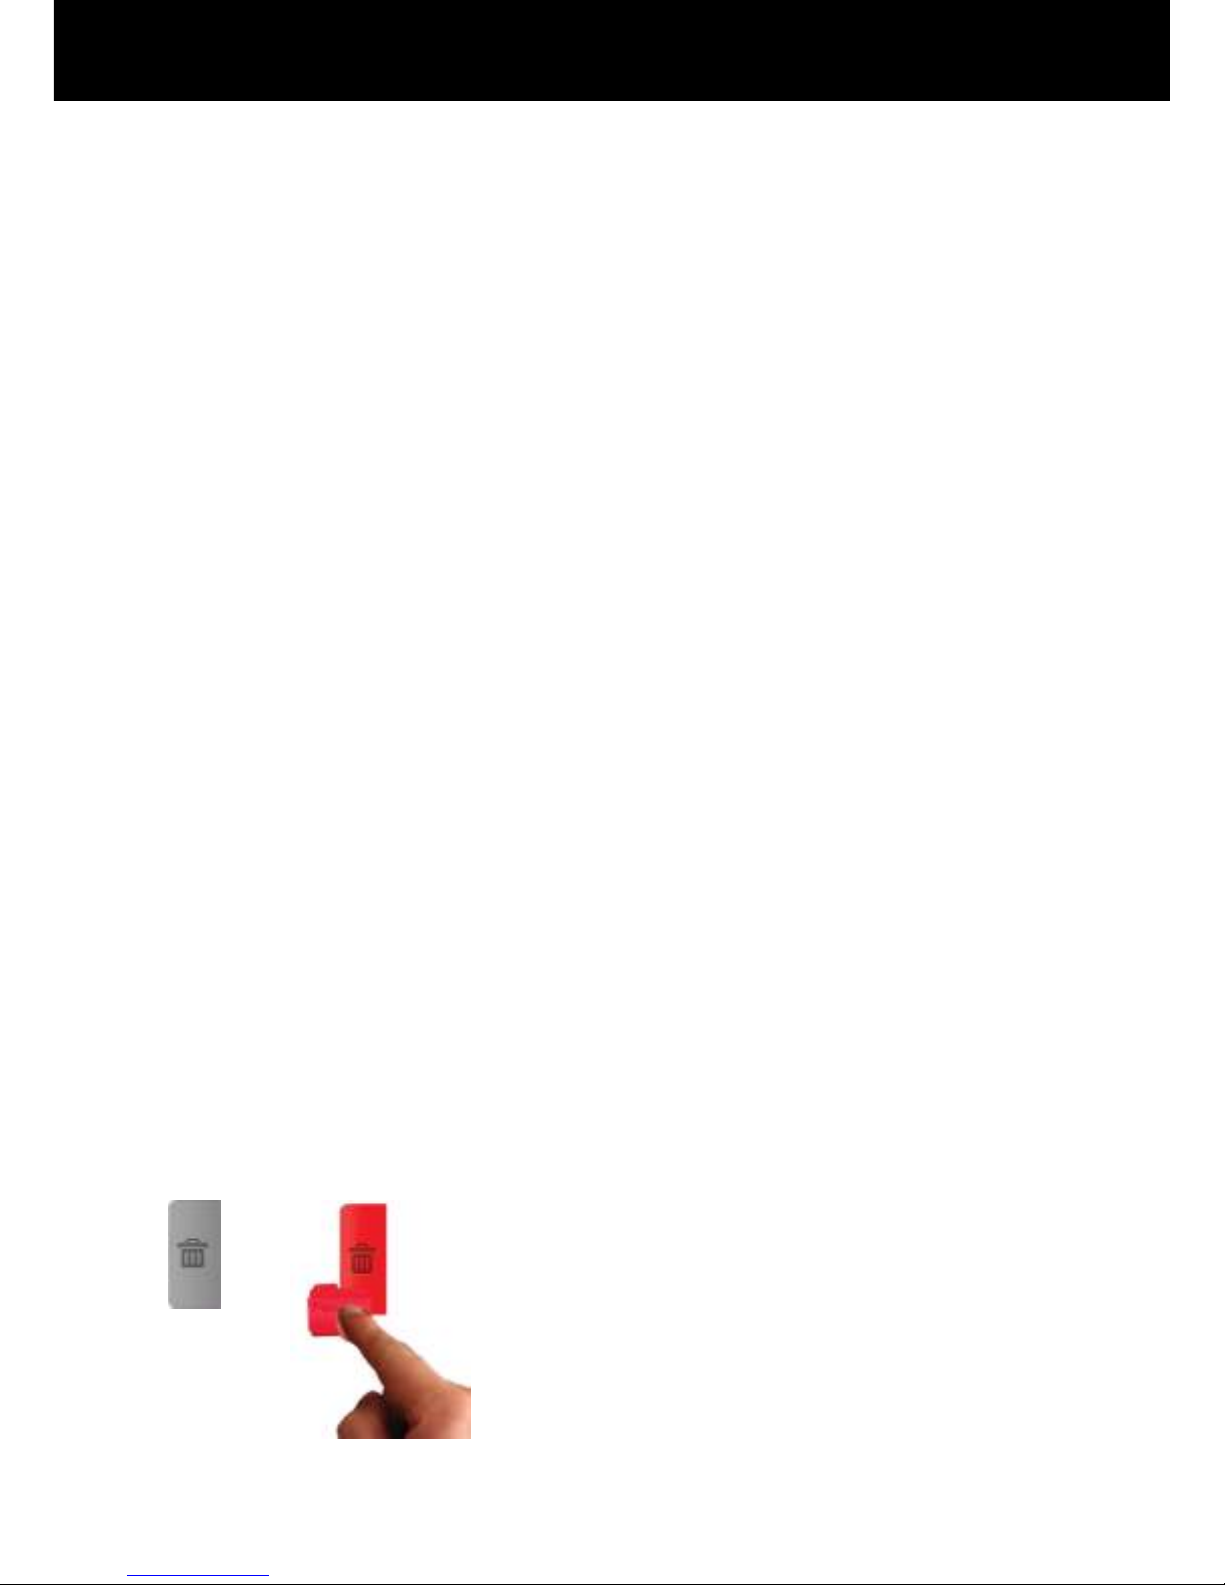
To Delete a widget or shortcut, tap and hold the item, then drag it to
the recycle bin. The recycle bin icon replaces your program menu on
the left hand side of the screen.

zinglife
Menus
Your home screen and most apps have a menu that you can bring up
by pressing the Menu Icon at the top of the screen or by taping the
right mouse button.
Menu Icon Tap the Menu Icon at any time to bring up a
menu of options relevant to the screen you have open. For
example on the home screen, tapping the menu icon
brings up ways to change your Home Screen, and if you
have the eMail app open the menu icon brings up options
to do with your eMail.
You can see an example (overleaf) of the menu that opens when you
tap the Menu Icon.

10” zinglife e-tab User Guide to Android™
Setting the Date and Time
Some of the etab‟s software and widgets require the date and time to
be correct to function correctly and establish a proper connection with
online servers.
To set the time and date go to Settings > Date & time.
Uncheck the Automatic setting
Then tap Set Date, use the + and - buttons to change the date
and press Set.
Tap Set Time, use the + and - buttons to change the date and
then press Set.
Please Note: If you run completely out of battery life you may lose your
time and date settings.

zinglife
Menu Icons
In the top right corner of your screen are the Menu icons. These give
you information about the status of the eTouch.
Home Button Tap the Home button to go to your Home
Screen.
Back Tap the Back button (and also the physical button
at the top left of your keyboard) to go Back to the
previous screen.
Menu Icon Tap the Menu Icon at any time to bring up a
menu of options relevant to the screen you have open.
For example on the home screen, tapping the menu
icon brings up ways to change your home-screen, and if
you have the eMail app open the menu icon brings up
options to do with your eMail.
Screen Lock Tap this icon to lock your screen. To unlock it
simply press the physical Back button on the front of your
eTouch and then swipe the padlock symbol upwards (or
enter your Unlock Pattern if you‟ve set one up)
Volume Down Tap this button to incrementally decrease
the volume
Volume Up Tap this button to incrementally increase the
volume
Wi-Fi Status The number of Wi-Fi bars increase or
decrease depending on the signal strength)
Battery Icon This shows the amount of charge in your
battery. When the lightning symbol shows it means the
battery is still charging.
Network Icon This icon shows your network connection
status. This is included for Data Dongle use.

10” zinglife e-tab User Guide to Android™
Program Menu
On the right hand side of your home screen is the Program
Menu icon. Tap the arrow icon in the centre to open a menu
of your installed apps.
To open an app just tap it once and it will launch.
Bring Icon to Home Screen
You can add a shortcut to your favourite apps on your home screen to
access them quickly and easily. Once you‟re in the program menu
simply tap and hold the icon which will drop the icon onto the home
screen and you can tap and hold it to place it in your desired location.

zinglife
Connecting to Wi-Fi
Follow the instructions below to connect to a b/g Wi-Fi Hotspot:
Please note that using Wi-Fi will decrease your battery life faster.
Tap Settings, then Wireless & Network.
Then tap the tick box in the Wi-Fi row to turn the e-tab Wi-Fi
module ON. Once the Wi-Fi is ON the tick will turn green.
Once the Wi-Fi is on, tap Wi-Fi Settings and the e-tab will
automatically scan for available Wi-Fi hotspots.
Select the desired Wi-Fi hotspot from the list.
If the hotspot doesn't have a password it will automatically
connect. However if it is „secure‟, a password window will pop
up letting you enter the correct password.
Your e-tab should now be connected to the internet.
Please Note: Turning the Wi-Fi off when you‟re not using it will help you
to maximise the battery life.

10” zinglife e-tab User Guide to Android™
Connecting to Broadband
Connect the RJ45 Connector (provided with zinglife e-tab) to your e-
tab and other end to Broadband Cable.
From the home screen tap Settings, then Ethernet Configuration.
Then tap the tick box in the Ethernet row to turn the module ON.
Once the Ethernet is ON the tick will turn green.
Once it is on, tap Ethernet Configuration.
Fill in the settings as provided by your ISP.
Connecting to 3G Data Dongle
Your zinglife e-tab supports both EVDO and WCDMA data dongles.
The installation & user guide for EVDO and 3G Data Dongles is provided
separately on the Support page of our website.
www.zinglife.in/support

zinglife
Google Market™
Your e-tab comes with access to the Google Market. This lets you
browse and download free and paid apps and games. These range
from learning tools, to office productivity software, to lifestyle apps,
social networking, games and widgets. With over 100,000 apps
available there is something for everyone, for work, rest or play.
To use the market you must be connected to the internet and have a
Google Account setup.
NOTE: Due to Android fragmentation and future upgrades of
the Android Source Code we cannot guarantee the ‘fitness for
purpose’, ‘stability’ or ‘reliability’ of any downloaded apps on
the e-tab’s Android build. Use of Google Market is subject to
Google Inc. Terms of Service
NOTE: You must be connected to the internet to browse and
download apps. Some apps require the use of system resources
and access to your data. Please read the app’s access
requirements carefully before agreeing to install and use apps.

10” zinglife e-tab User Guide to Android™
Searching & Downloading Apps
To use the Market tap the Market icon on your home
screen. The first time you use the Market you must agree to
a legal agreement between you and Google.
You can return to the hope page of the Market at any time by pressing
the Market „shopping bag‟ icon at the top left of the screen.
Searching for Apps
Tap the Search icon at the top of the screen or press
the Search button at the top right of your keyboard.
Enter the name of an app, a description, or the app
developer‟s name you want to search for.
A list of matches will appear. From the list tap a search result to
open an information page on that app.
Each app has a dedicated page detailing its cost, user ratings,
number of downloads, screenshots and a description of the
overall benefits of the app. You can also find out more details
about the developer and see other apps by the same
developer.
Browsing for Apps
If you don‟t want to look for a specific app you‟ve heard about or
been recommended, you can just browse to see what apps are out
there;
You can browse by category as apps are split into „Apps‟ and
„Games‟. Tap the icons at the bottom left of the screen to view
a Category List
Apps are conveniently separated into categories depending on
their type. If you choose a category of interest you will be
presented with a list of Apps.
You can sort Apps by Top Paid, Top Free and Just in.
Scroll down the list until you see something of interest and tap it
to open its dedicated information page.

zinglife
Installing Free Apps
Once you‟ve searched and found a free app you wish to download
you can install it by:
pressing the Install button at the bottom of the screen.
You will be presented with full details of the app‟s access
requirements. This details exactly what data and system
resources the app will use to function.
NOTE: It’s important that you read this screen carefully as you are
allowing a third party access to your data and e-tab’s hardware. It’s
wise to be cautious as you are responsible for the results of installing
and using apps. However, it’s important to note that apps are vetted
by Google and you can benefit from giving this access to apps, i.e. if
an app can access your location it can give you information relevant
to your surroundings.
If you agree to the access requirements tap OK and the app will
download.
You can track its progress by dragging the notification bar
down, or alternatively opening the app‟s information page
again.
Once the download is complete a new icon will appear in your
program menu. Tap the icon to launch the app and follow the
on-screen instructions.
Installing ‘Paid For’ Apps
Once you‟ve searched and found a paid for app you wish to
download you can install it by:
Pressing the Buy button at the bottom of the screen
Tap OK if you agree to the app‟s access requirements (see Note
above)
Complete the Google Checkout process by either setting up a
Google Checkout Account and entering your credit card and
personal details or using Google Checkout Account you have
already set up. Follow the on-screen instructions.
Tap Buy Now and the app will download. You can track its
progress by dragging the notification bar down, or alternatively
opening the app‟s information page again.

10” zinglife e-tab User Guide to Android™
Once the download is complete a new icon will appear in your
program menu. Tap the icon to launch the app and follow the
on-screen instructions.
You can get a full refund on apps within 15 minutes of purchase if you
decide you don‟t want the app.
If you have another Android device such as a netbook or phone, you
can download a paid application to that device using the same
Android Market account at no additional charge.
Installing Apps from the Android Market Website
You can also install Apps to your e-tab using the Android Market
website on your PC or laptop.
Navigate to http://market.android.com,
log-in using your Google Account. When
you search and find an app you like, you
can click the install button to remotely
download and install the app next time
your e-tab is connected to internet.
Managing your Downloaded Apps
Viewing your downloaded apps
To view a list of the apps you‟ve downloaded from the Market:
Go to the Market home screen, press Menu
Tap Downloads
In the list of the free and paid applications that opens, you can
tap rate it, uninstall it, request a refund etc…

zinglife
Updating Apps
Most apps you download can be updated over time to fix bugs or to
add extra features. To update your apps:
On the Android Market home screen, press Menu and tap
Downloads
This will show a list of downloaded apps that have updates
available.
Tap an App with Update Available and tap Update
This will download and install the update. This will not affect any
shortcuts etc that you may have made.
Updating Apps Automatically
Applications you download from Market are not set to update
automatically by default. To set auto updating:
On the Android Market home screen, press Menu and tap
Downloads
Tap an app.
Check or uncheck Allow automatic updating.
Uninstalling Apps
To uninstall apps:
On the Market home screen, tap Menu then Downloads.
Tap the app to uninstall and the screen for the application will
open.
Tap Uninstall then OK in the confirmation dialog.
Tap the reason that best matches why you‟re uninstalling the
app and tap OK.
The application will be uninstalled. If it was a paid application you can
install the app again without charge.
Table of contents
Other Zinglife Tablet manuals