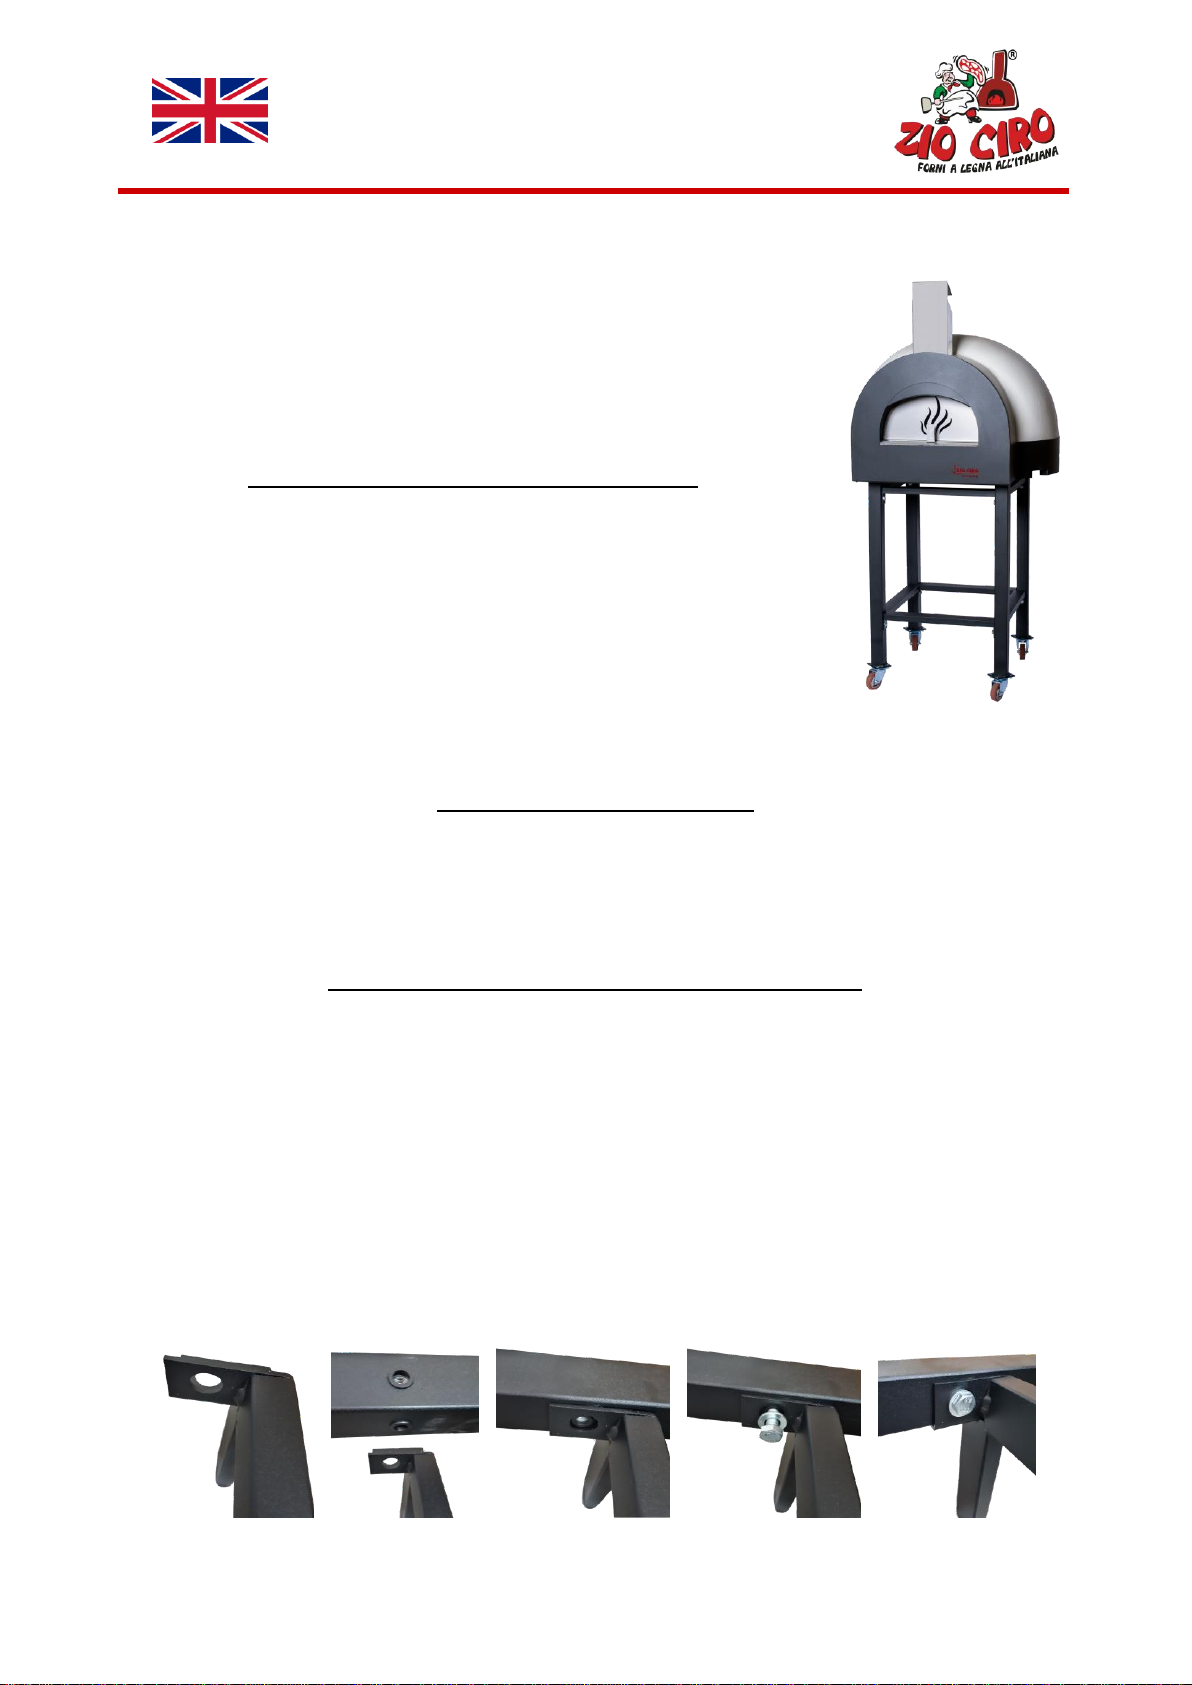
Subito Cotto 60, 80 and 100 Model
Instructions - English
Page 3
For your continued enjoyment, please follow these simple Do`s and Don`t
IMPORTANT-WARNING
READ ALL INSTRUCTION CAREFULLY BEFORE INSTALLING AND USING YOUR SUBITO COTTO
OVEN. FAILURE TO FOLLOW INSTRUCTIONS MAY RESULT IN PROPERTY DAMAGE, PERSONAL
INJURY OR EVEN DEATH
• FOLLOW the instruction for curing your wood fired oven. Failure to follow the curing instructions can
cause damage to the oven.
• ALWAYS ensure that children and pets are kept at a safe distance from your wood fired oven, both during
and after operation. We suggest children under the age of 16 should be supervised when using the oven
• ALWAYS ensure the oven is sited on a level base. The stand MUST NOT tilt
• DO NOT modify in any way the wood fired oven from the manufacturer specifications
• DO NOT block the flue pipe
• ONLY USE untreated, well-seasoned, dry hard wood
• DO NOT burn rubbish in your oven
• DO NOT use any kind of flammable liquids or fuel (Including, but not limited to firelighter fluid, gasoline,
diesel, Kerosene etc.) at any time to start or maintain a fire
• BEWARE of High internal temperatures. Your oven can easily reach temperatures in excess of 400C°, use
caution when cooking and baking food in your oven
• DO NOT insert unprotected hands or arms inside your wood burning oven while or after operations. If
burns occur, immerse in cold water and seek medical advice
• ALWAYS used approved bakeware, long utensils, gloves and mitts when using your wood fired oven
• DO NOT leave a fire unsupervised.
• DO NOT allow your oven to become wet. If it does, wait until the oven is fully dry (at least a full week
since water intrusion) and follow your curing instructions to dry it properly before use. You can use a space
heater before the first curing fire to reduce the moisture content.
• DO NOT use water to calm or extinguish a fire, except in an emergency
• DISPOSE of cool ash in an approved bin, add to compost or spread it on garden as nutrient.
• DO NOT inhale ash or dust.
• DO NOT place frozen foods in a hot oven.
How to set up your wood fire oven
• Follow the Assembly instructions.
•Check that all bolts are securely tightened using an adjustable wrench.
• Decide where to place your stand. It needs to be on the heart and level surface, preferably in a concrete,
tiled or decked area, which can easily hold the weight of the oven (depending on the model, it can exceed
750 pounds)
• Warning. there is a risk of toppling if not sited level or if sited on soft ground. To prevent the risk of
toppling we recommend siting the oven up against a wall, fence or hedge.
• DO NOT lean against the oven.
• Make sure the oven is in a safe distance from any flammable surfaces and that there is enough space
around the flu pipe for smoke to disperse.
How to care for your oven
• You do not need to clean the oven with cleaning product because the high temperature will kill any germs
or bacteria. Any food spillage will simply get burned to ashes which you can sweep out each use or when
ash has built up, allow the ash to cool and sweep it out the oven with a metal brush into a suitable metal
container. Afterwards you can use the cool ashes as fertilizer.
• Never throw water into the oven or introduce frozen food into a hot oven, as the thermal shock could
damage the oven.