Zodiac Pool Systems Polaris 9300 Series User manual
9300 Sport
9300xi Sport
Polaris 9300 Series
Robotic Cleaner
®
2
Zodiac Pool Systems, Inc.
1-800-822-7933
www.ZodiacPoolSystems.com
Regional Extension________________
Instructor___________________________________________________ext._________
Sales Representatives________________________________________ ext._________
__________________________________________________________ ext._________
Service Manager_____________________________________________ext._________
__________________________________________________________ ext._________

3
Table of Contents
FEATURES and BENEFITS ..........................................................................................4-5
COMPONENTS ................................................................................................................6
INSTALLATION.................................................................................................................7
OPERATION..................................................................................................................8-9
MAINTENANCE.........................................................................................................10-13
DISASSEMBLY..........................................................................................................14-20
ASSEMBLY................................................................................................................21-26
TROUBLESHOOTING...............................................................................................27-31
TABLE OF CONTENTS

4
9300 Sport & 9300xi Series
• Features Vortex Vacuum
Technology. Collects debris and
does not lose suction.
• Simple top access to “shake &
spray filter canister. Never touch
pool debris again.
• Retail ready packaging
• Powder coated alloy caddy is
included.
• 60’ Cord on the 9300 & 70’ Cord
on the 9300xi.
(Interchangeable)
• Adjustable cleaning
cycles.
FEATURES, and BENFITS
9300 Sport Robotic -
New for 2011
• New Wheel design.
• New filter canister
color.
• New 60 micron and 200
micron filter canister.
(Sold Separately).

5
9300xi Sport Robotic -
New
• Features IntelliNav remote
drive - Wireless remote
control.
• Advanced brush design
provides more aggressive
scrubbing.
FEATURES, and BENEFITS
Notes:
_____________________________________________________________________
_____________________________________________________________________
_____________________________________________________________________
6
Notes:
_____________________________________________________________________
_____________________________________________________________________
_____________________________________________________________________
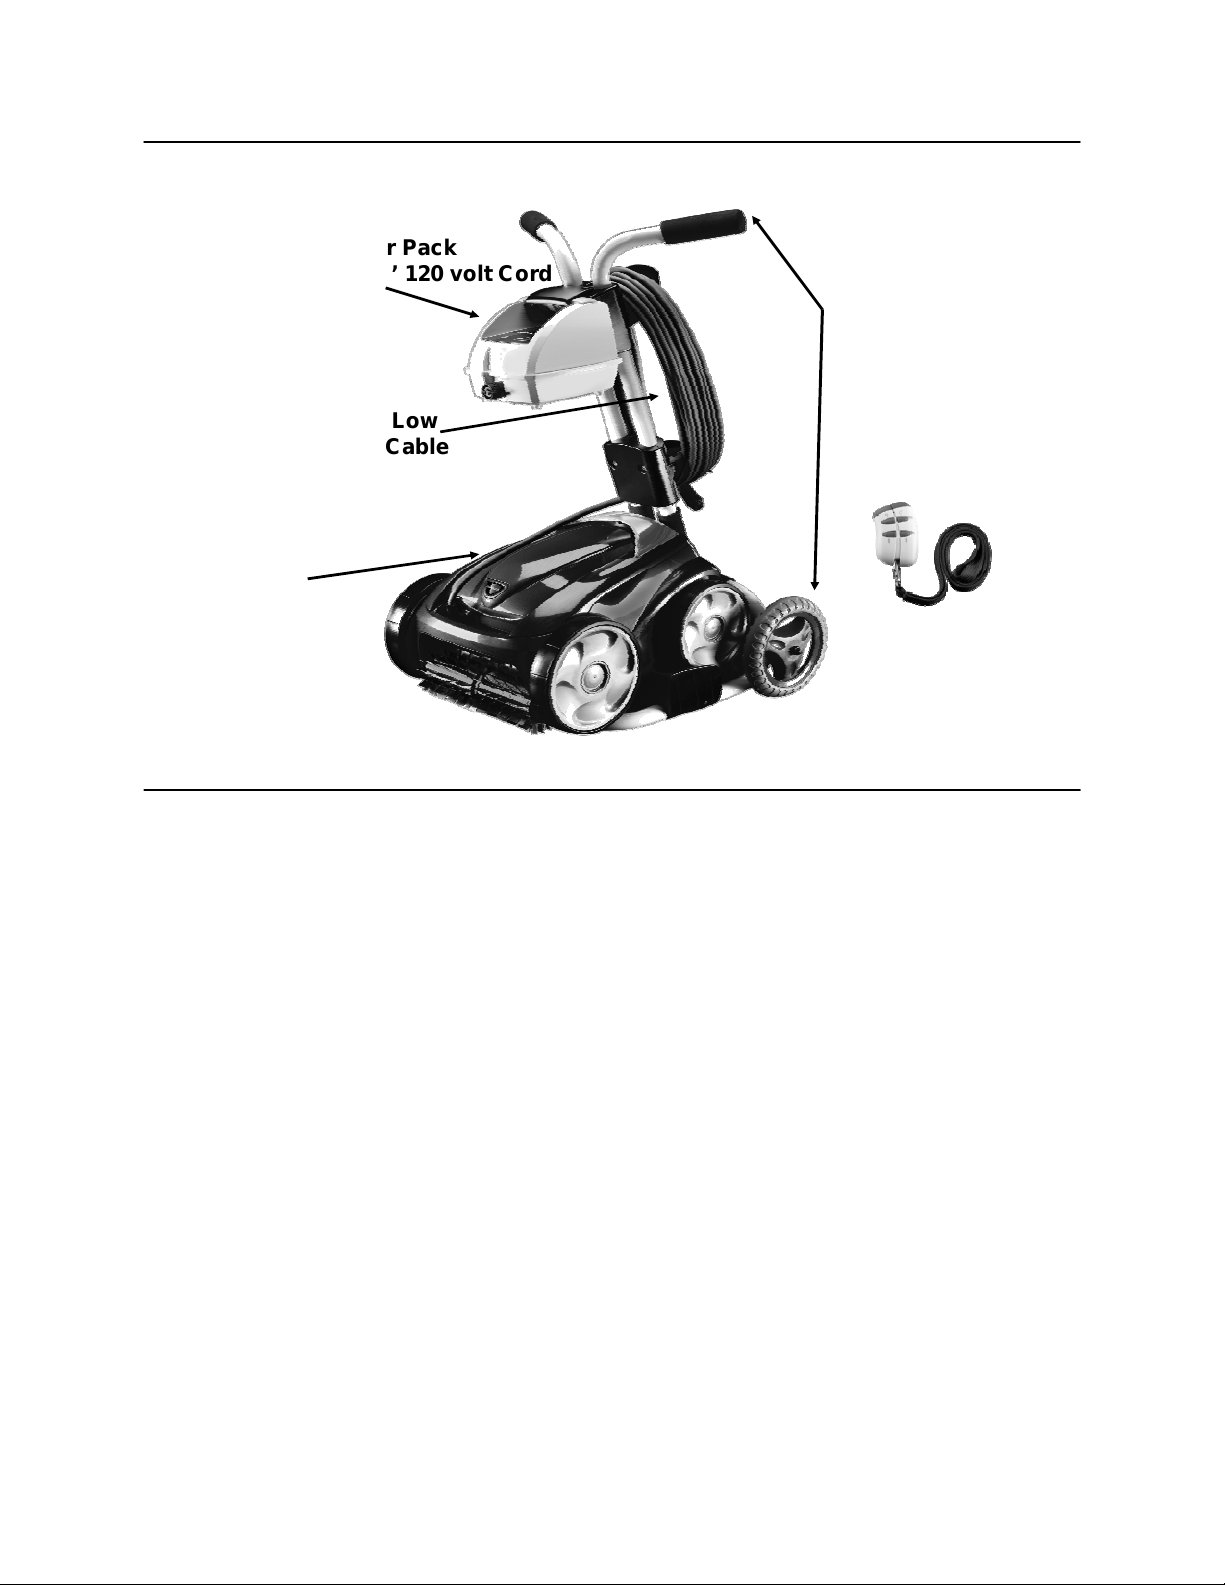
Components
Mobile
Storage
Caddy
Power Pack
with 8’ 120 volt Cord
Floating Low
Voltage Cable
9300/9300xi
Cleaner Wireless
Remote Control
(9300xi only)
COMPONENTS
7
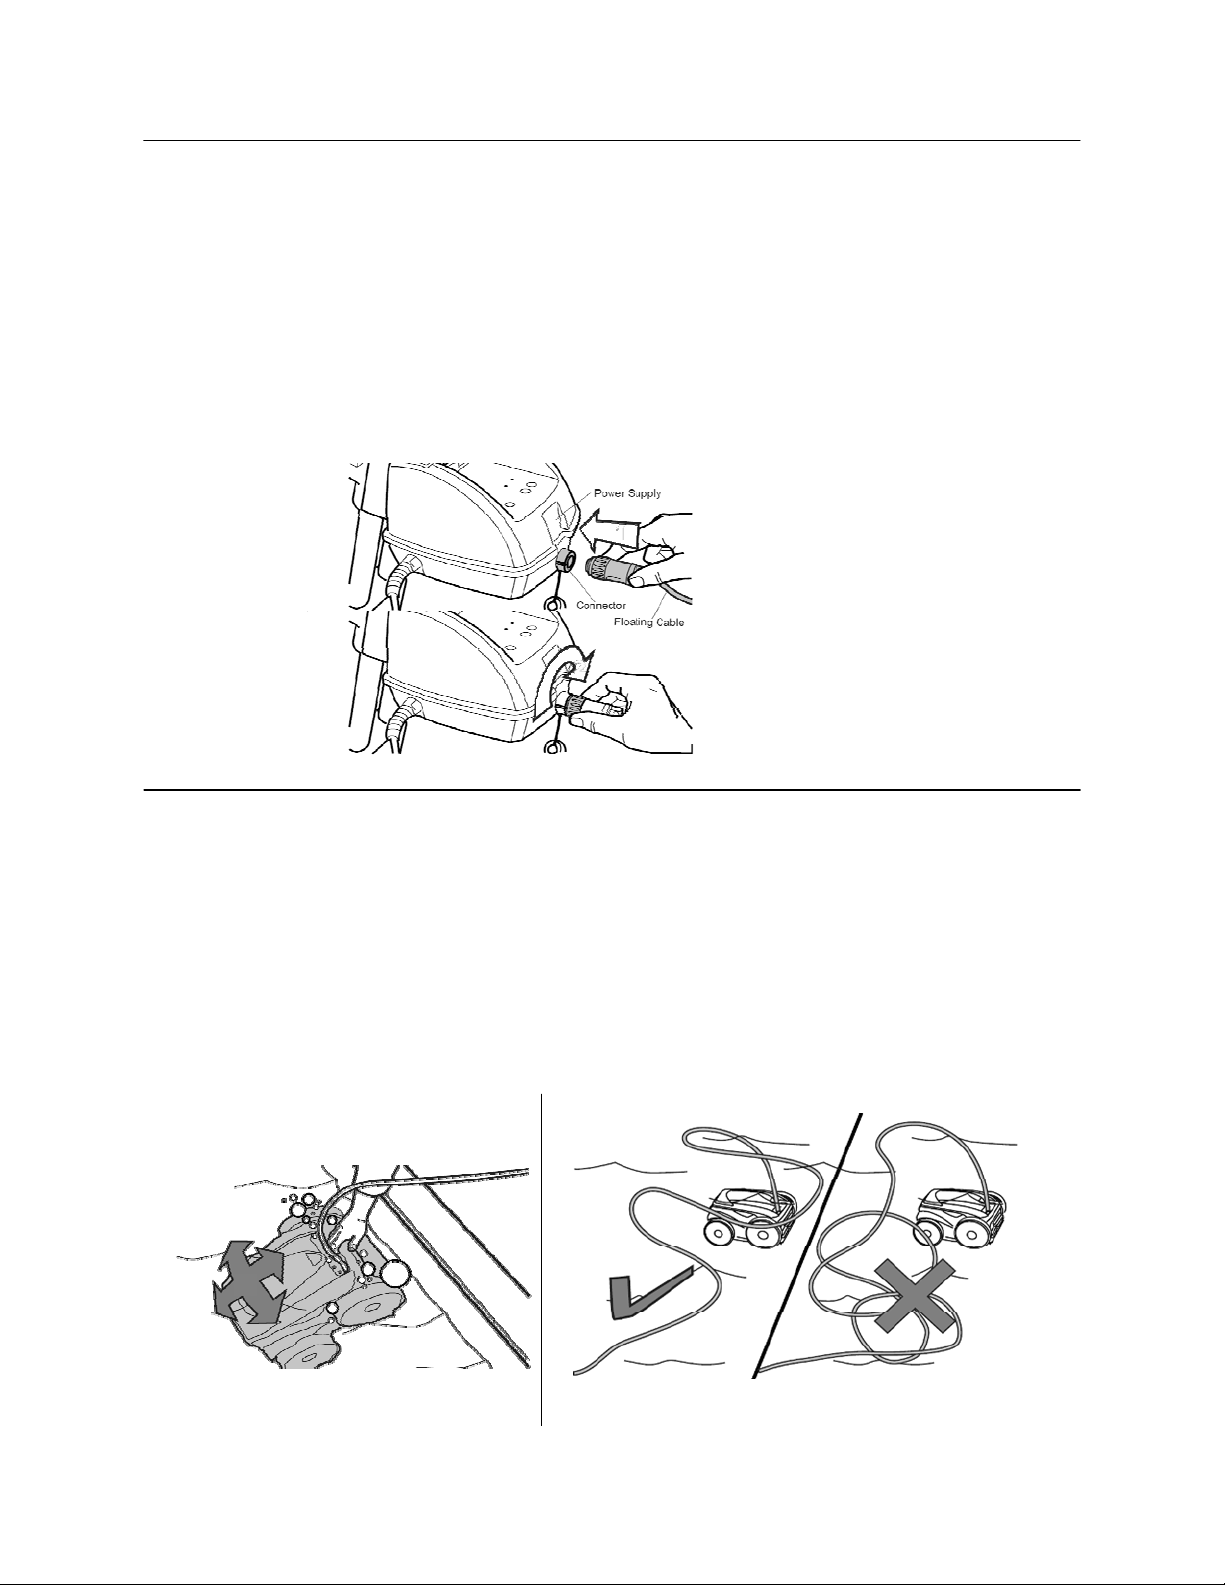
Installation:
5- Submerge the cleaner by the side of the pool.
-Turn the cleaner head over under the water to insure all air has been
removed.
-Allow the cleaner to sink to the bottom of the pool.
-Do Not Throw the cleaner into the pool.
6- Spread the floating cord around the pool evenly to
prevent coiling or kinking.
Installation:
1- Assemble the caddy.
2- Attach the Power Pack to the caddy.
3- Connect 8’ Cord to a GFCI Outlet.
-Keep the Power Pack 5’ from the edge of the pool.
-Do Not Use an Extension Cord.
4- Connect the Floating Cable to the Power Pack snugly.
INSTALLATION
8
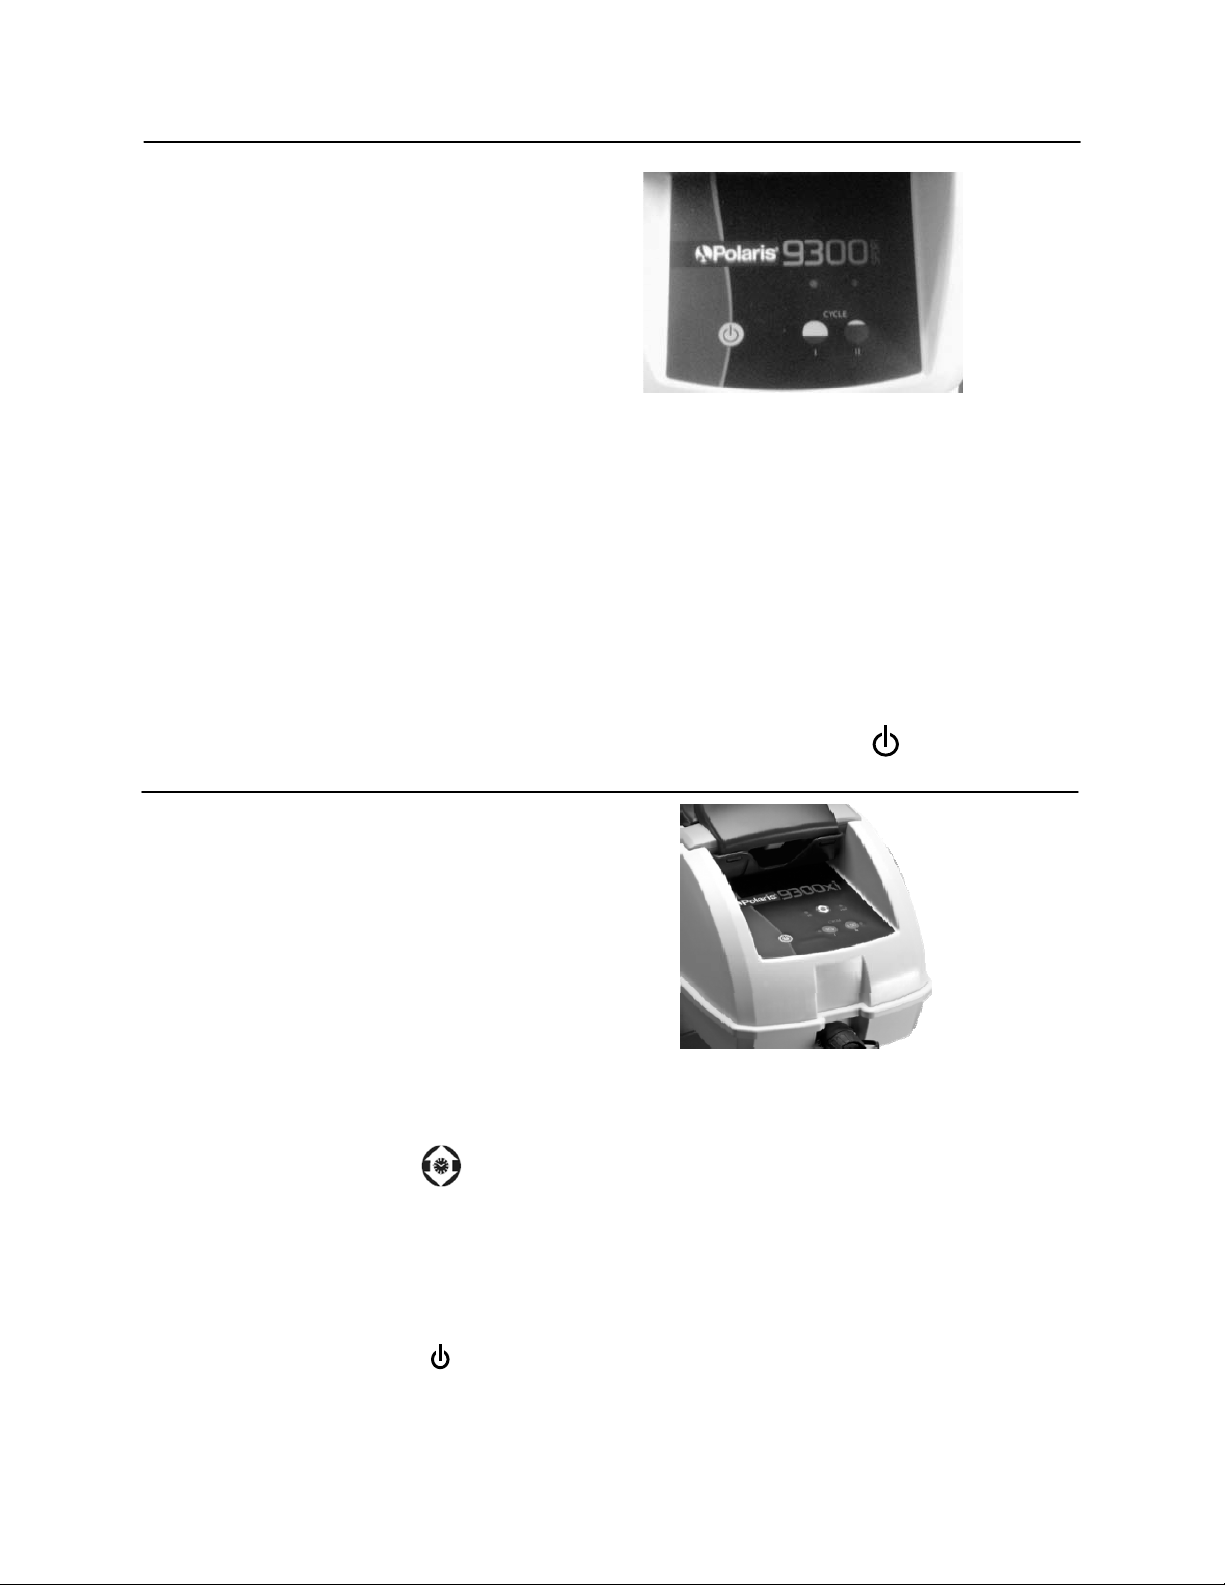
Operation:
Standard operation for both 9300 & 9300xi
• Select Cycle:
- Cycle I is 1.5 Hours and
concentrates on the bottom of
the pool.
- Cycle II is 2.5 Hours and
allows for both the bottom
and walls of the pool.
• The cleaner will move forward and backward and periodically
turn left and right during the cycle. Debris will be captured in
the filter canister.
• Upon completion of the cycle, the light on the power pack will
flash for 15 minutes and then go out completely.
Note: To turn the cleaner off mid cycle, press the power button, .
9300 Power Pack Shown
Operation:
Automatic Start Mode (9300xi only)
The 9300xi has an Automatic Start Mode
application if you GFCI outlet is hooked up to a
time clock or relay from a control system. This
will allow the cleaner to automatically start
when power is supplied to the power pack.
1- Decide which cycle you would like to run.
Note: This feature will run for 2.5 hours in both Cycle I and Cycle II. Cycle I
will concentrate on the floor of the pool while Cycle II will go over the whole
pool including the walls.
2- Hold the timer button, ,and the cycle button of choice down for 3+
seconds. The 2 lights on either side of the timer button will flash once
indicating the timer mode is activated. Now the cleaner will come on
whenever power is applied to the power pack.
To cancel the timer mode:
1- Turn on power to the power pack.
2- Hold the power button, ,down for 6+ seconds. The two lights on either
side of the power button will blink once indicating the timer mode is
deactivated.
9300xi Power Pack Shown
OPERATION
9
Notes:
_____________________________________________________________________
_____________________________________________________________________
_____________________________________________________________________
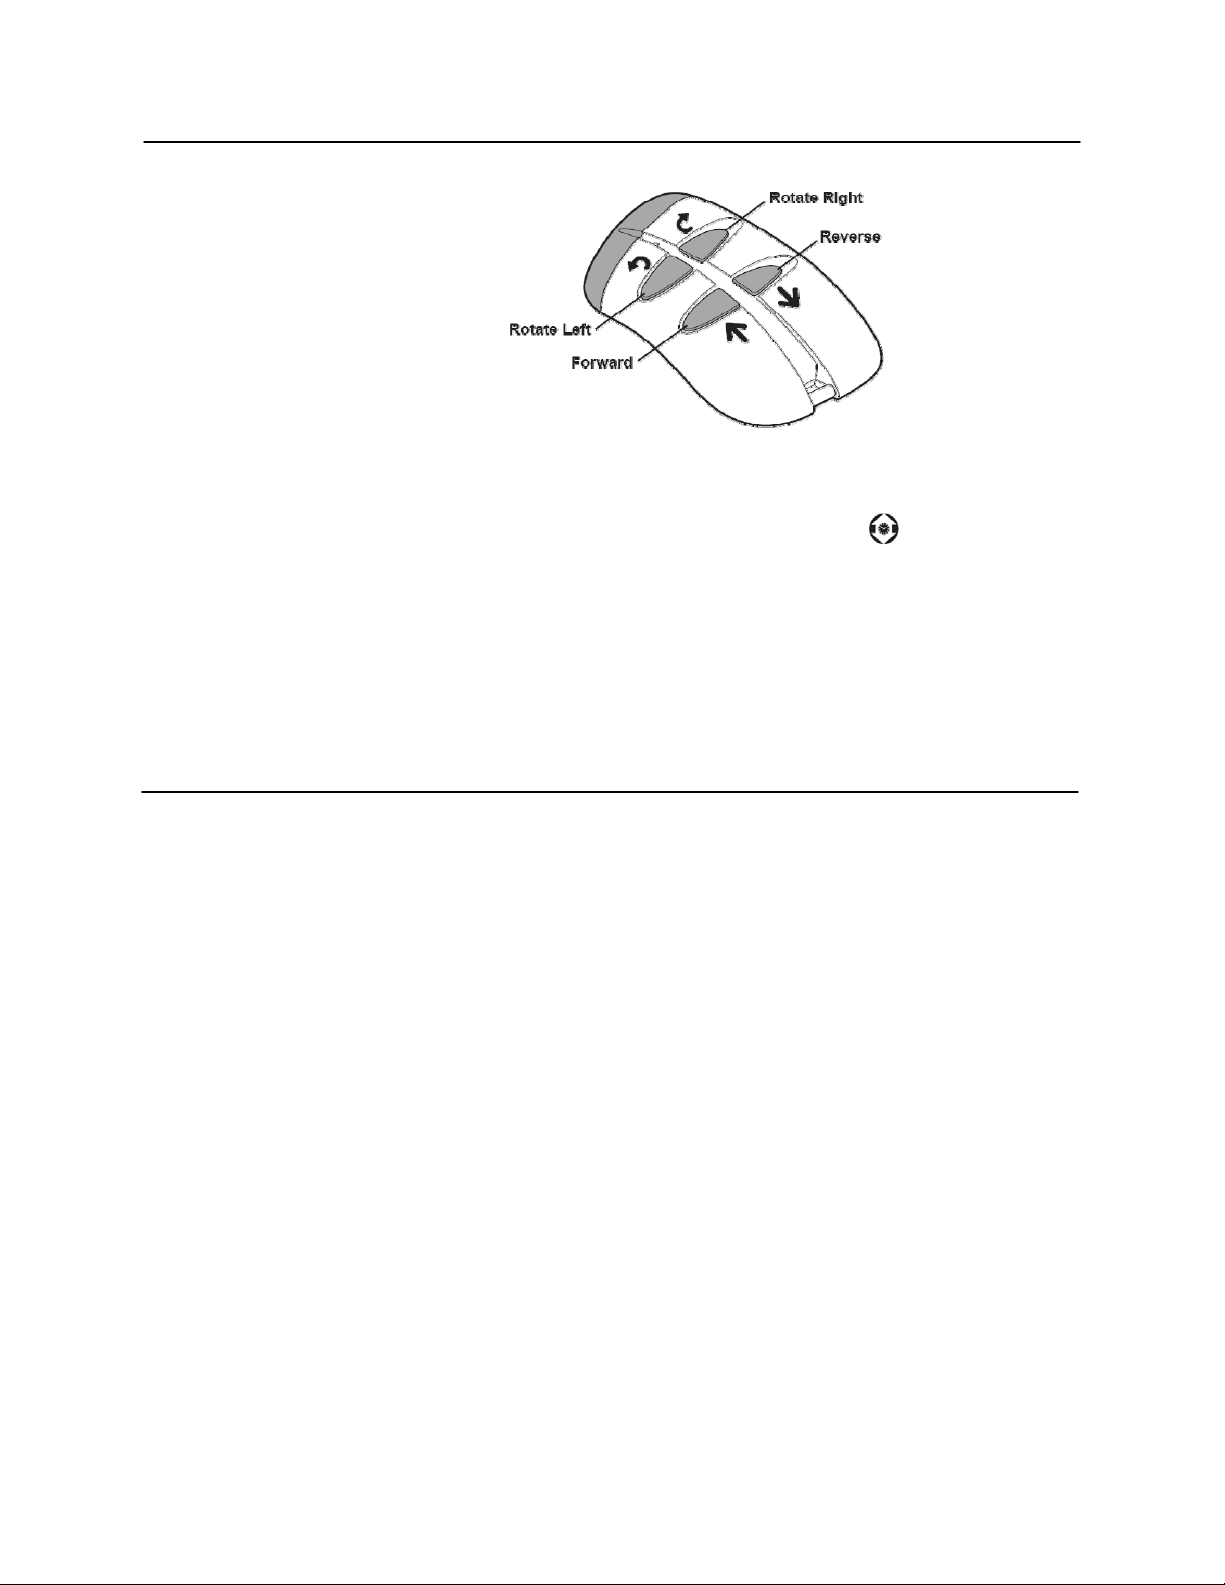
Operation:
Wireless Remote (9300xi only)
The 9300xi has a wireless
remote feature that allows
you to move the cleaner into
specific sections of the pool.
1- Turn on the cycle of choice on the power pack.
2- While cleaner is moving, point the remote at the power pack, and press
the direction of choice on the remote. Continue holding the button down until
the cleaner has completed the movement you want. While the remote
buttons are pressed the two lights on either side of the timer button, ,will
blink.
3- The cleaner will resume its cycle after 45 seconds if the remote is not
used.
Notes:
- The Wireless Remote for 9300xi is always enabled for use while either cycle on
the power pack is activated.
- The Remotes each have a unique ID at 433.92MHZ. Because of this, if a remote
is replaced, it must be synchronized with the power pack. (See Troubleshooting).
- The replacement battery is L1028 (12V 23A)
OPERATION
10
Maintenance
Note: The pictures in the maintenance are those of the 9300.The
9300xi tear down is the same, except that some of components look
different. Always consult the individual breakdowns for 9300 and
9300xi before replacing any part.
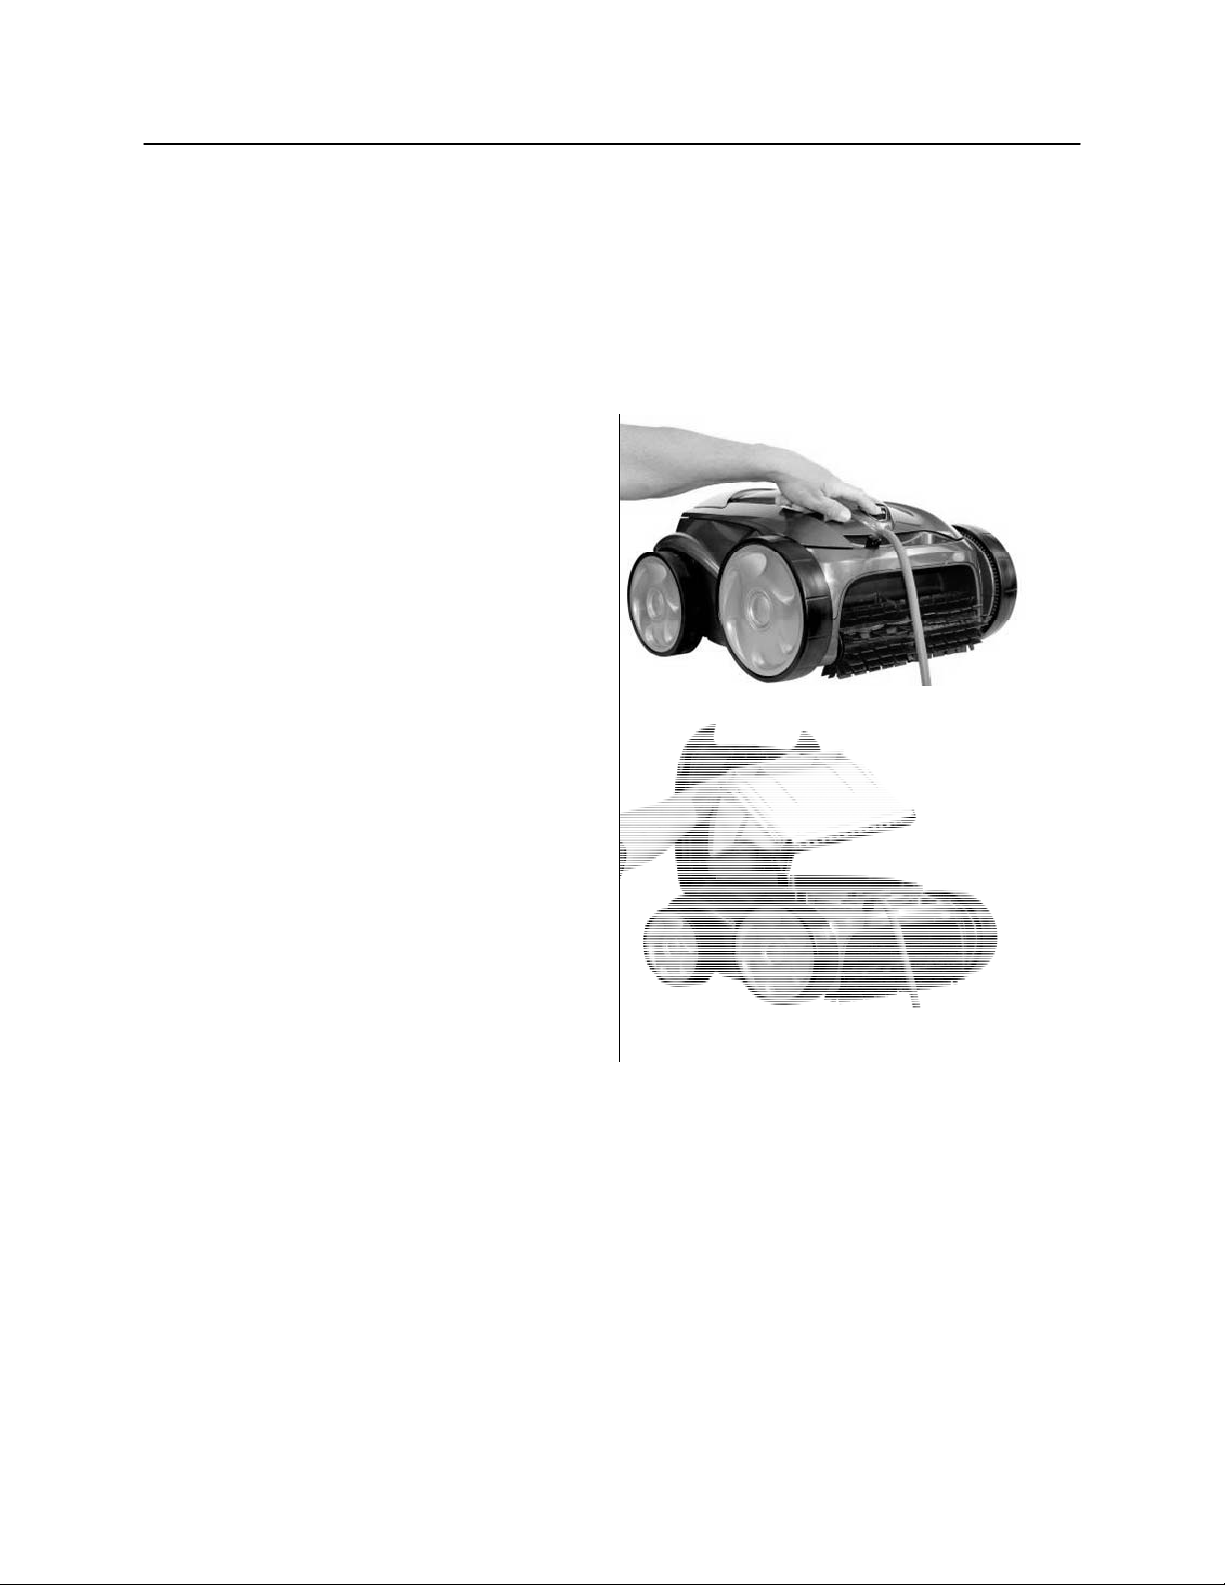
Maintenance:
Removing and cleaning the
Canister
1- Press button to open
cover.
2- Lift out Filter Canister.
Notes:
_____________________________________________________________________
_____________________________________________________________________
_____________________________________________________________________
MAINTENANCE
This manual suits for next models
2
Table of contents
Other Zodiac Pool Systems Vacuum Cleaner manuals


