Installation 9
Connecting the Hardware
All connections originate from the back panel of your modem.
1
1Using the supplied USB cable, plug the cable’s square end
into the modem’s USB jack. Plug the cable’s rectangular end
into your computer’s USB port.
Tip: You can identify the USB jack and cable by the USB
symbol:
Windows 98/98SE Users: You may be asked for your
computer’s Windows installation CD. If so, please insert it
into the CD-ROM drive and click OK.
2
22
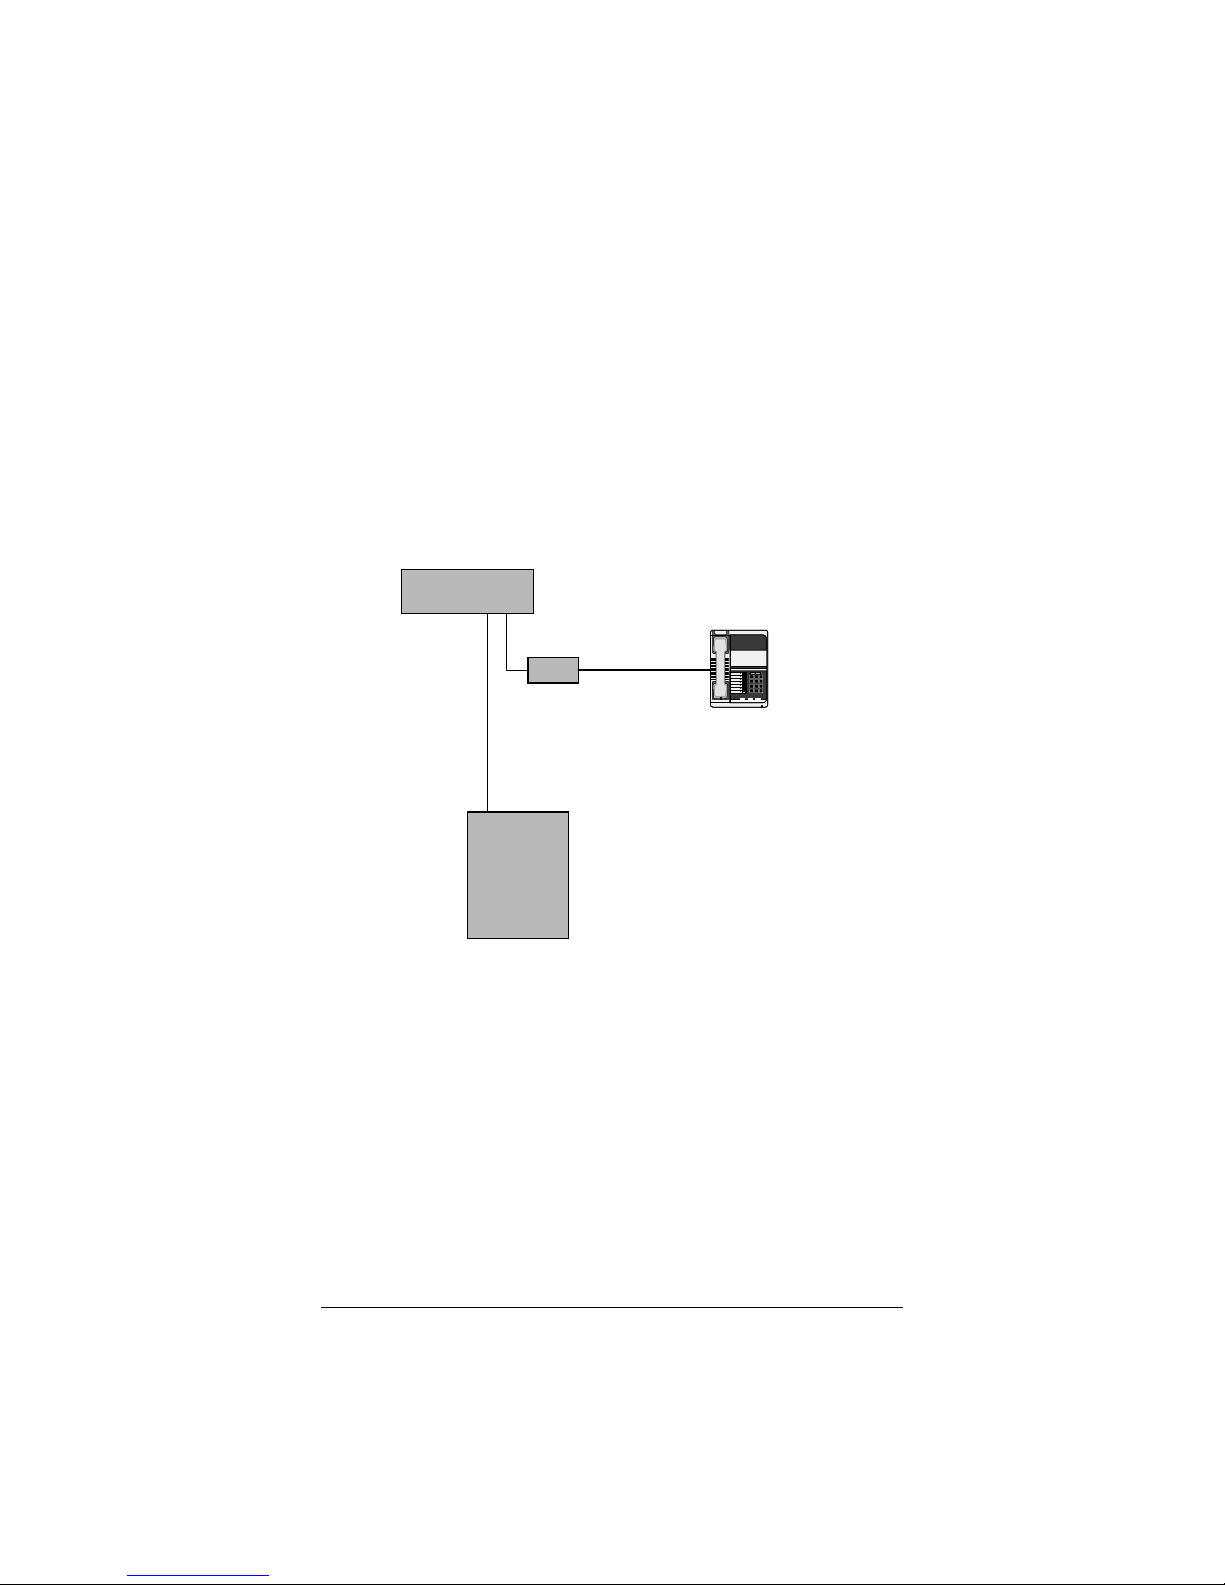
2Plug one end of the supplied phone cord into one of the
modem’s two phone jacks and plug the other end into the
telephone wall jack. Note: If there any phones on the
premises sharing this DSL-enabled phone line, we
recommend the use of filters. See page 10 for instructions.
3
33
3Once you’ve performed Step 2, the computer automatically
installs the necessary programs required by the hardware.
(You will see another tracking box.) When the process is
complete, you will be prompted to click Finish.
Windows 98/98SE and Me Users: Your computer will
restart automatically to enable the new settings.
Windows XP and 2000 Users: A restart is not necessary.
Close or minimize the Zoom ADSL user interface box.