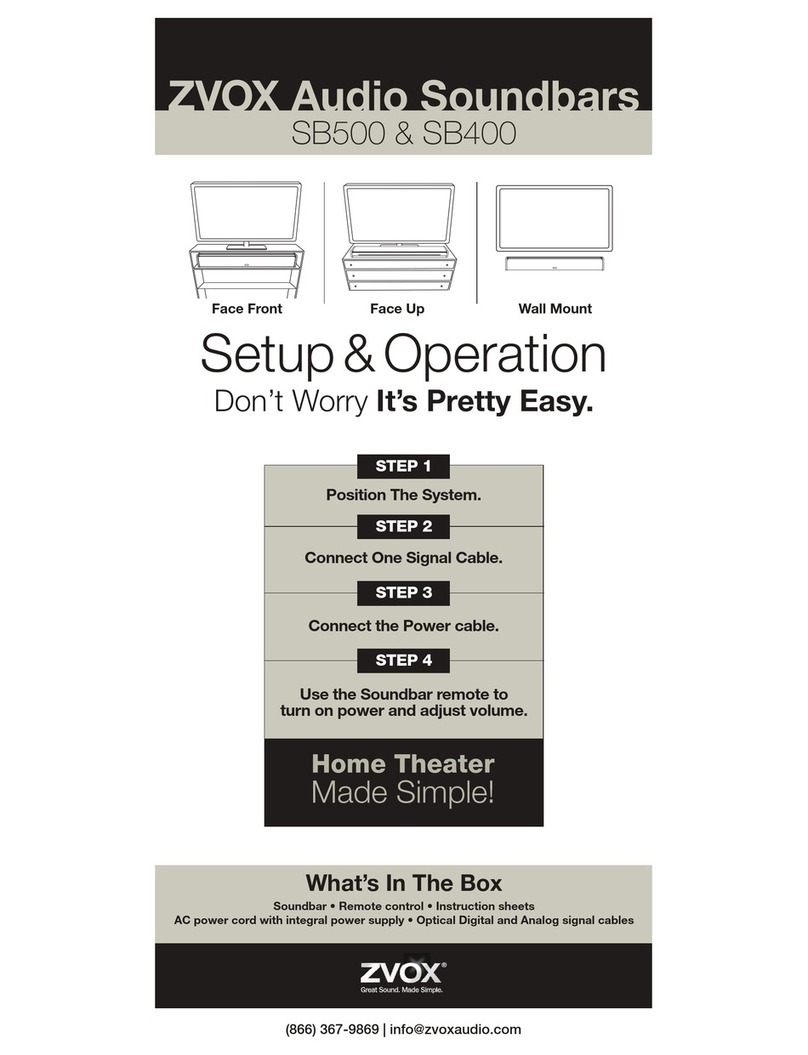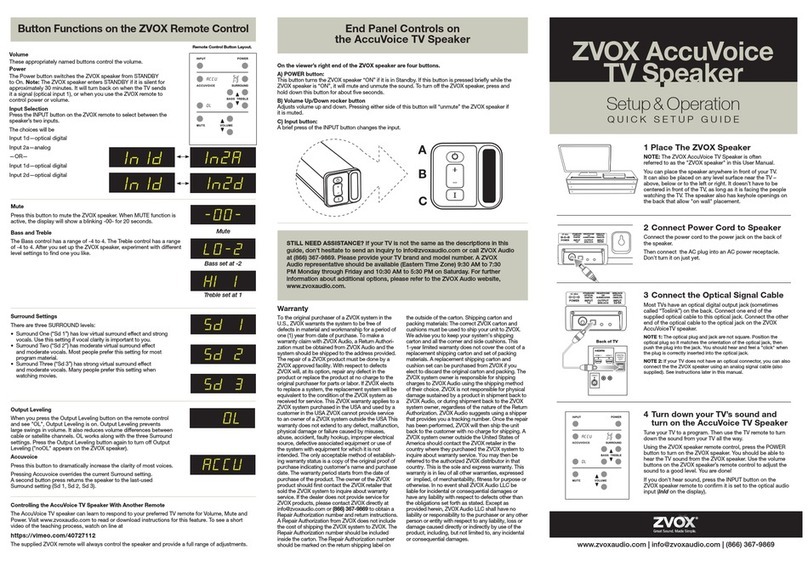
ZVOX AccuVoice TV Speaker
www.zvox.com
MODEL AV120 | SETUP & OPERATION
ii ZVOX AV120 | Safety Instructions
READ THIS FIRST
Important Safety Instructions For ZVOX Audio System
CAUTION
RISK OF ELECTRICAL SHOCK, DO NOT OPEN
Warning: To reduce the risk of electrical shock, do not remove
cover (or back) – no serviceable parts inside. Refer servicing to
qualied service personnel.
This lightning ash with arrowhead symbol,
within an equilateral triangle, is intended to
alert the user to the presence of uninsulated
“dangerous voltage” within the product’s
enclosure that may be of sufcient magnitude to
constitute a risk of electrical shock to persons.
The exclamation point within an equilateral
triangle is intended to alert the user to the
presence of important operating and
maintenance (servicing) instructions in the
literature accompanying the appliance.
TO PREVENT FIRE OR SHOCK HAZARD, DO NOT EXPOSE THIS
APPLIANCE TO RAIN OR MOISTURE.
THIS APPLIANCE SHALL NOT BE EXPOSED TO DRIPPING OR
SPLASHING WATER AND NO OBJECT FILLED WITH LIQUIDS
SUCH AS VASES SHALL BE PLACED ON APPARATUS.
WARNING
1. Read these instructions.
2. Keep these instructions.
3. Heed all warnings.
4. Follow all instructions.
5. Do not use this apparatus near water.
6. Clean only with dry cloth.
7. Do not block any ventilation openings. Install in accordance
with the manufacturer’s instructions.
8. Do not install near any heat sources such as radiators, heat
registers, stoves, or other apparatus (including ampliers) that
produce heat.
9. Do not defeat the safety purpose of the polarized or
grounding-type plug. A polarized plug has two blades with one
wider than the other. A grounding type plug has two blades
and a third grounding prong. The wide blade or the third prong
are provided for your safety. If the provided plug does not t
into your outlet, consult an electrician for replacement of the
obsolete outlet.
10. Protect the power cord from being walked on or pinched
particularly at plugs, convenience receptacles, and the point
where they exit from the apparatus.
11. Only use attachments/accessories specied by
the manufacturer.
13. Unplug this apparatus during lightning storms or when unused
for long periods of time.
14. Refer all servicing to qualied service personnel. Servicing is
required when the apparatus has been damaged in any way,
such as power-supply cord or plug is damaged, liquid has
been spilled or objects have fallen into the apparatus, the
apparatus has been exposed to rain or moisture, does not
operate normally, or has been dropped.
15. Grounding or Polarization–This product may be equipped
with a polarized alternating-current line plug (a plug having one
blade wider than the other). This plug will t into the power
outlet only one way. This is a safety feature. If you are unable
to insert the plug fully into the outlet, try reversing the plug. If
the plug should still fail to t, contact your electrician to replace
your obsolete outlet. Do not defeat the safety purpose of the
polarized plug.
16. Ventilation–Slots and openings in the cabinet are provided
for ventilation and to ensure reliable operation of the product
and to protect it from overheating, and these openings must
not be blocked or covered. The openings should never be
blocked by placing the product on a bed, sofa, rug, or other
similar surface. This product should not be placed in a built-
in installation such as a bookcase or rack unless proper
ventilation is provided or the manufacturer’s instructions have
been adhered to.
17. The MAINS plug or an appliance coupler is used as the
disconnect device, the disconnect device shall remain
readily operable.
18. CLASS II apparatus with double insulation, and no protective
earth provided.
19. CAUTION: Danger of explosion if the remote control battery
is incorrectly replaced. Replace only with the same or
equivalent type.
20. WARNING: The remote control battery (battery or batteries or
battery pack) shall not be exposed to excessive heat such as
sunshine, re or the like.
21. No naked ame sources, such as lighted candles, should be
placed on the apparatus.
Disposing of this appliance
Electric and electronic appliances often contain valuable materials. These appliances may also contain
materials essential for the correct functioning of your appliance which, if handled or disposed of incorrectly,
could be hazardous to human health and to the environment. Therefore, please do not dispose of this
appliance with your household waste. Dispose of it at your local community waste or recycling center,
or contact your retailer for advice.
DC IN
37 mm
(1.32”)
300 mm (11.81”)
381 mm (15”)
(2 -7/32”)
85 MM
Optical
Line In
USB
AccuVoice TV Speaker Model AV120 Dimensions
ZVOX AV120 | Regulatory and Legal Information iii
Declaration of conformity
ZVOX Audio, LLC. Hereby declares that this product is in compliance with the essential
requirements and other relevant provisions of Directive 2014/53/EU and all other
applicable EU directive requirements. The complete declaration of conformity can be
found at: www.zvox.com/AV120
FCC Statement
NOTE: This equipment has been tested and found to comply with the limits for a class B digital
device, pursuant to Part 15 of the FCC Rules. These limits are designed to provide reasonable
protection against harmful interference in a residential installation. This equipment generates,
uses, and can radiate radio frequency energy and, if not installed and used in accordance with
the instructions, may cause harmful interference to radio communications. However, there is no
guarantee that interference will not occur in a particular installation. If this equipment does cause
harmful interference to radio or television reception, which can be determined by turning the
equipment off and on, the user is encouraged to try to correct the interference by one or more of
the following measures:
• Reorient or relocate the receiving antenna.
• Increase the separation between the equipment and receiver.
• Connect the equipment into an outlet on a circuit different from that to which the receiver is
connected.
• Consult the dealer or an experienced radio/TV technician for help.
Changes or modications not expressly approved by ZVOX could void the user’s authority to
operate the equipment.
This device complies with Part 15 of the FCC Rules and ISED Canada License-exempt RSS
Standard(s). Operation is subject to the following two conditions:
(1) This device may not cause harmful interference.
(2) This device must accept any interference received, including interference that may cause
undesired operation.
This equipment should be installed and operated with a minimum distance of 20 cm between the
radiator and your body
ISED Statement
This device contains license-exempt transmitter(s)/receiver(s) that comply withInnovation, Science
and Economic Development
Canada’s license-exempt RSS(s). Operation is subject to the following two conditions:
1.This device may not cause interference.
2.This device must accept any interference, including interference that may cause undesired
operation of the device.
Le présent appareil est conforme aux CNR d’Industrie Canada applicables auxappareils radio
exempts de licence. L’exploitation est autorisée aux deux conditions suivantes : (1)l’appareil ne doit
pas produire de brouillage, et (2) l’utilisateur de l’appareil doit accepter toutbrouillage radioélectrique
subi, même si le brouillage est susceptible d’en compromettre lefonctionnement.
Cet équipement doit être installé et utilisé avec une distance minimale de 20 cm entre le radiateur et
votre corps
iv ZVOX AV120 | Table of Contents
Quick Setup Guide ...................................................................................................................................................................................................................................1
Alternative Ways To Connect The AccuVoice AV120 TV Speaker..............................................................................................................................................................2
TV to AV120 Audio Signal Cable Guide.....................................................................................................................................................................................................3
Placement Options ...................................................................................................................................................................................................................................3
Button Functions on the ZVOX Remote Control........................................................................................................................................................................................4
Still Need Assistance? ..............................................................................................................................................................................................................................5
Table of Contents
DIGITAL
AUDIO
OUT
(TV Port Example)
DC IN
Optical
Line In
USB
ZVOX AV120 | Quick Setup Guide 1
Quick Setup Guide
1 Place The ZVOX Speaker
You can place the ZVOX speaker anywhere in
front of your TV. It can also be placed on any
level surface near the TV – above, below or to
the left or right. It doesn’t have to be centered
in front of the TV. The ZVOX speaker performs
best if it faces the people watching the TV.
2 Connect Power Cord to
the ZVOX Speaker
Connect the power cord to the DC jack on
the back.
Then connect the AC plug into an AC power
receptacle. The speaker will then power on
and a white light on the front of the speaker
will turn on briey, then will be replaced
briey by a green light.
3 Connect the Optical Signal
Cable
Most TVs have an optical digital output jack
(sometimes called “TOSLINK”) on the back
panel. The supplied optical cable has a square-
like end which plugs into the TV and a round end
which goes into the ZVOX Speaker. The optical
cable might, or might not, have small clear
plastic covers protecting the metal tips. Simply
remove the covers before connecting the cable.
NOTE 1: The optical jack on your TV is not
perfectly square. You need to align the square-
like end of the optical cable to the orientation of
the TV’s optical jack. Once it is aligned, the
cable’s plug should slip into the jack with a slight
push. You may hear and feel a small “click” once
the cable is inserted completely
NOTE 2: If your TV does not have an optical
jack, you can use one of the supplied analog
signal cables. See instructions later in this
manual.
4 Turn off your TV’s
Internal Speakers
Some TVs require you to go into the audio menu
of the TV and turn off the TV’s internal speakers
in order to get an audio signal from the optical
jack. Also, turning off the TV speakers prevents
an ‘echo’ caused by both the ZVOX speaker
and the TV speaker playing together. Using the
remote that originally came with the television,
access the settings and turn off the internal TV
speakers. If you are unsure how to do this, go
to zvox.com/setup and look for “TV-Speaker
Hookup Videos.” Or get your TV’s model number
from the rear panel and call us at 1-866-367-
9869.
Back of TV
DC IN
Optical
Line In
USB
5 IMPORTANT: Set Audio
Output to PCM Using TV’s
Menu Screen.
Using the TV set’s remote (not your cable box
remote), click the Menu button. On the menu
screen select the Sound option, and then select
the “Expert Settings” or “Advanced Audio”
option. Then select Digital Output Audio Format
– and then select PCM. When you have done
this, simply push the Menu button one more
time to return to your normal screen.
For further assistance go to zvox.com/setup and
look for “TV-Speaker Hookup Videos.” Or call us
at 1-866-367-9869.
1 2 3
1 2 3
4 5 6
7 8 9
0CC
HOME
INPUT
EXIT MENU
OK
VOL CH
1 2 3
4 5 6
7 8 9
0
BACK INFO
Common examples of remotes provided
with TVS like Samsung, Sony, Vizio etc.
240 mm
650 mm
正面
展开尺寸:650x240mm,风琴4折页,折后尺寸:240x130mm
材质:80G书纸,双面单黑印刷


