10
________________________________________________________________________________________________________________
PROBLEM: The pre-installation check utility warns that your video card is not set
to 16-bit color depth.
_______________________________________________________________________________________________________
POSSIBLE SOLUTION:
Click Windows StSt
StSt
Starar
arar
artt
tt
t, point to SettingsSettings
SettingsSettings
Settings, and click ContrContr
ContrContr
Control Panelol Panel
ol Panelol Panel
ol Panel. Double-click DisplayDisplay
DisplayDisplay
Display. Click the SettingsSettings
SettingsSettings
Settings
tab. Make sure “High color (16 bit)” is selected in the “Color palette” drop-down menu and then click OKOK
OKOK
OK. Exit
out of all open windows.
____________________________________________________________________________________________________________________
PROBLEM: Windows fails to automatically detect the digital camera.
_______________________________________________________________________________________________________
POSSIBLE SOLUTION:
Try a manual installation of the camera. Make sure the camera is unplugged from the computer and then click
Windows StSt
StSt
Starar
arar
artt
tt
tand then click RunRun
RunRun
Run. Click BrBr
BrBr
Browseowse
owseowse
owse. Locate your CD-ROM drive (usually the drive labeled “D”),
which should be indicated by the icon and the text description “HomeConnect”. Double-click your
CD-ROMdriveandthendouble-clickthe“3comdrvr”folder.Double-clickthefilesetup.exesetup.exe
setup.exesetup.exe
setup.exe insidethe“3comdrvr”
folder. Click OKOK
OKOK
OK in the RunRun
RunRun
Run dialog box. Follow the on-screen instructions to install your camera’s drivers.
When the setup program is finished, you will be asked if you want to restart your computer. Make sure the
“Yes, I want to restart my computer now.” radio button is selected and then click Finish. While your computer
is restarting, plug the camera into an available USB port as described in step 2 on the other side of this guide.
When Windows restarts, it should detect the camera and install it. When you are ready to install the 3Com
HomeConnect software, click Windows Start, click RunRun
RunRun
Run, click BrBr
BrBr
Browseowse
owseowse
owse, find your CD-ROM drive, and double-
click the setup.exesetup.exe
setup.exesetup.exe
setup.exe file at the root level of the CD. This will activate the software setup utility. Follow the on-
screen instructions to install the software. Then turn to the “Now Let’s Take Your First Picture!” section on the
other side of this guide for a brief tutorial about image capturing using your new PC Digital Camera.
____________________________________________________________________________________________________________________
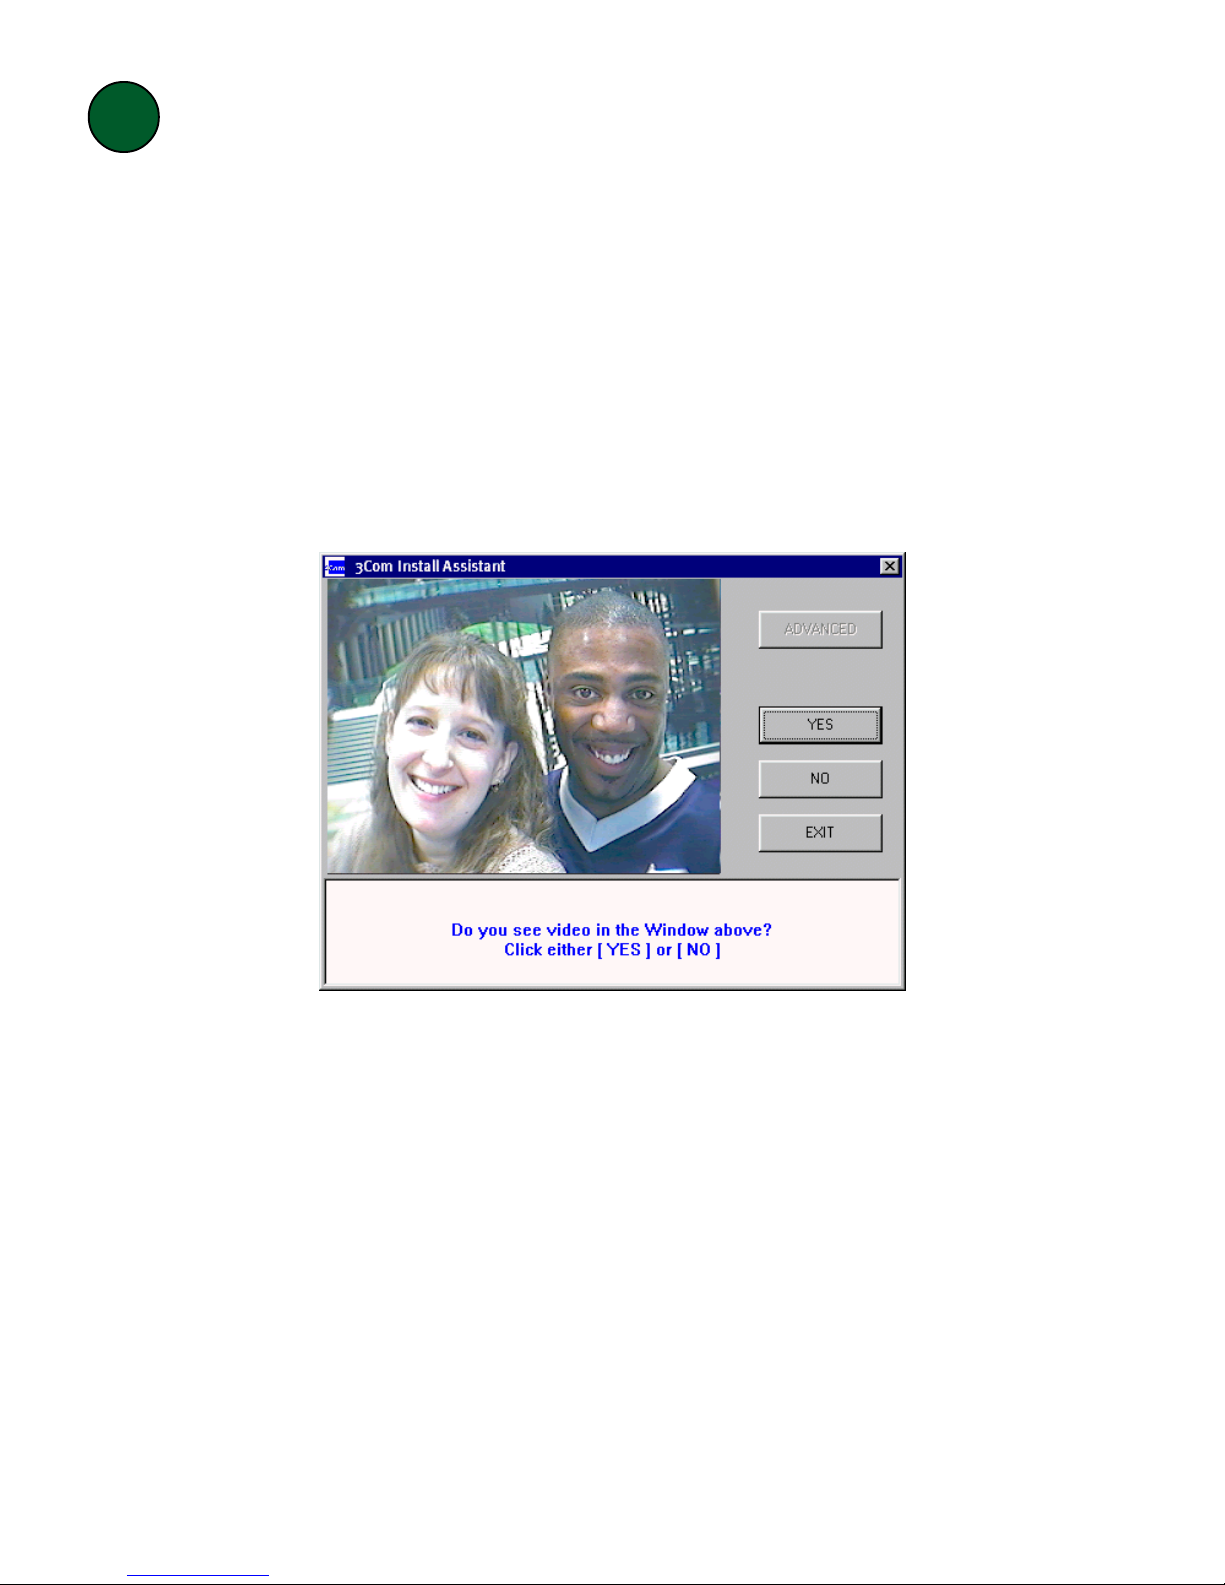
PROBLEM: There is no video in a video application’s window.
____________________________________________________________________________________________________________________
POSSIBLE SOLUTION:
Check that the USB cable is plugged into the camera and a USB port on your computer.
POSSIBLE SOLUTION:
Make sure “3Com HomeConnect Digital Camera AVI Driver” is selected in the application’s camera setup
menu.