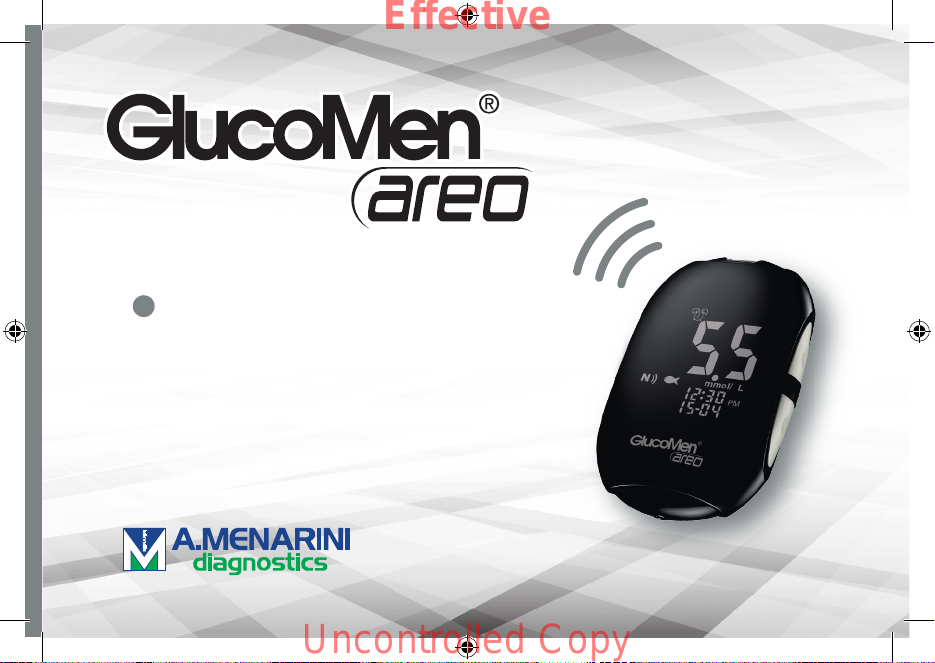
GlucoMen® areo - 48748 - 06/19
UK
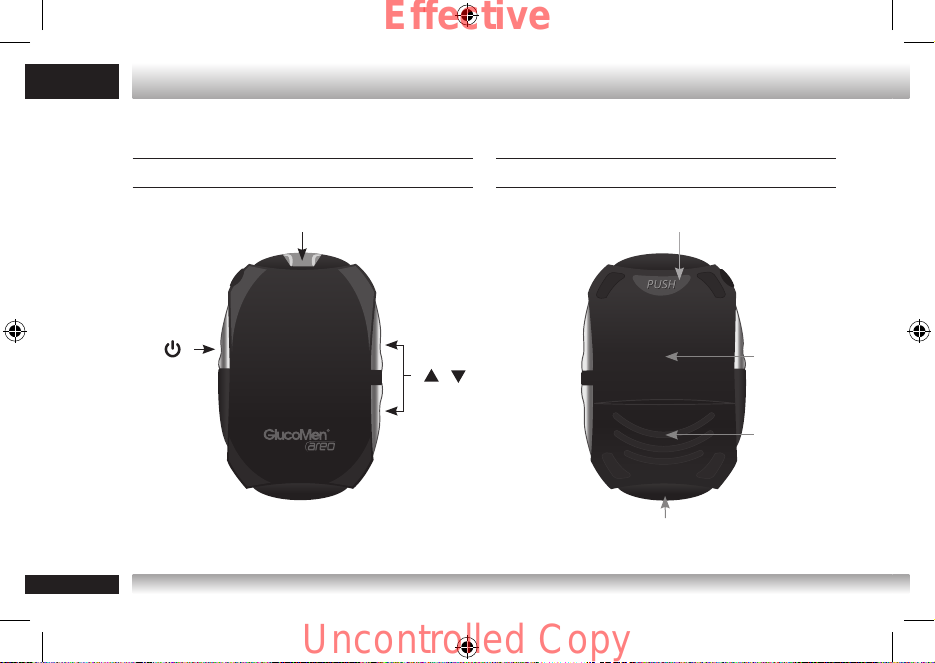
7
Your GlucoMen® areo meter and GlucoMen® areo Sensor are in vitro diagnostic medical devices to
quantitatively measure the glucose level in fresh capillary whole blood.
They are intended for self testing to monitor and control blood glucose levels by people with diabetes
mellitus; they can also be used in a clinical setting by healthcare professionals.
They are not intended for diagnosis or screening of diabetes or for neonatal use.
Do not alter your treatment on the basis of test results of this meter without previously consulting your
doctor or healthcare professional.
The meter complies with the requirements of Directive 98/79/EC on in vitro diagnostic medical devices and
with the requirements of Directive 2011/65/EU on the restriction of use of certain hazardous substances in
electrical and electronic equipment.
The meter is in compliance with Directive 2014/53/EU on radio equipment.The full text of the EU Declaration
of Conformity is available at the following internet address: www.red.menarinidiagnostics.com.
1. INTENDED USE
Uncontrolled Copy
Effective