A.MENARINI GlucoMen Day METER 2K User manual

Blood Glucose / β-Ketone Monitoring System for Self-Test Sistema
per l’autocontrollo della glicemia / chetonemia Sistema de monitorización
de la glucosa / cuerpos cetónicos en sangre para autodiagnóstico
Sistema de Monitorização da Glicemia / Corpos Cetónicos para Autocontrolo
Blutzucker /
β
-Hydoxybutyrat (β-Keton)-Messsystem für den Selbsttest
Σύστημα καταγραφής της γλυκόζης /
β
-κετόνης αίματος για αυτοεξέταση
Système de surveillance de la glycémie / β-cétone pour auto-surveillance
mg/dL
User Guide Guida Utente
Guía del Usuario Guia do Utilizador
Bedienungsanleitung Εγχειρίδιο χρήσης
Guide de l’utilisateur
Glucose / β-Ketone Meter Set
Glucometro / Chetometro Kit de
medidor de glucosa / cuerpos cetónicos
Kit Medidor de Glucose / Corpos
Cetónicos Blutzucker / β-Keton-
Messgeräte-Set
Σετ μετρητή γλυκόζης /
β
-κετόνης
Kit du glucomètre / β-céton

/Table of contents
/ 1 General information
1.1 Intended Use
1.2 The GlucoMen®Day METER 2K Glucose / β-Ketone Meter Set
1.3 The GlucoMen®Day METER 2K Glucose / β-Ketone Meter
1.4 The GlucoMen®Day METER 2K Glucose / β-Ketone Glucose
Meter display
/ 2 System Setup
2.1 Inserting or replacing batteries
2.2 Setting up your system
/ 3 Checking the system
/ 4 Blood Glucose or β-Ketone Testing
/ 5 Alternative Site Testing (for glucose only)
5.1 What is AST (Alternate Site Testing)?
5.2 Things to Know When Using AST
5.3 AST Precautions
/ 6 HI and Lo messages
6.1 HI Message
6.2 Lo Message
/ 7 Meter memory
7.1 Viewing averages stored in memory
7.2 Viewing test results stored in memory
/ 8 Understanding error messages
English
4
4
5
5
6
7
7
8
12
16
20
20
21
22
23
23
23
24
24
26
27

/ 9 General troubleshooting
/ 10 Performance Characteristics
10.1 Glucose: Accuracy
10.2 Glucose: Packed Cell Volume (Haematocrit)
10.3 Glucose: Precision
10.4 Glucose: Interferences
10.5 Glucose: User Performance Evaluation
10.6
β
-Ketone: Accuracy
10.7
β
-Ketone: Precision
/ 11 Warranty
/ 12 Cautions and Limitations
12.1 Cautions
12.2 Limitations
/ 13 Meter Caring and Disposal
13.1 Caring for Your System
13.2 Meter Disposal
/ 14 Specifications
29
30
30
31
31
32
32
33
33
34
36
36
36
38
38
38
39

4
General information /
English
/ 1 General information
/ 1.1 Intended Use
GlucoMen®Day METER 2K Blood Glucose / β-Ketone Monitoring System
is intended for the quantitative measurement of glucose and β-ketone
Alternate site testing from the forearm and palm may also be used to
measure glucose levels. The GlucoMen®Day METER 2K Blood Glucose /
β-Ketone Monitoring System is intended for use outside the body (
in vitro
of diabetes management. The system is for self-testing or healthcare
professional use and should not be used for the diagnosis of or screening
for diabetes or for the diagnosis of diabetic ketoacidosis. In clinic and
hospital settings, venous whole blood may also be used to measure blood
glucose and blood β-ketone when drawn by healthcare professionals.
Glucose or β-Ketone in blood samples reacts with the reagents in the test
strip to produce a small electrical current. The GlucoMen®Day METER 2K
Glucose or β-Ketone meter detects this electrical current and measures
the amount of Glucose or β-Ketone in the blood sample.
• The GlucoMen®Day METER 2K Glucose / β-Ketone Meter should only
be used with the GlucoMen®Day METER Strips and the GlucoMen®Day
METER β-Ketone Strips.
• An abnormally high or low red blood cell count (haematocrit level over
65% or below 15% for glucose strips, and over 60% or below 20% for
β-Ketone strips) may produce inaccurate results.
• Inaccurate blood glucose results may occur in severely hypotensive
individuals or patients in shock. Inaccurate low blood glucose results
may occur for individuals experiencing a hyperglycemic- hyperosmolar
state, with or without ketosis. Critically ill patients should not be tested
with blood glucose / β-ketone meters.
5
General information /
English
Data Port
Used to transfer data
from the meter to a
computer with a cable
◄►Button
Turns the meter on,
selects or changes
information
Test Strip Port
Insert test strip here
● Button
Turns the meter on/
selections, and
changes information
Display
Shows results
and messages
Test Strip Ejector
Slide down to discard
the used strips
/ 1.2 The GlucoMen®Day METER 2K
Glucose / β-Ketone Meter Set
GlucoMen®Day METER 2K Glucose / β-Ketone Meter Set includes the
following items:
•GlucoMen®Day METER 2K Glucose / β-Ketone Meter
•User Guide
•Batteries
•Lancing Device Kit
•Accessories
Check all the components after opening the GlucoMen®Day METER 2K
Glucose / β-Ketone Meter Set package. The exact contents are listed
on the main box.
/ 1.3 The GlucoMen®Day METER 2K
Glucose / β-Ketone Meter

6
General information /
English
/ 1.4 The GlucoMen®Day METER 2K
Glucose / β-Ketone Meter display
1. Test results: test results displaying panel.
2. Memory recall mode: appears when test results stored in the memory are displayed.
3. PP2 alarm: appears when the post-meal alarm has been set.
4. Bluetooth symbol.
5. Mute symbol
6. Control Solution flag: appears when the control solution test results are
saved or displayed.
7. Decimal point: appears when the blood glucose or blood β-ketone measuring
unit is set to mmol/L.
8. mmol/L, mg/dL: unit for measuring blood glucose or blood β-ketone.
9. Alarm: appears when the time alarm has been set.
10. Battery symbol: indicates meter battery is running low and needs to be replaced.
11. Blood insertion symbol: indicates meter is ready for the application of a
drop of blood or control solution.
12. Pre-meal test flag: used for tests done before eating.
13. Post-meal test flag: used for tests done after eating.
14. Fasting test flag: used for tests done after fasting for at least 8 hours.
15. Month/Day/Hour/Minute.
16. KETONE: appears when GlucoMen®Day METER β-Ketone Strips are inserted.
NOTE: It is recommended to check if the display screen on the meter matches
the illustration above every time the meter turns on.
Do not use the meter if the display screen does not exactly match the
illustration as the meter may show incorrect results.
2
3
1
9
12
13
14
15
10
16
8
7
4
5
6
11

7
System Setup /
English
/ 2 System Setup
/ 2.1 Inserting or replacing batteries
(two 3.0 V lithium batteries).
(1)
(2) If replacing batteries, remove the used batteries one at a time.
(3) Insert two new batteries with the “+” side facing upwards and
(4) Place the cover on
the battery compartment. Push it down until you hear the tab click
into place.
1. 2.
3. 4.
NOTE
results. However you may need to reset your meter settings.

8
System Setup /
English
/ 2.2 Setting up your system
Press and hold the ● button for 3 seconds to enter SET mode. After
Press the ◄ or ► button to change values. Press and hold the ◄or
► button to scroll faster.
Entering SET Mode
Press and hold the ● button for 3
seconds to enter SET mode. After all the
will show up. Press the ◄ or ► button to
select ‘YES’ and press the ● button to go
to the next step.
Setting Bluetooth
If you do not want to enable the
Bluetooth, press the ● button when the
screen shows on the right. The meter
will go to next step (Year Setting).
Press the ◄ or ► button. The meter
screen will display ‘OFF’, ‘On’, and
‘PAIr‘ in turn. To switch on the
Bluetooth, press the ● button when
the Bluetooth, press the ● button when
‘OFF’ blinks on the screen. The symbol
will appear on the screen when the
Bluetooh feature is on.

9
System Setup /
English
Pairing with GlucoMen® Day CGM system
The GlucoMen®Day METER 2K Glucose / β-Ketone Meter is able to
transfer the glucose test results via Bluetooth to the GlucoMen®Day
CGM smartphone App for the CGM system calibration.
To pair the GlucoMen®Day METER 2K with the GlucoMen®Day CGM
app follow the instructions reported in the GlucoMen®Day CGM
User Guide.
Note: Ensure that devices are within the maximum Bluetooth range (10 meters).
Adjusting the Date and Time
Step 1: Setting the Year
Press the ◄ or ► button to adjust until the
correct year appears. When the present year
selection and to go to the next step.
Step 2: Setting the Month
A number indicating the month will blink on
the screen. Press the ◄ or ► button until
the correct month appears. Press the ●
to the next step.
Step 3: Setting the Date
Press the ◄ or ► button until the screen
displays the correct date. Press the ● button
step.

10
System Setup /
English
Step 4: Setting the Time Format
The meter can be set in the AM/PM 12-hour
or the 24-hour clock format.
Press the ◄ or ► button to select a format.
The AM/PM symbol is not displayed in the
24-hour format. After selecting the format,
press the ● button to go to the next step.
Step 5: Setting the Hour
Press the ◄ or ► button until the correct
hour appears. After the hour is set, press
the ● button to go to the next step.
Step 6: Setting the Minute
Press the ◄ or ► button until the correct
minute appears. After setting the minute,
press the ● button to go to the next step.
Setting the Sound On/OFF
On pressing the ◄ or ► button, the screen
will display ‘On’ or ‘OFF’. Press the ● button
in the following instances if the sound is set
to On:
• When you press a button to turn on the meter.
• When the test strip is inserted in the meter.
• When the blood sample is absorbed into
the test strip and the test starts.
• When the test result is displayed.
• When you press and hold the ◄button to
set the post-meal (PP2) alarm.

11
System Setup /
English
• When it is time for a pre-set blood glucose test.
If the sound is set to OFF, none of the sound functions will work.
After setting the sound, press the ● button to go to the next step.
NOTE: The symbol is displayed only when the sound is set to OFF.
Other optional feature settings and procedures
Other optional settings are available:
• Expiration Date Indicator.
• Hypo Indicator.
• Alarms function.
• Post-meal alarm.
• KETONE alarm.
• Hyper Indicator.
To set or use these additional optional features please refer to the
Comprehensive User Guide, which is available on the website:
www.menarinidiagnostics.com

12
Checking the system /
English
/ 3 Checking the system
You may check your meter and test strips using the GlucoMen®Day
METER Control Solution, for glucose, and GlucoMen®Day METER
β-Ketone Control Solution, for β-Ketone.
The Control Solutions contain a known amount of glucose or
β-Ketone and can be used to check that the meter and the test strips
are working properly.
Compare the result displayed on the meter to the control solution
range printed on the test strip vial (for glucose strips) or foil packet
(for β-Ketone strips). Before using a new meter or a new vial (or
foil packet) of test strips, you may conduct a control solution test
following the procedure on pages 13–14.
NOTE:
•Only use the GlucoMen®Day METER brand of control solutions.
•
control solution bottle, record the discard date (date opened plus three (3)
months) in the space provided on the label.
•Make sure your meter, test strips, and control solution are at room
temperature before testing. Control solution tests must be done at room
temperature (20–25 ˚C).
•
drops and wipe the tip clean.
•Close the control solution bottle tightly and store at a temperature between
8–30 ˚C.
You may do a control solution test:
•When you want to practice the test procedure using the control
solution instead of blood.
•

13
Checking the system /
English
•Whenever you open a new vial (or foil packet) or a new box of test strips.
•If the meter or test strips do not function properly.
•If your symptoms are inconsistent with the test results and you feel
that the meter or test strips are not working properly.
•If you drop or damage the meter.
Control Solution Testing
Step 1 Inserting Test Strip
Insert a test strip into the meter’s test strip
port, with the contact bars facing upwards.
Gently push the test strip into the port until the
meter beeps. Be careful not to bend the strip
while pushing it in.
The symbol will show up. In case a β-Ketone
test strip is inserted, the word “KETONE” will
be also displayed.
Step 2 Activating Control Solution Test Mode
Press and hold the ► button for 3 seconds to
activate the Control Solution Test Mode. This will
the ► button for another 3 seconds.
Step 3 Applying Control Solution to Test Strip
Shake the bottle before each test. Remove the
drop. Then wipe the tip with a clean tissue or
cloth. Dispense a drop of control solution onto a
clean non-absorbent surface. It helps to squeeze
a drop onto the top of the cap as shown.
After the symbol appears on the display,

14
Checking the system /
English
apply the solution to the narrow edge of the
test strip until the meter beeps. Make sure the
NOTE
sample is not applied within 2 minutes of the symbol
the strip, reinsert, and start from step 1.
Step 4 Waiting for the Result
The display segments will rotate
clockwise and a test result will appear
after the meter counts down from 5
to 1 if you test with the glucose test
strips (GlucoMen®Day METER Strips)
and control solutions (GlucoMen®
Day METER Control Solution). In case
of β-Ketone test strips (GlucoMen®Day METER β-Ketone Strips) and
control solutions (GlucoMen®Day METER β-Ketone Control Solution),
the test result will appear after the meter counts down from 8 to 1. The
included in the averages.
Step 5 Comparing the Result
Compare the result displayed on the meter to the range printed on
the test strip vial (for glucose test strips) or foil packet (for β-Ketone
test strips).
The result should fall within the range.

15
Checking the system /
English
CAUTION
The range printed on the test strip vial (or foil packet) is for the
control solution only. It has nothing to do with your blood glucose
(or β-Ketone) level.
NOTE: The GlucoMen®Day METER Control Solutions can be purchased
separately. Please contact your authorised A.Menarini Diagnostics sales
representative.
Repeat the control solution test if the test result falls outside of the
range. Out of range results may occur in following situations:
Situations Do This
•When the control solution bottle was not
shaken well.
•When the meter, test strip, or the control
solution were exposed to high or low
temperatures.
•
solution was not discarded or the tip of
the bottle was not wiped clean.
•When the meter is not functioning
properly.
Repeat the control solution
test by referring to the
“NOTE” on pages 12-13.
•When the control solution is past the
expiration date printed on the bottle.
•When the control solution is past its
discard date.
•When the control solution is
contaminated.
Discard the used control
solution and repeat the test
using a new bottle of control
solution.
If results continue to fall outside the range, the test strip and meter
may not be working properly. Do not use your system and contact the
A.Menarini Diagnostics Customer Care number reported on the box.

16
Blood Glucose or
β
-Ketone Testing /
English
/ 4 Blood Glucose or β-Ketone Testing
You will need a lancing device in order to collect a blood sample.
You may use the lancing device that is included in the GlucoMen®
Day METER 2K Glucose / β-Ketone Meter Set or any other medically
approved lancing device.
Step 1
Wash hands and sample site with soap and
warm water. Rinse and dry thoroughly.
Step 2
Insert a test strip with the contact
bars facing upwards into the meter’s
test strip port. Push the strip in
gently until the meter beeps. Be
careful not to bend the test strip.
The symbol will appear on the screen. In case a
β-Ketone test strip is inserted, the word “KETONE”
will be also displayed.
Step 3
Obtain a blood sample using the
lancing device. Refer to the lancing
device Instructions For Use how
minimum volume of 0.4 microlitres
for a blood glucose test strips
(GlucoMen®Day METER Strips), or
0.5 microliters for a blood β-Ketone test with β-Ketone test strips
(GlucoMen®Day METER β-Ketone Strips).

17
Blood Glucose or
β
-Ketone Testing /
English
Step 4
After the symbol appears on the screen, apply the blood sample
to the narrow end of the test strip until the meter beeps. If the
message may appear. It is recommended to place the test strip
vertically into the blood sample site as shown below.
Good Sample
Sample
CAUTION
•Do not allow any foreign substances, such as dirt, blood, or
water, to enter into the meter. The meter may be damaged or may
malfunction. Follow the warning information provided below to
prevent possible damage to the meter.
• Do not apply the blood sample directly to the test strip port.
•Do not apply the blood sample to the test strip while holding the
meter in a way that the tip of the test strip faces upwards. The blood
test strip port.
•Do not store your meter in unsanitary or contaminated sites.
NOTE
minutes of the
remove the strip and reinsert it, and start from Step 2.

18
Blood Glucose or
β
-Ketone Testing /
English
Step 5
At this time, the display segments will rotate clockwise while the
blood is going in. Result will appear after the meter counts down from
5 to 1 for a blood glucose test, from 8 to 1 for a blood β-Ketone
test. The result will be automatically stored in the meter’s memory. If
the test strip is removed after the test result is displayed, the meter
safely in disposable containers. If the Bluetooth feature is activated,
the meter will send the test result to the connected smartphone.
Blood Glucose
Test results
Blood
β-Ketone
Test results
NOTE: To transmit glucose data to the GlucoMen®Day CGM
smartphone App using the Bluetooth feature:
•The Bluetooth feature on the meter must be turned on.
•The meter and the smartphone must be paired.
•The GlucoMen®Day CGM must be launched.
The meter will transmit data in the following cases:
• When the strip is ejected after measuring,
•When the meter is turned on (only when untransmitted data exists).

19
Blood Glucose or
β
-Ketone Testing /
English
Step 6
particular situations while the strip is still in the meter. When the
result is displayed right after a test, press ◄ or ► button to select a
). When
the test result, remove the strip after the test result is displayed.
Step 7
Remove the strip using the ejector, and dispose of it following the
local regulations.
Step 8
Dispose of the lancet following the local regulations.
CAUTION
The lancet is for single use only. Never share or reuse a lancet.

20
Alternative Site Testing (for glucose only) /
English
/ 5 Alternative Site Testing (for glucose only)
/ 5.1 What is AST (Alternate Site Testing)?
of the body such as the forearms and palms can reduce the pain
body is called Alternate Site Testing. While AST may reduce the pain
during testing, it may not be simple for everyone and the following
precautions should be observed during testing.
Alternate Site Blood Sampling (forearm and palm)
and hair and away from bones. Gently massage the sample site
lancing device against site. Wait until the skin surface under the
lancing device changes colour. Then press the release button while
continuing to apply pressure. Keep holding the lancing device
Carefully lift the lancing device away from your skin.
Table of contents
Languages:
Other A.MENARINI Blood Glucose Meter manuals

A.MENARINI
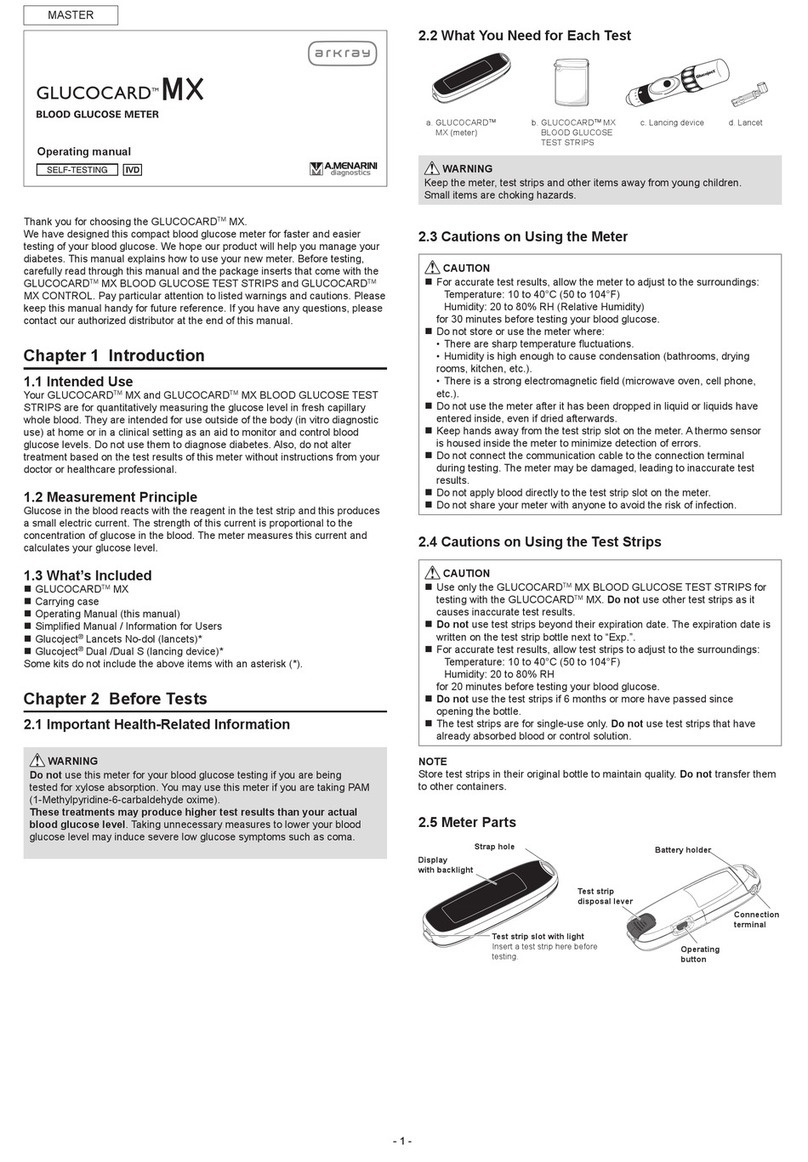
A.MENARINI GLUCOCARD MX User manual

A.MENARINI
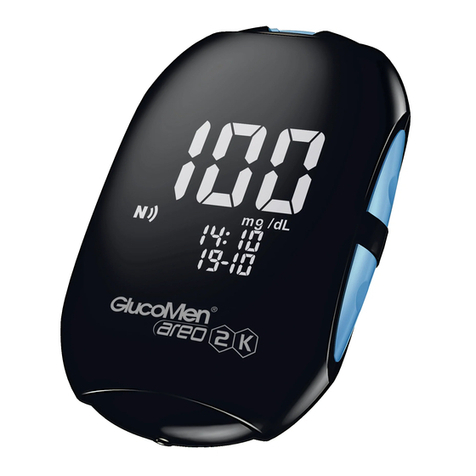
A.MENARINI GlucoMen Areo User manual

A.MENARINI
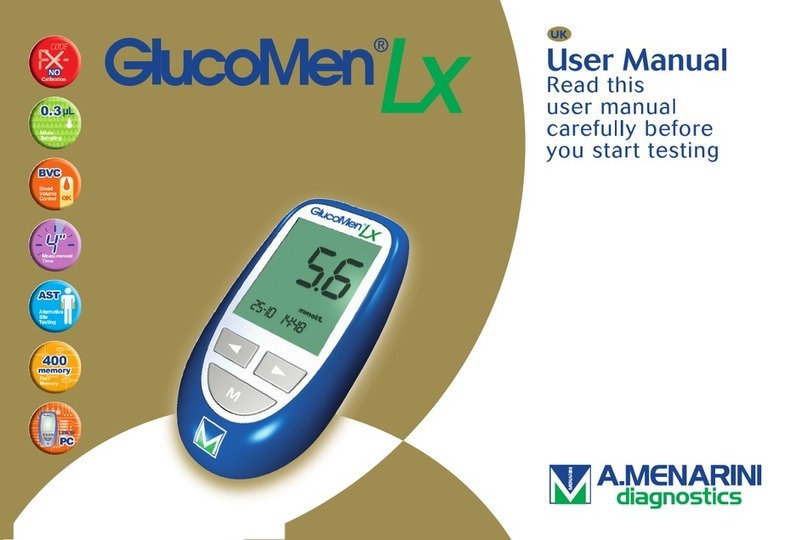
A.MENARINI GlucoMen LX2 User manual

A.MENARINI
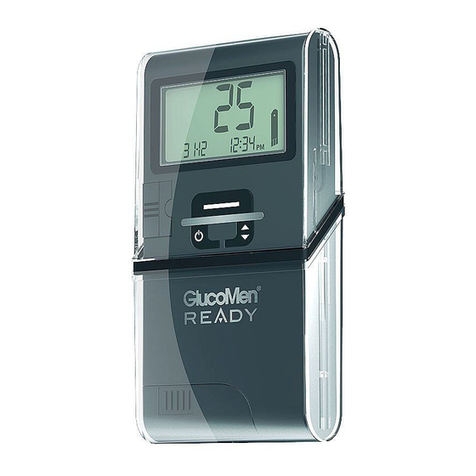
A.MENARINI GlucoMen READY Setup guide

A.MENARINI
A.MENARINI GlucoMen Day CGM User manual

A.MENARINI
A.MENARINI GLUCOFIX TECH GK User manual

A.MENARINI
A.MENARINI GLUCOMEN LX User manual

A.MENARINI
A.MENARINI GLUCOFIX TECH User manual

A.MENARINI
A.MENARINI GlucoMen areo 2K User manual

A.MENARINI
A.MENARINI GlucoMen areo User manual