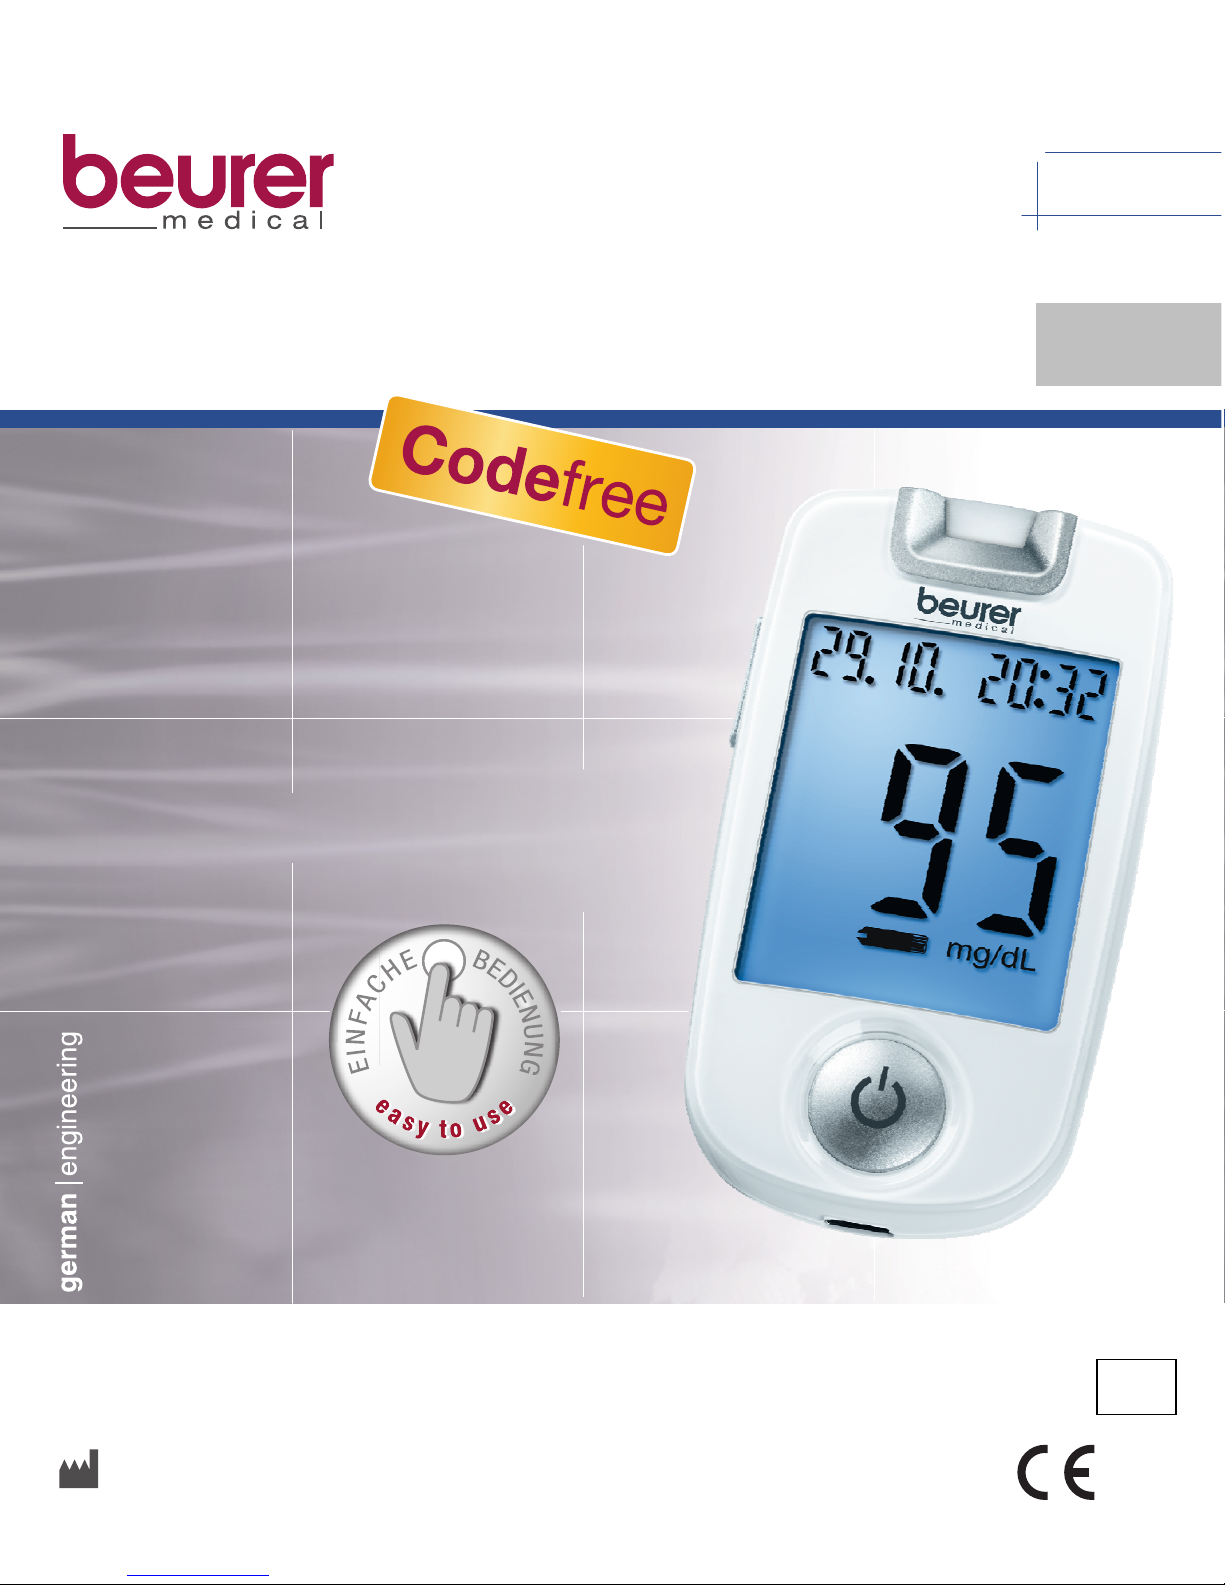
Beurer GL40 User manual

GL40
m
g
/dL
BLOOD SUGAR
MEASURING DEVICE
Ste
p
b
y
ste
p
Beurer GmbH • Söflinger Str. 218 • D-89077 Ulm • Germany
Phone: +49 800 6645222 • E-mail: kd@beurer.de • www.beurer-medical.de 0344
IVD
GB
instructions for use

2 Beurer GL40 mg/dL

3 Beurer GL40 mg/dL
Contents
1About Your Beurer Blood Sugar Measuring Device.......................................... 4
1.1 Delivery scope, replacement parts and accessories .....................................5
1.2 Functions of the unit ......................................................................................6
1.3 Signs and symbols ........................................................................................7
2Safety information and warnings ................................................................................ 8
3Description of the unit and accessories................................................................ 12
3.1 Blood sugar measuring device ....................................................................12
3.2 Lancing device and needle lancets .............................................................12
3.3 Display symbols ..........................................................................................13
3.4 Test strips....................................................................................................14
4Using the unit for the first time and basic settings.......................................... 16
4.1 Removing the battery insulation strip, replacing the batteries .....................16
4.2 Basic settings ..............................................................................................17
5Measuring your blood sugar........................................................................................ 18
5.1 Acquiring blood samples .............................................................................18
5.2 Measuring the blood sugar value ................................................................22
5.3 Evaluating a blood sugar measured value...................................................23
5.4 Function check with control solution............................................................25
6The Measured Value Memory...................................................................................... 28
6.1 Displaying individual values.........................................................................28
6.2 Displaying average blood sugar levels ........................................................29
6.3 Deleting the measured value memory.........................................................29
6.4 Transferring measured values to a computer ..............................................30
7Storage and maintenance of the unit ...................................................................... 32
8Troubleshooting................................................................................................................. 33
9Technical specifications ................................................................................................ 35
10 Guarantee and Customer Service............................................................................. 38

Beurer GL40 mg/dL 4
1 About Your Beurer Blood Sugar Measuring Device
Dear valued customer,
Thank you for choosing one of our products. Our name stands for high-quality, thoroughly
tested products for applications in the areas of heat, weight, blood pressure, body tem-
perature, pulse, gentle therapy, massage and air.
Please read these instructions for use carefully and keep them for later use, be sure to
make them accessible to other users and observe the information they contain.
With kind regards
Your Beurer team
About Your Beurer Blood Sugar Measuring Device
The blood sugar measuring device is designed for fast, uncomplicated measurement of
blood sugar.
You can use it to determine your blood sugar content, save the measured values and
display the average of the measured values.
The large display with background lighting makes the measured values easy to read. The
user-friendly design with the handy measurement strips and reduction of the operating
controls to 2 buttons guarantees simple, yet accurate measurements.
The unit can be connected to a computer via a USB cable (not included in the scope of
delivery). Using special software, you can evaluate your measured values on the PC and
use the evaluations for monitoring your blood sugar levels.

Beurer GL40 mg/dL 5
1.1 Delivery scope, replacement parts and accessories
Inspect your set for external damage to the carton packaging and for completeness of the
content.
Item Designation
A 1 blood sugar measuring device
B 1 lancing device with AST cap for taking blood samples from alternative sites
C 10 test strips
D 10 sterile needle lancets
E 2 button cell batteries 3 V CR2023 (pre-installed)
F 1 practical carry case
These instructions for use, additional information material
•If the box has sustained extensive damage or if any contents are missing, please re-
turn the system to the retailer.
•The blood sugar measuring device, test strips and control solution (available to pur-
chase separately) are all designed to be used together. Therefore use only the test
strips and control solution intended for this measuring device.
Note
•Only use the manufacturer's original accessories.

6 Beurer GL40 mg/dL
Purchasing supplies
Test strips, control solution and lancets are also available for purchase without a prescrip-
tion.
Item REF
50 test strips REF 464.01
LEVEL 1 control solution REF 463.05
100 needle lancets REF 457.01
Beurer GL40 PC Kit (con-
nection cable, driver and
test software)
REF 463.10
1.2 Functions of the unit
This unit is designed for measuring the blood sugar content. It is suitable for household
use.
Using this measuring device, you can quickly and easily:
•Measure your blood sugar.
•Display and save your measured values.
•Display your average blood sugar measurements from the last 7, 14, 30 and 90 days.
•Set the time and date.
•upload your stored measured values to a PC for evaluation (additional accessories
required).
The measuring device also features the following control functions:
•A warning in the event of unsuitable temperatures.
•Battery change reminder when battery power is low.
Warning
•This unit is only to be used for regular monitoring and not for the diagnosis of
diabetes.
•Discuss your insulin dose with your doctor.

Beurer GL40 mg/dL 7
1.3 Signs and symbols
The symbols on the packaging and the nameplate of the measuring device and accesso-
ries have the following meaning:
In-vitro diagnostics Manufacturer
SN: Serial number
Refer to instructions for use
Temperature range
+2°C to +30°C
PCT: Certification for prod-
ucts exported to the Russian
Federation and CIS coun-
tries
Not for reuse/For single use
only
Grüner Punkt: German recy-
cling system
Expiry date
Contents sufficient for <n>
tests
Maximum shelf life after o-
pening in months Order number
Lot number
Biohazard, risk of infection
Sterilised by radiation (lan-
cets)
Unit of measure for blood
sugar value
Caution, refer to accompa-
nying documents
The following symbols in these instructions mean
Warning Warning instruction indicating a risk of injury or damage to health.
Important Safety note indicating possible damage to the unit/accessories.
Note Important information to be noted.
mg/dL

8 Beurer GL40 mg/dL
2 Safety information and warnings
Risk of infection
All components of the measuring device and accessories may come into contact
with human blood, and are therefore a possible source of infection.
Warning
•This measuring device must display the blood sugar content in mg/dL. The measur-
ing unit mg/dL appears next to each blood sugar level reading. Be sure to contact
customer service if your measuring device does not display mg/dL. You risk damag-
ing your health if you perform a blood sugar measurement using an unfamiliar unit
of measure, since values may be interpreted incorrectly and cause the wrong correc-
tive measures to be taken.
•This measuring device must only be used by one person. There is a risk of infection if
the same unit is used by more than one person.
•The lancing device is suitable for household use. Never share the lancing device or needle
lancet with other people (risk of infection!).
•Use a new sterile needle lancet for each blood test (for one-time use only).
General notes
Warning
•Do not use the unit near strong electromagnetic fields, wireless systems or mobile
telephones.
Measuring blood sugar
Warning
•The measured values you determine are useful for information purposes only – they are not in-
tended to replace consultation with your doctor. Discuss your measured values with your doctor
regularly. Do not change any aspects of your treatment unless instructed by your doctor.
•Water deficiency or a large loss of fluid, for example by sweating, can lead to false meas-
urement results.
•A very high or very low haematocrit value (proportion of red blood cells) can lead to incor-
rect measurements. With a very high haematocrit value (over 60%), the displayed blood
sugar value may be too low. If you have a very low haematocrit value (below 20%), the
blood sugar value may be too high. If you do not know your haematocrit value, ask your
doctor.
•Do not use the test strips to take blood sugar measurements of newborn infants.
•Metabolites such as ibuprofen, sodium salicylate, tetracycline, tolbutamide, unconjugated
bilirubin, cholesterol, creatinine, triglycerides, galactose, maltose, xylose, paracetamol, gen-
tisic acid, levodopa, dopamine, methyldopa, uric acid and ascorbic acid do not affect the re-
sult so long as they lie within the physiological value range.
•Do not use this unit to test any seriously ill patient.

Beurer GL40 mg/dL 9
Warning
•Lipemia effects: Increased blood triglycerides up to 3000 mg/dL hardly affect the results.
Above this level, however, the blood sugar test may be affected.
•Only use fresh capillary whole blood. Do not use serum or plasma.
•Use capillary blood obtained without squeezing the puncture site. Squeezing causes
interstitial fluid to dilute the blood and leads to a false measurement result.
•Do not use the test strips at elevations over 3048 m.
Note
•The Beurer GL40 mg/dL measuring system is suitable for measuring capillary whole
blood.
Storage and maintenance
Warning
•Store the measuring device and accessories out of the reach of young children. Small
parts, such as needle lancets, batteries or test strips, can be life-threatening if swal-
lowed. If parts are swallowed, seek medical advice immediately.
•The test strip container contains a desiccant that may cause skin or eye irritations if
inhaled or swallowed. Keep the container out of reach of young children.
The measuring device is made from precision and electronic components. The accuracy
of the measured values and service life of the unit depend on careful use:
•Protect the unit and accessories from impacts, moisture, dirt, large temperature fluc-
tuations and direct sunlight. Do not store the unit, the test strips and the control solu-
tion in a refrigerator, bathroom or car!
•Do not let the unit fall.
Batteries/Saving measured values
Warning
•Make sure batteries are not accessible to children. Children can put batteries in their
mouth and swallow them. This can cause severe harm to their health. In this case,
consult a physician immediately!
•Normal batteries must not be recharged, heated or thrown into an open flame (danger
of explosion!).

10 Beurer GL40 mg/dL
Important
•Do not disassemble or short-circuit the batteries.
•Always replace all batteries at the same time and use batteries of the same type. Do
not use any rechargeable batteries.
•Leaking batteries may damage the unit. If you do not intend to use the unit for a pro-
longed period, remove the batteries from the battery compartment.
Caution!
•Leaking or damaged batteries can cause burns if they come into contact with your
skin. In this case, wear suitable safety gloves.
Note
•The stored blood sugar measured values are retained when you replace the batteries.
The date and time are also retained when you replace the batteries and when the bat-
teries are empty.
•Only use lithium-ion batteries.
Repairs
Note
•Never open the unit. Opening the unit invalidates the guarantee.
•Do not perform any repairs on the unit yourself, otherwise correct functioning of the
unit can no longer be guaranteed.
•If repairs are required, please contact customer service.
Disposal
Warning
•When disposing of the materials of the measuring device, be sure to observe the gen-
erally applicable safety precautions for handling blood. Carefully dispose of all blood
samples and materials with which you have come into contact, in order to prevent in-
jury and infection of others.
•After use, dispose of the test strips and lancets in a sharp-proof container.

Beurer GL40 mg/dL 11
Note
In the interest of protecting the environment, the unit must not be thrown out with
the household waste at the end of its service life. Please dispose of the unit in
accordance with EU directive 2002/96/EC – WEEE (Waste Electrical and
Electronic Equipment). For any queries, please contact the municipal authority
responsible for disposal.
Standard and rechargeable batteries should not be disposed of along with household
waste. As a consumer, you are legally obliged to return used batteries for proper disposal.
You can hand in your used batteries at public collection points in your district or sales
outlets where batteries of this type are sold.
The following symbols are found on batteries that contain harmful substances:
Pb = battery contains lead
Cd = battery contains cadmium
Hg = battery contains mercury

12 Beurer GL40 mg/dL
3 Description of the unit and accessories
3.1 Blood sugar measuring device
Item Designation
1 Receptacle for test strips, with
lighting
2 Display
3 ON/OFF button
4 Computer port
5 Battery compartment (underside)
6 ST rocker button
3.2 Lancing device and needle lancets
Item Designation
1 Cap
2 Protective disk for the lancet
3 Sterile needle lancet
4 Lancet holder
5 Release button
1
234
56
6 Tensioning device
2
1
3
4
6
5

Beurer GL40 mg/dL 13
3.3 Display symbols
1 Date 7 Battery change symbol
2 Time 8 Symbol to apply blood
3 Computer connection active 9 Temperature symbol
4 Measured value display, HI / 10 Blood drop symbol
LO display, average blood sugar 11 Test strip symbol
5 Blood sugar unit mg/dL 12 Memory symbol
6 Blood sugar unit mmol/L – 13 Error symbol
not functional 14 Speaker symbol
Note
The measuring device is supplied with the following basic settings:
•Blood sugar unit: mg/dL
•Beep on

14 Beurer GL40 mg/dL
3.4 Test strips
Front view Rear view
1 Slit for blood collection
2 Hold here
3 Contacts
You will know which side is the rear from
the contact panels.
Insert the test strip into the unit so that the contacts are visible in the slit. Ensure that
the front side of the test strip is facing you.

Beurer GL40 mg/dL 15
Note
Read the following information about handling and storing your test strips carefully. The
test strips are guaranteed to yield accurate measurement results only if you observe all
instructions.
Warning
•Each test strip is to be used only once and only for one patient!
Handling test strips
Note
•Once you have removed the test strip, tightly close the container again immediately.
•Do not use test strips if the expiry date has passed. The use of expired test strips can
lead to inaccurate measurements. The expiry date is located on the container next to
the hourglass symbol .
•The test strips can be kept for three months once the container is open. Make a note
of when this time will run out (date of opening + 3 months ) on the label. The shelf
life decreases if the expiry date is reached before the end of the 3 months (see the
date next to the hourglass symbol ).
•Do not use the test strips if either of these dates has expired ( / ).
•Any part of the test strip may be handled with dry, clean hands.
•Use the test strips immediately upon removal from the container.
•Do not bend, cut, or otherwise modify the test strip.
•Do not use test strips that have come into contact with liquids for the blood sugar mea-
surement.
Storing test strips
Note
•Store test strips in a cool, dry place between +2°C and +30°C. Protect test strips a-
gainst direct sunlight or heat. Do not store test strips in the fridge.
•Permitted relative humidity under 90%.
•Store test strips only in the original container – never use another container.

16 Beurer GL40 mg/dL
4 Using the unit for the first time and basic settings
4.1 Removing the battery insulation strip, replacing the batteries
Note
•Two batteries are included in the delivery scope of your blood-sugar measuring device.
They are already inserted in the battery compartment.
•Before using the unit the first time, you must remove the insulation strip.
1 Remove the cover of the battery compartment on the underside of the unit.
2 When you perform a battery change, remove all batteries. The unit keeps the date
and time while you change the batteries, if there is at least one battery inserted. If the
battery change lasts a long time, reset the date and time (see "Basic settings", page
17).
3 Insert two new batteries of type CR 2032 3V.
Ensure that the batteries are inserted with the correct polarity.
See the diagram inside the battery compartment.
4 Carefully replace the lid on the battery compartment.
Note
•When the battery change symbol appears, the batteries are almost empty. Re-
place both batteries as soon as possible.
•When "LP"is displayed, the batteries are so empty that no more measurements are
possible.

Beurer GL40 mg/dL 17
4.2 Basic settings
1 Remove the batteries and then reinsert them. A beep sounds.
The year display flashes.
2 Setting the date and time.
Note
•You must set the date and time. Only if you do that can you sa-
ve your measured values correctly with the date and time and
later retrieve them.
•The time is displayed in 24-hour format.
Set the year (calendar extends to 2099) by pressing the Sor Tbut-
ton. Confirm via the ON/OFF button [3].
The day display flashes.
Repeat the above procedure for the day, month, hours and minutes.
"On" and the speaker symbol are displayed.
3 Turning the beep on/off
To turn off the beep, press the Sor Tbutton. "OFF" is displayed.
The speaker symbol disappears from the display.
Confirm via the ON/OFF button [3].
4The measuring device switches off automatically.

18 Beurer GL40 mg/dL
5 Measuring your blood sugar
Warning
If you drop the lancing device with a needle lancet inserted, carefully pick it up and dis-
pose of the lancet.
Important
•Use the lancing device only with needle lancets from the manufacturer. Use of other needle
lancets can impair the function of the lancing device.
•If the lancing device is manufactured by a third party, consult their instructions for use.
5.1 Acquiring blood samples
Preparing to take the blood sample
1 Choose a site on the body from where you wish to take the blood sample. You can
use the lancing device to get blood samples from the fingertip or other parts of the
body, such as the palm, forearm or upper arm. We recommend that you take the
blood sample from the fingertip. To make the blood sample as pain-free as possible,
do not take the blood directly from the centre of the fingertip, but instead from slightly
to the side of the centre.
Warning
•If you suspect hypoglycaemia: be sure to draw blood from the fingertip. This
is because changes in the blood sugar level can be measured quickly in blood
samples from the fingertip.
•Measuring from a fingertip and another part of the body (AST) can lead to significantly
different measured values. Always consult your doctor before starting to test at alterna-
tive sites.
2 Have the following components ready: Measuring device, container of test strips, lan-
cing device, and a sterile needle lancet. If obtaining a blood sample from a site other
than the fingertip, you will also need the AST cap.
3 Before taking the sample, wash your hands using soap and warm water. In addition to
optimal hygienic conditions, this is also ensures good circulation of blood through the
fingertips. Dry your hands carefully. Also ensure that your lancing site is hygienically
clean if taking a blood sample from an alternative site (AST).
Warning
If you wipe the lancing site with alcohol, ensure that the site has dried completely be-
fore beginning the measurement.

Beurer GL40 mg/dL 19
Taking the blood sample
Warning
•Change the prick point for each test, e.g. another finger or the other hand. Repeated
pricks at the same point can lead to inflammation, numbness or scars.
•Do not use the AST cap to take a blood sample from the finger.
•Never squeeze the finger to obtain a larger droplet of blood. Squeezing causes intersti-
tial fluid to dilute the blood; this can lead to a false measurement result.
•Note that inadequate circulation at the puncture site, for example caused by cold or
illness, can lead to inaccurate measurements.
1 Twist to remove the cap from the lancing device.
2 Place a sterile needle lancet in the lancing device and push
the lancet firmly into place.
3 Remove the protective disc from the lancet by twisting while
holding the shaft of the lancet firmly. Retain the protective
disc so that you can safely dispose of the used needle lancet
after taking the blood sample.
4 You will need to use a different cap depending on the site
from which you want to take the sample:
Fingertip: Cap (white)
Other parts of the body: AST cap (transparent)
Place the selected cap on the lancing device and twist it into
place.
5 Setting the puncture depth:
Five different puncture depths can be selected on the lancing
device:
•1 to 2: Delicate or thin skin
•3: Normal skin
•4 to 5: Thick or rough skin
Turn the cap in the corresponding direction until the arrow
points to the desired puncture depth.

20 Beurer GL40 mg/dL
6 Pull back the tensioning device until you hear it click into pla-
ce. If it does not engage, the lancing device may have unin-
tentionally already been tensioned when inserting the needle
lancet and could already be engaged.
7 The lancing device can now be used to take the blood sam-
ple. Ensure that the blood remains in a droplet form and is not
smeared.
Blood sample from the fingertip
Place the lancing device firmly against the finger, slightly to
the side of the centre of the fingertip. Press the release but-
ton. Lift the lancing device from the finger. You need a round
blood drop of at least 0.6 microlitres to form (corresponds to
approx. 1.4 mm, original size: z).
Blood sample from an alternative site (AST)
Choose a site that is soft, not next to a bone, with no visible
veins and without excessive body hair. Warm the puncture
site to ensure good circulation, for example by lightly massag-
ing the area. Place and hold the lancing device against the
puncture site for a few seconds and press the release button.
Continue to hold the lancing device against your skin until a
round droplet of blood has formed under the cap. Keep apply-
ing pressure until the size of the blood drop is at least 0.6 mi-
crolitres (corresponds to approx. 1.4 mm, original size: z).
Lift the lancing device carefully away from the skin.
8 If insufficient blood was collected, increase the puncture
depth and repeat steps 5 to 7.
9 Untwist the cap and carefully remove it from the lancing de-
vice.
Other manuals for GL40
2
Table of contents
Other Beurer Blood Glucose Meter manuals
Popular Blood Glucose Meter manuals by other brands

Prodigy
Prodigy Autocode owner's manual

Contour
Contour NEXT ONE user guide

SD Biosensor
SD Biosensor SD GlucoNavii NFC User instruction guide

A.MENARINI
A.MENARINI GLUCOFIX TECH GK user manual

EPS Bio Technology
EPS Bio Technology EME Quick reference guide

Arkray
Arkray GLUCOCARD Expression Quick reference guide