Ablerex EnerSolis Series User manual

Ablerex Grid-Connected Solar Converter
EnerSolis Series
ES 52000HC
ES 60000HC
User Manual

1
Table of Contents
1. Preamble ............................................................................... 2
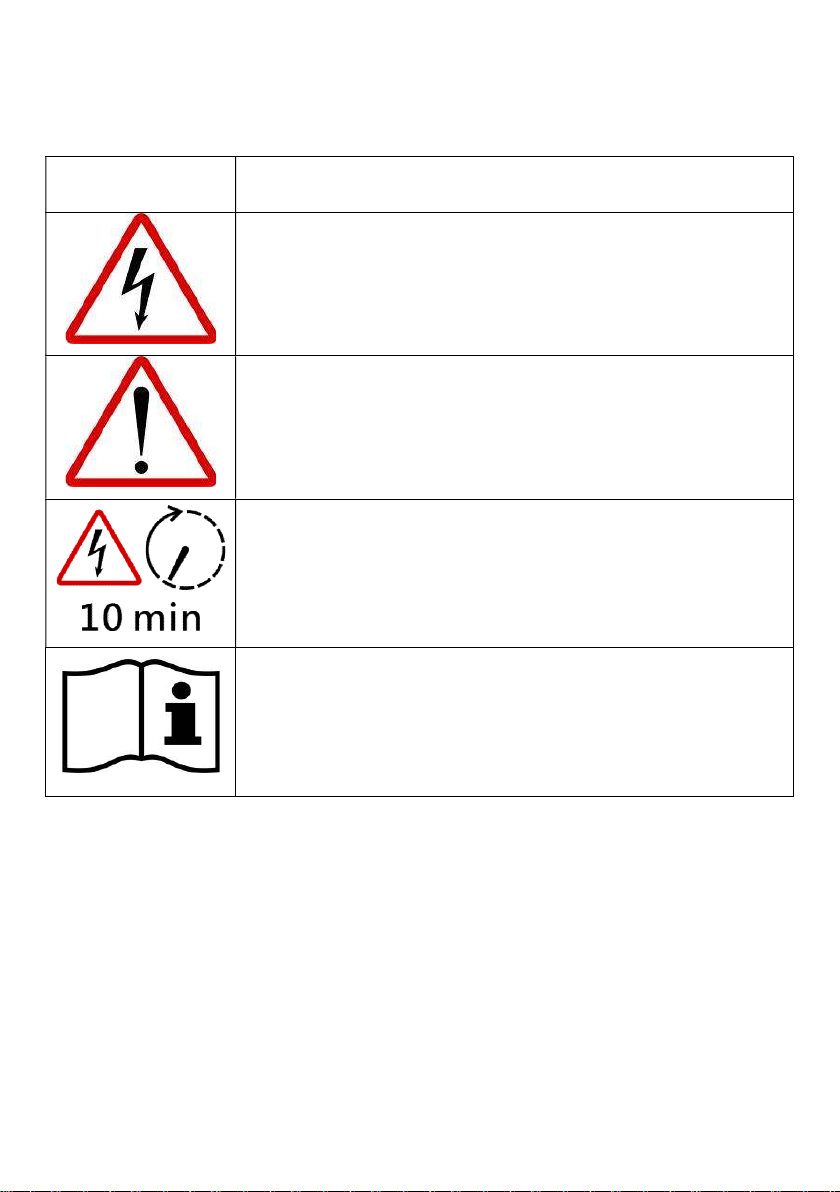
2. Safety Descriptions ................................................................ 2
3. Introduction .......................................................................... 6
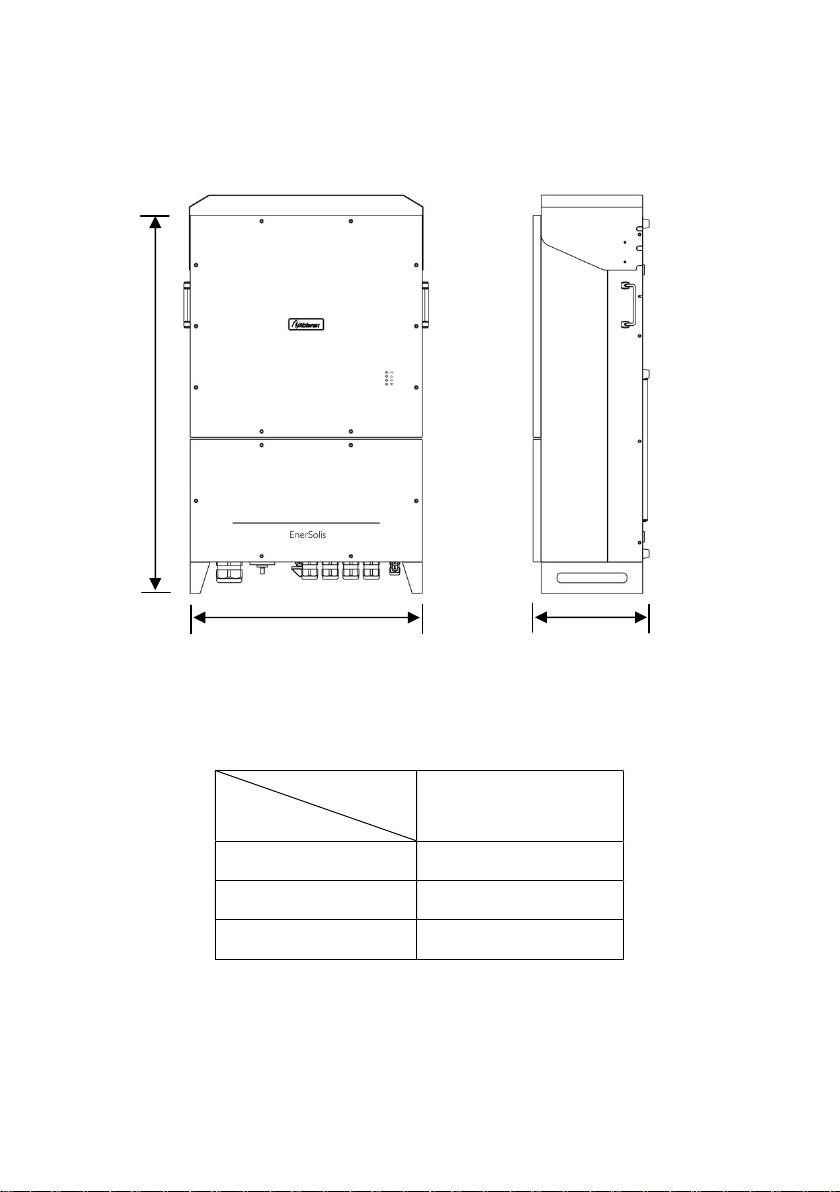
3.1 Exterior dimensions ......................................................... 6
3.2 Equipment Interface ........................................................ 7
3.3 Installation ....................................................................... 9
3.4 Unpacking ........................................................................ 9
3.5 Installation location requirements ..................................11
3.6 Wall-mount Installation Procedures ................................14
3.7 Electricity Installation ......................................................20
4. LED Indicator Description .....................................................35
5. Converter Operation ............................................................35
6. Communication Interface .....................................................37
6.1 RS-485 Terminal ..............................................................37
6.2 Bluetooth ........................................................................39
6.3 Solar Converter Configuration Software(App) User
Manual ...........................................................................39
6.4 Smart Cloud Module User Manual (for -I, -SI models) .....47
7. Service and Maintenance .....................................................62
7.1 Fan Replacement ............................................................63
7.2 DC Terminal Surge Protection Device (SPD) Replacement
(-S, -SI models) ...............................................................65
7.3 AC Terminal Surge Protection Device (SPD) Replacement
(for -S, -SI models) ..........................................................67
8. Converter Failure Determination and Troubleshooting ........69
9. Specification .........................................................................74
10. Contact Information ............................................................ 0

2
1.Preamble
Thank you for purchasing Ablerex EnerSolis ES 52000HC / ES 60000HC
series grid-connected solar converter products.
Ablerex is a professional electricity equipment manufacturer having many
years of experience in research, development and production. We hope
this equipment can provide you with a solar power system without
operational failure for many years. However, solar converters combined
with grid power are a very complicated electrical system. Therefore, if
there is any solar converter or grid failure or anomaly, please call Ablerex
or the local retailers. We will quickly act to help you solve the problems.
Please read this user manual carefully to help the installation personnel
promptly and correctly install the converter.
2.Safety Descriptions
ES 52000HC / ES 60000HC series manuals include installation and
operations guides. Please finish reading the guides before
commencing installation and maintenance.
Only professional electricians are allowed to open the converters.
Do not open the solar converter when under operation.
Caution! Only professional electricians are allowed to
open the converters and conduct work. Prior to
conducting any work, AC and DC power sources must
be turned off and completely break off from the
converters.
High voltage capacitors are installed within converters,
so lethal and dangerous high voltage is retained for a
period of time after the converters have been turned
off.

3

4
■ Warnings
Descriptions of the Warning Labels:
Symbol Description
Caution, electrical hazard!
Caution, danger!
Caution, electrical hazard
Residual energy is in discharge!
Please refer to the user manual!
Residual energy is in discharge!
Please refer to the user manual!

5
■Repair and Maintenance
Only professionally trained electricians are allowed to repair converters.
■Solar Panel
When installing and configuring the solar panels, please confirm that the
solar panel rated voltage parameter provided by the manufacturer
complies with the specifications in actual use. Please check and confirm
that, under strong sunlight and an outdoor temperature of -25°C (-13°F),
the solar panel open-circuit voltage is lower than the maximum threshold
of 1,000Vdc for the ES 52000HC / ES 60000HC series. Solar panel
specifications take temperature into account. When using under an
outdoor temperature of -25°C (-13°F), the open-circuit voltage needs to be
considered. If the voltage exceeds 1,000Vdc, the converters will become
permanently damaged.
■Grid Connection
Solar converter installation must be carried out by retailers having
professional electrical certification. Grid connections must be approved by
a local power company before installation and operations. Please contact
the local retailer for installation details.

6
3.Introduction
3.1 Exterior dimensions
Product model number
Dimension (mm)
ES 52000HC series
ES 60000HC series
W 595
H 970
D 303
W
H
D

7
3.2 Equipment Interface
1. LED indicator: Displays converter operating status
2. Equipment ground: Connects to the ground of the solar panel
3. Standard communication interface: RS485
4. DC input: Connects to the solar panel serial input (8-bit serial in)
5. DC input switch: Controls the turning off of the converter's DC input
power
6. AC output switch: Controls the AC output power switch of the inverter
7. Equipment ground: Connects to the system protective earth (PE) of
the grid AC terminal
1
6
8
7
5
4
3
2

8
8. AC output: Transmits AC power generated from the inverter to the
mains

9
3.3 Installation
Warning: Before installing the solar converter, please read 2. Safety
Descriptions in advance.
3.4 Unpacking
Upon receiving the solar converter, please inspect the converter.
Although the manufacturer has designed robust packaging for the
product, damages may still occur during transportation. If the
converter is damaged, please
contact the retailer. (Packaging
recyclable and reusable)
Inspect the contents including the following:
Warning: Before installing the solar converter, please read 2. Safety
Upon receiving the solar converter, please inspect the converter.
Although the manufacturer has designed robust packaging for the
product, damages may still occur during transportation. If the
contact the retailer. (Packaging
is

10
Converter x1
Accessories kit x1
Contains:
• Quick installation manual x1
• Back-mount positioning sheet x1
• DC accessories kit x1
(DC plugs in 2 types and a total of 8 plugs +
1 circular wire terminal)
• AC accessories kit x1
(AC plugs in 3 types and a total of 3 plugs +
1 circular wire terminal)
• Communication accessories kit x1
(Communication plug 1 + 1 single hole
plug)
• Accessory screw x1
Accessory box x1
Contains:
• Back-mount support x2
• Auxiliary support x2
Rain shield x1

11
3.5 Installation location requirements
The converter weighs 75 kg, so please consider the weight of the
converter when choosing an installation location and method.
An appropriate installation location will optimize converter
performance, reduce the chances of malfunction, and prolong converter
lifespan. Please follow the guidelines below to choose an appropriate
location to install the converter:
1. ES 52000HC / ES 60000HC series designs comply with IP65 protection
level, so they are allowed to be installed in outdoor and humid
environments.
2. The converters should be installed in a well-vented place with no
exposure to direct sunlight and rain, and where no snow piles above
the converter. The ambient temperature must be within the range
indicated in the converter specifications to avoid overheating and
execution of derating, which would cause a decrease in power
generation efficiency, or tripping triggered by the self-protection
mechanism of overheating.
3. The converters must be mounted on a wall vertically, so when
installing, the location conditions must be checked for wall-mounting.
Please do not install the converter in a tilted or flat position. It is
recommended to install the converter in a safe and open site, and at
an eye-level height for the ease of observation, service and
maintenance inspection, and repair.
4. It must be assured that there is sufficient space to allow the heat
generated from the converter operations to dissipate. Therefore,

12
sufficient space must be reserved for heat dissipation and installation,
as shown in the figure below.

13
Please clear out space around the converter for installation and
leave room for holes to back-mount the converter.

14
3.6 Wall-mount Installation Procedures
Step 1: Place the back panel positioning sheet on the wall for mounting.
Drill holes according to dimensions of the back panel securing
holes, and secure the back panel on the wall.
Step 2: Mount the solar converter on the back panel, and confirm that the
solar converter is in firm connection with the back panel.
Step 3: Use the handles to lift the solar converter into an upright position.

15
抓握處 Handles

16
Step 4: Screw in 2 slinger rings above the converter, and hang the solar
converter on the back panel.
Step 5: Use 2 M5 stainless steel truss head screws to fix the securing
plates on the left and right sides.

17
M4 stainless steel truss head screw
If the solar converter is installed with an independent stand, 4 M4
stainless steel truss head screws can be used at the back panel for
securing.

18
M4 stainless steel truss head screw
Step 6: Wall-mounting is completed. Remove the 2 slinger rings.
Step 7: Place the rain shield above the venting outlet of the converter.

19
Step 8: Use 4 M4 stainless steel truss head screws to secure the rain shield
on the left and right sides.
This manual suits for next models
2
Table of contents
Popular Media Converter manuals by other brands

Seenergy
Seenergy SVD-200 Quick installation guide

TR-Electronic
TR-Electronic CEV65M-4096/4096 SSI 36ZB10FL manual

Moxa Technologies
Moxa Technologies Transio TCC-82 user manual

Fenger
Fenger HDGT-8804 User guide and installation manual

Miranda
Miranda ASD-111i Guide to installation and operation

Amazon
Amazon B07KRWYN4R manual