Page 6
©2005 Accent Signage Systems, Inc. All rights reserved.
TM
Raster Method of Braille
Working with Other Materials
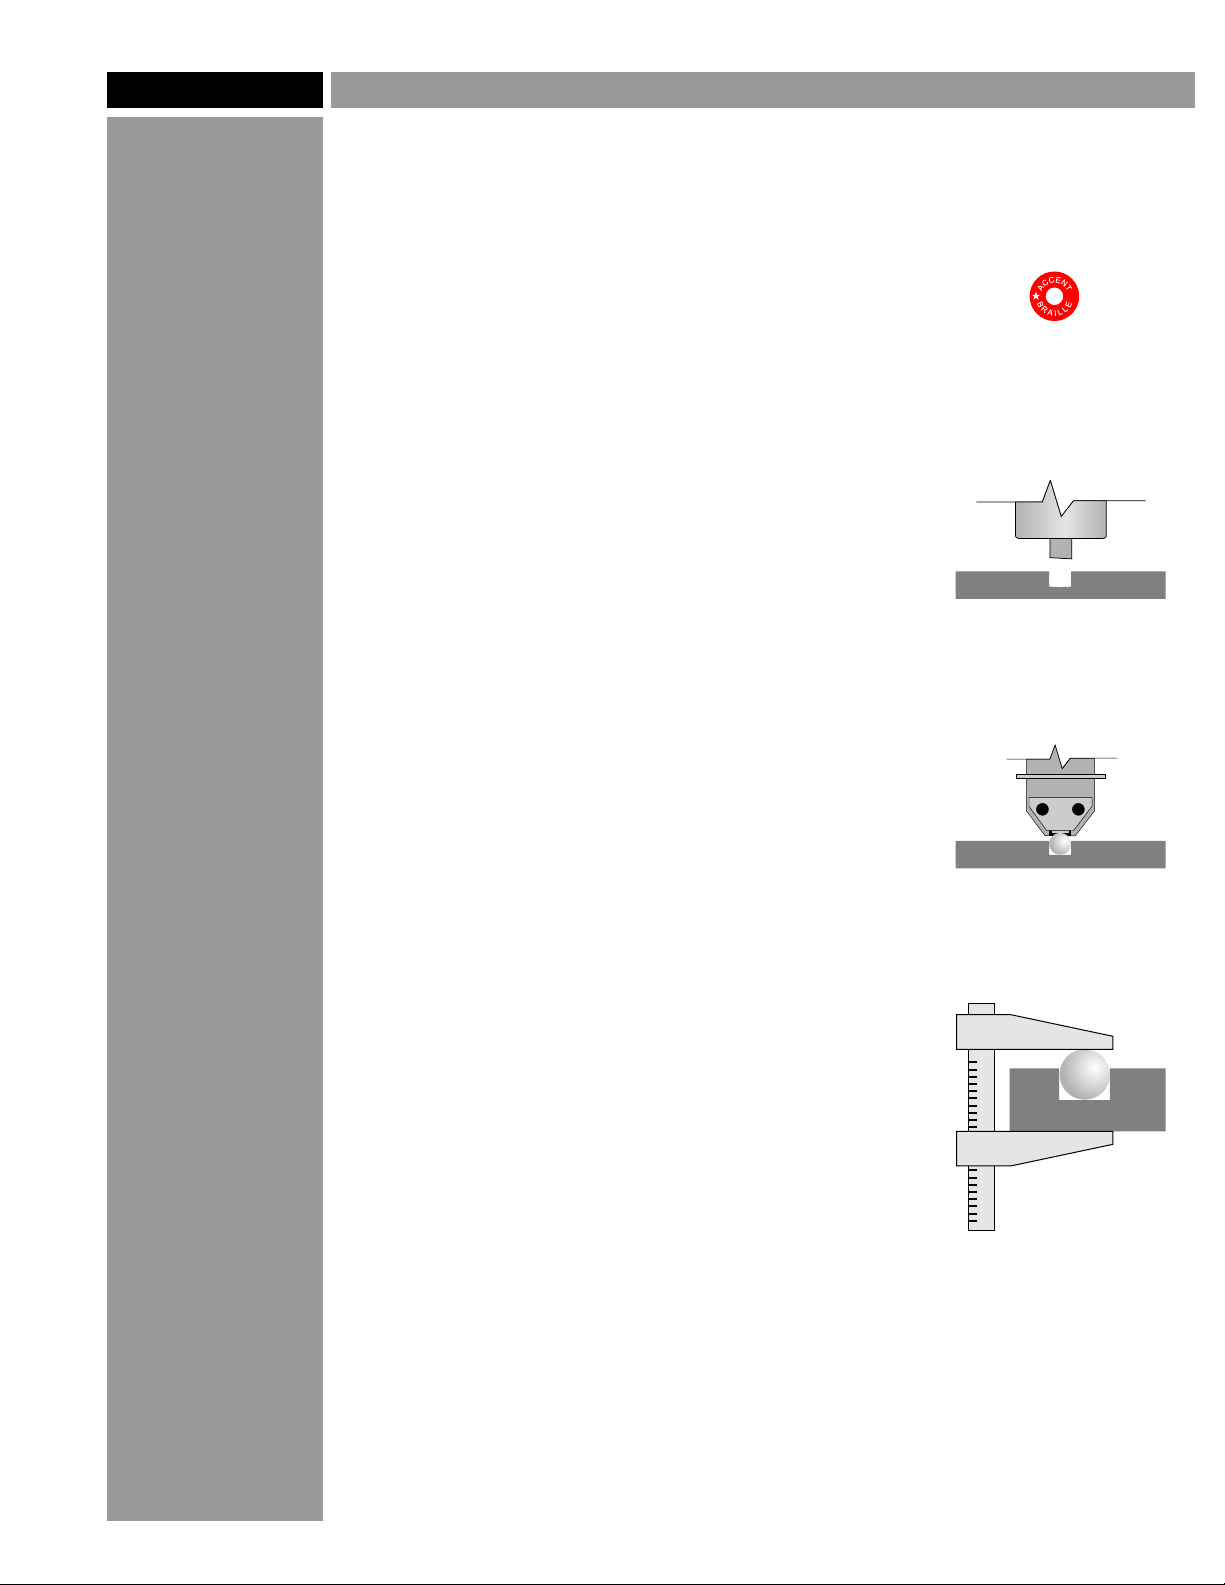
Plastic and metal are not the only choices for sign substrates using the
Raster
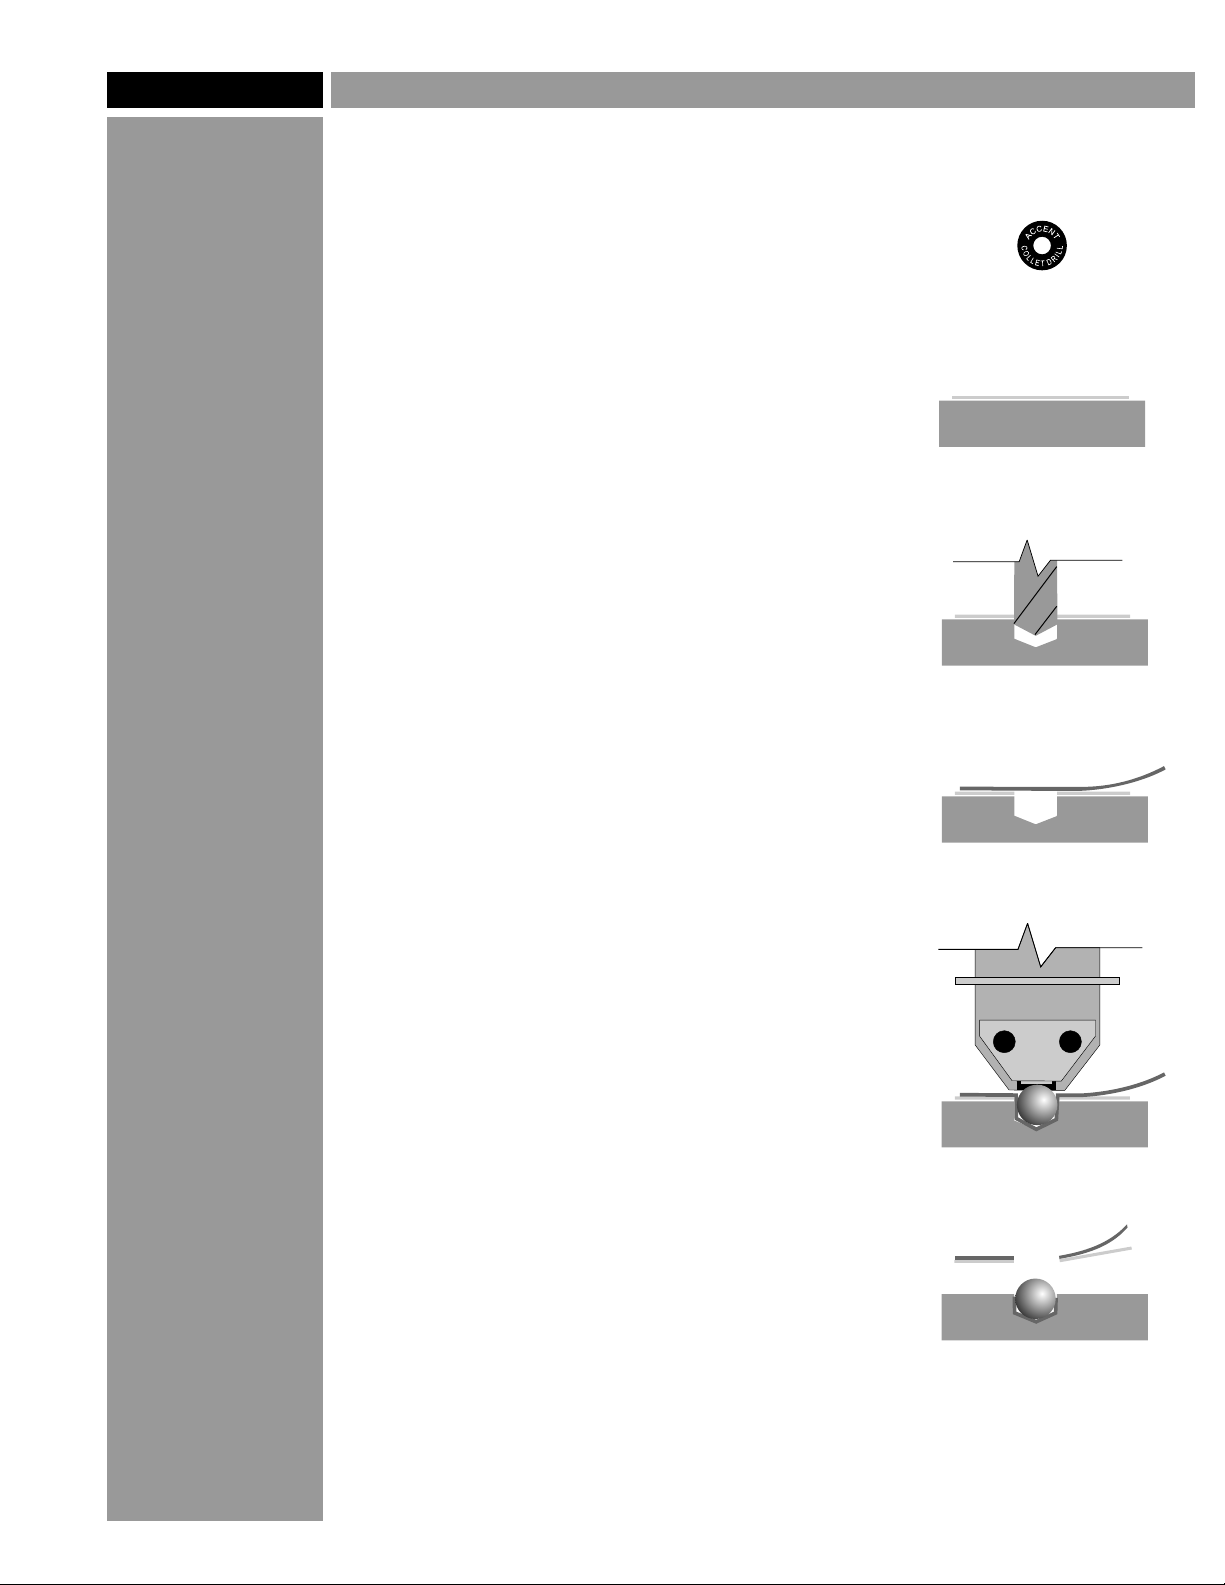
Also bear in mind that any time you use clear Rasters
Wood: Most woods can use the friction-fit Raster
™ method. We have experimented extensively with different materials.
Use the information here as a starting point, but always test an unknown
material before using it for a job.
™, the material
underneath will be visible through the Braille dots. If the material under the
surface is a different color, you may want to consider using one of the
opaque colors of Rasters™.
™ method, but avoid
softer woods. Any wood softer than pine isn't likely to be dense or strong
enough to support the Rasters™. Plywood and manufactured wood products
like MDF will work well.
High-pressure laminates: Laminated materials such as Formica® generally
shoud use the adhesive-assist method. In some cases, a hybrid of the two
methods will work best; drill the holes using the collet assembly, but insert
the Rasters™ dry (no adhesive).
Phenolic or fiber-reinforced plastic: Use the adhesive-assist method with
these materials. Be aware that these materials are abrasive and will wear out
tools faster than other plastics.
Expanded PVC plastic: Lightweight sign materials like Sintra® are not
strong or dense enough to support Rasters™ and are not recommended.
Solid-surface materials: Materials such as Corian® are essentially dense
hard plastic and will work best with the collet assembly. Like laminated
materials, adhesive sometimes isn't necessary with these materials.
Hard stone (marble/granite): It is difficult to work with these materials
without the proper tools. You can use the carbide drill bit, but it will wear out
quickly. If you have access to proper stoneworking tools, and can drill 1/16"
holes to a precise depth, you can insert Rasters™ using adhesive-assist.
Soft stone (sandstone, etc): Softer stone is easier to drill into, but use
caution when inserting the Rasters™. Use adhesive-assist, and test the
adhesive to make sure it sticks to the stone.
Glass: It is possible to drill holes for Rasters™ into glass, but it is not
practical. The process is very difficult and time-consuming. Working with
glass requires special tools, training, and equipment. We don't recommend
you try drilling into glass unless you have experience. Substitute clear acrylic
or polycarbonate for real glass.