9
SETUP
Press the „M“-button for 3 seconds to enter the setup. First the installed firmware version
appears on the screen. Go through the menu using the control buttons and activate the
functions with the Record/OK- button.
Setup Quick Guide
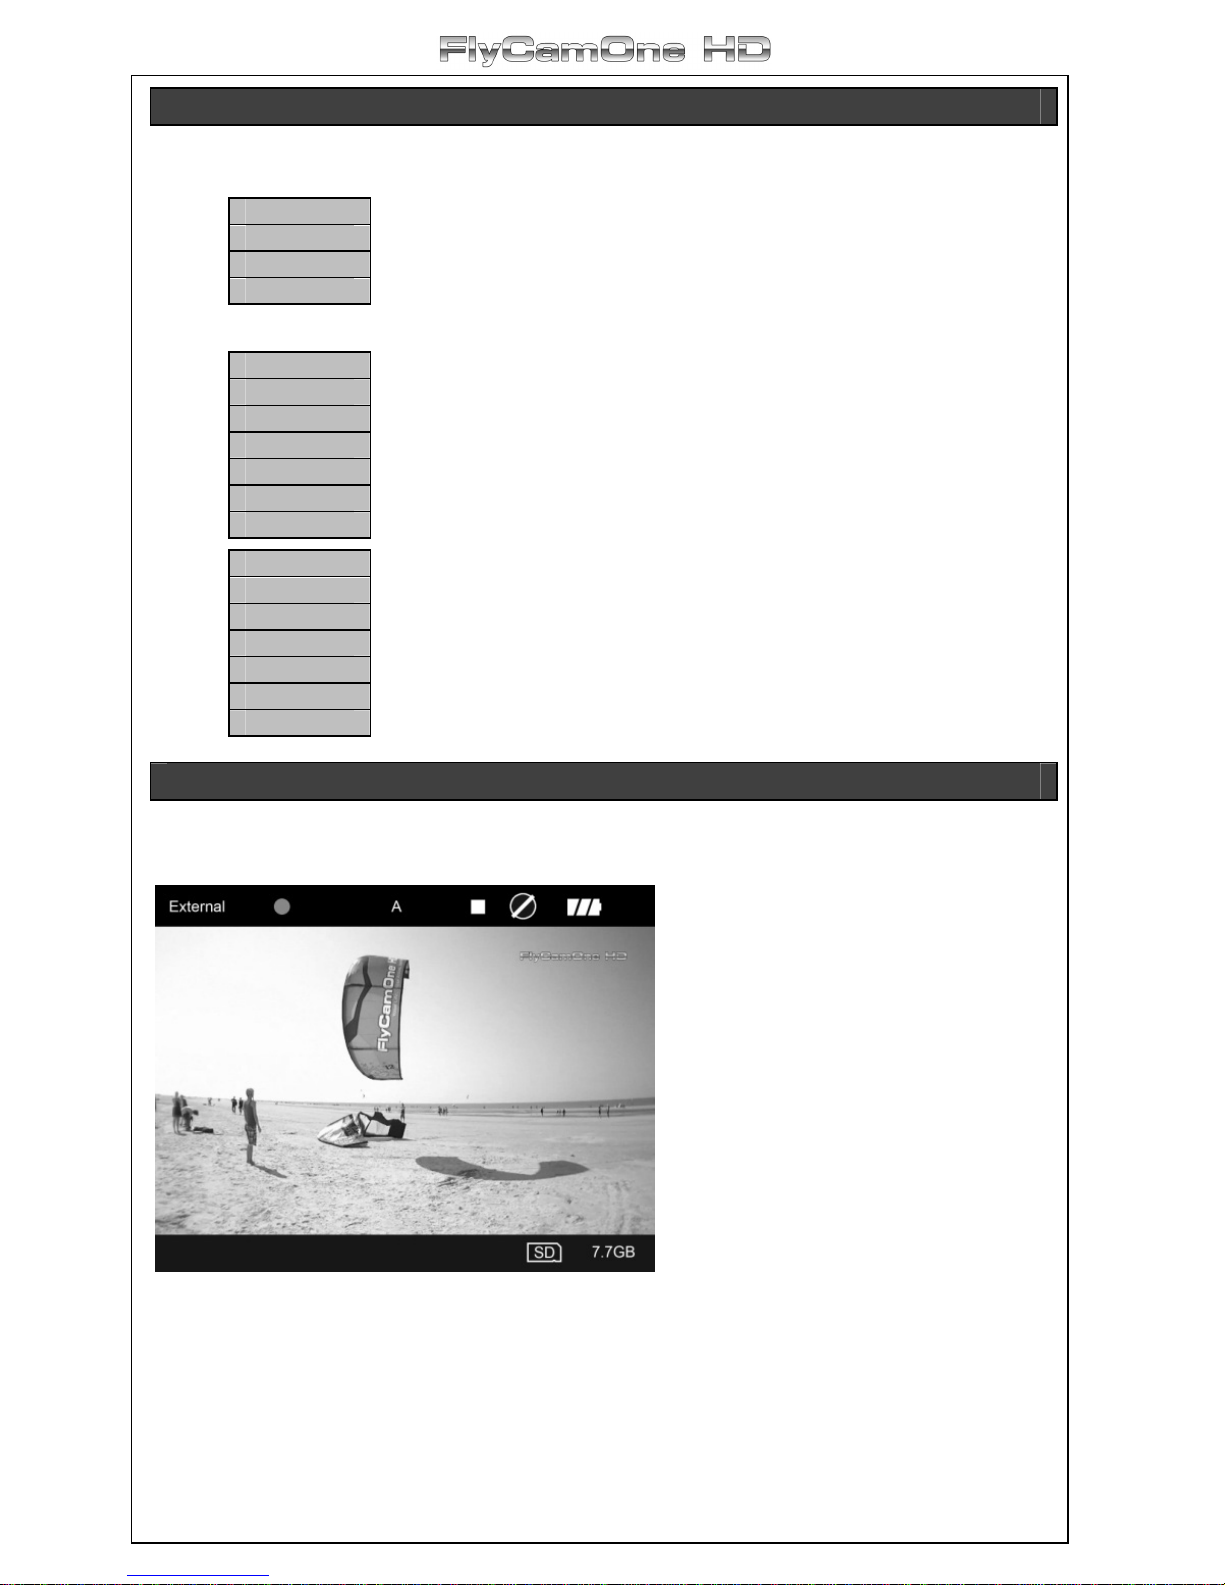
System Switch between “CarCamOne” and “FlyCamOne”
Language Select the language English, German, French or Spanish
Date Set date (YYYY-MM-DD – Year-Month-Date)
Time Set time
Timestamp Activate the timestamp
Video Size Select the recording format 1080p, 720p, 480p
Video Codec Select between MPEG or MOV
Quality Select Data rate High, Standard or Low
Zoom Select standard zoom configuration the cam uses when switching
on
FPS Select the frames per second.
For time- lapse recordings, for example the growing of a flower in
the garden, the recording speed can be reduced up to 1 frame per
minute – the video is later played back with 30FPS – that means
one hour is reduced to 2 seconds. Use an external power source
for time- lapse recordings!
White Balance Select light temperature and environment
ISO Change ISO setting 100,200,400,800
Exposure Brighter Picture to be adjusted here
Effects Choose off, art, sepia, negative, monochrome, vivid
Contrast Select soft, standard or hard contrast
Sharpness Select soft, standard or hard sharpness
Resolution Select high, medium or low resolution
Flip Picture Select 180° flip and mirror function here
Auto Power Off Select the auto off function – choose between 1, 5, 10 or 15
minutes
Auto Screen Off Battery saving to be selected here – pressing any button
reactivates the screen!
Microphone Switch off the microphone if you only want to watch the video
without any sound.
Light Frequency 50/60Hz - Before you start recording indoor, choose the correct
frequency:
Europe, Asia and Australia: 50Hz
America: 60Hz
Japan: Depending on the area 50 or 60Hz
Formatting Formatting the card
Reset Return to default settings
Update Update the Firmware
Please note that some functions are only available after a firmware-/ software update.