Acros pressfit bb86 User manual

Entferne alle Lackreste von den Kanten des
Trelagergehäuses und säubere die Innenseite.
Stelle außerdem sicher, dass die Auflageflächen
der Lagerschalen exakt plan und parallel zu
einender sind. Arbeite ggf. mit einem geeigneten
Werkzeug das Tretlagergehäuse nach (nur bei
Stahl-,Titan- und Alu-Rahmen).
tretlagergehäuse säubern
Messe die Breite deines Tretlagergehäuses,
idealerweise mit einem Messschieber. Verwende den
mitgelieferten 2,5 mm Distanzring auf der Antriebs-
seite nur wenn die Gehäusebreite 89,5 mm entspricht.
Bestreiche die Kontaktflächen der Lagerschalen
mit Montagefett. Führe, wenn nötig (siehe Schritt 3),
den Distanzring auf die Lagerschale der
Antriebsseite auf.
Gehäusebreite
86,5mm
89,5mm
92mm
Distanzring
innenlager-anleitung
und produktinformationen
www.acros-components.com
4
5
7
1
2
3
pressfit bb86
rahmen prüfen
fetten
Presse die die Lagerschalen nacheinander mit einem
geeigneten Werkzeug in deinen Rahmen ein. Dabei
darf der Innenring des Schrägkugellagers auf keinen
Fall belastet werden. Beginne am besten mit der
Antriebsseite und achte darauf, dass die
Verbindungshülse gerade ausgerichtet ist. Achte
außerdem darauf, dass die Lagerschalen nicht
verkanten und am Ende plan am Rahmen anliegen.
tretlager einpressen
6
8
Fette jeweils die äußere Lagerseite an der roten
Dichtung, damit diese zusätzlich vor eindringender
Feuchtigkeit und Schmutz geschützt ist.
lager fetten
Montiere die Kurbel nach Herstellerangaben.
Beachte, dass du die Spieleinstellschraube bei
Kurbeln nur so fest anziehst, bis kein axiales Spiel
mehr spürbar ist. Wenn du die Schraube zu stark
anziehst, wirkt sich das negativ auf die Lebensdauer
deines Tretlagers aus und die Kurbel läuft
schwergängig.
kurbel montieren
Drücke nun die Staubschutzkappen vorsichtig in das
Lager. Die Staubschutzkappe sollten mit der
Lagerschale außen bündig abschließen und die
aufgetragene Fettschicht auf dem Lager halten.
staubschutzkappe (POM)
montieren
verbindungshülse montieren
Schiebe die Verbindungshülse in eine der zwei
Lagerschalen, diese sind für beide Seiten identisch.
Achte dabei darauf, dass du die Hülse gerade
ausrichtest, dass sie beim Einpressen nicht
verkanten kann.
de
Grundlegende Sicherheitshinweise
Das Nichtbeachten der Hinweise in dieser Anleitung kann zu Unfällen mit
Todesfolge oder schwerer Verletzung führen. Bitte lies die Anleitung vor den
erforderlichen Montage- und Wartungsarbeiten sorgfältig durch. Beachte
und befolge stets alle Hinweise zu Montage und Wartung – auch in den
Bedienungsanleitungen anderer Hersteller, deren Produkte an deinem
Fahrrad verwendet werden (Rahmen, Gabel, Lenkervorbau etc.). Stelle
sicher, dass auch andere Benutzer deines Fahrrads die Anleitung sorgfältig
lesen und beachten.
Überschätze nicht deine fachlichen Fähigkeiten. Lasse Montage- und
Wartungsarbeiten in einer Fahrrad-Fachwerkstatt durchführen. Nur dort ist
die fachgerechte Ausführung gewährleistet. Verwende ausschließlich
acros-Originalteile. Halte dein Fahrrad stets in technisch einwandfreiem
Zustand.
Überprüfe vor jeder Fahrt, ob alle Komponenten richtig eingestellt und
befestigt sind.
Wichtig: Bei Fragen wende dich bitte an acros oder deinen Fachhändler.
Sachmängelhaftung
Während der ersten zwei Jahre gilt die gesetzliche Sachmängelhaftung.
Diese Regelung gilt nur in Staaten, welche die EUVorlage ratifiziert haben.
Ausgenommen sind Komponenten, die der natürlichen Abnutzung
unterliegen z.B. Kugellager. Sollten Mängel auftreten, wende dich bitte an
dein acros-Team oder deinen Fachhändler. Montage- bzw. Umbaukosten
oder Zubehör werden im Gewährleistungsfall nicht erstattet. Die gesetzliche
Sachmängelhaftung gilt nur für den Erstkäufer unter Vorlage des
Kaufbelegs mit Kaufdatum sowie Modellbezeichnung und der Verwendung
im angegebenen Einsatzbereich. Ausgeschlossen sind Schäden durch
Verschleiß, Vernachlässigung (mangelnde Wartung und Pflege), Sturz,
Überbelastung sowie Veränderung der Bauteile (Anbohren, Abschleifen,
etc.) und unsachgemäße Montage der Bauteile. Falls du einen aufgetrete-
nen Mangel geltend machen möchtest, drucke dir bitte unter
www.acros-components.com das Gewährleistungsformular aus und
schicke es vollständig ausgefüllt mit dem dazugehörenden Produkt an:
acros sport gmbh benzstr. 58 71272 renningen, germany
Einstellschraube
Staubschutzkappe
Verbindungshülse
optionaler Distanzring
Lagerschale mit
Schrägkugellager
Lagerschale mit
Schrägkugellager
Staubschutzkappe
links rechts
links rechts

Remove all paint residue from the edges of the
bottom bracket shell and clean the inside.
Make sure that the ends of the bottom bracket shell
are perfectly flat and parallel to one another.
If necessary, face the bottom bracket shell with a
suitable tool (only for steel, titanium and
aluminium frames).
clean the bottom
bracket shell
Measure the width of your bottom bracket shell, ideally
with a sliding caliper. Only use the supplied 2.5 mm
spacer on the drive side if the bottom bracket shell is
89.5 mm wide.
Coat the contact surfaces of the bearing shells
with grease. If necessary (see step 3), slide the
spacer onto the drive side bearing shell.
Bottom bracket shell width
86,5mm
89,5mm
92mm
spacer
inner bearing instructions
and product information
www.acros-components.com
4
5
7
1
2
3
pressfit bb86
check the frame
apply grease
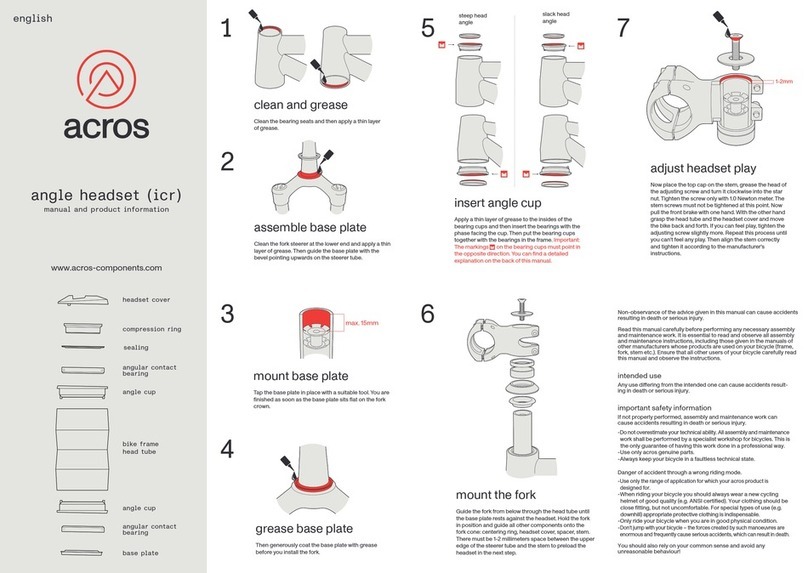
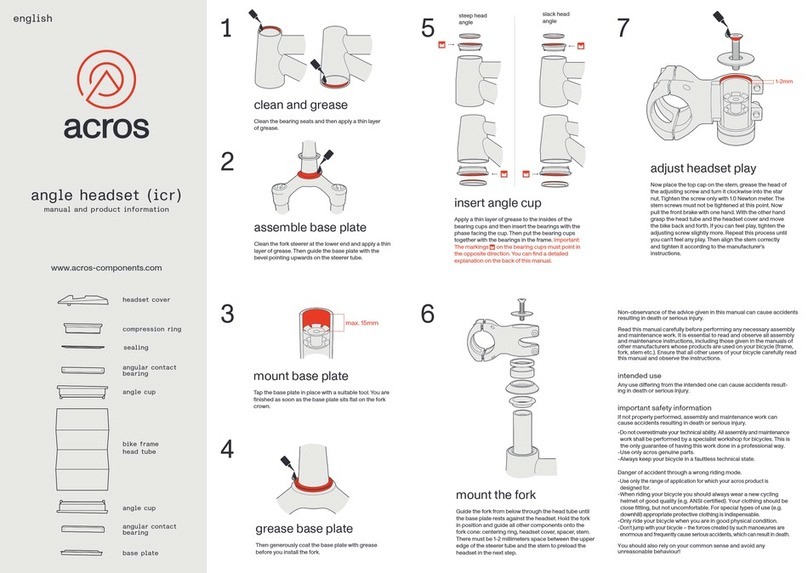
Using the correct tool, press the drive side bearing
shell into your frame while making sure that the
connecting sleeve is straight. Repeat these steps on
the non-drive side. Don’t press on the inner rings of
the angular contact ball bearings under any
circumstances. When you’re done, check that the
bearing shells are parallel to each other and flush
against the frame.
press in bearing shells
6
8
Grease the outer side of the bearing on the red seal,
so that it is also protected from incoming moisture
and dirt.
grease bearings
Mount the cranks according to the manufacturer's
instructions. Make sure to tighten the end caps on
the cranks only until you can no longer feel any axial
play. If you overtighten them, it will shorten the
service life of your bottom bracket and the cranks
won’t spin freely.
mount cranks
Now, carefully press the dust caps onto the bearings.
The dust caps should sit flush with the outside of the
bearing shell, keeping the grease applied to the
outside of the bearings.
fit dust cap (POM)
insert connecting sleeve
Slide the connecting sleeve into one of the two
bearing shells. These are identical on both sides.
Make sure that the sleeve is straight as you push it in.
en
Basic safety instructions
Failure to observe the instructions in this manual can lead to accidents
resulting in death or serious injury. Please read the instructions carefully
before carrying out the necessary assembly and maintenance work. Always
observe and follow all installation and maintenance instructions – including
those in the operating manuals of the other products on your bike (frame,
fork, handlebar stem etc.). Make sure that other users of your bicycle read
and follow all instructions just as carefully.
Do not overestimate your technical skills. Always have assembly and main-
tenance work carried out by the specialists at your local bike shop. That way
you can rest assured that everything has been done correctly. Only use
original acros parts and always keep your bike in perfect technical condition.
Check whether all components are correctly adjusted and tightened before
each ride.
Note: If you have any questions, please don’t hesitate to contact acros or
your local dealer.
Liability for material defects
The statutory liability for material defects applies for the first two years. This
regulation only applies in countries that have ratified the EU proposal.
Components that are subject to natural wear and tear, such as ball bearings,
are excluded. Please contact the acros team or your local dealer should any
defects occur. The costs of fitting or replacing components will not be
reimbursed in the event of a warranty claim. The statutory warranty only
applies to the original purchaser on presentation of a receipt (indicating the
date of purchase and model name) and when used as intended by us.
Damage due to wear and tear, neglect (lack of maintenance and care),
crashing, overloading as well as modification of the components (drilling,
grinding, etc.) and improper assembly of the components are excluded. If you
wish to submit a warranty claim, please print out the warranty form at
www.acros-components.com, fill it in and send it together with the product to:
acros sport GmbH Benzstr. 58 71272 renningen, germany.
end cap
dust cap
connecting sleeve
optional spacer
bearing shell
and bearing
bearing shell
and bearing
dust cap
left right
left right
This manual suits for next models
1
Table of contents
Languages:
Other Acros Bicycle Accessories manuals
