Adagio GDP-8800 User manual

* Do not open the instrument or attempt to disass-emble
the internal parts or modify them in any way. The
instrument contains no user-serviceable parts. If it
should appear to be malfunctioning, discontinue use
immediately and have it inspected by qualified service
personnel.
* Do not expose the instrument to rain, use near water or
in damp or wet conditions, or place containers on it
containing liquids that might spill into any opening.
* If the power cord or plug becomes frayed or damag ed,
or if there is a sudden loss of sound during use of the
instrument, or if any unusual smells or
-
smoke appear to
be caused by it, immediately turn off
the power, disconnect the power plug from the outlet, and
have the instrument inspected by qualified service
personnel.
Do not use a voltage other than the indicated power
supply voltage. Use of a voltage other than indicated may
cause fire or electrical shock.
*
* Before cleaning the instrument, always remove the
power plug from the outlet. Never insert or remove an
power plug with wet hands.
* Check the power plug periodically and remove any dirt
or dust, which may have accumulated on it.
PLEASE READ CAREFULLY BEFORE PROCEEDING
Please keep these precautions in a safe place for future reference.
Always follow the basic precaution listed below to avoid the possibility of serious injury or even death from electronic shock,
short-circuiting, fire or other hazards. These precautions include, but are not limited to, the followings:
Always follow the basic precaution listed below to avoid the possibility of physical injury or damage to the instrument or
other property. These precautions include, but are not limited to, the followings:
* Do not place the power cord near heat sources such as
heaters or radiators, and do not excessively bend or
otherwise damage the cord, place heavy objects on it, or
place it in a position where anyone could walk on, trip on,
or roll anything over it.
* Do not connect the instrument to an electrical outlet
using a multiple-connector. Doing so can result in lower
sound quality, or possibly cause overheating in the outlet.
* Unplug the power cords when not using the instrument,
or during electrical storms.
* When removing the power plug from the instrument or
an outlet, always hold the plug itself but not the cord.
* Do not expose the instrument to excessive dust or
vibrations, or extreme cold or heat, (such as direct
sunlight, near a heater, or in a car during the day) to
prevent the possibility of panel disfiguration or damage to
the internal components.
* Before moving the instrument, remove all connected
power cords and other cables.
* When cleaning the instrument, use a soft, dry cloth. Do
not use paint thinners, solvents, cleaning fluids, or
chemical-impregnated wiping cloths. Do not place vinyl,
plastic or rubber objects on the instrument, since this
might discolour the panel or keyboard.
* Before connecting the instrument to other electronic
components, turn off the power for all components.
Before turning the power on or off for all components, set
all volume levels to minimum. Also, be sure to set the
volume of all components at their minimum levels and
gradually raise the volume controls while playing the
instrument to set the desired listening level.
* Do not use the instrument near other electrical products
such as televisions, radios, or speakers, since this might
cause interference which can affect proper operation of
other products.
* Do not place the instrument in an unstable position
where it might accidentally fall over.
* Do not rest your weight on, or place heavy objects on
the instrument, and do not use excessive force on the
buttons, switches and connectors.
* Do not operate the instrument for a long period of time
at a high or uncomfortable volume level, since this can
cause permanent hearing loss. If you experience and
hearing loss or ringing in the ears, consult a physician.
* Avoid the LED/LCD subject to strong impact. It might
break the LED/LCD's glass and cause personal injury. If
the LCD glass crack or break, do not contact the liquid
inside the LCD, it might cause inflammation and
reddening. If the LCD liquids get in your eyes or skin,
immediately flush with water at least for 15 minutes and
then consult a doctor.
WE CANNOT BE HELD RESPONSIBLE FOR DAMAGE
BY IMPROPER USE OR MODIFICATIONS TO THE
INSTRUMENT, OR DATA THAT IS LOST OR
DESTROYED.
WARNING
CAUTION
PRECAUTIONS
07

If you DID NOT read the precautions section, please go back and read carefully before operating your piano !
Congratulations!
You are the proud owner of an GDP-8800 Digital Baby Grand
Piano. This piano combines the most advanced tone generation
technology with digital electronics and a vast array of features to
give you stunning sound quality and will provide you with musical
enjoyment for years to come. Our new hammer action keyboard
provides a realistic traditional acoustic piano feel. In order to take
full advantage of your piano’s features and extensive performance
potential, we urge you to read this manual thoroughly while trying
out the various features described. Keep this manual in a safe
place for future reference.
Congratulations

Contents
Contents
Setting up 1
Power connection.................. ................1
Understanding the LCD Display.. ............2
Audio equipment connections......... .......2
LINE OUT jacks................................... ...2
Phones jacks.................................... ......2
..............
..............
..............
..............
..............
Playing demo songs 3
Playing demo songs............... ............... .3......... .....
Playing sounds 4
Sound selection................ ............. ..........
Dual............................................. ............
Split................................................. .........
Touch Sensitive............... .................. ...
Transpose................ ........... .................
Effect.......................... ...... ..........
.... ........ 4
............ 5
............ 5
.... ............ 6
.... ............ 6
........ .................. 6
Auto accompaniment 7
Panel Memory Buttons 11
Data stored by the memory function
.. .11
Storing your settings into
. . ...... .. ...
a memory button
The metronome....................................................
Playing Fingered chords.......................................8
Playing single-finger chord...................................8
Tempo setting.......................................................8
Using auto accompaniment..................................8
Accompaniment sections.....................................9
Intro section.........................................................9
Fill-in section......................................................10
Ending section....................................................10
7
Recording system 12
Accompaniment recording..... . ............12
Melody recording..................... ...............13
Accompaniment and melody recording. 13
Multi-track recording..................... . ......14
Play the recording songs...................... ...14
Delete track....................................... .. 15
How to use the USB drive .... ....15
...... .........
...........
............
........... ...
..........
........... ...
Flash .. ...............
Piano teaching system 16
Step 1 Master the melody............. ........16
Step 2 Play your song ....................... .....16
Learn to play the left hand.................. .....16
Learn to play the accompaniment...... .. ...16
...............
............
............
......... ...
Appendix A1
Specifications.............. ................ ............
Sound list.................. ..................... ..........
Style list..................... ...................... ..... 4
Songs list................ ... ................... .... 6
...... ... ................... .. 7
......................... ................ 8
....... ... A1
....... ... A2
....... ...... A
....... ....... ... A
Midi Implementation ....... ... ... A
Percussions list ........ A
MIDI function 17
What is MIDI?................................ ..... ......17
.......... .....17
... ......
...............
Load files from the usb disk
Troubleshooting.................................................20
Important message section...............................21
Installation.......................................................22
20
Caution

01
Setting up
Setting up
Follow the instructions below according to the power
source you intend to use.
is set to OFF.1
2
3
4
Make sure that the [POWER] button
Connect the power cord to the digital piano and plug
it into an active outlet.
Minimize the volume of the digital piano.
Turn the POWER ON.
Power Connection
WARNING
Do not use a voltage other than the
indicated power supply voltage. Use of a
voltage other than indicated may cause
fire or electrical shock.
Unplug the power cord when not using
the instrument, or during electrical
storms.
Accomp Vol RHYTHM PADs
BASS PHASE
CHORD KEYBOARD
Chord Sound/Style
Keyboard mode Record Vol
Teaching System
Tempo
Track Volumes
1.2.3.4.
5.6.7.
Understanding the LCD Display
When the power is on, the LCD display of your digital piano will show a variety of information about the
current settings of various functions
The Line out jacks deliver the output of the digital piano for connection to an amplifier, stereo system,
mixing console, etc...
Line Out jacks
Audio equipment connections

Setting up
MIC jack
You can connect your microphone with the Mic socket.Please adjust the volume button to get proper
input level when you use the microphoe.
USB midi jack
USB disk jack
You can connect the piano with your computer with the USB MIDI socket.With your favorate music editor
software,you can melodize,record,or just play for fun.
You can connect your USB DISK to piano with the USB socket,to store the recorded MIDI files you
played with the digital piano,or download the MIDI files from the USB DISK,for the purpse of revise
or teaching and practice.
Power jack
This piano use 120V power supply,pease check the voltage suitable for the piano.
To connect the digital piano with other devices,please pull off the power pin,and power off the
piano.
Before power off the piano,please turn the volume control button to the least
Fuse
It's strongly recommened you invite the professional persons which farmiliar with s to change the
fuse if it's broken.You must use the fuse of 1.5A currency.
HEAPHONE LINE MIC USB MIDI USB
DISK
OUT INAB
AC 120V FUSE
02
LINE OUT
Stereo System
PHONES jack
A standard pair of stereo headphones can be plugged into this jack for private listening. The internal stereo
speakersystem will be automatically shut off when a head phone is plugged into the PHONES jack. DO NOT
listen with the headphone at high volume for long periods of time. Doing so may cause hearing loss.
CAUTION
Connect the piano to external
ment only after turning off the
evices. To prevent
damage to the speakers, set the
volume of the external devices at
the minimum setting before
connecting them. Failure to do so
may result in electric shock or
equipment damage.
equi-
p
power of all d

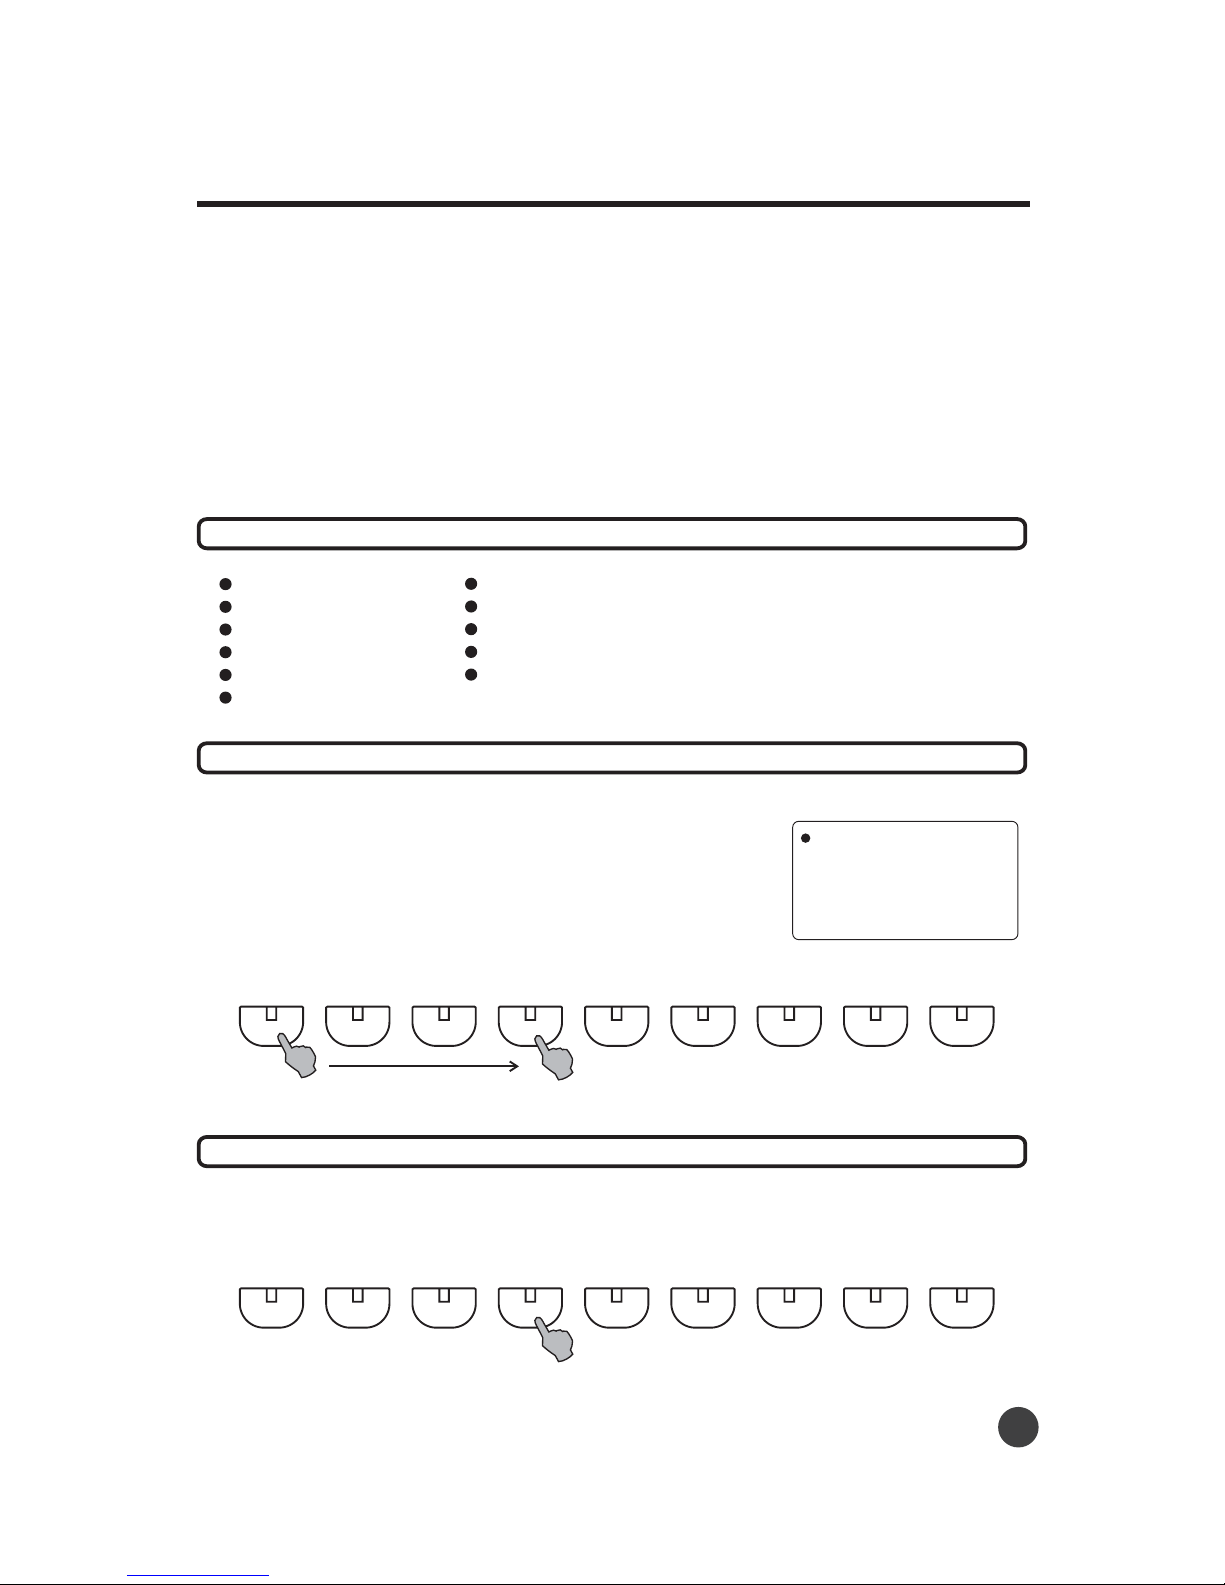
1Press the [DEMO] button to play the main demo song.
(Press the [DEMO] button again to stop the demo)
Playing demo songs
In this section, you will learn how to play the demo songs, the digital piano has a large selection of demo
songs. Once you have set up your digital piano, try listening to the pre-programmed demonstration songs.
The digital piano provides a total of 89 demo songs. You can also use the piano teaching system to learn
these demo songs, for more information about piano teaching system, please turn to the piano teaching
system chapter.
"
"
03
2Select another demo song.(88 more available!)
Press the [SONG] and use the data dial, the [+] button,or the [-] button to select a demo song.
Or, press any key on the keyboard and hold it whilel pressing the [Demo] button to start a demo song.
Each key on the keyboard represents one demo song.
DEMO
SOUND R TRANSPOSE
SOUND L STYLE SONG
Playing demo songs
Playing a demo song.

Playing Sounds
Example: To select the NO.68 voice OBOE:
Press the [SOUND R] button.
Use the data dial, or the buttons to select voice No.68.
1
2[+]or[-]
Or, for a shortcut you can press the voice group button [BRASS] to first reach the No.64 voice
or
3SAX
SOPRANO, and then use the data dial, the[+]button to select the No.68 voice OBOE.
04
1Press the [SOUND R] button.
The voices are divided into 10 different groups. Press a voice group button and use the
a
2Select the sound.
Use the data dial or the [+] button, the [-] button to select the sound. The selected sound will be
shown on the display.
the data dial,
the [+] button, or the[-]button to select sound within the group you have selected.
The digital piano provides 128 different musical instruments, plus 8 drum kits.
Try some of the different voices, referring to the sound list at the end of this manual.
Sound selection
SOUND R TRANSPOSE
SOUND L STYLE SONG
PIANO
8 BEAT
HROM
BALLAD 16 BEAT
ORGAN GUITAR
LATIN
BASS
ROCK
STRING
DISCO
BRASS
WORLD
SYNTH
DANCE
ETHNIC
TRADITIONAL
DRUMS
PIANIST
OR
Playing Sounds

05
1Press the [SOUND R] button to select the first voice.
The first sound can be selected by pressing the button [SOUND R], then selecting a sound.
Then press the DUAL button, (led light will turn on) Lastly, select your "layer" or "dual" sound.
Playing Sounds
Dual (Playing two sounds simultaneously)
4Play the newly created "layer" of two sounds.
A good layer to try is PIANO & STRINGS. Experiment and enjoy the possibilities.Note:
3Select the second voice.
Use the data dial, the [+] button or the [-] button to select the second
2Press the [DUAL] button.
Split ( playing different voices with the left and right hands)
Split point: Middle C
Sound RSound L
1
2
3
Select the sound for the left hand.
Press the [SOUND L] button and select the voice for the left hand.
Press the [SPLIT] button.
To select the split function.
Press the [SOUND R] button and select the voice for the right hand.
Select the sound for the right hand:
NOTE
When the keyboard is split into two parts, the Split Point is at middle C.
06
When you choose the split function, the keyboard will be split into two parts: the right hand part and the left
hand part.
Dual
SPLIT

Playing Sounds
The transpose function allows the overall pitch of the digital piano to be transposed up or down by a
maximum of one octave in semitone increments. The transpose range is from -12 to +12.
Transpose
1Press the [TRANSPOSE] button.
Use the data dial, the [+] button or the [-] button to transpose the pitch.
The keyboard of the digital piano is equipped with a touch response feature that lets you dynamically
and expressively control the level of the voices played depending on your playing strength.
However, some instruments don't naturally have touch response, such as organs. In this case you can
turn off the touch sensitive function while you are playing.
Touch Sensitive
1Press the [TOUCH] button.
The touch sensitive function will be
2Play a note.
Effect
1Press the REVERB or CHORUS buttons repeatedly to cycle through the various effects available.
Use the LEVEL[+] or the LEVEL[-] buttons to choose the level(s) of the effect(s).
Continue to press the REVERB or CHORUS buttons until their lights turn off to cancel their effect(s).
REVERB has 8 effects and CHORUS has 8 effects. Both of them can be activated at the same time.
2
3
4
06
NOTE: Each setting is indicated by the color of the TOUCH led light, RED=LIGHT, ORANGE=Normal,
GREEN=Heavy, OFF=No touch sensitivity. The Setting will also be displayed on the LCD screen.
TRANSPOSE
REVERB CHORUS
TOUCH
,

Auto accompaniment
The auto accompaniment function puts a full band at your fingertips. Using it, all you have to do is play
the chords with your left hand as you perform, and the selected accompaniment style matching your
music will automatically play along, instantly following the chords you play. With auto accompaniment,
a solo performer can enjoy playing with the backing of an entire band or orchestra.
The digital piano features 200 styles featuring a variety of different musical genres.
Try selecting some of the different styles and play with the auto accompaniment.
07
Using Auto accompaniment
1Press the [STYLE] button.
2Select a style.
SOUND R TRANSPOSE
SOUND L STYLE SONG
STYLE CONTROL
SYNC.
A / Fill In1
B / Fill In2
START/STOP
INTRO/ENDING
Fade In/Out
The styles are divided into 8 different groups. Press the style group button that you want to explore,
and use the a style from within hat .the data dial, the [+] button or the[-]button to select t group
8 BEAT BALLAD 16 BEAT LATIN BLUES & ROCK DISCO WORLD DANCE TRADITIONAL PIANO
Auto accompaniment
There are various types of Auto Accompaniment sections that allow you to vary the arrangement of the
accom-paniment to match the song you are playing. The different types are: Intro, Main, Fill-in and
Ending. By switching among them as you play, you can easily produce the dynamic elements of a
professional-sounding arrangement in your performance.
Accompaniment sections
SYNC Section
Press the [Sync] button. Now press any note or chord in the left part of the keyboard, and the introduction
will begin in that "key".

Auto accompaniment
The fill-in section lets you add dynamic variations and breaks in the rhythm of the accompaniment, to
make your performance sound even more professional.
Simply press the [A-FILLIN1], [B-FILLIN2] buttons as you play, and the selected fill-in section will play
automatically, spicing up to the auto accompaniment. When the fill-in section is finished, it leads smoothly
Into the variation indicated on the FILL-IN button you used (A or B).
FILL-IN Section
08
STYLE CONTROL
SYNC.
A / Fill In1
B / Fill In2
START/STOP
INTRO/ENDING
Fade In/Out
STYLE CONTROL
SYNC.
A / Fill In1
B / Fill In2
START/STOP
INTRO/ENDING
Fade In/Out
This is used for the beginning of the song. When the intro is finished ,the accompaniment will shift to the
main section. The length of the introduction differs from style to style.
Press the [Sync] button , then press the [INTRO/ENDING] button. Now press any note or chord in the
left part of the keyboard, and the introduction will begin in that "key".
1
2Press the button to start the accompaniment immediately from the Intro
part.
[INTRO/ENDING]
INTRO Section
This is used for an automatic ending of the song.
The length of the ending differs from style to style.
Press the [INTRO/ENDING] button, and rejoice in the splendor of not having to remember how your song
ends. The piano will end your song for you automatically.
ENDING Section
STYLE CONTROL
SYNC.
A / Fill In1
B / Fill In2
START/STOP
INTRO/ENDING
Fade In/Out

Auto accompaniment
There are two ways to set the tempo.
You can also press the [... ] (Tap Tempo)Button 4 times (3 if using a style
with 3/4 time etc...)with the tempo you wish
The tempo of the style will be changed to the speed at which you tapped
the button.
The tempo can be a value from 40 to 240 beats per minute.
.
Tempo setting
Press [METRONOME] Button to activate the metronome effect. Three types of time signatures
can be selected: 2/4, 3/4 and 4/4. To cycle through these time signatures, continue to press
the [METRONOME] button.
Use the Tempo buttons to change the tempo of metronome. If you start the automatic accompaniments
while using the metronome, the metronome will turn off automatically.
The Metronome
09
TEMPO
METRONOME
2/4 3/4 4/4
Auto Bass Chord
Select the Chording (Fingering) mode.
The automatic accompaniments can be used with two (2) different chording styles.
FINGERED: This mode allows the player to use musically correct chords in the left hand.
The player can also use shortcuts, such as adding only the minor note to the base note,
(3 semitones above the base note) or adding only the 7th (2 semitones below the base note)
This mode is easy to use for the beginner or the advanced player.
S. FINGER: This mode is a system that is easy to remember, however it is not musically correct.
To make a minor chord, add a black note to the left of the base note. To make a 7th chord,
add a white note to the left of the base note.

Using single-finger mode to play chords makes it simple to produce beautifully orchestrated
accompaniment using major, minor and minor-seventh chords by pressing a minimum number of keys on
the Auto Accompaniment The following abbreviated chord fingering must be used:
Playing single-finger chords (not musically correct, but easy)
Auto accompaniment
Major: Just press the basic key
Minor: Press the basic key and any black key on its left side.
Seventh: Press the basic key and any white on its left side.
Minor seventh: Press the basic key and one white key, and one black on its left side.
CCm C7 Cm7
C/D C m/D m C 7/D 7 C m7/D m7
DDm D7 Dm7
D /E D m/E m D m7/E m7
D 7/E 7
EEm
E7 Em7
F Fm F7 Fm7
F/G F m/G m F 7/G 7 F m7/G m7
GGm G7 Gm7
G/A G m/A m G 7/A 7 G m7/A m7
AAm A7 Am7
A /B A m/B m A 7/B 7 A m7/B m7
B Bm B7 Bm7
C
Cm
C7 Cm7
CM7
Caug
Csus4 C(9) C7(13) CmM7 Cm7 5 Cdim7
C6
Cm(9)
Cm6 Cdim
C7( 9) C7( 11) Cm7(9) Cm7(11)
This is the default accompaniment mode, and relies on your musically corect fingering to make chords.
You can still use shortcuts in this mode. Below, the optional notes are in brackets.
Playing Fingered chords
10
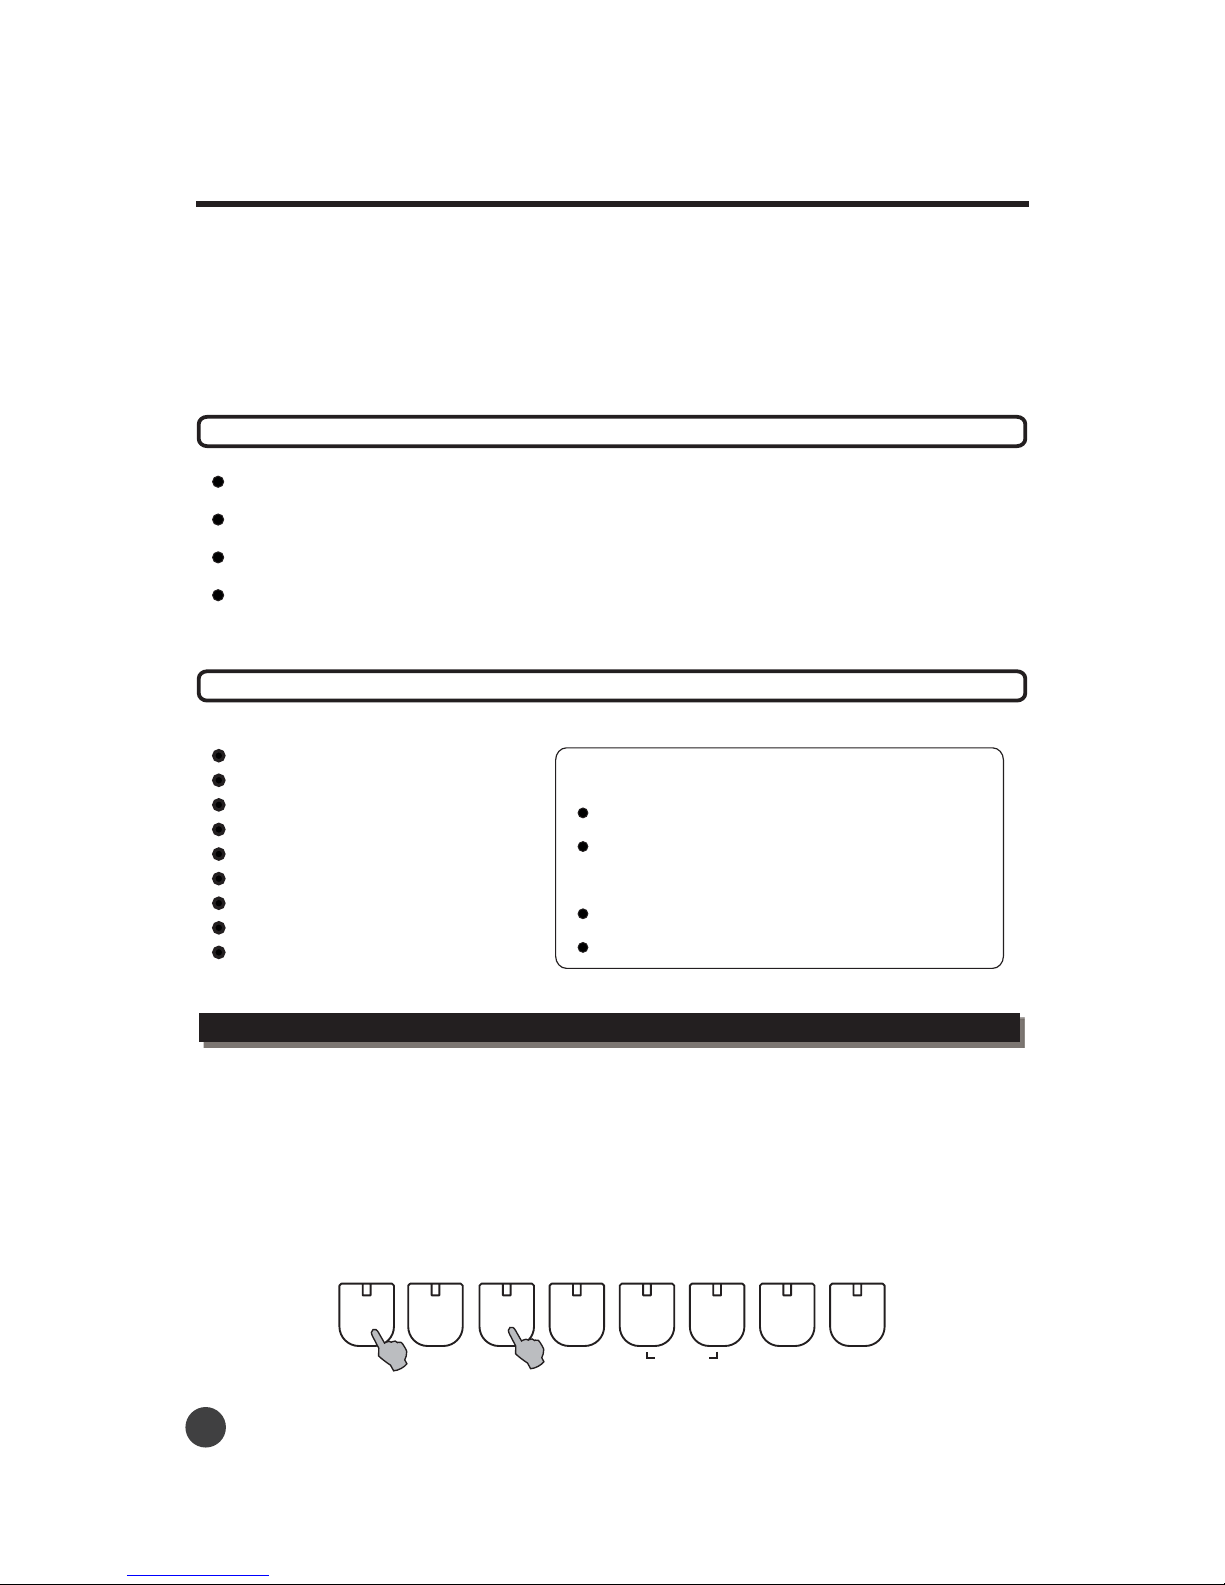
Panel Memory Feature
Since the digital piano is such a sophisticated instrument with such a large variety of controls and functions
(voices,styles, auto accompaniment, and effect settings, the MEMORY function is one of the most
convenient and useful features of the instrument. It allows you save virtual panel settings to a Register
Memory button, and then instantly recall your custom panel settings by pressing a single button.
The memory function provides up to 8 memory spaces, which allows you to store 8 different settings.
DATA stored by the MEMORY function
SOUND L
SOUND R
STYLE
TEMPO
Accompaniment volume
Accompaniment mode
1
2
Set up the piano as desired.
While holding the [SET] button, press one of the
MEMORY buttons: [1] through [8].
Accompaniment section A/B
Accompaniment track on/off
Touch Sensitive on/off
Effect on/off
Dual on/off
Any data that was previously
recorded in the Status Register
location you selected will be
erased and replaced by the new
setting.
NOTE
Press one of the MEMORY buttons to recall the settings:
.
Storing your settings into a MEMORY button
Recalling your saved Panel MEMORIES
11
Register
1234
Memory
5678
SET
12345678
Panel Memory Feature
Recording System
With the powerful and easy-to-use Recording System, you can record your own keyboard performance and
create your own complete, fully orchestrated compositions.
Tempo
Accompaniment style number
Section changes and their timing
Chord changes and their timing
Accompaniment volume
Note ON/OFF (key press and release)
Touch Sensitive ON/OFF
Sound change settings
Effect setting
Data that can be recorded for a user song:
Accompaniment Recording
Melody Recording.
Multi-Track Recording.
This records only the auto accompaniment.
This records your keyboard performance without the auto accompaniment.
Accompaniment and Melody Recording
This records your keyboard performance along with the auto companiment.
With this method, you can record up to 8 tracks simultaneously.
The digital piano provides four different ways to record:
12
1Select style and fingering mode.
2While pressing the [RECORD] button press the [ACCMP] button.
The light of the [ACCMP] button will turn on.
Accompaniment Recording
KEYBOARD SET/FILE LOAD SAVE
RECORD ACCOMP
.
PLAY DELETE
DEL. ALL
Using the Metronome function can make your recording
sessions much more musical.
Using Status Registration can make your recording
sessions much more efficient, since various settings (such
as voices, styles, etc.) can be recalled by a single button
press.
Whenever you record, please note that any previously
recorded material in the same track will be erased.
The maximum recording capacity is up to 6000 notes.
NOTES:
The following notes and cautions are important for you to keep
in mind as you record:
.
Recording System
Recording will start as soon as you start the auto accompaniment.
3Start Recording

Recording System
1
2
3
4
5
Select sound.
While pressing the [RECORD] button, press one of the [KEYBOARD] buttons.
The light of the [KEYBOARD] button will turn on.
Play any notes on the keyboard to start recording.
Change the sound as needed.
Press the button to stop recording.[KEYBOARD]
Melody Recording
13
KEYBOARD SET/FILE LOAD SAVE
RECORD ACCOMP
.
PLAY DELETE
DEL. ALL
Accompaniment and Melody Recording
3
4
Start recording .
Play any note on the left side of the keyboard to start recording directly. The Melody will be recorded in
the [KEYBOARD] track, the accompaniment will be recorded in the [ACCOMP] track.
Press the [PLAY] button to stop recording.
1Select style sound and fingering.
2While pressing [RECORD] button ,press hen press the[ACCOMP] and [KEYBOARD] button t
[RECORD]
,
.
KEYBOARD SET/FILE LOAD SAVE
RECORD ACCOMP
.
PLAY DELETE
DEL. ALL
5Press the [AMCCP] button again to stop recording.
6You can save the accomp in the disk or save as demo song NO.89.
4Change the accompaniment style as needed.

3
Start your performances to start recording.
Recording System
14
4Press the [PLAY] button to stop.
KEYBOARD SET/FILE LOAD SAVE
RECORD ACCOMP
.
PLAY DELETE
DEL. ALL
1
2
Play all tracks.
Press the o
play all tracks.
Press the [ACCOMP] button to play the accompaniment.
[ACCOMP] and [keyboard] buttons, the lights will be on, then press the [PLAY] button t
Press the [ACCOMP] button, the light will turn on, if you want to play the auto accompaniment
recording.
For instance, after you record your performance into TRACK 1,
to set the track onto TRACK 2. Press the [RECORD] button and press the
[PLAY] button to play TRACK 1, meanwhile you can start your new recording with track 2. Once you
finish, press [PLAY] again to stop, your performance recorded in track 2 has been mixed with track 1.
While pressing the [RECORD] button,
press the [SET/FILE] button
5Repeat step 2-4 to record other tracks.
KEYBOARD SET/FILE LOAD SAVE
RECORD ACCOMP
.
PLAY DELETE
DEL. ALL
Playing the Recorded Songs
Multi-Track Recording
1
2
After you have reorderded your first track as explained above, you can record other tracks
While pressing the [record] button, press the [SET/FILE] button.
Pressing the [SET/FILE] button will set the music you are going to record onto another MIDI track.
You can select a MIDI track in which you want the music to be saved by pressing the [SET/FILE]
button, the selected MIDI track will be displayed on the LCD. The light of the [KEYBOARD] button will
turn on if the selected MIDI track has already been used. The data will be replaced by your new
recorded track if you choose a previously used MIDI track to record on .
.

Recording System
15
Delete Track
1Delete All.
While pressing the [DELETE] button, press the [SET\FILE] button to delete all recordings in all tracks.
Delete recordings in the accompaniment track.
While pressing the [DELETE] button, press the [ACCOMP] button to delete the accompaniment track.
Delete recordings in other MIDI tracks.
While pressing the [KEYBOARD] button, press the [SET\FILE] button select a MIDI track you want to
delete.
While pressing the [DELETE] button, press the [KEYBOARD] button to delete the records in the
selected track.
2
3
3Select a MIDI track.
While pressing the [RECORD] button, press the [SET\FILE] button to select different tracks, then
press the [PLAY] button to play with a selected MIDI track.
How to use the USB Flash drive
On the rear panel of the piano, you will find 2 USB ports. One is the USB DISK port and the other is the
USB MIDI port. The first one allows you to use your USB Flash drive on the piano. You can export
your recorded MIDI song files and play your favourite MIDI song files from the drive. Also, you can use
your own MIDI song files in the piano teaching system.
Before you use the USB Flash please read the following instructions carefully.
If your USB Flash drive is not formatted, please use your computer to format the drive to FAT or FAT32.
You can confirm the drive format by installing the drive in a USB Port in your computer, right click on
the drive as listed in “my computer”, left click on properties and look at the File System description.
The piano DOES NOT provide the formatting function. Both USB 1.1 and 2.0 drives can be accessed
by the piano.
Before you transfer MIDI song files from the computer to the drive, please check the MIDI format first.
Only MIDI format 0 and 1 will be recognized by the piano. All General Midi song files are one of these
formats. General Midi is a protocol developed to map sounds in the right position on any compatible
instrument for proper playback. Other unsupported formats will be ignored. The file size should not
exceed 88KB, otherwise the piano will show error on the LCD.
Please DO NOT name your files as [FILE##] before you transfer them from the computer to the drive.
See point 6 for details. It is recommended that you label and identify your files by name using your
computer to avoid overwriting any files accidentally.
When you insert the USB Flash drive into the piano, you will hear the 'DI-DA' notice and find the LED of
[SET/FILE] button starting to blink. Normally it takes 1 to 2 minutes to have the drive fully loaded and
the LED will stop blinking.
Press the [SET/FILE] to cycle through the file names of your MIDI files. Then press the [LOAD] to load
it to the system. The LED will blink during the process. After that, you can press [PLAY] OR [DEMO] to
play the MIDI song files. If you load another file to the system, the previous file will be deleted from the
buffer automatically.
1
2
3
4

Recording System
16
5
6
7
8
If you would like to use that song as your piano teaching song, it is automatically selected for you. Just
press the [STEP 1] or [STEP 2] to start and learn.
You can edit the loaded MIDI by using the recording system, such as deleting and recording new
tracks. You cannot insert new tracks from different sources by cutting and pasting
After finishing your recording, you can export the MIDI to the drive. Press [SET/FILE] cycle through and
select the file names, you can either overwrite one of your files on the drive or save it as a new file.
Select the exited file name to overwrite or select the [FILE##] to generate a new file. Then press the
[SAVE] to start saving. The LED will keep blinking during the process.
NOTE: The [FILE(##)] is shown in the bottom of your file list. ## is the number of your files. For
example, you have 10 file in USB Flash drive, the new ## will be 11. In order to avoid overwrite the file
accidentally, please DO NOT name your files as [FILE##] before you transfer them from the computer
to the drive.
When you eject the USB Flash drive, you will hear the 'DA-DI' notice.

Piano Teaching System
The Piano Teaching System feature takes you through the three distinct steps described below to help you
learn to play all of the demo songs in the digital piano. With this feature, you can learn to play the right or the
left hand, even another accompaniment in the demo song as well.
Step 1 Master the melody
1
2
3
Select one demo song you want to learn.
.
Press the [Left hand] or [Right hand] button , then press [STEP1] button to start .
Follow the accompaniment and press the corresponding key to play the melody.
In this step, you will learn the right key to play the melody. the melody will not proceed until you play the
correct note, allowing you to learn at your own pace. The accompaniment will not continue unless you
play the correct key of the melody.
Left hand Right hand
STEP 1 STEP 2
PIANO TEACHING SYSTEM
Step 2 Play your song
After following the step 1 , you can enjoy playing the melody at a normal speed in this step. The
accompaniment will proceed at a normal speed regardless of whether you play the correct note or not.
1
2
3
Select the Song you want to learn.
then
Follow the accompaniment and play the corresponding note to play the song.
Press the [Left hand] or [Right hand] button, press [STEP2] button to start.
.
17
Piano Teaching System
Table of contents
Languages:
Other Adagio Musical Instrument manuals


