manuals.online logo
Brands
  1. Home
  2. •
  3. Brands
  4. •
  5. Addressograph
  6. •
  7. Printer
  8. •
  9. Addressograph 871 Guide

Addressograph 871 Guide

MODEL 871 IMPRINT
To
adjust the print for the top of the
card, adjust this screw. To darken the
print, turn screw clockwise. To lighten
the print, turn screw counter-
clockwise.
To adjust the print for the bottom of the
card, adjust this screw. To
darken the print,
turn screw clockwise. To lighten the print,
turn screw counter
-
clockwise.
Tel: 0845 505 2385
www.addressograph.co.uk
MODEL 871 IMPRINT
ADJUSTMENT INSTRUCTIONS
adjust the print for the top of the
card, adjust this screw. To darken the
print, turn screw clockwise. To lighten
clockwise.
To adjust the print for the bottom of the
darken the print,
turn screw clockwise. To lighten the print,
Remove the screw on the top of the
cover as shown. Then lilt the back of
the cover and tilt it forward. You may
have to lift up on the handle to free
the cover at the front. After the cover
is loose,
just slide it forward and let it
rest on the handle. Adjust screws in
/8 turn increments or less and take
sample imprints between
adjustments. To replace the cover, lift
the handle and slide the cover back,
allowing it to hook. The cover can tilt
back and
the screw can be replaced
now.
Note:
When removing cover, the
print mask may come
unhooked from the imprinter.
See sheet 2 for instructions
on replacing the mask.
Tel: 0845 505 2385
www.addressograph.co.uk
ADJUSTMENT INSTRUCTIONS
Remove the screw on the top of the
cover as shown. Then lilt the back of
the cover and tilt it forward. You may
have to lift up on the handle to free
the cover at the front. After the cover
just slide it forward and let it
rest on the handle. Adjust screws in
/8 turn increments or less and take
sample imprints between
adjustments. To replace the cover, lift
the handle and slide the cover back,
allowing it to hook. The cover can tilt
the screw can be replaced
When removing cover, the
print mask may come
unhooked from the imprinter.
See sheet 2 for instructions
on replacing the mask.
Tel: 0845 505 2385
www.addressograph.co.uk
MODEL 871 MASK RE-INSTALLATION INSTRUCTIONS
To replace the print mask, hook the two tabs
on the end of the mask into the slots on the
imprinter, as shown. Now rotate the mask up
to the notched shaft. (See diagram) Slip the
tab onto the end of the mask, over the notched
shaft. The mask can flex to allow it to go over
the shaft. See diagrams.
Note: The mask needs to be in place to take
an imprint.

Popular Printer manuals by other brands

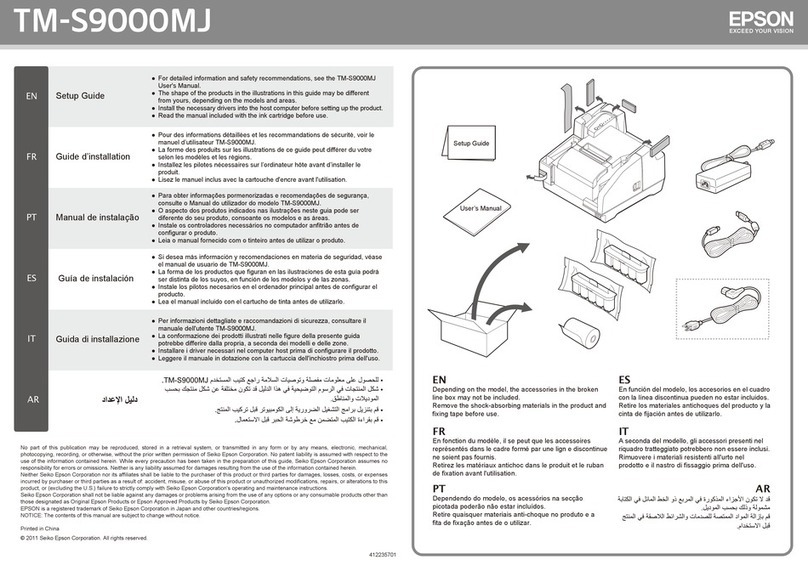
Fenix Imvico EPC1100 Operation manual

Fenix Imvico

Fenix Imvico EPC1100 Operation manual

Panasonic KX-P3124 operating instructions

Panasonic

Panasonic KX-P3124 operating instructions

Microcom 226 user guide

Microcom

Microcom 226 user guide

Xerox Phaser 7750 Specifications

Xerox

Xerox Phaser 7750 Specifications

BIXOLON XQ-840II Series manual

BIXOLON

BIXOLON XQ-840II Series manual

Lexmark 920dn - C Color LED Printer manual

Lexmark

Lexmark 920dn - C Color LED Printer manual

Tektronix Phaser 360 user manual

Tektronix

Tektronix Phaser 360 user manual

Denver 901042-1 operating instructions

Denver

Denver 901042-1 operating instructions

Canon imagePROGRAF iPF815 user guide

Canon

Canon imagePROGRAF iPF815 user guide

Lexmark C522n Specifications

Lexmark

Lexmark C522n Specifications

TVS electronics Jus' Print RP-3200 user manual

TVS electronics

TVS electronics Jus' Print RP-3200 user manual

Ricoh Aficio AP4510 operating instructions

Ricoh

Ricoh Aficio AP4510 operating instructions

Brother WL-660 Series user guide

Brother

Brother WL-660 Series user guide

Metapace T-4 Windows driver manual

Metapace

Metapace T-4 Windows driver manual

KIP KIP 7900 user manual

KIP

KIP KIP 7900 user manual

Dell 2150cn user guide

Dell

Dell 2150cn user guide

MINOLTA-QMS PagePro 1200 Series Service manual

MINOLTA-QMS

MINOLTA-QMS PagePro 1200 Series Service manual

Rimage Desktop 360i user guide

Rimage

Rimage Desktop 360i user guide

manuals.online logo
manuals.online logoBrands
  • About & Mission
  • Contact us
  • Privacy Policy
  • Terms and Conditions

Copyright 2025 Manuals.Online. All Rights Reserved.