manuals.online logo
Brands
  1. Home
  2. •
  3. Brands
  4. •
  5. adeptus
  6. •
  7. Indoor Furnishing
  8. •
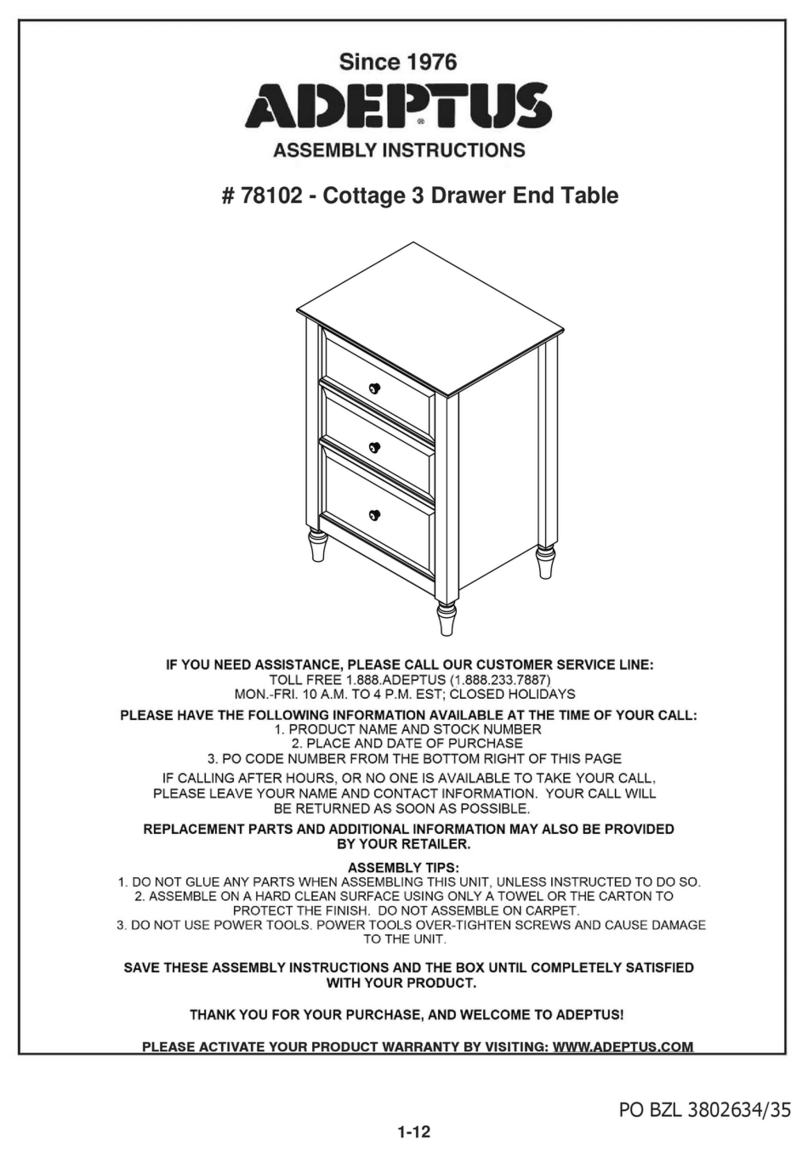
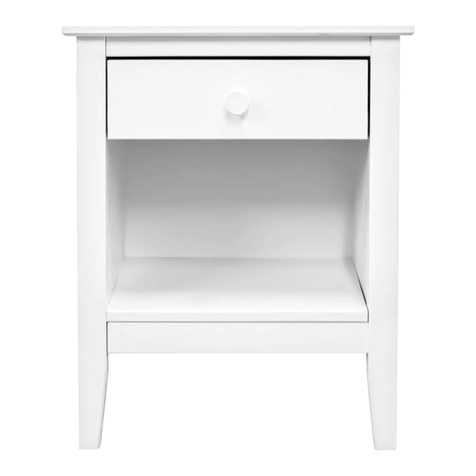
  9. adeptus Easy Pieces 77245 User manual

adeptus Easy Pieces 77245 User manual

1-10 B;- PO
ASSEMBLY INSTRUCTIONS
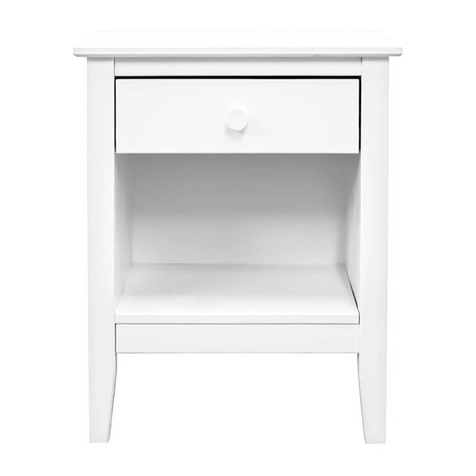
Easy Pieces Three Drawer End Table / Nightstand
#77245- Espresso Finish
&86720(56(59,&($1'5(3/$&(0(173$576
)25)$67(56(59,&(213$57625+(/33/($6(*272285:(%6,7($7:::$'(3786&20
25&$//72//)5(($'(3786)25$66(0%/<48(67,216
021)5,$07230(67&/26('+2/,'$<6
,)<28&$//3/($6(+$9(21+$1'
x352'8&71$0($1'672&.180%(5
x:+(1$1':+(5(7+(81,7:$6385&+$6('
x32180%(5)5207+(%277202)7+,63$*(
,):($5(%86<+(/3,1*27+(5&86720(563/($6(/($9(<281$0($1'180%(5
725(&(,9($5(7851&$//
<2855(7$,/(50$<$/623529,'(6(59,&(253$576
+(/3)8/29(5$//
x6$9(7+(6(,16758&7,216+((76$1'7+(%2;817,/<28$5(6$7,6),(':,7+7+($66(0%/<
x'2127*/8(7+(3$5762)7+(81,772*(7+(581/(66<28+$9(7(67('7+($66(0%/<),567
x3(5)2507+($66(0%/<21$&/($1+$5'685)$&(86,1*7+()/$77(1('&$572125$72:(/
723527(&77+(685)$&($1'7+(),1,6+2)7+(81,7'2127$66(0%/(21&$53(7
9,6,7:::$'(3786&20725(*,67(5<285352'8&7$1'6((7+(
&203/(7($'(3786/,1(5(*,675$7,21,65(48,5(')253$5765(48(676
7+$1.<28)25<285385&+$6($1':(/&20(72$'(3786
127,&(7+(:5,77(1,16758&7,216CONTAINED +(5(,1$5(&23<5,*+7('

,$ &,,),,),'$,&, $$,!(&+,$ &$,
,),("&(",$,&$, $,"$,,)&,+,,,$$,
$,"&"$&$,",,&(", +, "(&,, "(,("&(",",&(",&",
,&,*&",",)&,(",")", #&$,
 ,($,",),")"$,$%
 ,")",$$,",&, &,&, , "&&,+(",&$,",,"$,,"$(
 +,$,")", "&$,&,$$,),$&",+(",&$

*.G  ([," >K[3)" [I))[
W/([ C-4[7[([ )2Q"4[ 4[3[
Q44([[ L-X+[4)08[-)&[)(4*7[
*-W7[43O(['([W7F1[([
([/; " ([4P[/4[)$43[)([
D4[4: %[E7I ""33V14[
")I[*/ 4[Q#9[(4H4/7[=U4[4J*4(34[
W(< )([([)/[34(34[
[/4K[334&Q"4[ B&[/W43[
A(3*)-7= )([([I/4N)$ ([
)375[IUMP[U4"*[YSX1[/; "4/[
!44*[7U4 /[*/ 43[ /43)(R"4[()I[
YSW/4[) ( ([=6&[4*@[
I 7P[?4[M[("[3B*[334&Q"[

ZYTW334&Q"4[YSW3H4r

@@@@@@@@@@@@@@@@@@@@@@@@@@@@@@@@@@@@@@@@@@@@@@@@@@@@@@@@@@@@@@@@@@@@@@@@@@
2
NOTICE: 7+(:5,77(1 ,16758&7,216 CONTAINED +(5(,1$5( &23<5,*+7('
These tools are not supplied by the manufacturer.
Safety and Care Advice
·Check you have all the components and tools listed on pages 3 & 4.
·Remove all fittings from the plastic bags and separate them into their groups.
·Keep children and animals away from the work area, small parts could choke if swallowed.
·Make sure you have enough space to layout the parts before starting.
·Do not stand or put weight on the product, this could cause damage.
·Assemble the item as close to its final position (in the same room) as possible.
·Opened box can be used to protect your floor or counter during assembly.
·Assembly is easier for drawer parts on a counter.
·Parts of the assembly will be easier with 2 people.
·We do not recommend the use of power drill/drivers for inserting screws, as this could
damage the unit.
·Only use hand screwdrivers.
·Dispose of all packaging carefully and responsibly.
·Never sit, stand or allow children to climb on the assembled unit.
35 min
0DQXDO
3KLOOSVKHDG
6FUHZGULYHU
+DPPHU
1R3RZHU7RROV
33HUIRUPWKHHQWLUHDVVHPEO\RQDFOHDQ
KDUGVXUIDFHXVLQJWKHIODWWHQHGER[RUD
WRZHOWRSURWHFWWKHVXUIDFHDQGWKHXQLWV
ILQLVK'2127DVVHPEOHRQFDUSHW
&DUSHWFUHDWHVWRRPXFKERXQFHPDNLQJ
DVVHPEO\GLIILFXOWDQGFRXOGOHDGWR
GDPDJHRIWKHSDUWV
PLEASE NOTE:
'2:(/63$57$9$5<(9(5626/,*+7/<,)$'2:(/3$57$,6/226(,
:(35()(5<28&$//28572//)5(( 180%(5)25$'',7,21$/'2:(/6
96*/8,1*7+('2:(/
,)<28&+226(72*/8(7+(3$576 &203/(7(/<7(677+($66(0%/<),567
:('21276833/<*/8(
30
NOTICE: 7+(:5,77(1 ,16758&7,216 CONTAINED +(5(,1$5( &23<5,*+7('
4-10
2
4
5
3
6
7
8
8
9
9
10
11
12
13
14
8.0 x 30mm 3.5 x 30mm
M4 x 11mm
6.0 x 10mm
A=34 B=47 D=12 E=06
F=15 G=06
3X
H=03
M4 x 25mm
I=03
1
NOTICE: 7+(:5,77(1 ,16758&7,216 CONTAINED +(5(,1$5( &23<5,*+7('
DOWEL SCREW SCREW SCREW RUNNER
BACK
PANEL
NAIL
SCREW KNOB
Easy Pieces Three Drawer End Table / Nightstand
#77245- Espresso Finish
5-10
1
2
8,0 x 30mm
A=34
3,5 x 30mm
B=06
A
A
A
AA
A
A
A
A
A
A
A
A
A
A
A
A
A
A
2X
2X
3X
3X
08
02
03
09
07
06
05
12
11
B
B
B
B
B
B
02
07
09
NOTICE: 7+(:5,77(1 ,16758&7,216 CONTAINED +(5(,1$5( &23<5,*+7('
PREPARE PARTS FOR
ASSEMBLY
ATTACH LEGS TO THE
RIGHT SIDE PANEL
INSERT DOWELS INTO THE
PARTS , AS SHOWN.
IF NEEDED, REFER TO THE
NOTE ON PAGE 3
REGARDING DOWELS.
ALIGN THE DOWELS IN
THE RIGHT FRONT AND
REAR LEGS WITH THE
DOWEL HOLES IN THE
RIGHT SIDE PANEL.
DO NOT FORCE OR
OVER-TIGHTEN THE
SCREWS. DOING SO CAN
DAMAGE THE PARTS.
SECURE THE LEGS
USING 3 SCREWS ON
EACH LEG.
D
D
D
D
D
D
E
E
E
6-10
3
4
3,5 x 30mm
B=06
6,0 x 10mm
D=06 E=03
B
B
B
B
B
B
03
09
06
D
D
E
E
03
NOTICE: 7+(:5,77(1 ,16758&7,216 CONTAINED +(5(,1$5( &23<5,*+7('
ATTACH LEGS TO THE
LEFT SIDE PANEL
ATTACH DRAWER RUNNERS TO THE
LEFT SIDE PANEL
DO NOT FORCE OR
OVER-TIGHTEN THE
SCREWS. DOING SO CAN
DAMAGE THE PARTS.
ALIGN THE DOWELS IN
THE LEFT FRONT AND
REAR LEGS WITH THE
DOWEL HOLES IN THE
LEFT SIDE PANEL.
SECURE THE LEGS
USING 3 SCREWS ON
EACH LEG.
SLIDE THE DRAWER RUNNER
OPEN TO EXPOSE THE HOLES
FOR THE SCREWS.
SEE STEPS 1 & 2 IN THE ENLARGED DIAGRAM.
DO NOT FORCE OR
OVER-TIGHTEN THE
SCREWS. DOING SO CAN
DAMAGE THE PARTS.
IMPORTANT! SEE DESIGNATED HOLE
FOR THE SCREW ABOVE.
7-10
5
6
3,5 x 30mm
B=04
B
B
B
B
6,0 x 10mm
D=06 E=03
D
D
E
E
D
D
D
D
D
D
E
E
E
02
08
08
02
03
NOTICE: 7+(:5,77(1 ,16758&7,216 CONTAINED +(5(,1$5( &23<5,*+7('
ATTACH DRAWER
RUNNERS TO THE
RIGHT SIDE PANEL
ATTACH BOTTOM CROSSBARS
TO THE SIDE PANELS
Pre-
drilled
"Pocket
Hole"
TIP: This step is
easier with two
people.
SLIDE THE DRAWER RUNNER
OPEN TO EXPOSE THE HOLES
FOR THE SCREWS.
SEE STEPS 1 & 2 IN THE
ENLARGED DIAGRAM.
DO NOT FORCE OR
OVER-TIGHTEN THE
SCREWS. DOING SO CAN
DAMAGE THE PARTS.
IMPORTANT! SEE
DESIGNATED HOLE FOR
THE SCREW ABOVE
RIGHT.
NOTE: UNIT IS DEPICTED LAYING ON ITS
FRONT EDGE.
ALIGN THE DOWELS IN THE
CROSSBARS WITH THE
DOWEL HOLES IN THE SIDE
PANELS AND FRONT LEGS.
SECURE USING
2 SCREWS PER
CROSSBAR.
DO NOT FORCE OR
OVER-TIGHTEN THE
SCREWS. DOING SO CAN
DAMAGE THE PARTS.
8-10
7
8
3,5 x 30mm
B=01
3,5 x 30mm
B=06
B
1
05
B
B
B
B
1
B
B
NOTICE: 7+(:5,77(1 ,16758&7,216 CONTAINED +(5(,1$5( &23<5,*+7('
ATTACH THE TOP CROSSBAR
ATTACH THE TOP
Pre-
drilled
"Pocket
Hole"
TIP: Turning the
unit upside
down provides a
better angle to
tighten the
screws.
ALIGN THE DOWELS IN THE TOP
CROSSBAR WITH THE DOWEL HOLES
IN THE FRONT UNDERSIDE OF THE
TOP PANEL.
SECURE USING 1 SCREW.
DO NOT FORCE OR
OVER-TIGHTEN THE
SCREW. DOING SO CAN
DAMAGE THE PARTS.
ALIGN THE DOWELS IN THE
SIDE PANELS WITH THE
DOWEL HOLES IN THE TOP
PANEL.
SECURE USING 6
SCREWS, 3 ON EACH
SIDE.
DO NOT FORCE OR
OVER-TIGHTEN THE
SCREW. DOING SO CAN
DAMAGE THE PARTS.
9-10
9
10
3,5 x 30mm
B=24
BB
B
B
BB
B
B
H
I
F=15
F
F
F
H=03 I=03
M4 x 25mm
3x
14
12
11
13
13
10
13
F
F
F
F
F
F
F
F
F
F
F
F
F
F
F
04
NOTICE: 7+(:5,77(1 ,16758&7,216 CONTAINED +(5(,1$5( &23<5,*+7('
ATTACH THE BACK PANEL
ASSEMBLE THE
DRAWERS
To ensure "square'' assembly, use the
drawer back #13 to stabilize the sides.
Pull out after sides are attached, and
slide in the drawer bottom.
Pre-
drilled
"Pocket
Hole"
Use all back
panels nails.
Evenly spaced,
they help make
the unit strong.
IMPORTANT! MAKE
CERTAIN THE
GROOVES IN THE
DRAWER FRONT
AND BOTH SIDES
ALL ALIGN BEFORE
TIGHTENING THE
SCREWS.
DO NOT FORCE OR
OVER-TIGHTEN THE
SCREWS. DOING SO CAN
DAMAGE THE PARTS.
ATTACH THE
KNOB TO THE
DRAWER FRONT.
10-10
11
M4 x 10mm
G=06
G
G
G
NOTICE: 7+(:5,77(1 ,16758&7,216 CONTAINED +(5(,1$5( &23<5,*+7('
____________________________________________________________________________________________________
COMPLETED ASSEMBLY!
THANK YOU FOR YOUR PURCHASE, AND WELCOME TO ADEPTUS!
USE AND CARE INSTRUCTIONS:
CARE INSTRUCTIONS:
•NORMAL USE: WIPE WITH A CLEAN CLOTH.
•OR WHEN NEEDED TO CLEAN SCUFFS: WIPE CLEAN WITH A SLIGHTLY DAMP CLOTH AND A MILD
CLEANER. THEN WIPE DRY WITH A CLEAN CLOTH. DO NOT USE HARSH CHEMICALS.
•FROM TIME TO TIME, CHECK THAT ALL OF THE SCREWS ON THE UNIT ARE STILL TIGHT.
USE:
•SMOOTH RUNNING, ROOMY DRAWERS FOR STORAGE OF BEDSIDE OR LIVING ROOM ITEMS.
INSTALL THE DRAWERS
BEGIN WITH THE BOTTOM
DRAWER AND WORK UP.
ALIGN THE GROOVES IN THE
DRAWER SIDES WITH THE
DRAWER RUNNERS.
MAKE SURE THE RUNNER IS
POSITIONED INSIDE THE
GROOVE SO THE
DESIGNATED HOLE IN THE
RUNNER LINES UP WITH
THE PRE-DRILLED HOLE IN
THE DRAWER SIDE. (SEE
ENLARGED DIAGRAM.)
PUSH THE SCREW
THROUGH THE
DRAWER SIDE FROM
THE INSIDE OF THE
DRAWER INTO THE
DRAWER RUNNER
AND SECURE.
DO NOT FORCE OR
OVER-TIGHTEN THE
SCREWS. DOING SO CAN
DAMAGE THE PARTS.

Other adeptus Indoor Furnishing manuals
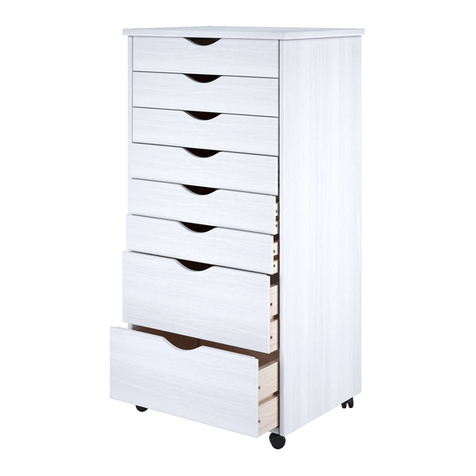
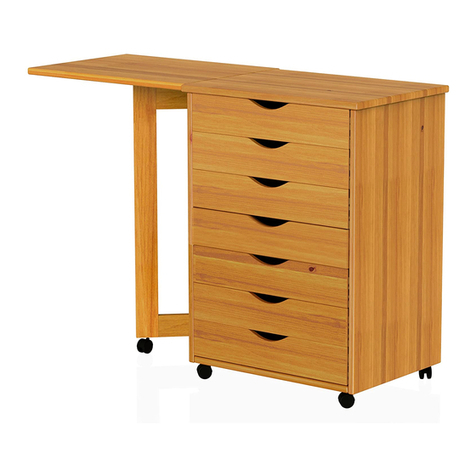
adeptus 6+2 Drawer Wide Roll Cart 76169 User manual
adeptus

adeptus 6+2 Drawer Wide Roll Cart 76169 User manual

adeptus Easy Pieces Single Drawer End Table /... User manual

adeptus

adeptus Easy Pieces Single Drawer End Table /... User manual

adeptus Harrison Pub Height Dining Set 48116 User manual
adeptus

adeptus Harrison Pub Height Dining Set 48116 User manual

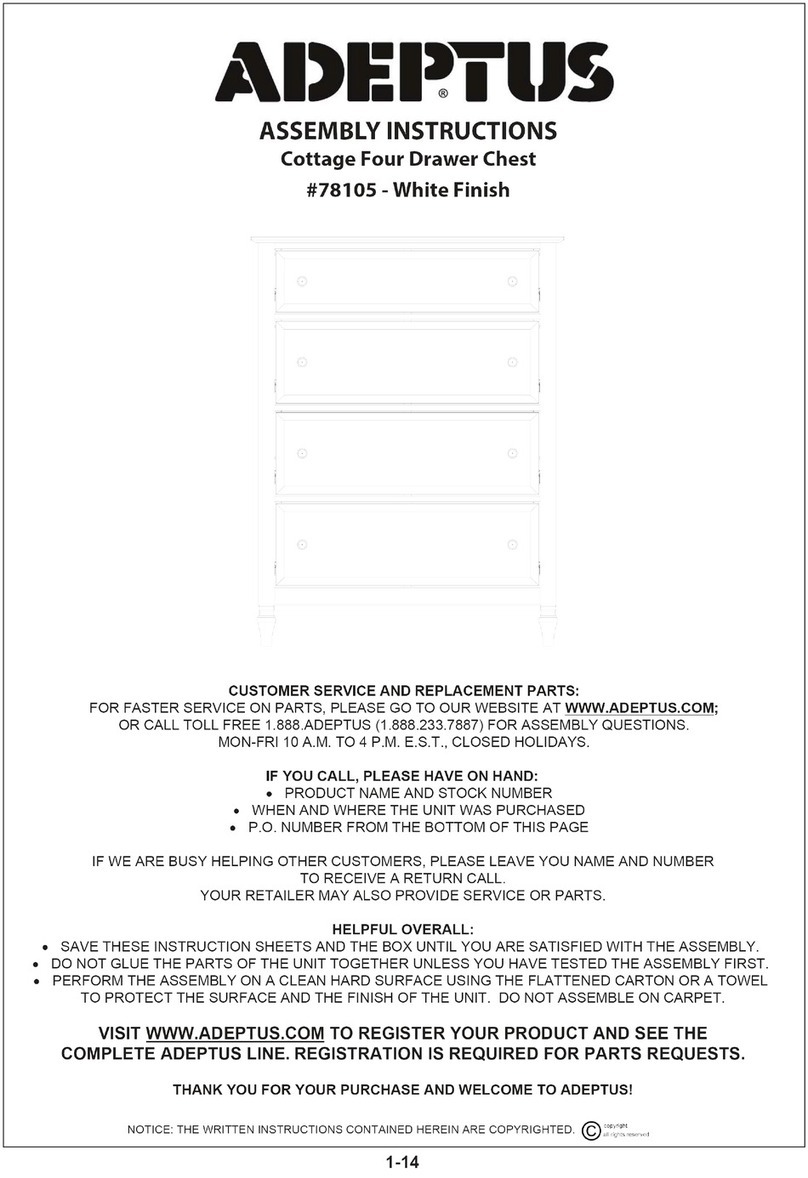
adeptus 78105 User manual

adeptus

adeptus 78105 User manual
adeptus 77246 User manual

adeptus

adeptus 77246 User manual

adeptus 78105 User manual

adeptus

adeptus 78105 User manual

adeptus 78104 User manual

adeptus

adeptus 78104 User manual
adeptus 77248 Espresso Finish User manual

adeptus

adeptus 77248 Espresso Finish User manual

adeptus Jennifer 78106 User manual

adeptus

adeptus Jennifer 78106 User manual

adeptus 56114 User manual

adeptus

adeptus 56114 User manual

adeptus Cottage 3 Drawer End Table 78102 User manual

adeptus

adeptus Cottage 3 Drawer End Table 78102 User manual

adeptus 76178 User manual

adeptus

adeptus 76178 User manual

adeptus 78105 User manual

adeptus

adeptus 78105 User manual

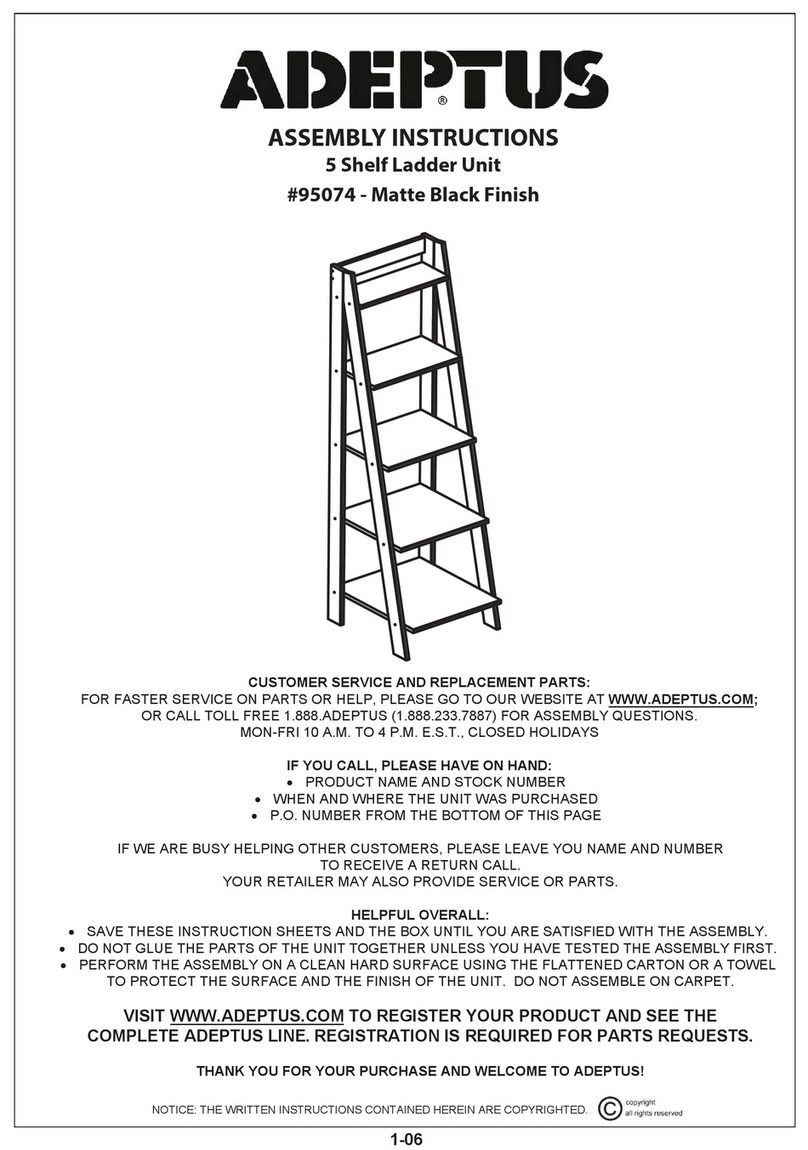
adeptus 5 Shelf Ladder Unit 95074 User manual

adeptus

adeptus 5 Shelf Ladder Unit 95074 User manual

adeptus 56142 User manual

adeptus

adeptus 56142 User manual

Popular Indoor Furnishing manuals by other brands
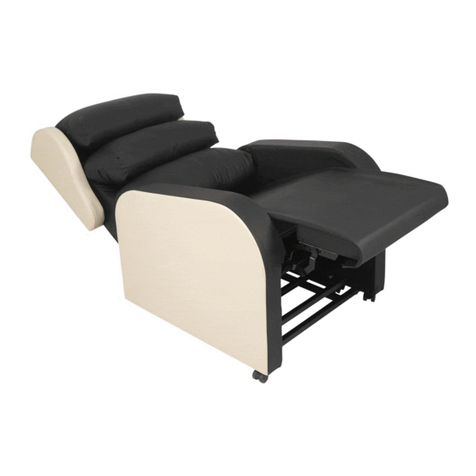
IKEA SKYTTA installation guide

IKEA

IKEA SKYTTA installation guide

BDI CORA 1176 instruction manual

BDI

BDI CORA 1176 instruction manual

Evenflo Easy Walk-Thru Gate Assembly instruction

Evenflo

Evenflo Easy Walk-Thru Gate Assembly instruction

Costway HW66316 user manual

Costway

Costway HW66316 user manual

HiB Vapor 50 manual

HiB

HiB Vapor 50 manual

Cooper Lighting Nimbus II 701-D/I Specification sheet

Cooper Lighting

Cooper Lighting Nimbus II 701-D/I Specification sheet

Seating Matters DENVER instruction manual

Seating Matters

Seating Matters DENVER instruction manual

Safavieh Furniture Lisa FOX4275 quick start guide

Safavieh Furniture

Safavieh Furniture Lisa FOX4275 quick start guide

Furniture of America CM-DK5234 Assembly instructions
Furniture of America

Furniture of America CM-DK5234 Assembly instructions

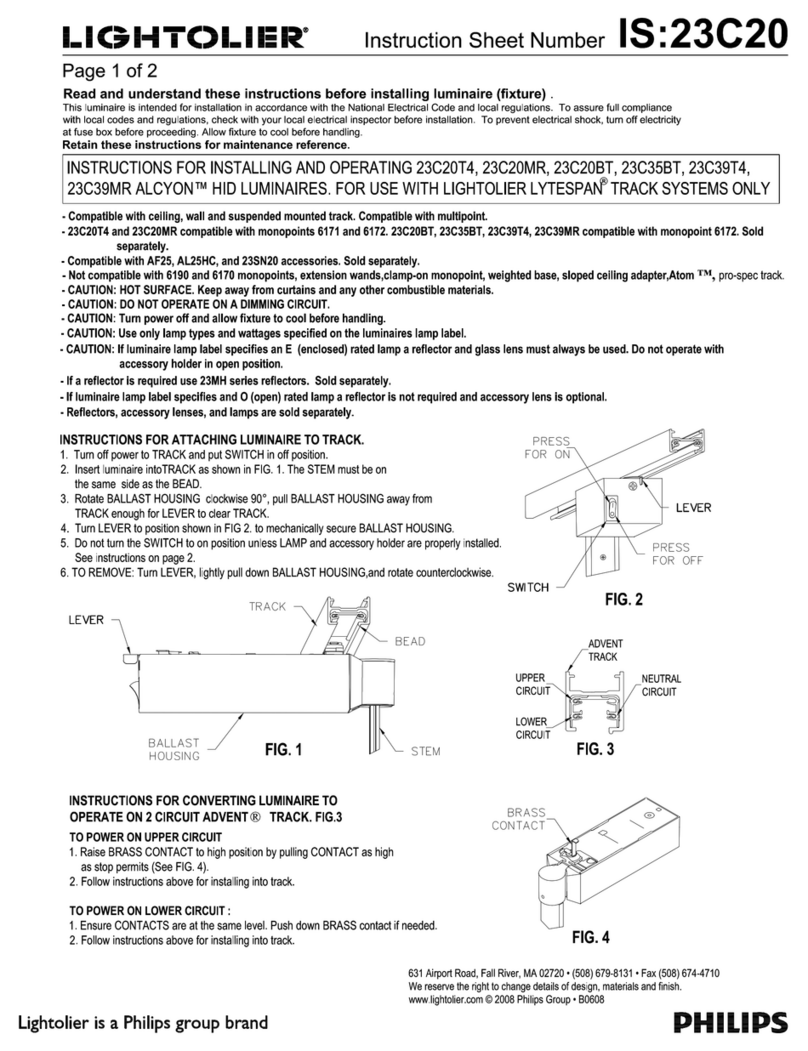
Lightolier Alcyon 23C20BT Instructions for installation and operation

Lightolier

Lightolier Alcyon 23C20BT Instructions for installation and operation

GoodHome atomia 5059340008684 Assembly instructions

GoodHome

GoodHome atomia 5059340008684 Assembly instructions

CALICO DESIGNS GLADSTONE 52000 Assembly instructions

CALICO DESIGNS

CALICO DESIGNS GLADSTONE 52000 Assembly instructions

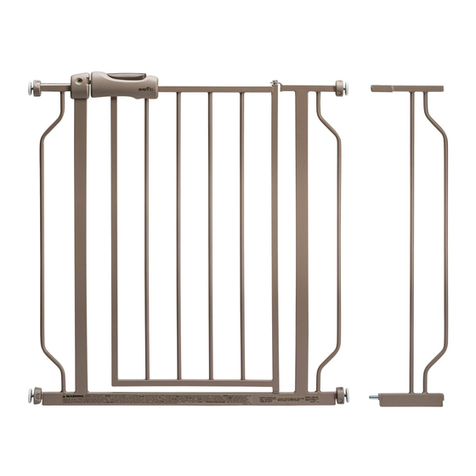
Santa's Bags SB-10181-RS Assembly instructions
Santa's Bags

Santa's Bags SB-10181-RS Assembly instructions

IKEA SULTAN ALSVAG manual

IKEA

IKEA SULTAN ALSVAG manual

Costway NP10379 user manual

Costway

Costway NP10379 user manual

Cooper Lighting Shaper 474 specification

Cooper Lighting

Cooper Lighting Shaper 474 specification

FourStar 11210631HB Assembly instructions

FourStar

FourStar 11210631HB Assembly instructions
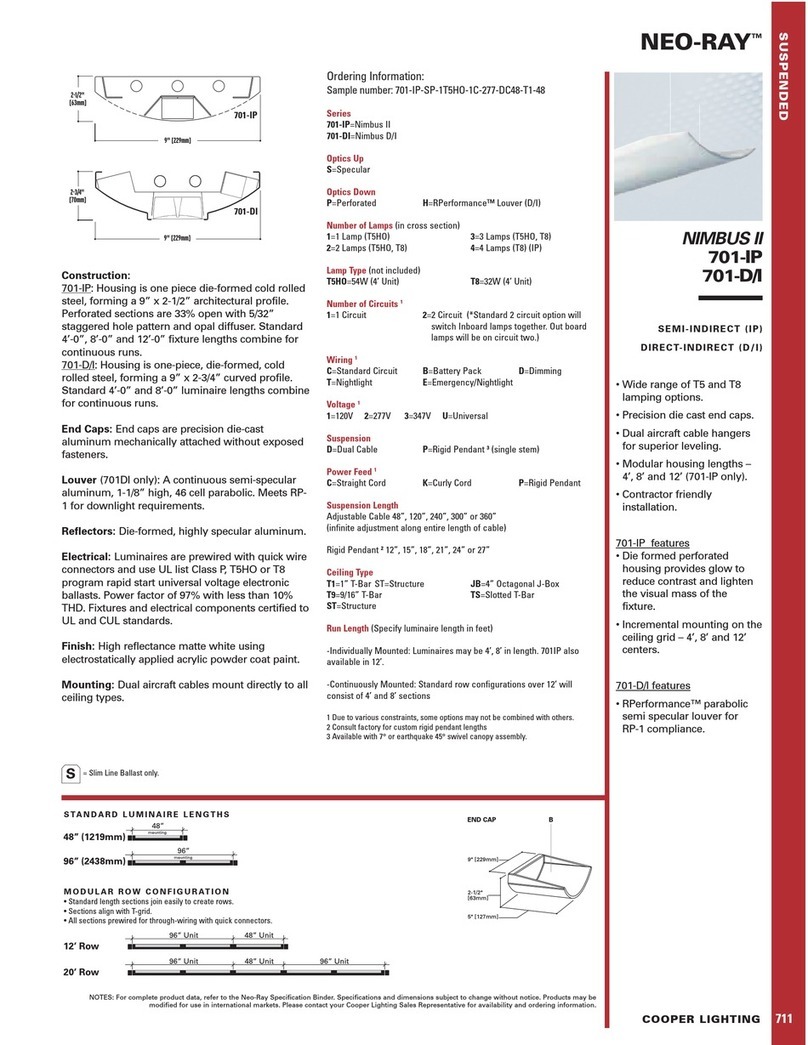
CEROCHA COZINHA KAUS 1.14 Assembly instructions

CEROCHA

CEROCHA COZINHA KAUS 1.14 Assembly instructions
manuals.online logo
manuals.online logoBrands
  • About & Mission
  • Contact us
  • Privacy Policy
  • Terms and Conditions

Copyright 2025 Manuals.Online. All Rights Reserved.