manuals.online logo
Brands
  1. Home
  2. •
  3. Brands
  4. •
  5. adeptus
  6. •
  7. Indoor Furnishing
  8. •
  9. adeptus Jennifer 78106 User manual

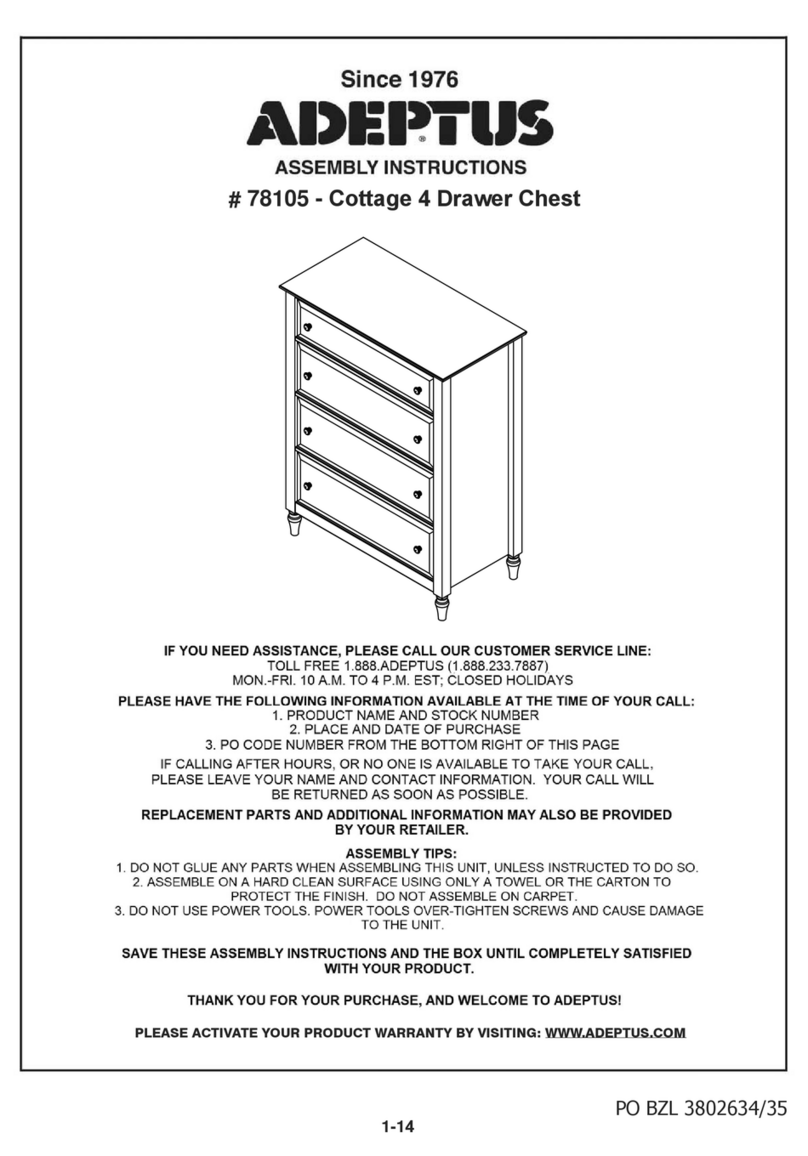
adeptus Jennifer 78106 User manual

2-12
127,&(7+(:5,77(1,16758&7,216CONTAINED +(5(,1$5(&23<5,*+7('
These tools are not supplied by the manufacturer.
Safety and Care Advice
·Check you have all the components and tools listed on pages 3 & 4.
·Remove all fittings from the plastic bags and separate them into their groups.
·Keep children and animals away from the work area, small parts could choke if swallowed.
·Make sure you have enough space to layout the parts before starting.
·Do not stand or put weight on the product, this could cause damage.
·Assemble the item as close to its final position (in the same room) as possible.
·Opened box can be used to protect your floor or counter during assembly.
·Assembly is easier for drawer parts on a counter.
·Parts of the assembly will be easier with 2 people.
·We do not recommend the use of power drill/drivers for inserting screws, as this could
damage the unit.
·Only use hand screwdrivers.
·Dispose of all packaging carefully and responsibly.
35 min
0DQXDO
3KLOOSVKHDG
6FUHZGULYHU
+DPPHU
1R3RZHU7RROV
33HUIRUPWKHHQWLUHDVVHPEO\RQDFOHDQ
KDUGVXUIDFHXVLQJWKHIODWWHQHGER[RUD
WRZHOWRSURWHFWWKHVXUIDFHDQGWKHXQLWV
ILQLVK'2127DVVHPEOHRQFDUSHW
&DUSHWFUHDWHVWRRPXFKERXQFHPDNLQJ
DVVHPEO\GLIILFXOWDQGFRXOGOHDGWR
GDPDJHRIWKHSDUWV
PLEASE NOTE:
'2:(/63$57$9$5<(9(5626/,*+7/<,)$'2:(/3$57$,6/226(,
:(35()(5<28&$//28572//)5(( 180%(5)25$'',7,21$/'2:(/6
96*/8,1*7+('2:(/
,)<28&+226(72*/8(7+(3$576 &203/(7(/<7(677+($66(0%/<),567
:('21276833/<*/8(
3-12
NOTICE: 7+(:5,77(1 ,16758&7,216 CONTAINED +(5(,1$5( &23<5,*+7('
8,0 x 30mm 3,5 x 30mm 6,0 x 10mm
M4 x 20mm
3,0 x 25mm
3,0 x 16mm
A= B=0 C= D=04 E=0132 1 34
F=08 G=01 H=01 I=01
02
03
04
05
06
07
HA
HB
Left Set Right Set
08
09
10
11
12
13
14
15
01
05
YELLOW
GREEN
RED
BLUE
GA
GB
4-12
NOTICE: 7+(:5,77(1 ,16758&7,216 CONTAINED +(5(,1$5( &23<5,*+7('
1
8,0 x 30mm
A=32
A
A
AA
A
A
A
A
A
A
A
A
AA
A
A
A
2x
04
02
03
11
12
05
A
07
A
08
A
09
A
10
BLUE
YELLOW
GREEN
RED
A
A
A
A
A
A
2
6,0 x 10mm
D=02
H=01
HA
HB
Right Set
D
DD
D
02
Ha
Ha
AA
5-12
NOTICE: 7+(:5,77(1 ,16758&7,216 CONTAINED +(5(,1$5( &23<5,*+7('
13&1"3&1"354#:*/4&35*/(%08&-4
(PART A), AS SHOWN, INTO THE SIDE,
BACK PANELS, CROSSBARS AND LEGS.
ATTACH THE DRAWER RUNNER
TO THE RIGHT SIDE PANEL.
USE CARE TO ENSURE THE
SCREWS ARE INSERTED
THROUGH THE CORRECT
HOLES IN THE RUNNER. SEE
THE ENLARGED DIAGRAM
ABOVE.
DO NOT FORCE OR OVER-
TIGHTEN THE SCREWS. THIS
COULD DAMAGE THE PANEL.
4
3,5 x 30mm
C=04
08
c
YELLOW
3
G=01
6,0 x 10mm
D=02
GA
GB
Left Set
D
D
03
Ga
c
07
BLUE
c
c
04
DD
Ga
6-12
NOTICE: 7+(:5,77(1 ,16758&7,216 CONTAINED +(5(,1$5( &23<5,*+7('
ATTACH THE DRAWER RUNNER
TO THE LEFT SIDE PANEL.
USE CARE TO ENSURE THE
SCREWS ARE INSERTED
THROUGH THE CORRECT HOLES
IN THE RUNNER. SEE THE
ENLARGED DIAGRAM ABOVE.
DO NOT FORCE OR OVER-
TIGHTEN THE SCREWS. THIS
COULD DAMAGE THE PANEL.
ATTACH THE REAR LEGS
TO THE BACK PANEL.
NOTE: THE PRE-DRILLED HOLES
IN THE BACK PANEL ARE
"POCKET HOLES". SEE THE
DIAGRAM FOR AN ENLARGED
ILLUSTRATION OF A POCKET
HOLE.
PRE-
DRILLED
"POCKET
HOLE"
DO NOT FORCE OR OVER-TIGHTEN THE
SCREWS. THIS COULD DAMAGE THE
PANEL AND/OR LEGS.
5
3,5 x 30mm
C=04
07
08
c
c
c
c
06
06
3,5 x 30mm
C=02
c
c
04
6
02
03
7-12
NOTICE: 7+(:5,77(1 ,16758&7,216 CONTAINED +(5(,1$5( &23<5,*+7('
PRE-
DRILLED
"POCKET
HOLE"
PRE-
DRILLED
"POCKET
HOLE"
ATTACH THE THE RIGHT AND
LEFT SIDE PANELS TO THE RIGHT
AND LEFT REAR LEGS.
DO NOT FORCE
OR OVER-
TIGHTEN THE
SCREWS. THIS
COULD DAMAGE
THE PANELS
AND/OR LEGS.
ATTACH THE SHELF TO THE
RIGHT AND LEFT REAR LEGS.
DO NOT FORCE OR
OVER-TIGHTEN
THE SCREWS.
7
c
c
3,5 x 30mm
C=03
c
c
c
c
3,5 x 30mm
C=04
c
GREEN
09
05
05
8
8-12
NOTICE: 7+(:5,77(1 ,16758&7,216 CONTAINED +(5(,1$5( &23<5,*+7('
PRE-
DRILLED
"POCKET
HOLE"
PRE-
DRILLED
"POCKET
HOLE"
ATTACH THE LEFT FRONT
LEG TO THE LEFT SIDE
PANEL AND THE SHELF.
DO NOT FORCE OR
OVER-TIGHTEN
THE SCREWS.
DO NOT FORCE OR
OVER-TIGHTEN
THE SCREWS.
ATTACH THE TOP AND
BOTTOM CROSSBARS
TO THE RIGHT AND
LEFT SIDE PANELS.
9
3,5 x 30mm
C=03
cc
c
RED
10
B
C
C
01
3,5 x 30mm
C=06
3,0 x 25mm
B=01
C
C
C
C
10
9-12
NOTICE: 7+(:5,77(1 ,16758&7,216 CONTAINED +(5(,1$5( &23<5,*+7('
PRE-
DRILLED
"POCKET
HOLE"
PRE-
DRILLED
"POCKET
HOLE"
DO NOT FORCE OR
OVER-TIGHTEN
THE SCREWS.
DO NOT FORCE OR
OVER-TIGHTEN
THE SCREWS.
ATTACH THE RIGHT
FRONT LEG TO THE RIGHT
SIDE PANEL AND THE
SHELF.
TIP: Turning the
unit upside
down provides a
better angle to
tighten the
screws.
ATTACH THE TOP TO THE
RIGHT SIDE, LEFT SIDE
AND BACK PANELS.
11
M4 x 20mm
E=01
I=01
I
E
3,5 x 30mm
C=08
10-12
NOTICE: 7+(:5,77(1 ,16758&7,216 CONTAINED +(5(,1$5( &23<5,*+7('
PRE-
DRILLED
"POCKET
HOLE"
DO NOT FORCE OR
OVER-TIGHTEN
THE SCREWS.
Helpful Tip
To help assemble the drawer
''square'', use the drawer back #13
to stabilize the sides. Pull out after
sides are attached, and slide in the
drawer bottom.
ASSEMBLE THE DRAWER BOX
ATTACH THE  T THE
AE T
IMPORTANT! MAKE CERTAIN THE GROOVES FOR
THE DRAWER BOTTOM IN THE DRAWER FRONT AND
SIDES ALL ALIGN BEFORE TIGHTENING THE SCREWS.
13
3,0 x 16mm
F=02
F
12
3,0 x 16mm
F=06
F
F
F
F
F
Gb
Hb
F
G=01 H=01
HA
HB
Left Set Right Set
GA
GB
F F
11-12
NOTICE: 7+(:5,77(1 ,16758&7,216 CONTAINED +(5(,1$5( &23<5,*+7('
ATTACH THE RIGHT AND
LEFT DRAWER RUNNERS.
TIP: To make this step easier, place the drawer
upside down on a counter with the drawer front
hanging off the edge. This will allow the drawer
box to lay flat and provide better control for
tightening the screws. DO NOT OVER-TIGHTEN!
ENSURE THE
WHEEL IS TOWARDS
THE BACK AND THE
RUNNER IS PUSHED
COMPLETELY
FORWARD,
TOUCHING THE
DRAWER FRONT.
ENSURE THE SCREWS ARE INSERTED
THROUGH THE CORRECT HOLES IN
THE RUNNER. SEE THE ENLARGED
DIAGRAM ABOVE.
After completed assembly, it is
necessary to adjust the drawer
alignment to get the drawer
perfectly square.
INSERT THE DRAWER
Tilt the back of the drawer upward to get it past
the wheels on the drawer runners.
Once clear of the wheels, you can level the
drawer and slide it in.
•Loosen the screw (part F) you used to
install the drawer runner to the side panel
(parts 02 or 03), depending on the side
(left or right), as shown.
•With the screw (part F) loosened, you can
make the necessary slight adjustments (up
or down) to the drawer runner to achieve
the proper drawer front alignment.
Once the drawer
alignment is square,
secure the position of the
drawer runners to the side
panels by re-tightening
the part F screw.
Complete these steps for both the left and the right side of the drawer.
12-12
NOTICE: 7+(:5,77(1 ,16758&7,216 CONTAINED +(5(,1$5( &23<5,*+7('
COMPLETED ASSEMBLY:
THANK YOU FOR YOUR PURCHASE, AND WELCOME TO ADEPTUS!
USE AND CARE INSTRUCTIONS:
CARE INSTRUCTIONS:
•NORMAL USE: WIPE WITH A CLEAN CLOTH.
•OR WHEN NEEDED TO CLEAN SCUFFS: WIPE CLEAN WITH A SLIGHTLY DAMP CLOTH AND A
MILD CLEANER. THEN WIPE DRY WITH A CLEAN CLOTH. DO NOT USE HARSH CHEMICALS.
•FROM TIME TO TIME, CHECK THAT ALL OF THE SCREWS ON THE UNIT ARE STILL TIGHT.
USE:
•SMOOTH RUNNING, ROOMY DRAWER FOR STORAGE OF BEDSIDE OR LIVING ROOM ITEMS.

This manual suits for next models

2

Other adeptus Indoor Furnishing manuals
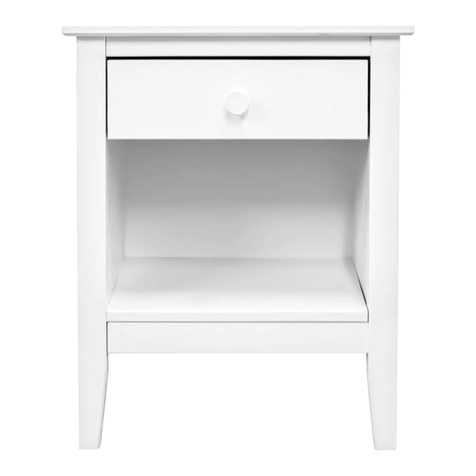
adeptus 56142 User manual

adeptus

adeptus 56142 User manual

adeptus 6+2 Drawer Wide Roll Cart 76169 User manual

adeptus

adeptus 6+2 Drawer Wide Roll Cart 76169 User manual

adeptus Harrison Pub Height Dining Set 48116 User manual
adeptus

adeptus Harrison Pub Height Dining Set 48116 User manual

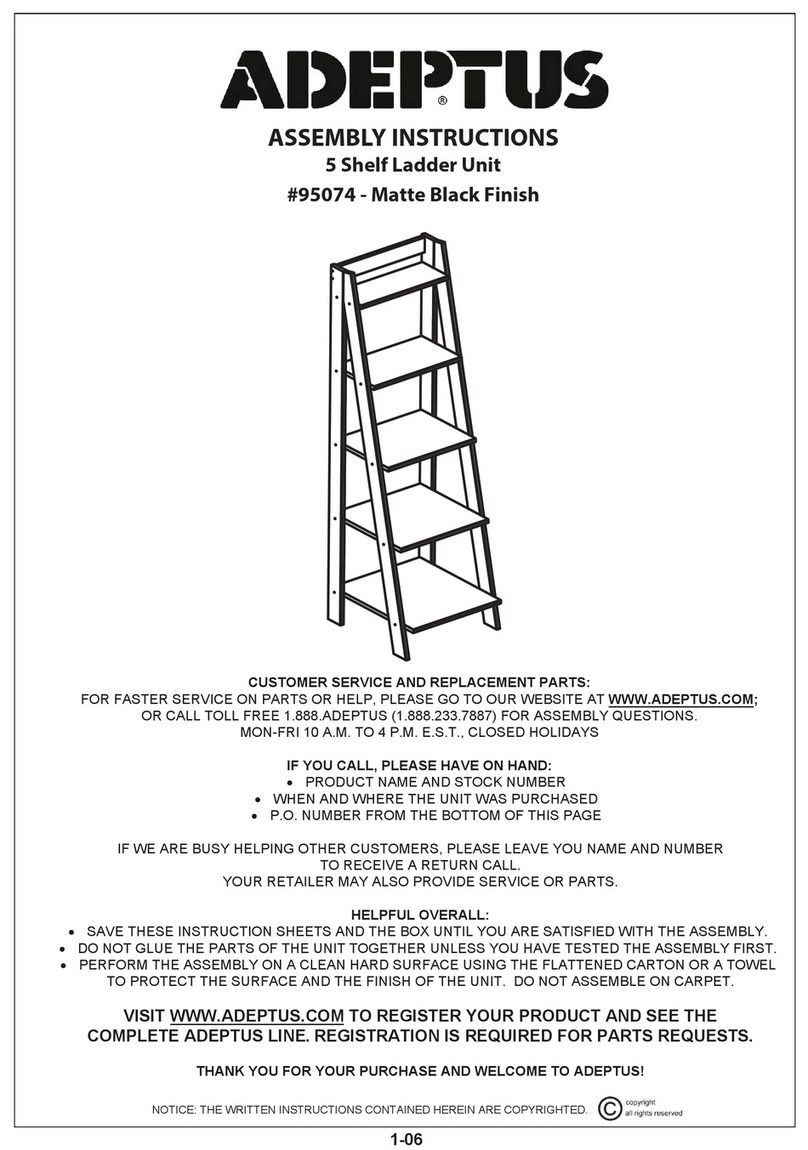
adeptus 5 Shelf Ladder Unit 95074 User manual

adeptus

adeptus 5 Shelf Ladder Unit 95074 User manual

adeptus 56114 User manual

adeptus

adeptus 56114 User manual

adeptus 78104 User manual

adeptus

adeptus 78104 User manual
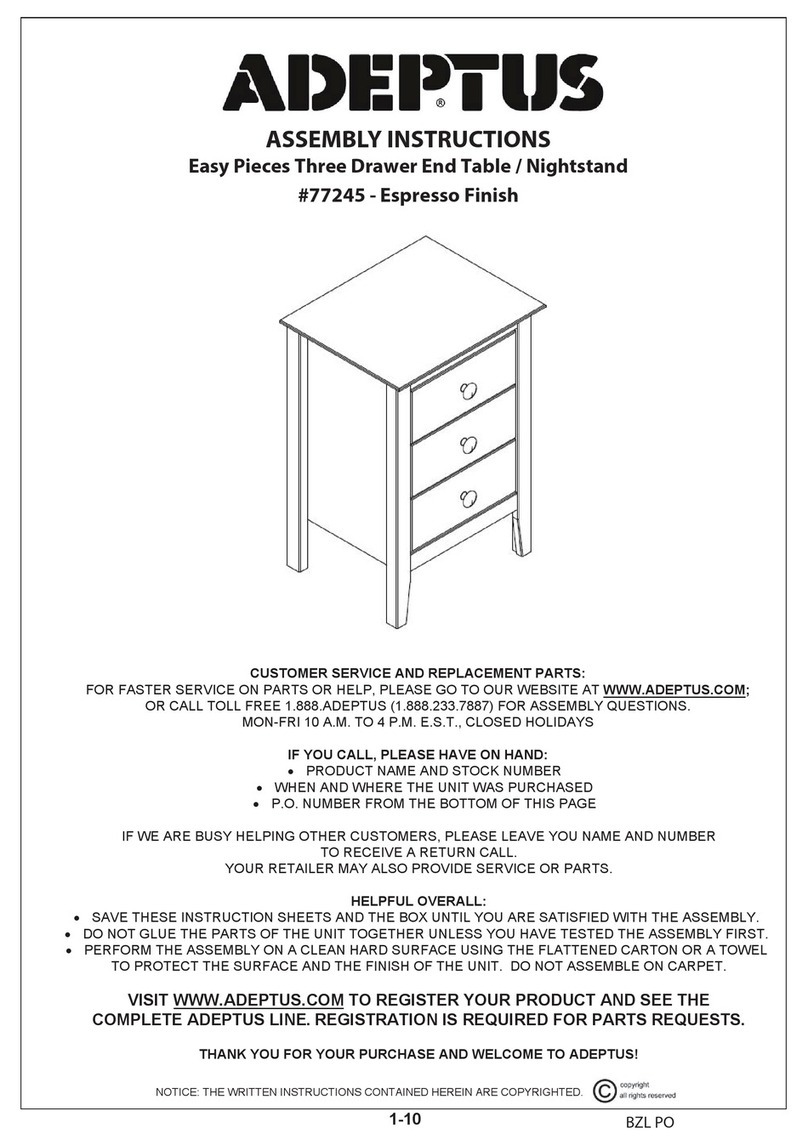
adeptus Easy Pieces 77245 User manual

adeptus

adeptus Easy Pieces 77245 User manual
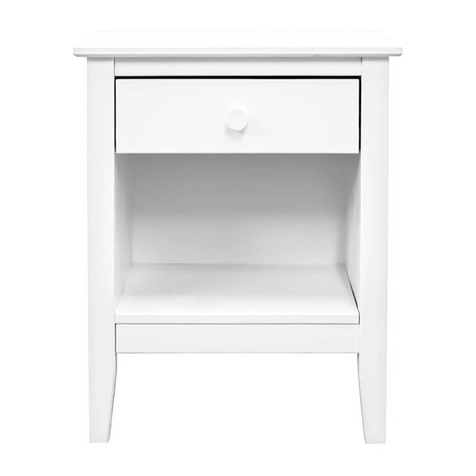
adeptus Easy Pieces Single Drawer End Table /... User manual
adeptus

adeptus Easy Pieces Single Drawer End Table /... User manual

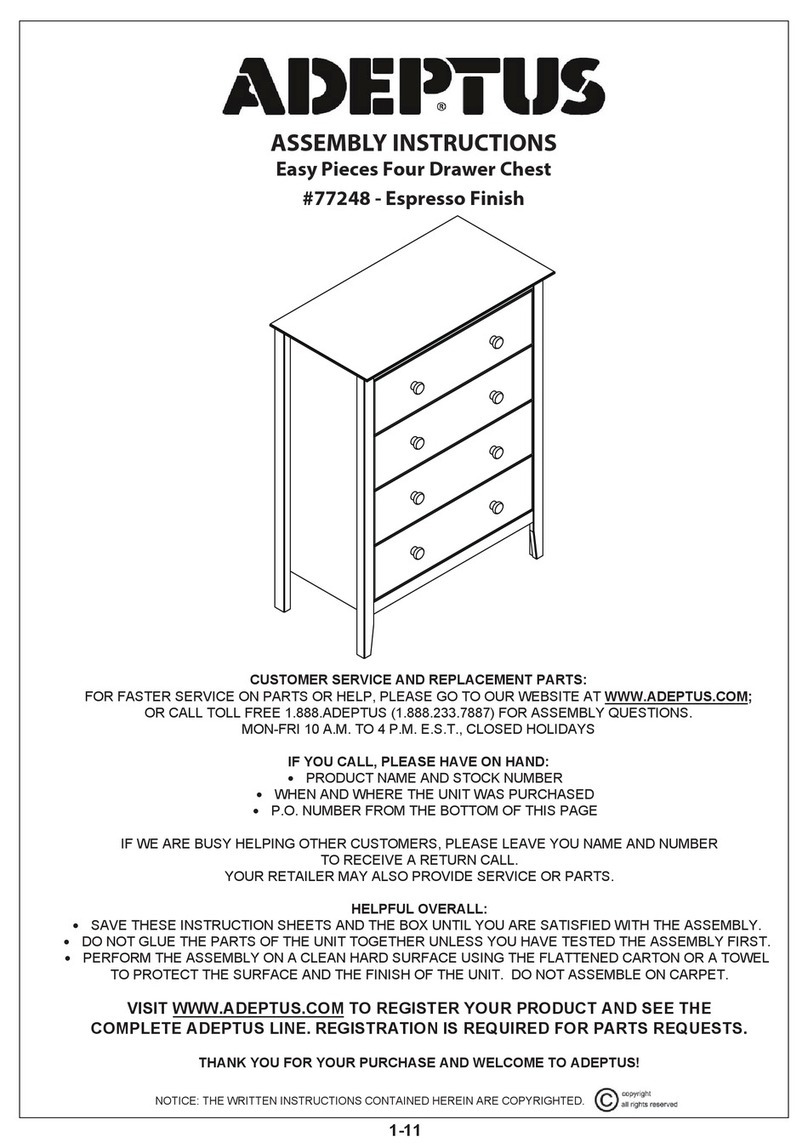
adeptus 77248 Espresso Finish User manual
adeptus

adeptus 77248 Espresso Finish User manual

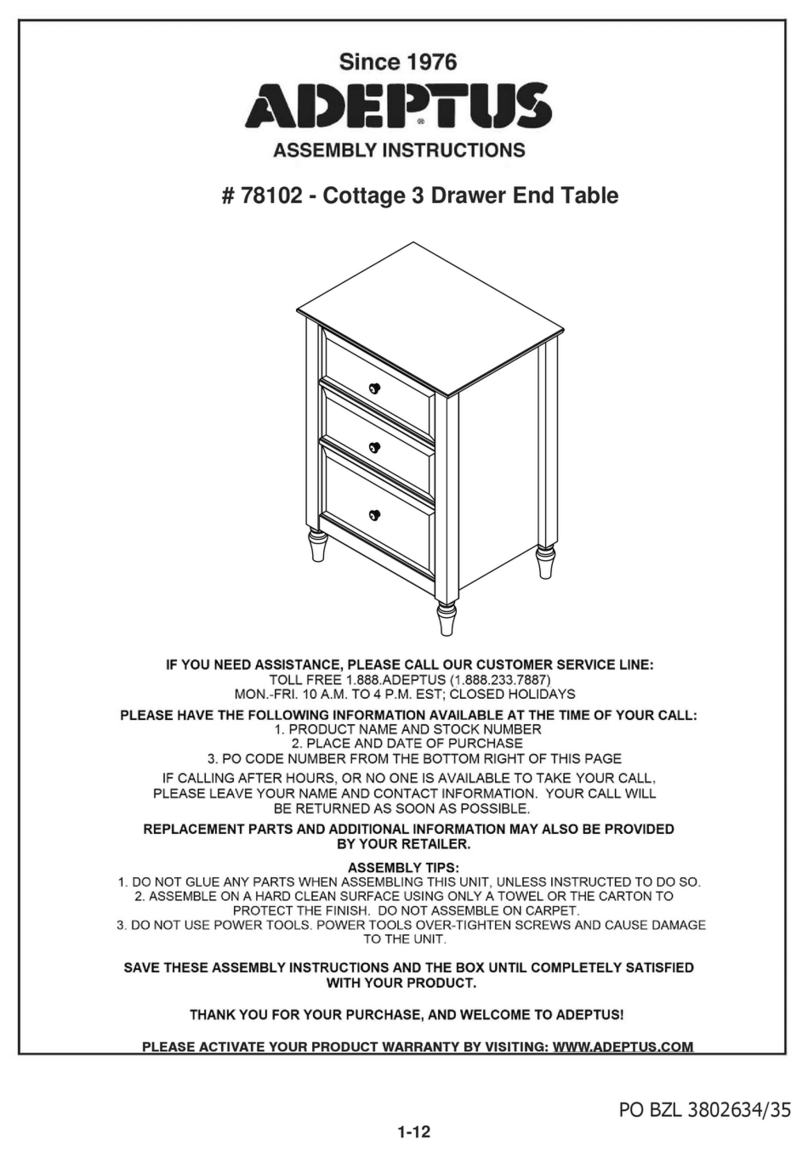
adeptus Cottage 3 Drawer End Table 78102 User manual

adeptus

adeptus Cottage 3 Drawer End Table 78102 User manual

adeptus 78105 User manual

adeptus

adeptus 78105 User manual

adeptus 77246 User manual

adeptus

adeptus 77246 User manual

adeptus 78105 User manual

adeptus

adeptus 78105 User manual

adeptus 78105 User manual

adeptus

adeptus 78105 User manual

adeptus 76178 User manual

adeptus

adeptus 76178 User manual

Popular Indoor Furnishing manuals by other brands
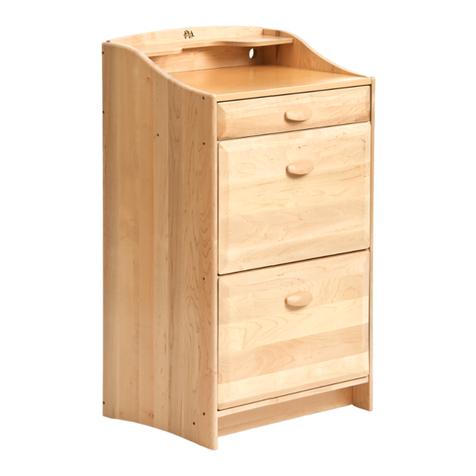
Delacora Devine D192-101 Assembly instructions

Delacora

Delacora Devine D192-101 Assembly instructions

Naterial BERMEO 3276007424690 instruction manual

Naterial

Naterial BERMEO 3276007424690 instruction manual

Rauch M2574 Assembly instructions

Rauch

Rauch M2574 Assembly instructions

Hammerbacher VXMST Assembly instructions

Hammerbacher

Hammerbacher VXMST Assembly instructions

Habitat Macao 817620 manual

Habitat

Habitat Macao 817620 manual

VonHaus 2500487 manual

VonHaus

VonHaus 2500487 manual

Community Playthings MyPlace H870 Product guide

Community Playthings

Community Playthings MyPlace H870 Product guide

MAGNUSSEN HOME B5311 Assembly instructions

MAGNUSSEN HOME

MAGNUSSEN HOME B5311 Assembly instructions

Sauder 420011 manual

Sauder

Sauder 420011 manual

bauhaus ZION 50 installation instructions
bauhaus

bauhaus ZION 50 installation instructions

Allen + Roth WSWS-VWU1C Assembly instruction

Allen + Roth

Allen + Roth WSWS-VWU1C Assembly instruction

Pronto wonen Castano 0776-SB_32 Assembly instructions

Pronto wonen

Pronto wonen Castano 0776-SB_32 Assembly instructions

Coaster 110381 Assembly instructions

Coaster

Coaster 110381 Assembly instructions
Napoleon NEFP30-3620RLB Installation and operation manual
Napoleon

Napoleon NEFP30-3620RLB Installation and operation manual

Whittier Wood Furniture McKenzie Cal-King Storage Bed 1333AFGACc Assembly instructions

Whittier Wood Furniture

Whittier Wood Furniture McKenzie Cal-King Storage Bed 1333AFGACc Assembly instructions

Kohler K-99003-TLC Installation and care guide

Kohler

Kohler K-99003-TLC Installation and care guide

idesk 406 Assembly instructions

idesk

idesk 406 Assembly instructions
Trasman 1730 GLAMOUR Assembly manual

Trasman

Trasman 1730 GLAMOUR Assembly manual

manuals.online logo
manuals.online logoBrands
  • About & Mission
  • Contact us
  • Privacy Policy
  • Terms and Conditions

Copyright 2025 Manuals.Online. All Rights Reserved.