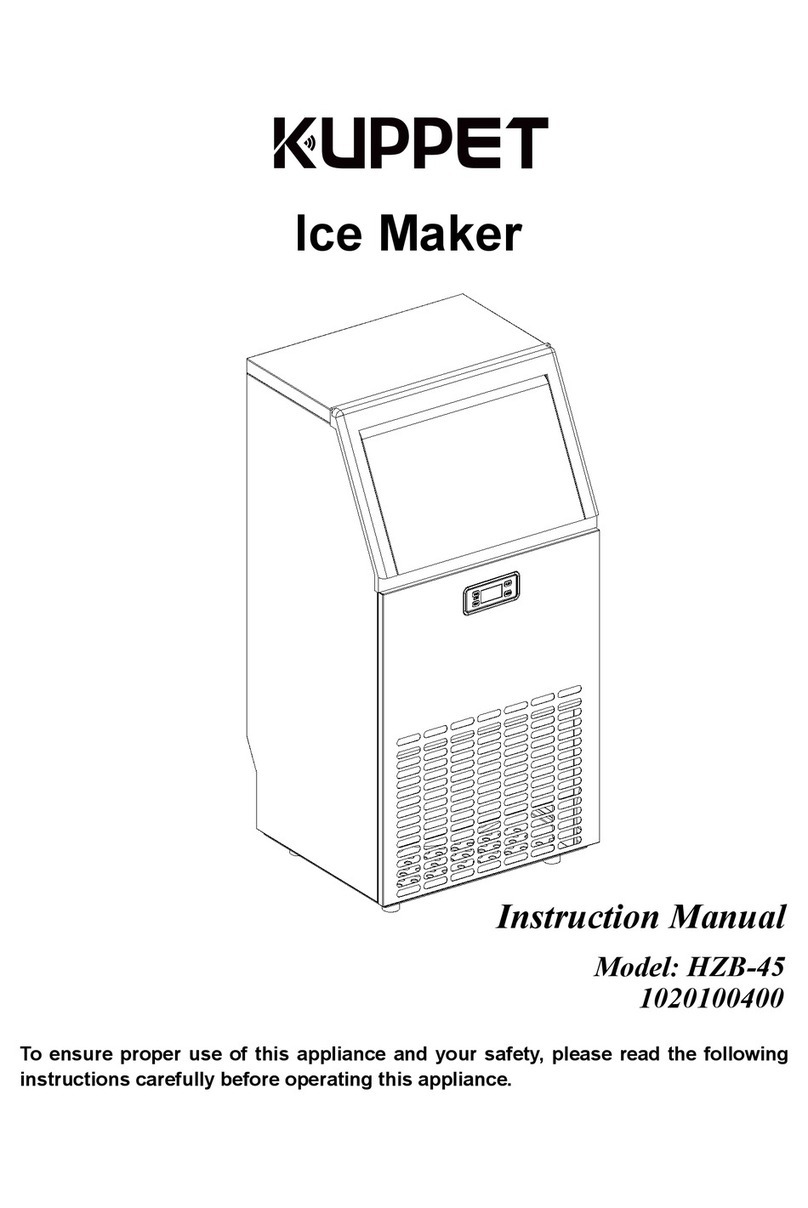
Adexa ZB10 User manual

ICE MAKER
INSTRUCTION MANUAL
Model No.: ZB10
Toensureproper useofthis appliance and your safty,
please read the following instructions completely before
operating this appliance.

CONTENT
FEATURES ............................................1
NOTES BEFORE OPERATION............1
STRUCTURE.........................................3
OPERATION PROCEDURES...............4
MAINTENANCE...................................5
TROUBLE SHOOTING......................7
CIRCUIT DIAGRAM............................8

81
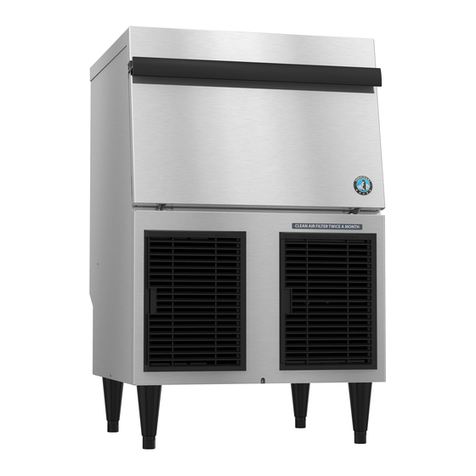
According to the requirement of the international and domestic market
of household appliance, we designed our Desk-top Automatic Ice
Maker. It is compact and nice in appearance and it is
micro-computerized and it makes ice quickly. The structure of the ice
maker consists of the water storage tank, water pump, water inlet tube,
water box, ice making device, ice tilting device, ice pusher and ice
storage basket, etc. Different from the ice making procedures of the
traditional commercial ice makers,the whole procedures of the desk-top
ice maker, water filling ~ ice making ~ water releasing ~ ice dropping
~ ice transfer and ice storage, are micro-computerized. It is reliable and
convenient for operation. When the situations like water shortage or ice
full occur, the relative indicators on the operation panel will light
accordingly and the ice maker will stop operation. Small ice, normal ice
or big ice, three different sizes of the ice are available for customer's
selection from the operation panel. The ice maker is suitable for the use
of families, bars, hotels and supermarkets, etc.
1.The incline angle of the cabinet could
not be over 45°during transportation.
Don't make ice maker upside-down
in case the compressor or refrigerating
system troubles occur.
2.The ice maker should be placed on
horizontal and structurally sound ground
and away from heat source and corrosive
gas. At least about 150mm room should
be left around the ice maker to ensure the
fine ventilation and enough spare space
should be left to ensure that you can
control it easily.
≤45
FEATURES
NOTES BEFORE OPERATION
DIAGRAM
Pump
M4
L
E
N
Water Lever Sensor
Wire Connector
Compressor
Solenoid Valve
Tilting Fan Motor
M3
M1 V1 M2
Main Control Board
Motor for
Switch1
SQ1 Ice-full
Switch2 Sensor Operation Panel
SQ2
>150mm
>150mm
>500mm
>150mm
>500mm
Condenser Temp Sensor
Water Temp Sensor
Terminal Box

TROUBLE CAUSE REMEDY
The power indicator
is light. The
compressor works
abnormally with
noise buzz.
Note: It is normal that the temperature of the compressor surface could be 70 -℃90℃ when it is working.
The voltage is out of
the limitation
Stop the ice maker and restart it
until the voltage is normal.
Water Low
indicator is light.
There is no water or water
level is too low.
Fill water and it will restart to
work automatically.
Ice full indicator
is light.
There is too much ice.
The temperature is too low
Take out some ice.
Put the ice maker to a warmer
place.
There is no indicator
light on the board.
The power is not well-
connected. Maker the power well-connected.
The indicators of
water shortage and
ice full glitter at the
same time.
The water-box is blocked
by the ice cubes.
The water box can not tilt.
Check relative parts after unplug-
ging.Take out some ice cubes that
block the water box or ice pusher
carefully.
Turn the water box slightly by
hand. 3-5 minutes later try to
restart.
The ice is made
in block.
Ice making time is too long.
Stop the machine and reset the ice
making time. Start the machine after
the ice block has been melted.
Compressor runs,
but no ice is made.
Refrigerant leaks.
There is block in
refrigerating system.
Recharge refrigerant and make
leakage testing. Charge N to check
whether the system is blocked.
Replace the dryer-filter. Check
whether the fan is working.
2
TROUBLE AND SHOOTING
3. Please adjust the feet when placing the ice maker somewhere,
otherwise the water level in water box will be effected and so do the
ice. Before using the ice maker for the first time, you should wait
about 12 hours after positioning it in a proper place.
4. Clean the inner liner,
ice storage basket,
water storage tank,
water box, ice pusher
and evaporator.
5. Power:AC220-240V/50Hz
6. The rated capacity of wire should be over 10A.The wire could be
consisted by single ply or multiplies. The rated current of fuse is 5A.
7. Fill water into water storage tank.
Fill drinkable water only. Make
sure that the water level is not over
the fill max in the cabinet or not over
the bottom of ice storage basket.
8. The plug must be easy to reach when you have installed the ice maker.
27

6
gasoline, volatile oil and de-dirt powder, etc. are forbidden to be used
for cleaning. The drinkable water should be used to clean the inside of
the machine at last step.
6.When plugging or unplugging,
the plug should be held by hand
and the wires should not be dragged
heavily.
7.If the power cord is damaged, only the same kind cord (appointed by
manufacturer or provided by services center) could be used for
replacement.
8.Do not use mechanical devices or other means to accelerate the defro-
sting process, other than those recommended by the manufacturer.
9.Do not damage the refrigerant circuit.
STRUCTRUE
1
2
3
4
5
6 7 8 11 12
9 10 14 15
13
TECHNICAL PARAMETER
Model: ZB10
Climate type: N
Power: AC220-240V/50Hz
Rated current: 0.7A
Power Input: 100W
Ice making capacity: 10kg/24h
Electic shock protection class:Ⅰ
Dimensions(LxDxH): 305*380*380mm
1. Lid
2. Inner liner
3. Ice sensor
4. Ice Storage basket
5. Operation pannel
6. Evaporator
7. Water box
8. Ice pusher
9. Water strainer
10. Water storage tank
11. Power cord
12. Water drainage screw
13. Water inlet tube
14. Compressor
15. Water pump
3

45
cubes carefully; if no ice blocked, please turn the water box slightly
by hand, 3~5 minutes later, restart the machine. If there is no ice
blocking and also it is no use by turning the box slightly, the ice
maker may need repair. Please ask qualified technician to repair.
7. There are three sizes of the ice cubes available for customers'
selection. The bigger the ice cube is selected, the longer time is
needed to make it. When the ambient temperature is low (lower
than 15℃), the small or normal ice cubes are suggested to
choose to avoid the connection between the cubes.
8. Every time when taking out the ice cubes and reinstall the basket,
please push the basket downward to its original position to make
sure the temperature sensor is above the basket so as to ensure the
normal ice making cycle.
1.To ensure the cleanliness of the ice cubes, water in the water storage
tank must be replaced every 24 hours.
2.The water strainer need to be cleaned regularly lest the impurities
in water come into the water pump to effect the normal operation
of machine.
3.If the compressor stops for any reasons such as lacking of water, too
much ice, power off, etc., Don't restart it right away. You should
restart it at least 3 minutes later to protect the compressor.
4.Screw off the drainage screw to drain the remaining water in the tank
when the ice maker will be unused for long time.
5.Please clean the ice maker regularly. When cleaning, disconnect
power and take out the ice cubes, use diluted cleaning agent to clean
the inside and outside surface of the maker. Water spraying for ice
maker is forbidden. Also the chemical diluted agents like acid agent,
MAINTENANCE
OPERATION PROCEDURES
1.Open the lid, take out the Ice-Storage-Basket and fill the drinkable
water into the water storage tank directly. Make sure that water level
is not over the bottom of the ice storage basket.
2.Connect power and press the start button on the operation board.
Ice maker will begin to work. Different ice sizes could be selected by
pressing the select button as per your requirement.
3. The ice making procedures are as follows:
1)Water is pumped into water box from water storage tank.
2)Ice making cycle begins, the evaporator dipped into the water
box starts to make ice;
3)It will take about 7 min ~ 15 min (according to customer's
requirement) for the ice making cycle, after it is finished,
water box will tilt forward and the remaining water will flow
back to the water storage tank.
4)Then water box will tilt backward and the ice pusher will push
the ice cubes into the ice storage basket. After the water box
turns back to the level position, the second ice making cycle begins.
4. The ice maker check the water volume in the Water-Storage-Tank
automatically. If the water volume is too low to make normal ice cubes,
it will stop working. When you add to appropriate water into the
Water-Storage-Tank, the indicator of water low will go out and it will
restart to work automatically.
5. When the ice cubes are collected to touch or near the ice sensor, the
ice maker will stop working and the indicator of ice full will light;
when you take out the ice cubes , the indicator of ice full will go
out and it will restart to work automatically.
6. If the indicators of ice full and water low glitter at the same time,
please turn off the machine , unplug the power cord and check whether
there are ice cubes blocked in the water box, if so,please take out the
Table of contents
Other Adexa Ice Maker manuals
