5. Repeat step 2、3、4 to edit and save other scenes of program.;
6. Repeat step 2~5 to edit and save other programs;
7. Exit programming state.
4.4 Revise program
4.4.1 Insert step
1. Enter into programming state;
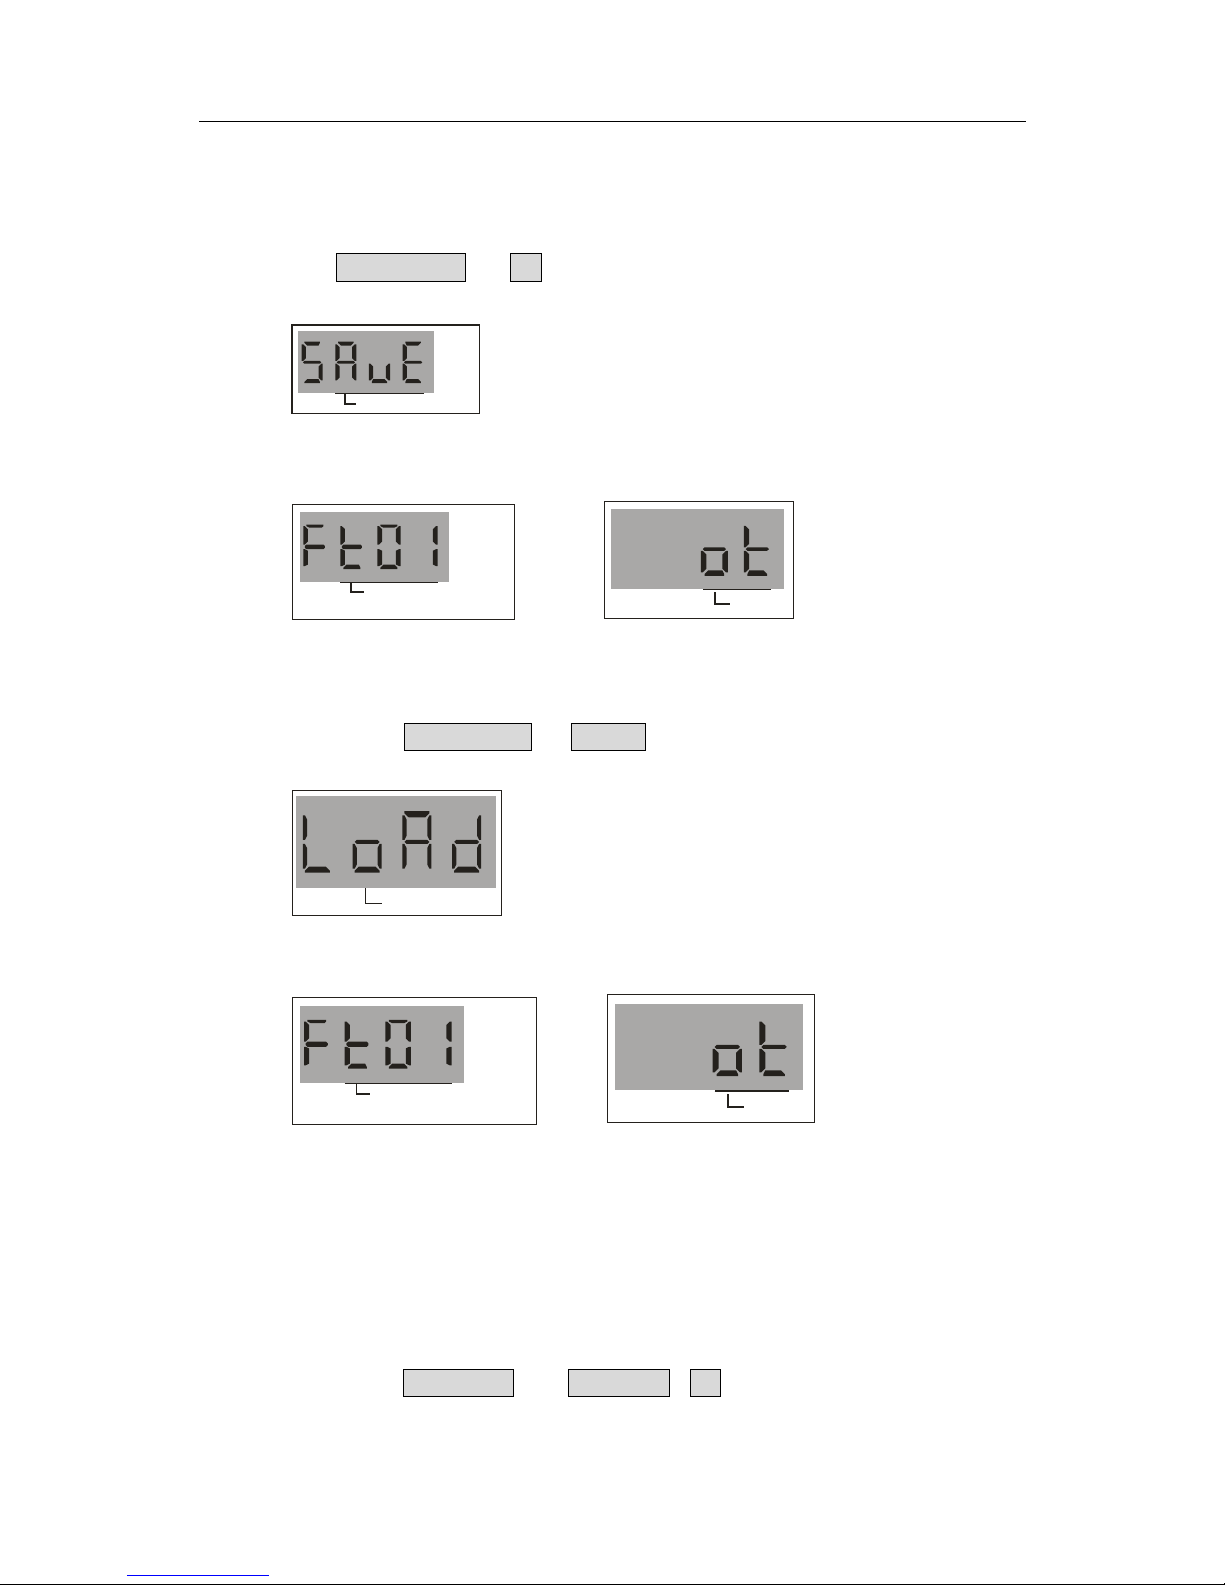
2. Select the button of program which need be revised;
3. Click INSTER/TAP,corresponding indicator light will be ON,enter into inserting state;
4. Click UP and DOWN to select the location which need be inserted;
5. Adjust scene effect or open the scene which had been saved;
6. Click EDIT/REC to confirm the effect,indicator light flashs,
Insert a step successfully;
7. Repeat step 4、5、6 to insert other scenes of program;
8. Click INSTER/TAP again,corresponding indicator light will be OFF,exit inserting state;
7. Exit programming state.
4.4.2 Delete step
1. Enter into programming state;
2. Select the button of program which need be revised;
3. Click UP and DOWN to select the step which need be deleted;
4. Click DEL/CLR,indicator light flashs,delete successfully;
5. Exit programming state.
4.5 Open and Close the scene
It is available to open 18 scenes at the same time,click to open the scenes,corresponding indicator
light will be ON;click again to close the scenes corresponding indicator light will be OFF。
4.6 Run program
Run program will depend on the order of being opened(not at the same time), can adjust the
number of cycling of each program,maximum 200 times.
4.6.1 Program manual operation
1. Open the program which need be run;
2. Click RUN MODEto enter into manual state,corresponding
indicator light will be ON;
3. Adjust gliding time(It is not available to use putter to adjust running
speed in manual state!);
4. Click UP and DOWN to run the step of program;
4.6.2 Program automatic operation
1. Open the program which need be run;
2. Click RUN MODEto enter into automatic state,corresponding indicator light will be ON;
3. Adjust the speed and gliding time of program,you also can use INSTER/TAP to adjust;
4. Click UP and DOWN to adjust the number of cycling of current program