Adventure Kings AKSR-BK200W 03 User manual

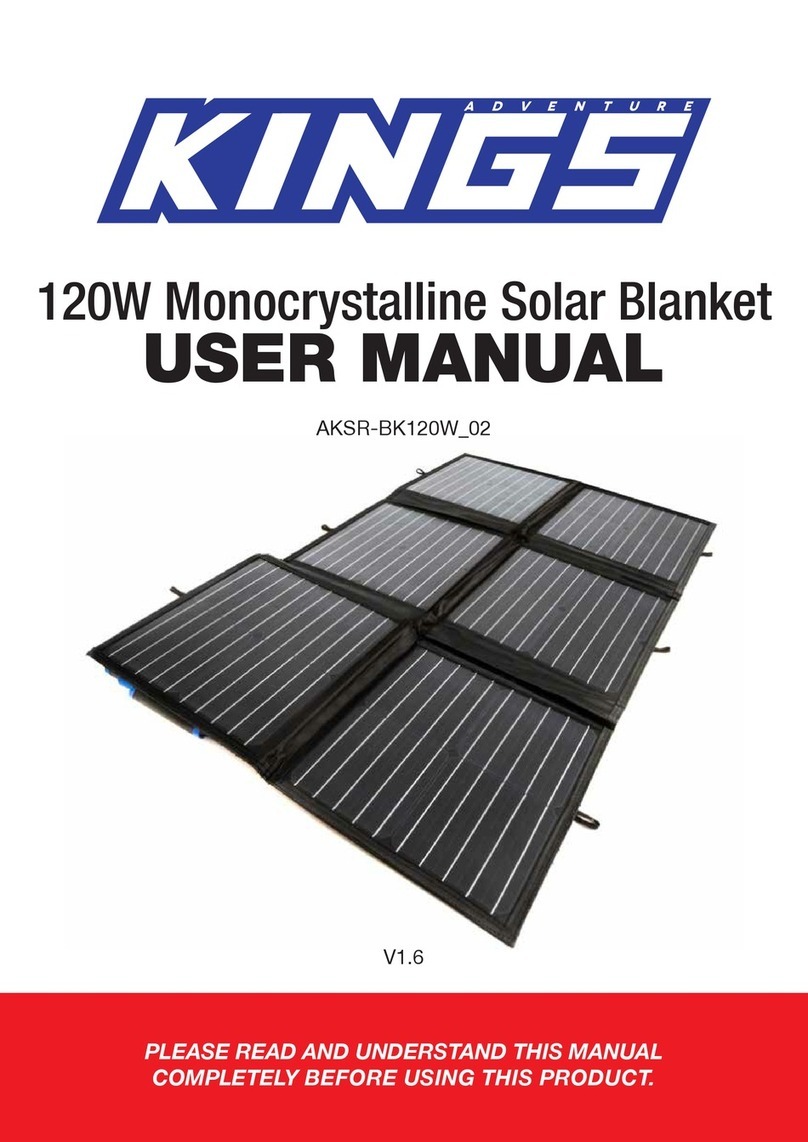
200W Solar Blanket
USER MANUAL
PLEASE READ AND UNDERSTAND THIS MANUAL
COMPLETELY BEFORE USING THIS PRODUCT.
AKSR-BK200W_03
V1.5

2
SAFETY INFORMATION
INCLUDED IN THE KIT
• Keep your solar blanket, Pulse Width Modulation controller & battery away from any liquids
at all times.
• Keep the solar blanket and controller clean at all times (always check connectors to ensure
they’re free of grit before plugging them in).
• This appliance is not intended to be used by people (including children) with reduced
physical or mental capabilities, or those who are under the inuence of drugs or alcohol.
• Do NOT use the solar blanket to charge non-rechargeable batteries. Doing so may result
in harm to the user and/or damage the solar blanket and controller. Only use the provided
solar blanket, regulator and adaptors/ wiring provided in the kit.
• All lead-acid batteries produce harmful, explosive gases. The battery should be mounted in
a well-ventilated area, as far as possible from any ignition sources. Do NOT smoke or have a
naked ame in the vicinity of the battery under charge.
• Never tamper with or pull any component of the solar blanket, regulator or wiring apart. If
you do so, you will void the warranty.
• Always store the solar blanket folded, protected from the weather and with good ventilation.
• Ensure nothing sharp or heavy could potentially damage the solar blanket during transport
or storage.
• Only use the solar blanket to charge 12V batteries.
• The PWM controller is only suitable for regulating solar modules.
• The PWM controller is only suitable for lead-acid batteries: OPEN, AGM & GEL. The Solar
Blanket & Controller should not be used with nickel metal hydride, lithium ion or other
batteries.
• Never connect another charging source to the PWM controller.
• Do not place solar blanket on your vehicle’s bonnet or paintwork during use.
200W Solar Blanket 4.4m Extension Cable Alligator Clips Pulse Width Modulator Controler

3
SOLAR BLANKET SPECIFICATIONS
PWM CONTROLLER SPECIFICATIONS
Max Solar Input <50V
Float Charge 13.7V - Default, Adjustable
Discharge Stop 10.7V - Default, Adjustable
Discharge Reconnect 12.6V - Default, Adjustable
USB Output 5V / 3A
Dimensions 133 x 70 x 34 mm
Weight 154g
Max Power 203.08W
Max. Rated Voltage (V) 18.70V
Max. Rated Current (A) 10.86A
Open Circuit Voltage (V) 22.51V
Short Circuit Current (A) 11.53A
Open Dimensions 1110 x 1105 x 4.6 mm
Closed Dimensions 530 x 385 x 105 mm
N.W. 5.95kg
G.W. 7.15kg

4
INSTRUCTIONS
UNPACKING YOUR SOLAR BLANKET
• Find a suitable location to unfold the Solar Blanket, away from sharp objects, liquids and
other hazards that could damage your solar blanket. Ensure there is sufcient space for the
Solar Blanket to be spread out fully.
• Whilst unfolding, take care with the panels making sure they do not bend.
USING THE PWM CONTROLLER
SAFETY
• Keep your Pulse Width Modulation (PWM) controller & battery away from any liquids at all
times.
• Keep the controller clean at all times (always check connectors to ensure they’re free of grit
before plugging them in).
• Do NOT use the solar controller to charge non-rechargeable batteries. Doing so may result
in harm to the user and/or damage the solar module, battery and controller. Only use the
provided solar blanket, regulator and adaptors/wiring provided in the kit.
• All lead-acid batteries produce harmful, explosive gases. The battery should be mounted in
a well-ventilated area, as far as possible from any ignition sources. Do NOT smoke or have a
naked ame in the vicinity of the battery under charge.
• Never tamper with or pull any component of the regulator apart. Doing so will void the
warranty.
• The PWM controller is only suitable for regulating solar modules.
• The PWM controller is only suitable for lead-acid batteries: LEAD, AGM, GEL & LITHIUM.
The Solar Blanket & Controller should not be used with nickel metal hydride batteries.
• Never connect more than 1 charging source to the PWM controller.
Max Solar Input <50V
Float Charge 13.7V - Default, Adjustable
Discharge Stop 10.7V - Default, Adjustable
Discharge Reconnect 12.6V - Default, Adjustable
USB Output 5V / 2A
Dimensions 133 x 70 x 34 mm
Weight 154g
SPECIFICATIONS

5
OPERATING THE PWM CONTROLLER
PWM CONTROLS
Please note: not following these instructions may cause damage to the PWM controller. Ensure
that you attach the positive (+) and negative (-) wires to the appropriate terminals.
1. Connect the positive and negative wires from the battery into the terminals with the battery
icon ensuring polarity is correct.
2. The screen should turn on and display the battery voltage.
3. Connect positive and negative solar input into the two terminals with the solar icon, ensuring
polarity is correct.
4. The controller is now ready to use.
5. For additional load circuit, connect positive and negative wires to the terminals with the
lightbulb icon on the controller.
NOTE: Ensure a fuse is used on battery positive wiring to prevent short circuits and
potential damage to the unit or your vehicle.
Menu: short press: cycle through the different menu options; long press: conrm selection or
return to the main display
Up: increase value
Down: decrease value
MENU
UP
DOWN;
ON/OFF

6
MENU SCREENS AND THEIR FUNCTIONS
1. Press the menu button to cycle through the six different settings screens. Each screen is
explained below.
2. Holding the menu button for 6 to 7 seconds will allow you to change the settings on a
screen. Use the up or down buttons to change the values.
3. Hold the menu button again to conrm your settings.
MAIN DISPLAY
Displays details about voltage and connections to the PWM
controller. (Not pressing any button for 10 seconds will return you to
this screen.)
FLOAT OR CV VOLTAGE
Accept power from the solar panel until the battery’s voltage reaches
the set value.
Default: 13.7V
DISCHARGE RECONNECT
Connect to the load when the battery’s voltage reaches the set value.
Default: 12.6V
DISCHARGE STOP
Sever the connection to the load when the battery’s voltage reaches
the set value.
Default: 10.7V
WORK MODE
Control when the battery supplies power to the load.
24H – constantly provide battery power to the load.
1-23H – provide battery power to the load for the set number of
hours after the solar panel has stopped receiving sunlight.
0H – provide power only when the solar panel is not receiving
sunlight.
BATTERY TYPE
Shows type of battery attached to the PWM controller.
b01 – Lead Acid/ AGM Sealed (default)
b02 - Gel
b03 - Dry Cell
b04 – Iron Lithium 4 Strands
b05 – Iron Lithium 5 Strands
b06 – Lithium Ion 3 Strands
b07 – Lithium Ion 4 Strands
*b04-b07 parameters cannot be set

7
OPERATION INSTRUCTIONS
DISCONNECTING
STEP 1
Disconnect the solar
from the controller.
STEP 2
Disconnect the
controller and battery.
STEP 1
Connect the alligator
clips onto the battery.
STEP 2
Connect the
extension lead to the
battery.
STEP 3
Then connect the
controller onto the
battery.
NOTE: The extension lead is between
the controller and battery.
STEP 4
Connect the solar
blanket to the
controller.
TROUBLESHOOTING
PROBLEM CAUSE SOLUTION
Charging symbol not
displaying even when the
solar panel is in the sun
Panel has been improperly
connected to the PMW
controller.
Reconnect the solar panel,
ensuring that the positive
and negative terminals are
appropriately connected
Load icon is off
Battery is low Charge the battery
Incorrect menu setting is
selected
Select a menu setting where
the load is displayed
Load icon ashes slowly Overload Reduce the load’s power draw
Load icon ashes quickly Short circuit protection System should reconnect
automatically
The PWM controller will not
turn on
Battery is insufciently charged Charge the battery
Battery has been connected
improperly
Check, and if necessary alter,
the battery’s connection to the
PMW controller

8
WARRANTY PERIOD:
Full 12 month warranty from date of purchase against all manufacturing defects.
WHAT DOES THE WARRANTY COVER?
Under normal usage conditions, this warranty covers:
a. Any defect in design or manufacture which results in the product failing to perform substantially as described
in authorised advertising or literature.
b. We will either repair or replace the product at our discretion providing that the fault is found to have been
caused by a design or manufacturing defect and not misuse or tampering.
Our goods come with guarantees that cannot be excludedunder the Australian ConsumerLaw. You are
entitled to a replacement or refund for a major failure and for compensation for any other reasonably
foreseeable loss or damage. You are also entitled to have the goods repaired or replaced if the goods fail to be
of acceptable quality and the failure does not amount to a majorfailure. The benetsprovided to you as the
consumer by this warranty are in addition to other rights and remedies available to you under the law.
THE WARRANTY DOES NOT COVER:
a. Any damage resulting from improper use
b.
c. The cost of removing and reinstalling the product
d. Travel and /or other expenses due to customer’s remote location
e. Transport charges and damage in transit. It is your responsibility to deliver and pick up your product,
including any costs associated with the postage of your repair or replacement product. If you do freight your
product we recommend that you insure against loss or damage.
f. Any loss directly or indirectly associated with the product failing to operate.
g. Damage caused by mould, insects, animals, misuse, incorrect operation, adverse weather, accidents
and fair wear and tear
TO MAKE A CLAIM, PLEASE ENSURE YOU RETAIN YOUR SALES RECEIPT OF PURCHASE
1800 88 39 64
12 MONTH LIMITED
WARRANTY
OUTDOOR SUPACENTRE PTY LTD
2 Stanley St Silverwater NSW, 2128
PHONE: 1800 88 39 64
www.4wdsupacentre.com.au
Table of contents
Other Adventure Kings Inverter manuals
Popular Inverter manuals by other brands
Hobart
Hobart 5359D Operation and maintenance manual
SolarEdge
SolarEdge SE5000H-AU installation guide
Black & Decker
Black & Decker 724297-01 owner's manual
ABB
ABB Fimer PVI-10.0/12.5-TL-OUTD product manual

Fabco Power
Fabco Power BD - 400SV instruction manual
Westerbeke
Westerbeke 8.0KW - 60Hz EDT Operator's manual
