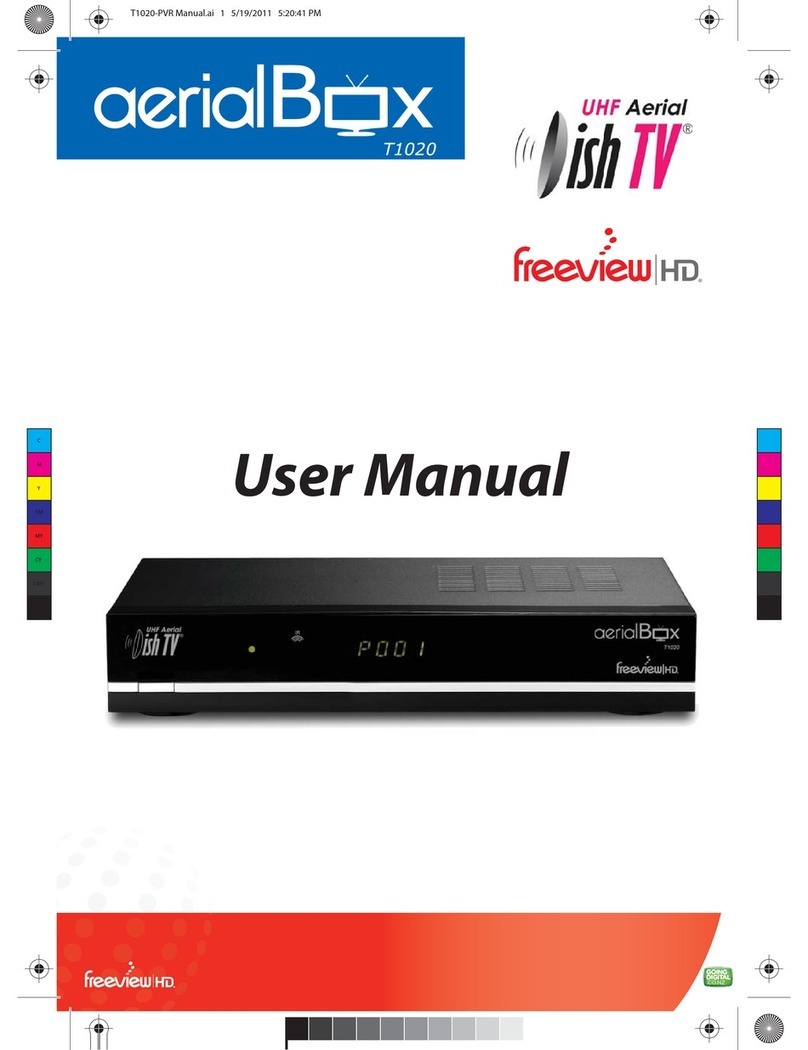
AerialBox T1050PVR User manual

User Manual
aerialBx-ultra
T1050PVR

Warranty & Product Registration
Please register your product to assist with warranty and product updates.
To do this please visit www.dishtv.co.nz and click on Warranty & Registration
2
Thank you for choosing this DishTV Freeview®High Definition Digital Set Top Box.
You will be be able to receive all Freeview®UHFHigh Definition and Standard Definition
digital TV channels, as well as detailed Freeview®program information with the
Freeview®8 Day Electronic Program Guide.
For more information about Freeview®visit www.freeviewnz.tv
AFreeview Digital Set Top Box gives you access
over 10 free to air digital channels, without a
subscription or contract. For more information on
Freeview please visit www.freeviewnz.tv
With
DigitalUHF
Adigital box lets you access the free digital
channels that are broadcast in New Zealand.
It uses a digital signal, received through your
normal UHF aerial and lets you watch it
through your existing television.

AV Cable
USB Firmware
upgrade +HDD
connection
RFIN UHF Aerial
input
RFOUT UHF Signal
output
3
DC 12V
Connect 230V - 12v adapter
DishTV T1050PVR
Note: The DishTV T1050PVR is a Freeview|HD receiver. It requires a UHF aerial
and good signal and quality levels to operate correctly.
The Full user Manual can be downloaded at www.dishtv.co.nz
This guide will provide you with simple instructions for connecting an operating your
DishTV unit.
Please check that your DishTV box contains all of the following components.
Thank you for choosing DishTV for your Freeview|HD UHF receiver.
UserManual
aerial
B
x
-
ultra
Quickstart Guide

4
Your Remote Control
Connecting up
Getting Started
Main Menu
User Settings
- Favourite View
- Organizer
- User Preference
Installation
- Tuning Wizard
- Auto Scan
- Manual Scan
- System Setting
- Factory Default
- S/W uprade via OTA
System Conguration
- Wakeup Timer
- Version
ESG
Media Manager
- Thumbnail Browser
- Recorded Book List
- Media Information
Connectivity
- eNet Buttons
- eWeather
- eMap
- eMail
Recording
Recordings Library
Bookmarking
Editing Recordings
Media Center
Firmware Upgrade
Frequently Asked Questions
Freeview|HD Channel groups
Troubleshooting
Check your signal levels
Technical Specications
Warranty
Page
5
6
7
8
9
9
10
11
12
13
14
14
15
15
16
17
18
18
19
20
21
22
23,24
25
26
27
28
29
30
30
31
31
32
33

5
Pause Pause playback
Skip Forward/Back 10min
STANDBY Power On/Standby
Record Instant Record a programme
StopStops playback
Fast Forward/Rewind playback
PLAYPlays your recordings
0to9
Use to select channels & enter Pin numbers
TEXT Digital text if available
TTX Brings up Teletext.
INFO Use for more information
Holding the INFO button for 3 sec displays
the Version page.
AD Enables Audio Descript
EXIT Exits menus or screens
OK Confirms selection in menu/
on screen displays, also plays a
recording from the library
LIB Library displays the recorded
program list (See page 25 for more info)
Holding the LIB button for 3 sec displays the
Record Booking List.
Interactive Channel
MUTE Turns the sound on/off
CH+/- Changes the channel up or down
TV/R Switches between TV and Radio
channels
TIMER Displays the wakeup timer menu
JUMP Allows you to enter a time to
jump to
WIDE Changes the aspect ratio
ColourButtons For interactive use and
navigating menus
VOL+/- Volume up and down
FAV Brings up the favourite channel list
EPG/GUIDE Electronic Programme Guide,
opens the programme guide window
CURSOR Selects options in the
menu / onscreen display
MENU Brings up the Main Menu
SUB Displays Subtitles when availible
AUDIO Changes the audio language

Connect the AV cable that came with your set top box between the yellow red and white
sockets on the.
Connect the cable that comes from your UHF aerial to the RF IN socket in the back of your
set top box.
6

Please make sure you don’t have a USB device plugged in while going through the setup process.
Once you are setup you can then plug your device in.
7
Open the battery cover of the remote control and put two
AAA size batteries so the‘+’ and ‘-’ marks on the batteries
match the‘+’ and ‘-’ marks inside the remote control.
Replace the battery cover.
Switch your TV on and select the correct video input.
Switch the aerialBox ultra on and wait for it to boot up.
The Welcome screen should appear
on your TV*. Press OK to start a scan.
An auto scan will now start, please
do not push any buttons until it has
nnished. Once it has nnished if the
signal from your UHF aerial is good
TV1 will appear and you can start
using your aerialBox Ultra.
* If the Welcome screen does not appear, go to the Menu select Installation then Factory Default. The default
pin/password is 0000.

Main Menu:
All other Settings and tuning menus are selected from this main menu.
This menu is the gateway for all other menus.
User can invoke the main menu by pressing the MENU key.
This main menu contains several options
User Settings
Installation
System Conguration
ESG
MEDIA Manager
Connectivity
User can toggle between the options by using UP/DOWN or LEFT/RIGHT Keys.
Main Menu
8

Organizer:
To enter this menu you will be prompted for your password (Default is 0000)
In this menu you will have the options to Lock, Skip or Delete your channels from the list.
Lock: Allows you to lock a selected channel. Once a channel is set to Lock you will need to enter
your password to view the channel.
Skip: Means when browsing with P+/- the selected channel will be skipped over, but is still able to be
accessed by pressing the channel number button.
Delete: Deletes a channel o the list.
Favourite View:
To enter this menu you will be prompted for your password (Default is 0000)
This menu allows you to view your favourite channel list and allows you to classify channels
and group them together to be viewed through favourites later. These groups can then be accessed via
the FAV button on your remote. Use the number keys on your remote according to the numbers on the
right hand side of the screen to add or remove channels from your favoute group.
Main Menu - User Settings - Favourite View/Organizer
9

10
User Preference:
Note: To adjust a preference use the right arrow on your remote not the OK button.
Here you can adjust your brightness and contrast levels.
The Visual Impaired option turns discriptive audio on/o. This setting is for the sight impaired.
OSD TimeOut or On-Screen-Display timeout, this option will adjust how long the information banners will stay
on the bottom of your screen, these banners appear each time you change channel.
Parental Rating - To enter this option you will be prompted for your password (Default is 0000). Here you can
change the password. (Passwords can only be 4 numbers.) You can also set the parental rating using the
Yellow and Blue buttons on your remote.
Recording Start Oset - This option will adjust how many minutes before your program the unit will start recording.
This is very handy when programs are not running on time so you don’t miss part of your program.
Recording Stop Oset - This option will adjust how many minutes after your program the unit will stop recording.
This is very handy when programs are not running on time so you don’t miss part of your program.
Auto Time Shift Mode - When this option is on the unit will time-shift continually.
Each time you change channel the previous time shift will be deleted and it will start again on that channel.
Time Shift Mode - When this option is on the unit will time-shift only when the Pause button is pushed.
Timeshift Duration - Here you can set the max length the unit will timeshift to.
Main Menu - User Settings - User Preference

Main Menu - Installation - Tuning Wizard - Auto Scan
11
Auto Scan:
When the OK Button is pressed, the conrmation dialog
will be displayed.
Select the Yes option to start the scanning process.
The Scan progress will be displayed along with the Signal
Strength and Quality for the current frequency.
If no channels scan in, Try a manual scan to see if you can
get good signal levels on the channels availible in your
area. To see a list of the channels in your area visit
www.freeviewnz.tv and type in the search at the top of
the page: freeview hd channel frequencies.
Here you should be able to nd a list of channel
frequencies used on the Freeview® UHF service.

12
Main Menu - Installation - Tuning Wizard - Manual Scan
Tuning Wizard:
To enter the Tuning Wizard menu you will be asked to input
your password - the default is 0000.
Manual Scan:
Allows you to select and scan a single UHF
channel/frequency. Also displayed is the signal strength
and quality levels of the selected UHF channel/frequency.
Scan Mode give you the options All, FTA, Scrambled
Once you have good signal strength and quality you can
push the OK button to search the selected UHF frequency.
What is good signal strength and quality?
Strength should be between 70-100%
Quality should be 75-100%
These levels are indicative only. If your levels are good but
you are still having reception problems it may be due to RF
interference in your area.
Once you have scanned channels in you will be
prompted to save them or not.
The Progress screen will display any channels found.

Main Menu - Installation - System Setting
Note: To adjust a setting use the right arrow on your remote. To select a setting use the OK button.
HD Resolution – This is where you set the HDMI output resolution depending on what your TV can handle. Most
newer TVs have upscalers and so therefore you can sometimes get a better picture by lowering the output
resolution in this menu, It does however depend on the quality and type of upscaler your TV has. If you want the
very best picture possible, then you will need to experiment with these resolutions.
The Native option will mean the unit will output the broadcasted resolutions.
HDMI Output Mode – Here you have the options of Compressed or Uncompressed. This option may be changed
to suit your HDMI receiver or surround sound unit depending on what it requires. Default is Uncompressed.
HDMI Control - Or HDMI CEC. This is used to control other CEC capable devices, for example when you turn your
receiver on your TV will turn on automatically. If you nd your TV turning on when you don’t want it, make sure
this setting is set to o.
HDCP or High-bandwidth Digital Content Protection. This can be turned on/o
Aspect Ratio – This is to set the output picture shape depending on your TV. If you have a modern LCD or Plasma
TV or a wide screen, then you most likely need to set it to 16:9. If you have an older square TV then 4:3 Panscan will
most likely suit.
LCN - This stands for Logical Channel Numbering. It is best to be set to On.
LPM in stand-by – This option turns Low Power mode on/o
4 AM Standby S/W upgrade - When this option is set to ON, your unit will start up at 4am each morning and look
for a new software upgrade.
Hearing Impaired – This option is to turn subtitles on/o.
Antenna power - When this option is set to ON your unit will output 5V dc on the aerial socket, this voltage can
be used to power an inline amplier to boost the signal levels.
Digital Text Cookies - This is cookies like a web browser. This option will allow them to be saved.
13

Main Menu - Installation - Factory Default/ S/W upgrade via OTA
Factory Default
This will reset all settings back to factory, deleting all channels and user settings. Default password is
0000.
S/W Upgrade via OTA
This option can be used only if an Over The Air software
update is broadcasted via the UHF transmitter. The
software will only be broadcast for a few weeks when
there is a major update needed. But if Auto OTA Search
in the settings menu is set to on, you won’t need to use
this option.
14

Main Menu - System Configuration - Wakeup Timer/Version
15
Wakeup Timer
You can set a service to be recorded at a specic time. Even if the digital receiver is in standby mode, it will start
recording at a specied time. When the recording comes to the end the unit will stay in standby until you press
the standby button. A maximum of 8 timers can be set at once.
1. Set the Timer Mode to Once, Daily or Weekly to make a recording. If this option is set to O, the timer will not
operate.
2. Set the Wakeup Mode to Recording, Services or Message. If you only want the unit to wake up on a channel at
the set time without recording, set this to Services
3. Set the channel you want to record, or set the message you want to appear at the set day and time.
4. Set the Date option to a desired date, on which the digital receiver will turn on. Use the left, right buttons on
your remote to navigate and change. The date format is Day/Month/Year.
5. Set the start Time option to a desired time, at which the recording will be started. Use the left, right and
number buttons on your remote to navigate and change. The time format is Hour:Minute.
6. Set the Duration option to a desired length of time, in which the recording will be nished. Use the left, right
and number buttons on your remote to navigate and change.
Version
This is an information
page only. Here you
can nd your units
Software/ Firmware
version.
Note: To view the
version page instantly
from live TV press and
hold the ibutton for 3
seconds.

Main Menu - ESG
ESG
The ESG is an Electronic Service Guide. This is in addition to the Freeview® EPG
(accessed using the GUIDE button) . Usually you will only use the ESG for non-Freeview®
channels. The ESG will be displayed when selecting the ESG option from the
Main Menu. It will list the available services and when focus is set to the current
service then its corresponding current and next events are displayed.
When your in the ESG schedule dialog and the Info button is pressed on the selected event a short
description is shown above, pressing the Info button again will give an extended description of the
selected event that will be displayed.
16

Main Menu - Media Manager - Thumbnail Browser
17
Here you can browse through your recorded programs as thumbnails, the title and information for your
recording is displayed below for the selected thumbnail/recording. The information displayed icludes the
duration of your recording, the size, the age rating(eg G, PGR, AO), the recordings created date and also the
access date. The access date is the date and time the recording was last viewed. If the access date is blank this
means the recording has not yet been viewed.
If you push the Yellow button when in the thumbnail
browser, this will take you to the recording library
where you can view your recordings by title. Here
you can select and delete multiple recordings.
By pushing the Blue button you will see the sort by
options. You can also go directly to the recording
booklist using the blue button and selecting
Booking List.

Main Menu - Media Manager - Recorded Book List/Media Information
18
Media Information
This window provides your storage
device information. In this window
you can press the Red button to
format your storage device.
Formatting will remove all your
recordings.
Here you can view all your programs waiting to record. You can use the Red button on your remote
to delete a booking. The Green button on your remote will change the selected booking between a
single record or a series booking. The Yellow button will take you to the recordings library. A max
of 24 bookings can be made. (this limit may be increased in the future)
To view the Record Booked List, Hold down the LIB button for 3 seconds while viewing a channel. Or
if you are in the library press the Options button (Blue) and select it in the options list that appears.

19
Main Menu - Connectivity - eNet Buttons
eWeather - Allows you to view the weather conditions for
the day. It shows Humidity, Temperature etc.
eMap - Allows you to browse and search maps on
the internet.
eMail - Allows you to log in to your email address, to
send/recieve messages and view attached les.
All of the eNet features require an internet connection via the LAN port on the rear panel of the aerialBox-ultra. The
weather and map services are provided by secondary providers and are not under the control of DishTV. DishTV cannot
guarantee the ongoing availablility of these free services.

eNet Buttons - eWeather
From the eNet Buttons menu you can
select eWeather. Use Up/Down to
navigate between eNet buttons
Use SMS type keyboard to enter letters.
(entry using number keys )
Press the OK button to load the weather page.
Press Blue button to change the view between
Celsius, Fahrenheit and Kelvin.
Press the i(Info) button to toggle between
minimum & maximum mode.
Type in the Country you desire and then
the closest city name to you.
20
Table of contents
Other AerialBox Set-top Box manuals
Popular Set-top Box manuals by other brands
Motorola
Motorola DCT6412 DUAL-TUNER DVR AND HD SET-TOP - MICROSOFT... reference guide
Strong
Strong SRT 5432 user manual

Samsung
Samsung SMT-H3050 Specifications
Motorola
Motorola DCT3400 ALL-DIGITAL SET-TOP - TV GUIDE... manual
Ace Digital TV
Ace Digital TV ADB 3800 user guide

Geniatech
Geniatech ATV1802 user guide


