9
Parental Control Tips:
yIf you set your controls to block NR (not rated) this will also block programs such as news, sports and some
children’s programming
yChoosing a movie and/or TV rating to block will automatically block all ratings above that one.
PARENTAL CONTROLS
Setting Parental Controls:
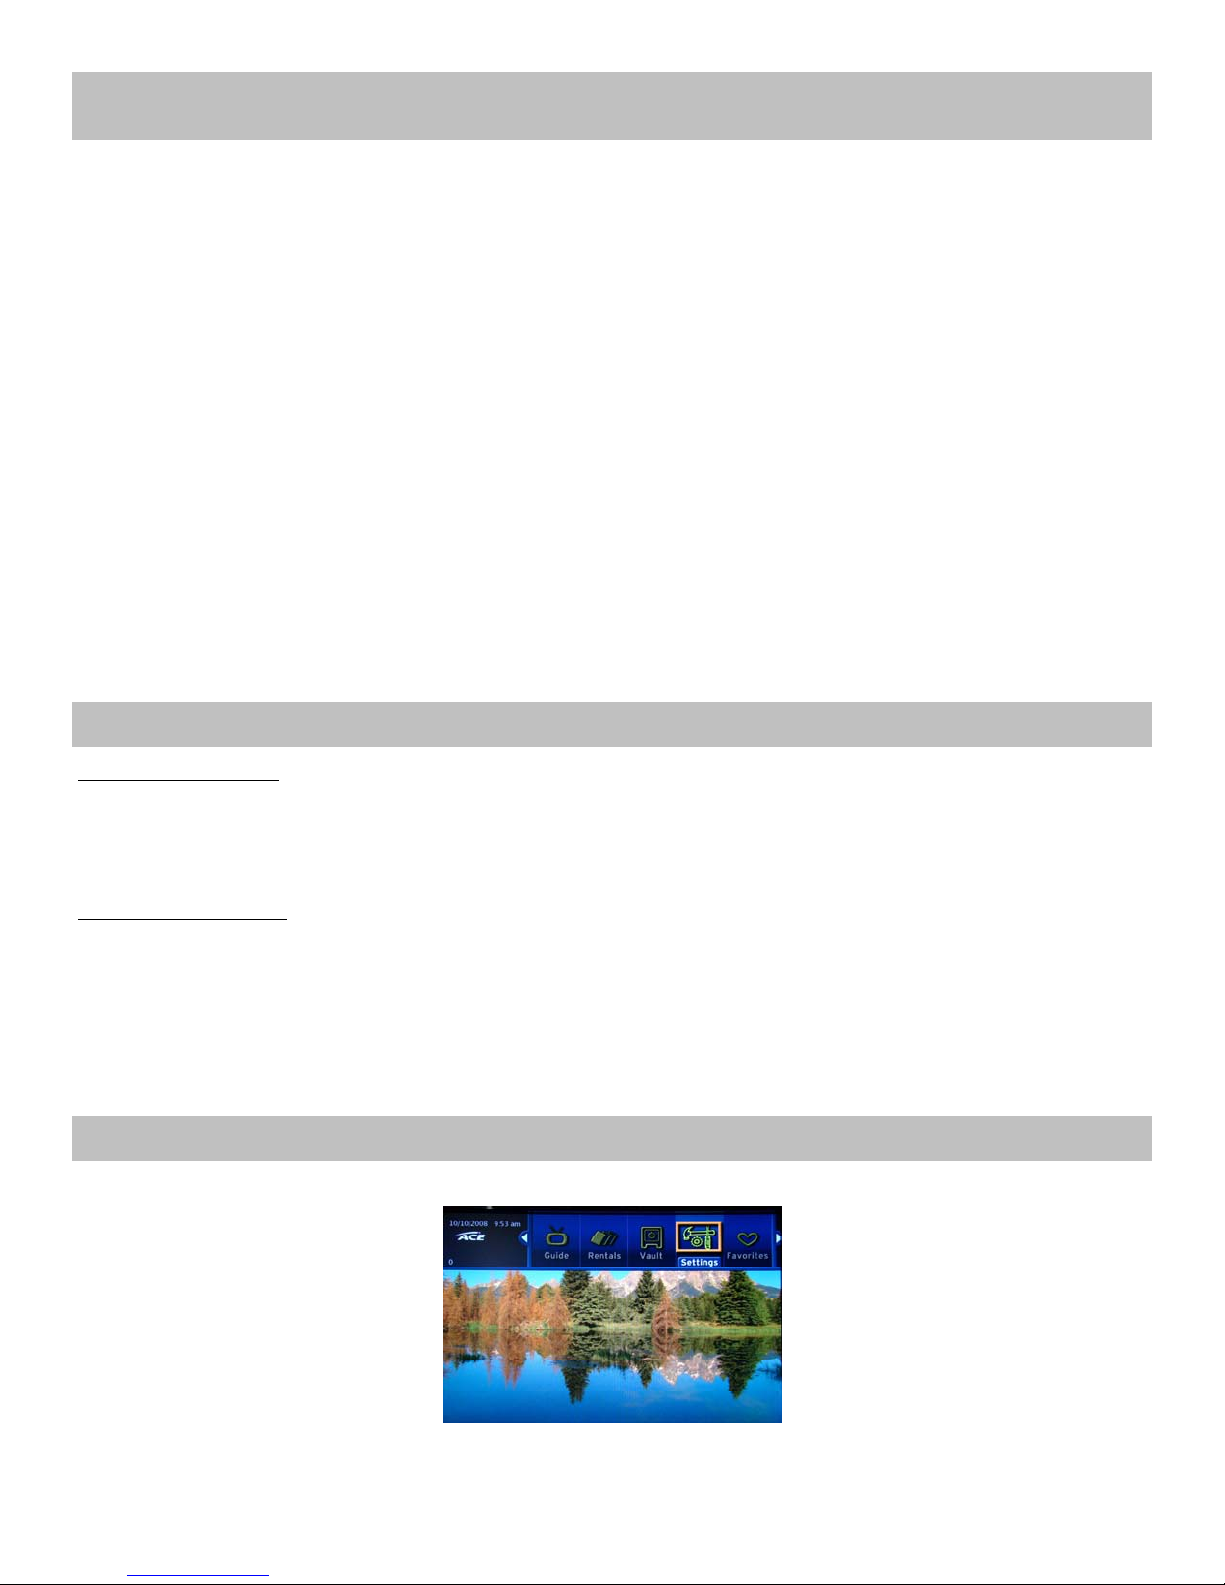
1) Press the MENU button OK
2) Arrow to Settings, Press OK
3) Enter current password (your password is 0 unless you have changed it), Press OK
4) Be sure you are on the Preferences tab
5) Arrow to Parental Control: Edit, Press OK
6) Select which program rating you want blocked by the highest rating you want viewed (ex. you want to watch
R, but nothing higher so put R in Movie Ratings). Use your OK and arrow buttons to select for Movie Ratings
and TV Ratings. Use the OK button to put a 9in the box of the Content Ratings you want blocked.
7) If you want to be able to see the info on the program even if it is blocked be sure to use the OK button to put a
9in the box next to Show Blocked Program Info.
8) Arrow to Submit, Press OK
9) When Setting successfully updated appears, Press OK
10) Arrow to the Preferences tab, Press OK
11) Arrow to Parental Control, Press OK (to put a 9in the box)
12) Arrow to Submit, Press OK
13) When Setting successfully updated appears, Press OK
Blocking Channels:
1) Press the MENU button OK
2) Arrow to Settings, Press OK
3) Enter current password (your password is 0 unless you have changed it), Press OK
4) Be sure you are on the Preferences tab
5) Arrow to Channel Blocking: Edit, Press OK
6) Select which channels you want blocked by using your OK and arrow buttons to select the channels. A X will
appear on the selected channels.
7) Arrow to Update, Press OK
9) When you return to the Preferences tab, Arrow to Channel Blocking, Press OK (to put a 9in the box)
10) Arrow to Submit, Press OK
11) When Setting successfully updated appears, Press OK
To view a program blocked by parental controls, Press OK on the program you wish to view and enter your
password (password is 0 unless you have changed it). This will unlock the parental controls on all channels for a
certain time period. To change the timeout period follow the below directions:
1) Press the MENU button OK
2) Arrow to Settings, Press OK
3) Enter current password (your password is 0 unless you have changed it), Press OK
4) Be sure you are on the Preferences tab
5) Arrow to Parental Control: Edit, Press OK
6) Arrow to Unlock Timeout, Press OK
7) Select the time limit you want the parental controls to timeout in, do this by using the ARROW and OK
buttons (note: if you want to watch a 2-hour movie without interruption of parental controls coming back on
set the time to 120 minutes).
8) Arrow to Submit, Press OK
9) When Setting successfully updated appears, Press OK