Aero-motive 11197 User manual

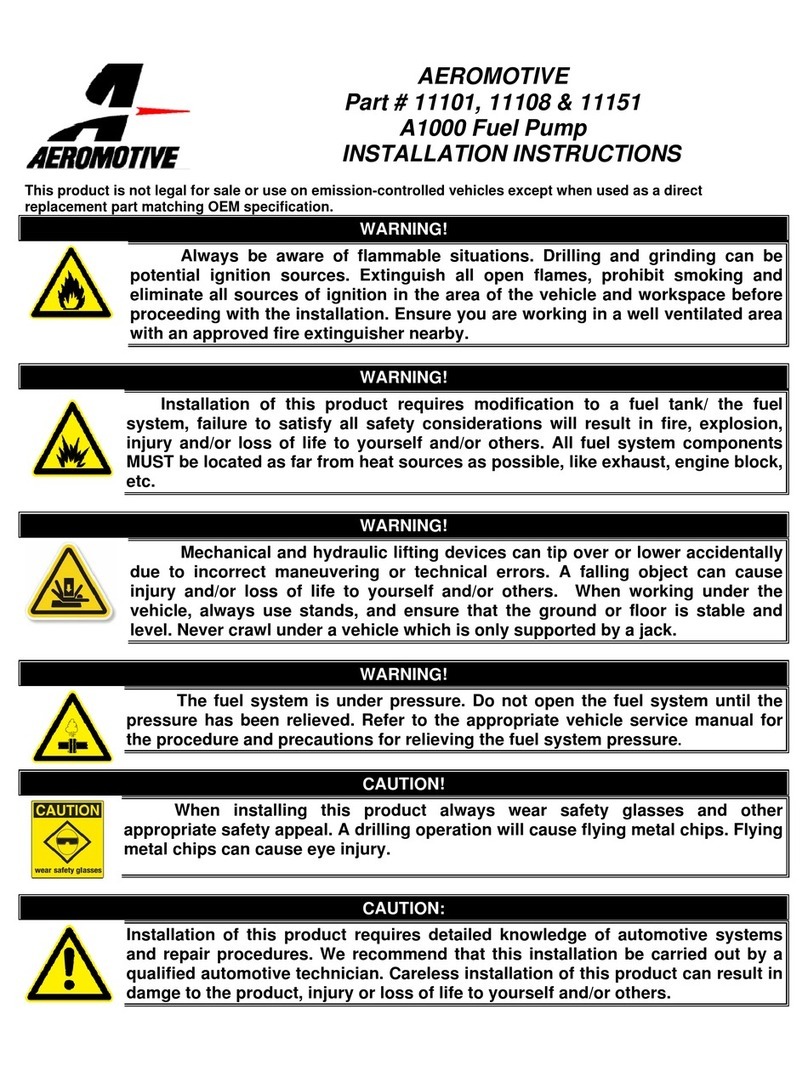
AEROMOTIVE
Part # 11197/11198
Product Description
INSTALLATION INSTRUCTIONS
This product is not legal for sale or use on emission-controlled vehicles except when used as a direct
replacement part matching OEM specification.
WARNING!
Always be aware of flammable situations. Drilling and grinding can be
potential ignition sources. Extinguish all open flames, prohibit smoking and
eliminate all sources of ignition in the area of the vehicle and workspace before
proceeding with the installation. Ensure you are working in a well ventilated area
with an approved fire extinguisher nearby.
WARNING!
Installation of this product requires modification to a fuel tank/ the fuel system,
failure to satisfy all safety considerations will result in fire, explosion, injury and/or
loss of life to yourself and/or others. All fuel system components MUST be located
as far from heat sources as possible, like exhaust, engine block, etc.
WARNING!
Mechanical and hydraulic lifting devices can tip over or lower accidentally
due to incorrect maneuvering or technical errors. A falling object can cause injury
and/or loss of life to yourself and/or others. When working under the vehicle,
always use stands, and ensure that the ground or floor is stable and level. Never
crawl under a vehicle which is only supported by a jack.
WARNING!
The fuel system is under pressure. Do not open the fuel system until the
pressure has been relieved. Refer to the appropriate vehicle service manual for the
procedure and precautions for relieving the fuel system pressure
.
CAUTION!
When installing this product always wear safety glasses and other
appropriate safety appeal. A drilling operation will cause flying metal chips. Flying
metal chips can cause eye injury.
CAUTION:
Installation of this product requires detailed knowledge of automotive systems and
repair procedures. We recommend that this installation be carried out by a qualified
automotive technician. Careless installation of this product can result in damage
to the product, injury or loss of life to yourself and/or others.

Compatible Fuels:
Pump Gas
Race Gas
E85
Alcohol/Ethanol
To use this pump in your vehicle’s fuel system, you must do the following:
Utilize a by-pass style fuel pressure regulator in the system.
Utilize AN-16 size high pressure fuel lines, fittings, and o-rings for all connections from the fuel
tank pickup to the fuel pump.
Mount pump level with or lower than the bottom and as close to the tank as possible to ensure
proper fuel pump performance and longevity.
Install an Aeromotive P/N 12362 pre-filter and P/N 12364 post filter.
Install a reservoir sump in the bottom-rear of your fuel tank if you are using a stock fuel tank.
Exercise extreme caution and follow all manufacturers’ recommendations when installing a
reservoir sump.
Tank/Fuel cell must have at least a ½” tank vent.
Install a high flow capacity fuel tank pickup (3/4” inner tube diameter) if you choose not to
install a reservoir sump.
For any street driving or continuous use, Aeromotive recommends maintaining at least ½ tank
of fuel.
Maximum continuous operating pressure should not exceed 90 psi. Life expectancy may be
reduced for continuous operation above 90 psi.
Maximum intermittent operating pressure should not exceed 125 psi for 11197. Maximum
intermittent operating pressure should not exceed 90 psi for 11198 to avoid overloading the
pump controller.
Failure to follow the above may result in fuel leakage, bursting of the fuel lines, poor vehicle
performance and/or decreased fuel pump life! Improper installation will void all warranties for this
product!
The following steps are typical of most installations:
1. Once the engine has been allowed to cool, relieve the fuel system pressure and disconnect the negative battery
cable.
2. Raise the vehicle and support it with jack stands.
3. Referring to the appropriate vehicle service manual for instructions, remove the OEM fuel pump.
4. Install an after-market sumped high flow capacity fuel tank or fuel cell, per the manufacturer’s instructions.
Note: Failure to mount the pump lower than and close to the fuel tank may cause the pump to run dry, resulting
in extreme pump wear! Make sure the pump is located lower than and as close as possible to the fuel tank, so
that the pump is always supplied with fuel!
5. Find a suitable place on the vehicle chassis to mount the fuel pump. Make sure the location will accommodate the
pump mounting bolts. Make sure to position the pump at or below the bottom of the tank. Make sure that the pump is
clear of the exhaust, is clear of any moving suspension or drivetrain components, and will keep the pump clear of road
obstructions or debris.
Note: Be sure to route all fuel lines clear of any moving suspension or drive train components, and any exhaust
components! Protect fuel lines from abrasion and road obstructions or debris.
6. Using minimum of ¾” ID or AN-16 fuel line, connect the fuel tank sump outlet to a 100-micron fuel strainer
(Aeromotive P/N 12362). Using the same size fuel line connect the fuel filter outlet to the fuel pump inlet or, if you are

using an Aeromotive fuel filter, you can attach the filter directly to the fuel pump utilizing an AN-16 to AN-12 reducer
fitting (Aeromotive P/N 15722) and one extra sealing o-ring (AN-12 o-ring pack Aeromotive P/N 15624) on the male
flare side.
7. Using AN-16 fuel line, connect the fuel pump outlet to a 10 micron post fuel filter (Aeromotive P/N 12364). You can
attach the filter directly to the fuel pump utilizing an AN-10 to ORB-16 fitting (Aeromotive P/N 15723) and an additional
sealing o-ring (AN-10 o-ring pack Aeromotive P/N 15623). Make sure you use high pressure (150 psi minimum)
fuel line for this connection!
8. Connect the outlet filter to the vehicle’s fuel rails or pressure regulator depending on application as shown in the
following example diagrams, using AN-12 fuel line. For optimum fuel system performance in EFI applications,
Aeromotive recommends a balanced system with the fuel pressure regulator as the last component in the system.
Make sure you use high pressure (150 psi minimum) fuel line for this connection!

Note: Be sure to route all electrical wires clear of any moving suspension or drivetrain components and any
exhaust components! Protect wires from abrasion and road obstructions or debris.
9. Make sure you use stranded, insulated copper wire, in the sizes shown, with matching crimp-type connectors for all
connections.
10. Attach the OEM fuel pump wires, the aftermarket ECM fuel pump wires or your fuel pump switch wires as shown in
the following diagram, +12VDC to the red lead, Ground to the black lead. NOTE: POWER TO THE PUMP MUST BE
FLAT DC, NOT PULSE WIDTH MODULATED!
CAUTION:
DO NOT REVERSE THE POLARITY-CONNECT AS STATED ABOVE. Reversing the polarity will
render the controller inoperable and will void all warranties for this product!
11. This pump controller allows the ability to change the speed of the pump via a 0-5VDC analog input to the yellow signal
wire. THE CONTROL SIGNAL MUST BE A TRUE ANALOG INPUT, NOT PWM. A PWM signal can only be used if
filtered sufficiently for smooth operation. The signal wire used to control the speed of the pump may be connected in
ONE of multiple configuration examples as shown in the following illustrations to control the speed of the pump.
12. This pump controller has a minimum floor for pump speed of 30-40% depending on the pump. This means that fuel
pump speed will not fall below 30-40% of full speed with zero input voltage on the yellow control signal wire.
13. This pump controller has a minimum voltage threshold of approximately 0.5VDC, above which, the minimum floor
pump speed will begin to be exceeded. Signal input of voltage below 0.5VDC will have no effect on pump speed.
This ensures allowance for minimum, closed throttle TPS settings of up to 0.5VDC are allowed and will not affect fuel
pump speed at idle.
-

14. This pump controller has a full pump speed voltage threshold of approximately 3.7VDC, where the full pump speed
will be achieved with signal input voltage at or above 3.7VDC and above which no further change in pump speed will
occur. This ensures that when a TPS signal is used to drive pump speed that typical throttle openings of 70-75% and
higher will ensure full fuel pump volume to the fuel rail or carburetor.
CONTROL CONFIGURATIONS:
MODE 1 – TPS or Other 0-5VDC Input Control
Aeromotive recommends the “Mode 1” control method where the 0-5VDC signal input is tied to a Throttle Position
Sensor using the output wire to the ECU. The intent for this control is to reduce the fuel pump output (and thus the
amount of returned fuel flow) during low throttle opening (low engine demand) to reduce excess recycling of fuel to
help keep fuel tank temperatures low. Alternatively, other 0-5VDC analog output sensors (MAF or MAP sensors,
boost pressure sensor, etc.) or voltage dividing/regulating/switching components may be used to vary pump speed. It
is the customer’s responsibility to ensure a signal supply and control strategy where the fuel flow is sufficient.
If no signal supply is suitable or desired, the controller can still be wired for use as in Modes 2 – 4, as shown below, to
allow different fuel pump speed and flow outputs from the pump.
MODE 2 – Constant Full Speed
MODE 3 – Constant Low Speed
USER SUPPLIED
+12VDC
GND
0-5VDC
USER SUPPLIED
GND
USER SUPPLIED
+12VDC
GND
+12VDC

MODE 4 – Switched Speed On - Demand from Low to High
Mode 4 can be activated by any relay or switch providing 5VDC or higher to the control wire. A relay for this purpose
could be activated using the programmable output from a tunable ECU, or via a boost or WOT switch connected to
12VDC to name a few examples.
15. After all wire connections are made, attach a suitable fuel pressure gauge to the fuel system Schrader valve, fuel rail,
or fuel pressure regulator (Aeromotive P/N 15633 for EFI or 15632 for Carbureted applications, respectively).
16. Ensure that any spilled fuel and any fuel-soaked shop towels are cleaned up and removed from the vicinity of
the vehicle.
CAUTION:
While performing the following steps, if any fuel leaks are detected, immediately turn the ignition to
OFF, remove any spilled fuel, and repair the leak(s) before proceeding!
17. Turn the ignition to ON without starting the engine, allow the pump to run for several seconds and check the fuel
pressure. If there is no pressure, turn the ignition to OFF, wait one minute, then turn the ignition to ON and recheck
the pressure. Repeat this ignition OFF and ON procedure until the gauge registers pressure or you detect a fuel leak.
If no pressure is registered on the gauge after running the pump for several seconds and you have found no leaks,
check all fuel and electrical connections to determine the cause.
18. Once the fuel pressure gauge registers pressure, start the engine. The fuel pressure gauge should register between
40 and 90 psi for EFI applications or 5-15 psi for carbureted applications. If you have installed an adjustable fuel
pressure regulator, adjust it to the desired setting. (For maximum fuel system performance, we recommend using an
Aeromotive adjustable fuel pressure regulator; call us for info.)
19. Shut the engine off. Using suitable clips and other mounting hardware, secure the newly installed fuel lines and
electrical wires by attaching them to the vehicle chassis.
20. Carefully lower the vehicle to the ground.
21. Test-drive the vehicle to insure proper operation and re-check the fuel system for leaks. If any leaks are found,
immediately discontinue use of the vehicle and repair the leak(s)!
NOTE: When installing a new fuel system, the system will be contaminated from manufacturing and assembly.
This contamination will be stopped by the Aeromotive P/N 12364 post filter. Change the post filter element after
100 miles or 2-5 run hours to ensure pump/system performance and service life (filter element part P/N 12664).
Aeromotive system components are not legal for sale or use on emission-controlled motor vehicles.
USER SUPPLIED
+12VDC
GND
Switch

WARNING:
This product can expose you to chemicals,
including chromium, which is known to the State of California
to cause cancer or birth defects or other reproductive harm.
For more information, visit: www.p65Warnings.ca.gov
Aeromotive, Inc. 7805 Barton Street, Lenexa, KS 66214 Phone: (913) 647-7300 Fax: (913) 647-7207
AEROMOTIVE, INC. LIMITED WARRANTY
This Aeromotive Product, with proof of purchase dated on or after January 1, 2003, is warranted to
be free from defects in materials and workmanship for a period of one year from the original date of
purchase. No warranty claim will be valid without authentic, dated proof of purchase.
This warranty is to the original retail purchaser and none other and is available directly from
Aeromotive and not through any point of distribution or purchase.
If a defect is suspected, the retail purchaser must contact Aeromotive directly to discuss the problem,
possible solutions and obtain a Return Goods Authorization (RGA), if deemed necessary by the
company. Please call 913-647-7300 and dial option 3 for the technical service dept. All returns must
be shipped freight pre-paid to the company and with valid RGA before they will be processed.
Aeromotive will examine any product returned with the proper authorization to determine if the failure
resulted from a defect or from abuse, improper installation, misapplication or alteration. Aeromotive
will then, at it’s sole discretion, return, repair or replace the product.
If any Aeromotive product is determined defective, buyer’s exclusive remedy is limited in value to the
sale price of the good. In no event shall Aeromotive be liable for incidental or consequential
damages.
Aeromotive expressly retains the right to make changes and improvements in any product it
manufactures and sells at any time. These changes and improvements may be made without notice
at any time and without any obligation to change the catalogs or printed materials.
Aeromotive expressly retains the right to discontinue at any time and without notice any Aeromotive
product that it manufactures or sells.
This warranty is limited and expressly limits any implied warranty to one year from the date of the
original retail purchase on all Aeromotive products.
No person, party or corporate entity other than Aeromotive shall have the right to: determine whether
or not this Limited Warranty is applicable to any Aeromotive product, authorize any action
whatsoever under the terms and conditions of this Limited Warranty, assume any obligation or
liability of any nature whatsoever on behalf of Aeromotive under the terms and conditions of this
Limited Warranty.
This Limited Warranty covers only the product itself and not the cost of installation or removal.
This Limited Warranty is in lieu of and expressly excludes any and all other warranties, expressed or
implied. This Limited Warranty gives you specific legal rights, and you may also have other rights
which vary from state to state.
This manual suits for next models
1
Table of contents
Other Aero-motive Water Pump manuals
Popular Water Pump manuals by other brands

Eckerle
Eckerle EE 400M installation instructions

Mäktig
Mäktig 600548 instruction manual

Pentair Pool Products
Pentair Pool Products Hydromatic TRST Installation and service manual

BEDU
BEDU K Series Instructions for installation, operation, maintenance

Lutz
Lutz B70V Original instructions

Homa
Homa Sensoflat C 270 WF Original instruction manual