Aeropro A604 User manual

1
Top Grade Air Powered Spray Gun A604
INSTRUCTION MANUAL
2018
Top Grade Air Powered Spray Gun
Model No.:A604 Http://www.aeroprotools.com
IMPORTANT:
Read this Instruction Manual carefully and understand it completely,
basic precaution should be strictly followed to prevent the damage to
the tool and injury to the operator. Retain this manual for further
reference.And you should pay more attention to the Technical Data.
2
Top Grade Air Powered Spray Gun A604
QUICK START GUIDE:
Description
Technical Data
Important Safety Instruction
Instructions for Operation
Maintenance/Storing
Troubleshooting/Repairs
Parts List
Description
Aluminum forged gun body with precise machined air cap set.
Stainless steel needle and nozzle accommodate a variety of coating.
Even better surface quality for spotless finish.
Ensure excellent painting results.
Great for Automobile finish painting
Technical Data
Feed Type:
Gravity
Standard of Nozzle:
Φ1.3mm
Optional Nozzle:
Φ1.3,1.5,1.7mm
Recommended air pressure:
2.0bar
Pattern Width:
180-260mm
Paint Capacity:
500cc
Air Consumption:
4.1~4.5cfm
Air Inlet
1/4
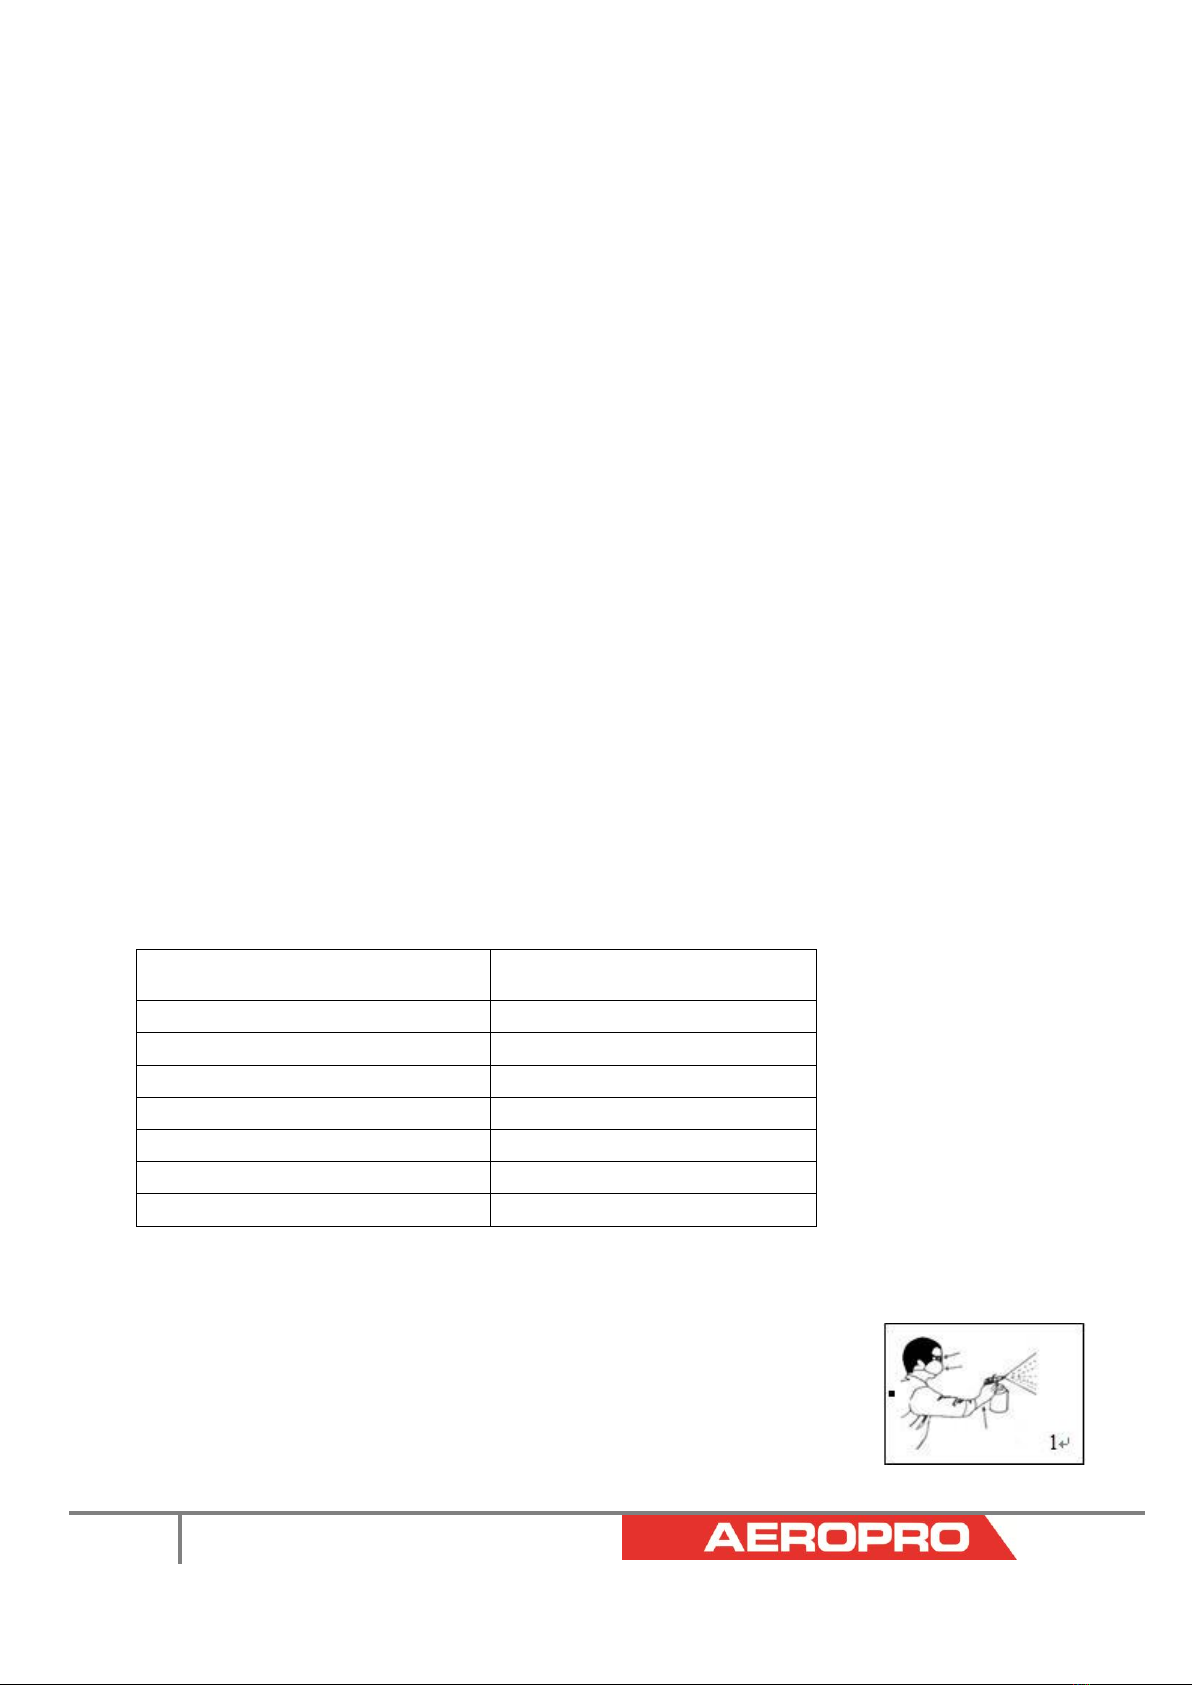
※Important Safety Instructions
1. For toxic vapors produced by spraying certain materials can create intoxication
and serious damage to health. Always wear safety glasses, gloves and
respirator to prevent the toxic vapor hazard, solvent and pointing paint coming into
contact your eyes or skin. (see fig 1)

3
Top Grade Air Powered Spray Gun A604
2. Never use oxygen, combustible or any other bottle gas as a power source or would
cause explosion and serious personal injury. (see fig 2)
3. Fluid and solvent can be highly flammable or combustible. Use in well-ventilated spray
booth and avoid any ignition sources, such as smoking, open flames and decrial
hazard. (see fig 3)
4.Disconnect tool from air supply hose before doing tool maintenance and during
non-operation, for emerge stop and prevention of unintended operation, a ball valve
near the gun to air supply is recommend.
5. Use clean, dry and regulate compressed air rated at 2.0bar, never exceed maximum
permissive operating pressure (see fig 4)
6. Never use homogenate hydrocarbon solvent, which can chemically react with
aluminum and zinc parts and chemically compatible with aluminum and zinc pats.
7. Never point gun at you and others at any time.
8. Before operating the tool, make sure all the screws & caps are securely tightened in case of leaking;
9. Before painting, make inspection for free movement of trigger and nozzle to insure tool can operate well.
10. Never modify this tool for any applications. Only use parts, nozzles and accessories recommended and
accessories recommended by manufactures.
※Operating Instructions
This tool applies to operate on clean, dry and compressed air at regulated pressure at 2.0bar.Too low or too
high pressure is not allowed.
Check and replace any damaged or worn parts on the tool, make sure the trigger and nozzle can operate well.
Connect the gun to air supply, fluid cap, container and air hose should be connected tightly with spray gun.
When painting, Grip the gun keeping perpendicular with spraying area then move it parallel for several times,
the trigger should be locked before the stroke ended. Keep the appropriate distance of 6-8 inches between
gun and raying area, according the atomization pressure and work demand. Just like the fig5 show.
Fig 5
4
Top Grade Air Powered Spray Gun A604
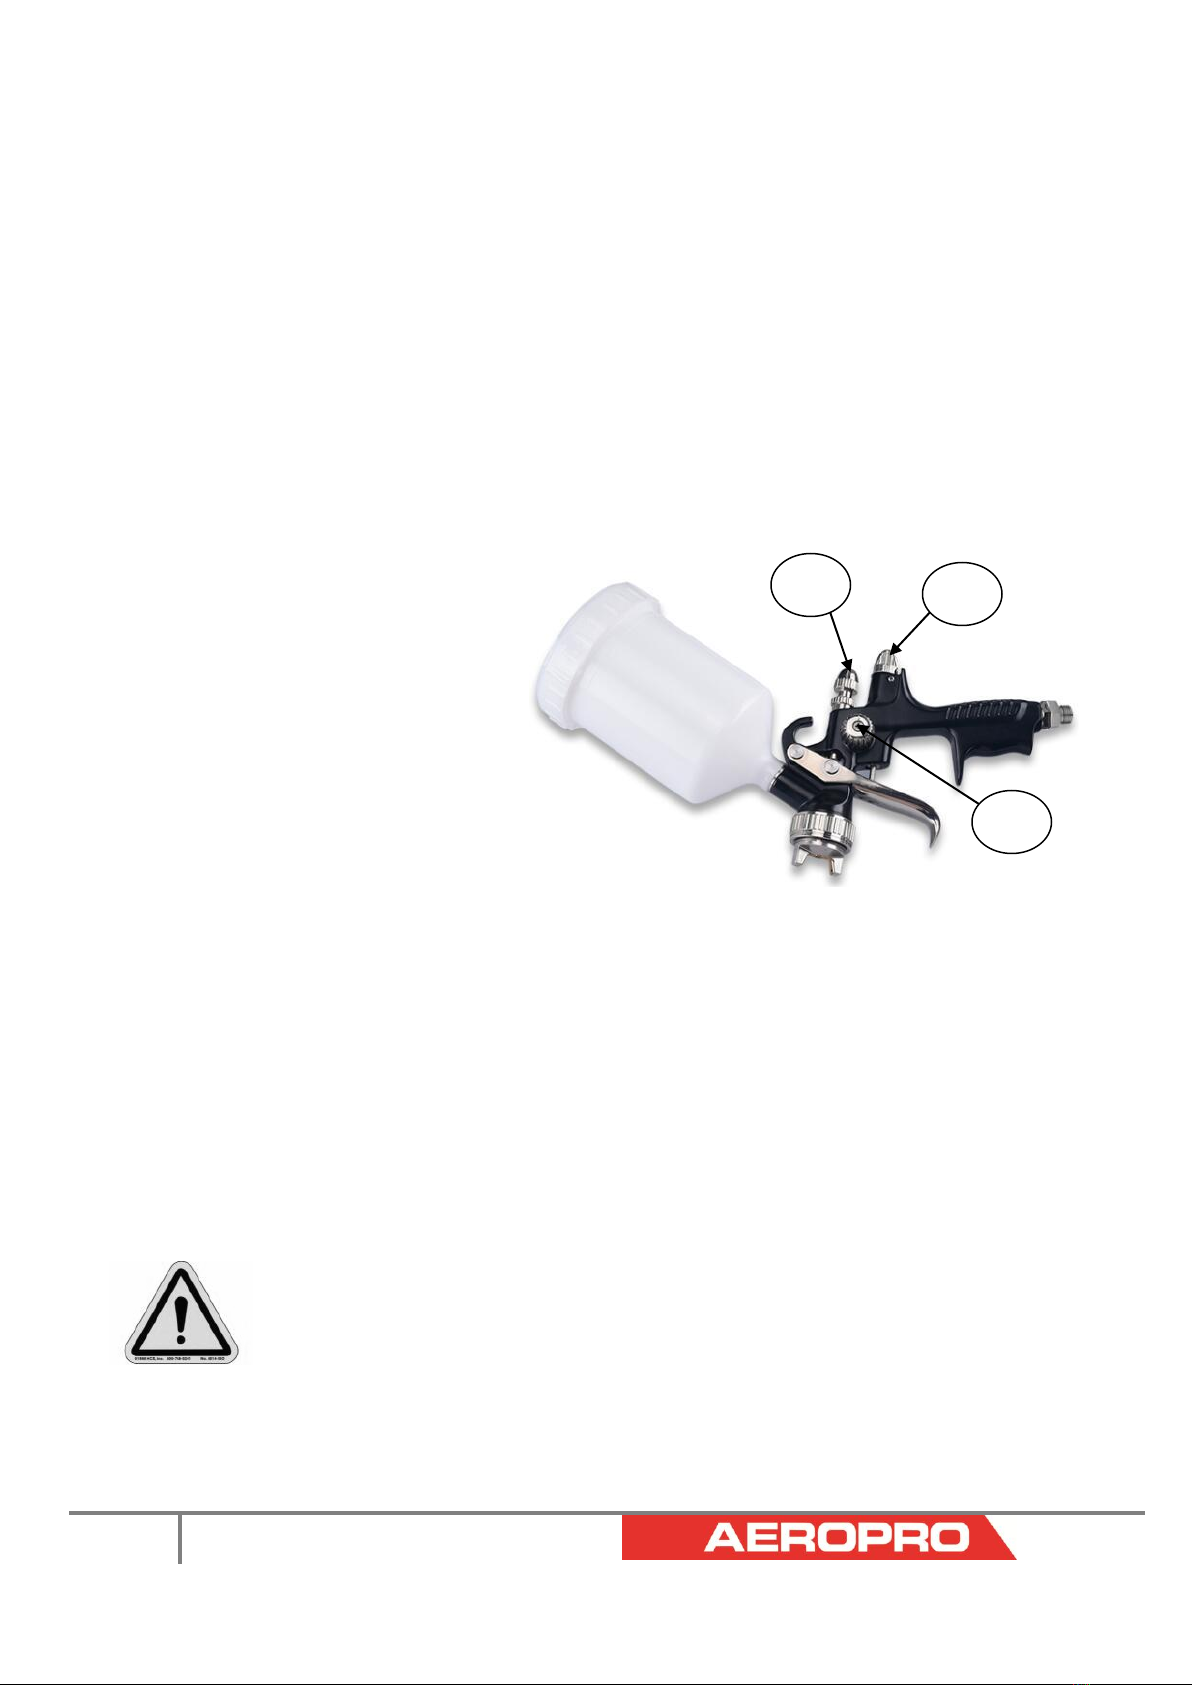
※Adjustment
The desired pattern, volume of fluid output and fine atomization can easily be obtained by regulating the
PatternAdjusting Knob, FluidAdjusting Knob andAirAdjusting Knob.
①Adjusting pattern: Turning Pattern Adjusting Knob to the right until tight will make spray pattern round, or
turning it left, will make spray pattern ellipse.
②Adjusting volume of fluid output: Turn the Fluid Adjusting Knob, clockwise will reduce the volume of
fluid output and counter-clockwise will increase fluid output.
③Adjusting air volume: Turning the Air Adjusting valve clockwise will reduce the air volume. And
counter-clockwise will increase the air volume.
※Maintenance
Pour remaining paint into other container and then clean paint passage and air cap. Spray a small amount
thinner to clean passage. Incomplete cleaning will cause adverse pattern sharp and particles. Clean other sections
with attached brush, soaked with thinner soft clothes.
※Caution
Never use the wire or other hard thing to dig nozzle, fluid needle, this will cause the damage of them. Never
immerse spray gun completely in thinner or solvent. When reassembly, always clean parts to prevent the sticking
of dust.
※Troubleshooting
The following chart lists common issues and solutions.Please read it carefully and follow all instructions closely.
WARNING!
Potential hazard that could result in serious injury or loss of life.
If any of the following symptoms appear while the tool is in use, turn it off and disconnect it from
the air supply immediately. Failure to heed this warning could result in serious personal injury.
Disconnect the electrical plug and air supply from the tool before making any adjustments.
Repairs must be performed by a qualified service technician only.
2
3
1

5
Top Grade Air Powered Spray Gun A604
Symptom
Problems
Solution
Fluttering or spitting
1. Material in container is litter.
2. Dry or worn Needle packing set.
3. Fluid nozzle loose or worn
1. Add material into container.
2. Lubricate or replace Needle packing
set.
3. Tighten or replace Fluid nozzle.
Pattern is arc.
1. Worn or loose Fluid nozzle.
2. Material build up on Air cap.
1. Tighten or replace Fluid nozzle.
2. Remove obstructions from holes,
but don’t use metal objects to clean it.
Pattern is not
Evenly spread.
1. Material build up on Air cap.
2. Fluid nozzle dirty or worn.
1. Clean or replace Air cap.
2. Clean or replace Fluid nozzle.
The center of Pattern
too narrow.
1. Material too thin or not enough.
2. Atomization air pressure too
high.
1. Regulate material viscosity.
2. Reduce air pressure.
Pattern width of
fan-sharp is not
enough.
1. Material too thick.
2. Atomization air pressure too
low.
1. Regulate material viscosity.
2. Increase air pressure.
Air leakage from air cap
when trigger is not
pressed
1. Air inlet valve or seat is
contaminated.
2. Inlet valve stem is stuck.
3. Air inlet valve or seat is worn or
damaged.
4. Air inlet spring is broken.
5. Inlet valve stem is bent.
1. Lubricate the inlet valve stem.
2. Clean the air inlet valve or seat.
3. Replace air inlet valve or seat.
4. Replace air inlet spring.
5. Replace inlet valve stem.
Fluid leakage from
packing nut
1. Packing nut is loose.
2. Packing is worn or dry.
1. Tighten, but do not restrict the needle
movement.
2. Replace or lubricate (non-silicone oil).
Excessive overspray
1. Atomization pressure is too high.
2. Work surface is too far.
2. Improper stroking (arcing, gun
motion are too fast).
1. Reduce the air pressure.
2.Adjust to proper distance.
3. Move at moderate pace, parallel to
work surface.
No spray
1. No pressure in gun.
2. Fluid control is not properly
opened.
3. Fluid is too thick or heavy.
1. Check air lines.
2. Open the fluid control.
2. Thin the fluid or change to pressure
feed system.
Note: For further repair information, please send to: sales@aeroprotools.com
6
Top Grade Air Powered Spray Gun A604
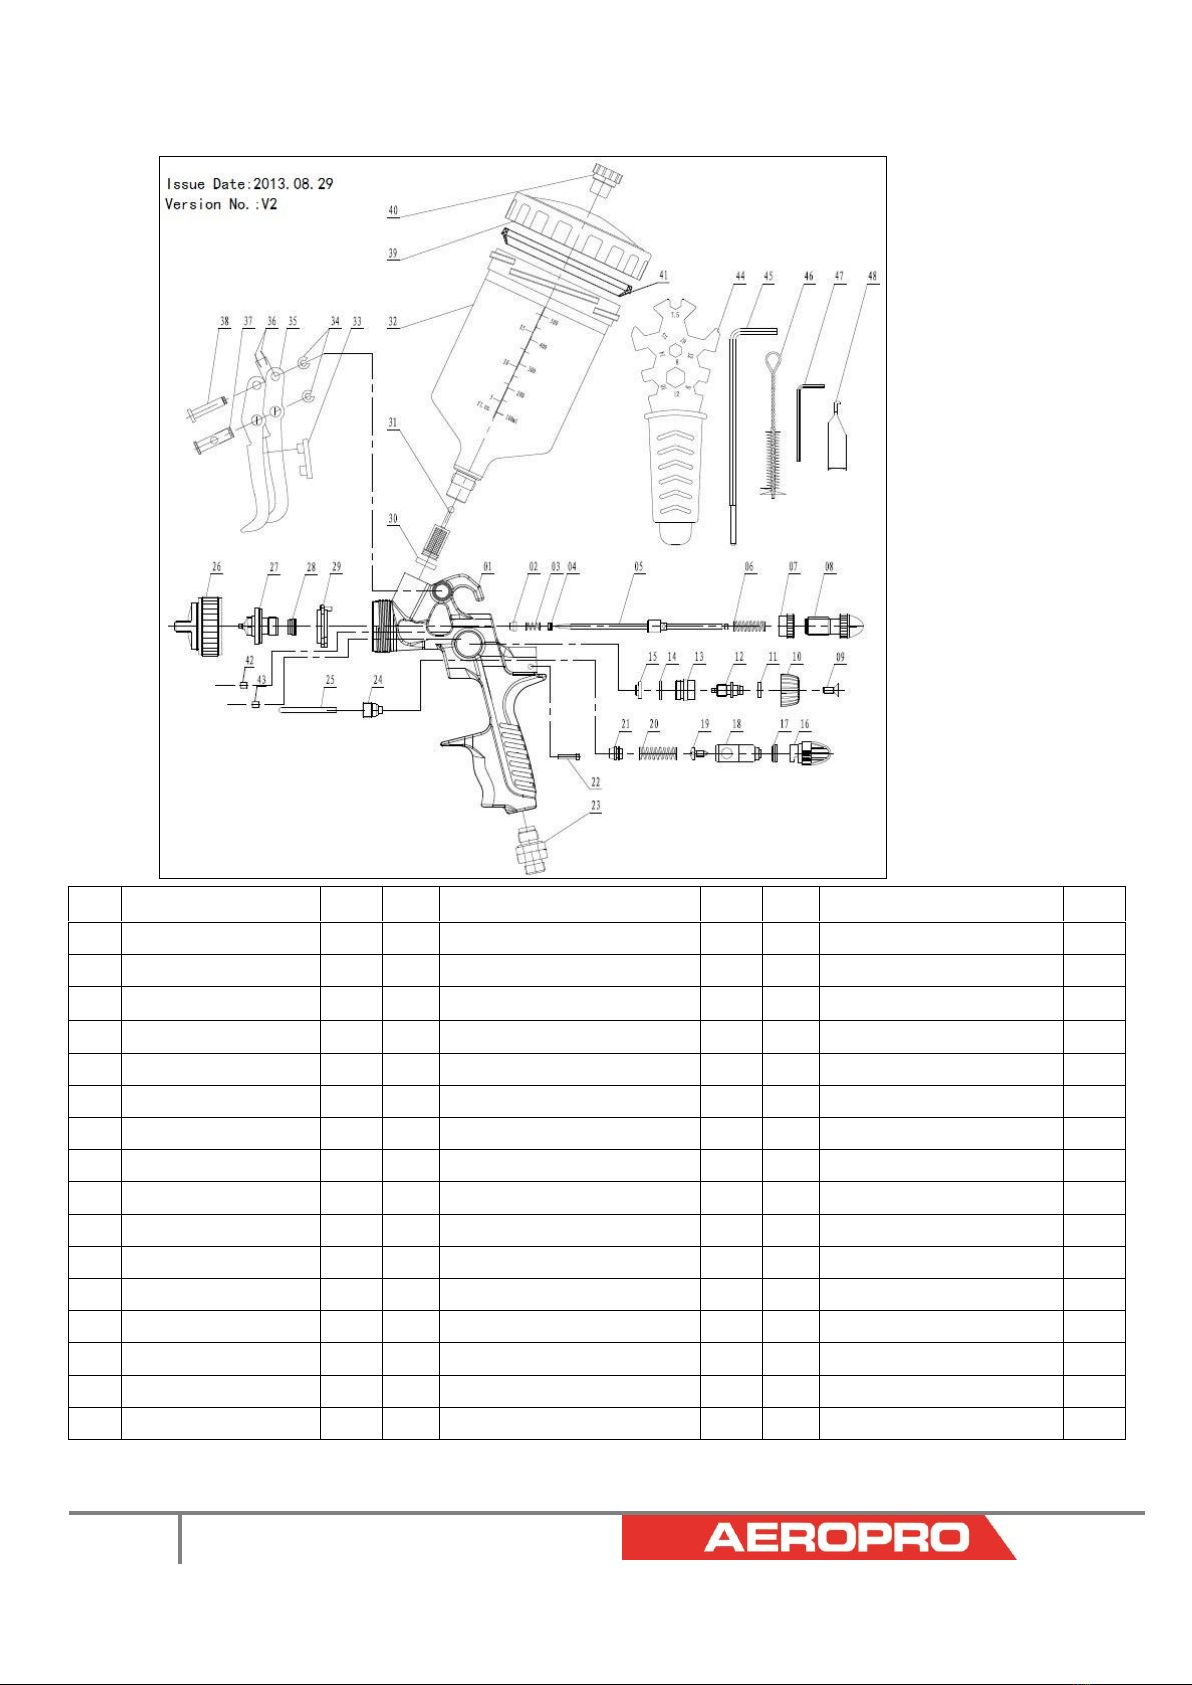
A604 Exploded view & Parts list
No.
Description
Qty.
No.
Description
Qty.
No.
Description
Qty.
1
Gun Body
1
17
Pressure Adj. Seal Ring
1
33
Trigger Washer
1
2
Needle Seal Ring
1
18
Regulator
1
34
Retainer Washer
2
3
Locking Spring
1
19
Self Tapping Screw
1
35
Trigger
1
4
Direction Screw
1
20
Switch spring
1
36
Curved Washer
2
5
Needle
1
21
Switch end cap
1
37
Trigger Pusher
1
6
Needle Spring
1
22
Position screw
1
38
Trigger Pin
1
7
Joint
1
23
Air inlet plug
1
39
Cup Lid
1
8
Fluid Adj. Knob
1
24
Switch seat
1
40
Ventilator Head
1
9
Phillips Screw
1
25
Switch pole
1
41
Cup Inner ring
1
10
Pattern Adj. Knob
1
26
Air cap
1
42
Pattern release end cap
1
11
Pattern Adj. washer
1
27
Nozzle
1
43
Fluid release end cap
1
12
Pattern Adj. Bolt
1
28
Nozzle sealing washer
1
44
Bull Hex wrench
1
13
Pattern Adj. Seat
1
29
Shunt Ring
1
45
Bovine Hex wrench
1
14
O-ring 11*1
1
30
Fluid Inlet sealing washer
1
46
Brush
1
15
Pattern Block
1
31
Filter
1
47
Hex Wrench
1
16
Pressure Adj. Knob
1
32
Cup
1
48
Hook
1
Note:If you need spare parts of this model, pls feel free to contact us or the distributor where you bought this
tool. Tks
Table of contents
Other Aeropro Paint Sprayer manuals


