Agora-Tec AT-5W User manual

English Deutsch
Max. Pump
capacity
Max.
Fördermenge 170l/h 450l/h 600l/h 600l/h 1350l/h 1350l/h
0,70m 0,90m 1,60m 1,60m 2,10m 2,10m
40° 40° 40° 40° 40° 40°
6V 12V 18V 18V 18V 18V
333mA 420mA 555mA 555mA 1111mA 1111mA
186x132x17
2W
252x205x17 397x252x23 397x252x23 510x397x23 510x397x23
5W 10W 10W 20W 20W
IP 68 IP 68 IP 68 IP 68 IP 68 IP 68
5m 5m 5m 5m 5m 5m
20,5x15,1x9,2cm 28x23x14cm 41,5x27x12cm 41,5x27x21cm 41,5x27x15cm 41,5x27x24cm
0,7kg 1,6kg 2,4kg 6kg 4kg 7,5kg
Max. Pump
height Max.
Fontainenhöhe
Max. water
temperatur Max. Wasser-
temperatur
Rated voltage Nennspannung
Amperage Stromstärke
Dimension Panel
Panel Power
Maße Panel
in mm
Wattleistung
Panel
Protection
grade
Maße Paket
(LxBxH)
Cable lenght Kabellänge
Dimension
(LxWxH)
Schutzklasse
Total weight Gesamtgewicht
AT 001 001 001 AT 001 001 002 AT 001 001 003 AT 001 001 004 AT 001 001 005 AT 001 001 006
Solar-Teichpumpen
Solar Pond Pump
Bedienungsanleitung/ Operating Instructions
deutsch/ englisch german/ english
Technische Daten/ Technical Data
AGORA
TEC GmbH
AGORA-TEC GmbH
Alte Kammgarnspinnerei 3
98574 Schmalkalden/ OT Niederschmalkalden
[email protected] www.agora-tec.de
Technische Änderungen, Druckfehler und Irrtümer vorbehalten. Technical changes, misprints and mistakes reserved.
AT-Solarpumpe 2W
Art.-Nr.: AT 001 001 001 AT-Solarpumpe 5W
Art.-Nr.: AT 001 001 002
AT-Solarpumpe 10W
Art.-Nr.: AT 001 001 003 AT-Solarpumpe 10W-BL-V2.0*
Art.-Nr.: AT 001 001 004
AT-Solarpumpe 20W-BL-V2.0*
Art.-Nr.: AT 001 001 006
AT-Solarpumpe 20W
Art.-Nr.: AT 001 001 005
*Die Modelle mit Licht und Batterie (AT-Solarpumpe 10W-BL, AT-Solarpumpe 20W-BL), funktionieren dank der Akku-Funktion auch
ohne Sonneneinstrahlung. Folgendes ist zu beachten: Die linke an der Batterie zeigt den Ladezustand des Akku’s an.
Akku ist geladen - Pumpe schaltet sich ein.
Akku muß geladen werden. (In diesem Fall wirkt der Tiefenentladungsschutz - Pumpe wird abgeschaltet und Akku wird durch
Solarpanel geladen. Kurzschluss (Überprüfen Sie den Anschluss des LED-Rings auf Dichtigkeit)
Die rechte leuchtet, wenn der Akku geladen wird.
Hier kann die Durchflussmenge reguliert und damit die Höhe der Fontaine geregelt werden.
Pumpe und Lichtring werden alle 50min für ca.10min eingeschaltet, wobei sich die LED’s am Lichtring durch den
Dämmerungssensor automatisch einschalten. Diese Funktion wird nach Drücken der Timer-Taste für 14 Stunden aktiviert und
schaltet dann für 10 Stunden aus. D.h., wenn die Pumpe um 8.00 Uhr morgens startet funktioniert dieser Rhythmus bis 22.00 Uhr.
Danach ist 10 Stunden Ruhephase und um 8.00 Uhr startet die Pumpe erneut. Die Betriebsphase kann individuell gewählt werden.
Schaltet Pumpe und LED-Lichtring An bzw. Aus.
Der Akku wird in der Sonne über das Panel weiter geladen, auch wenn der Schalter auf “aus” steht.
Der Akku verfügt über einen Überladungsschutz.
LED
Grün:
Rot:
Blinkende LED (Rot/ Grün):
LED (orange)
Potentiometer:
Timer-Funktion:
ON/ OFF-Schalter:

5. Wartung
2W
5W
10W/ 20W
5.1 Folgende Kontrollen sollten regelmäßig durchgeführt werden:
5. Servicing
5.1 The following checks should be carried out regularily
6. Garantiebestimmungen
6. Guarantee Regulations
Abhängig vom Verschmutzungsgrad des Teiches, von Sedimenten und Ablagerungen, sollte die Pumpe in bestimmten Zeit-
abständen (2-3 Wochen) gereinigt werden. Hierzu entfernen Sie das Pumpengehäuse an der Unterseite des Filtergehäuses.
Um das Pumpenlaufrad zu säubern, gehen Sie bitte folgendermaßen vor: (siehe auch die Abbildungen – Abbildung ähnlich)
- Entfernen Sie am Pumpengehäuse die vordere Kunststoffabdeckung, indem Sie leicht auf die Gehäuseunterseite
drücken und ziehen. Drehen Sie den Plastikaufsatz leicht nach links und ziehen diesen ab.
- Drücken Sie das Gehäuse an den markierten Stellen leicht auseinander und ziehen das Unterteil der Pumpe ab.
Drehen Sie den Pumpenaufsatz leicht nach links und ziehen diesen ab. Nun kann der Rotor entfernt und gereinigt werden.
- Zuerst das Plastikteil mit Filter abziehen, danach das Fußteil mit den Saugfüßchen in Pfeilrichtung abziehen.
Drehen Sie den Plastikaufsatz leicht nach links und ziehen diesen ab. Nun kann der Rotor entfernt und gereinigt werden.
Das Solar-Panel bitte nur mit einem weichen Tuch und einem geeigneten nicht aggressiven Reinigungsmittel säubern.
Prüfen, ob das Kabel unversehrt ist. Saubere Leitungsführung, keine Knicke. Sauberkeit des gesamten Mediums.
Bei Frostgefahr sollte die Pumpe entleert, mit klarem Wasser durchspült und trocken eingelagert werden.
Dependent on the rate of pond pollution and sediments, the pumpe should be cleaned from time to time (2-3 weeks).
:
Intactness of the electric cable, check if bent or broken. Cleaness of the piping and the medium in all.
Moreover, the pump should be emptied with danger of frost, be washed out with clear water and stored dry.
Für alle Material- und Produktionsfehler gewähren wir die gesetzliche Garantiezeit. Die Garantie gilt nicht bei:
Materialverschleiß (z.B. Dichtungen, Laufräder, Laufkammern); Unberechtigten Eingriffen oder Veränderungen an der Pumpe.
Beschädigungen durch Selbstverschulden; Unsachgemäßer Wartung und unsachgemäßem Betrieb.
Trockenlauf (auch testweise!) der Pumpe; Kein Schadensersatz für Folgeschäden!
For all manufacturer and material defects we grant the legal guarantee period. This guarantee does not apply when:
Material wear (sealing rings, impeller wheels, impeller chambers); Unjustified interventions or changes in the pump.
Damages by selffault; Improper servicing and improper use.
DRY RUN (Also partially!) of the pump; Moreover, we give no damage compensation for secondary damages!
This to remove the pump casing at the bottom of the filter housing.In order to clean the impeller, you proceed as follows:
- Remove the pump housing, the front plastic cover by gently on the bottom casepush and pull.
Turn the plastic cap slightly to the left and pull off this.
- Press the housing at the marked locations and pull apart easily from the lower part of the pump.
urn the pump top slightly to the left and remove it. Now, the rotor can be removed and cleaned.
- First remove the plastic part with a filter, then remove the bottom part with the Saugfüßchen the arrow.
Turn the plastic cap slightly to the left and pull off this. Now, the rotor can be removed and cleaned.The solar panel,
please use a soft cloth and a suitable non-aggressive detergent.
2W
5W
10W / 20W
1. Vorwort
1. Introduction
2. Allgemeines
2.1
2.2
2.3
2. In General
2.1
2.2
2.3
3. Inbetriebnahme
3. Operation
4. Sicherheitshinweise/ Vorsichtsmassnahmen
4. Security tips
Vielen Dank, das Sie sich für unser Produkt entschieden haben.
Damit die Funktions- und Betriebssicherheit gewährleistet ist, lesen Sie bitte vor Inbetriebnahme die Anleitung.
We would like to congratulate you on the purchase of our product. As to secure the functioning and operating safety,
please do read the instruction manual before taking it into operation.
Die Solar-Teichpumpen-Sets sind hochwertige Pumpensysteme für den energiesparenden Einsatz im Außen- und
Innenbereich. Das perfekte Highlight in Ihrem Gartenteich oder in der Pflanzschale. Die Solar-Teichpumpen-Sets sind
netzunabhängig und sofort einsetzbar.
Achtung: Die Leistung der Pumpe hängt von der Ausrichtung des Solar- Panels zur Sonne und deren Intensität ab.
Nur bei optimalen Bedingungen können die maximalen Daten erreicht werden. Im Schatten oder bei bewölktem Himmel
ist die Funktion beeinträchtigt. Bei den Modellen mit Batterie hängt die Funktion vom Ladezustand der Akkus ab.
Es ist NICHT zu empfehlen selbst Kabelverlängerungen oder andere technische Veränderungen durchzuführen.
Dadurch kann die Funktion beeinträchtigt werden, bzw. Der Gewährleistungsanspruch verloren gehen.
Jegliche Schäden sind uns unverzüglich und schriftlich mitzuteilen.
Solar Pond Pump Kits are high-quality fountain pump systems for energy use in outdoor or indoor use. The perfect
eye-catcher in your garden or seed tray. The solar pump kits are ready to work independently and anywhere immediately.
IMPORTANT: The performance of the pump depends on the orientation of the solar panels toward the sun and the
intensity of. The max. Data obtained under optimal conditions. A feature in the shade or on cloudy days can not be
guaranteed. In models with battery, operation depends on the charge status of the battery.
It's recommended NOT to conduct yourself cable extensions or other technical modifications. First, it is not certai
whether these changes are technically correct and, secondly, because no guarantee can be granted.
Any damages are immediately to be reported to us in written from.
Packen Sie alle Teile vorsichtig aus und kontrollieren Sie diese auf Vollständigkeit. Installieren Sie das Solar-Panel an
einer geeigneten Stelle und richten es zur Sonne aus. Stecken sie alle Rohre zusammen und verbinden Sie diese mit der
Pumpe. Im Lieferumfang befinden sich verschiedene Düsenvarianten für unterschiedliche Effekte.
Installieren Sie die Pumpe an der entsprechenden Stelle (z. B.) Im Teich. Achten Sie darauf das die Pumpe im Betrieb
immer vollständig mit Wasser bedeckt ist. Optimale Fontainen- Effekte der verschiedenen Düsen werden erzielt, wenn Sie
die Düsen ca. 5-10 cm über der Wasseroberfläche installieren. Verbinden Sie den Stecker der Pumpe mit dem Solarpanel.
Bei den Modellen mit Batterie verbinden Sie das Kabel des Akkufaches mit dem Solar- Panel, das Kabel der Pumpe
mit dem Akkufach und das Kabel der LED-Lampe mit der Pumpe. Jetzt können Sie die Pumpe in Betrieb nehmen.
Bitte achten Sie (ab der 5W-Variante) auf die richtige Polung der Kontakte.
Unpack all components carefully and check if complete. Install the solar panel at a suitable position and align the solar
panel towards the sun towards the sun. Connect nozzle with pump tubes. Delivered are different nozzles for different effects.
Install the pump at the appropriate place (e.g. in pond). Always make sure that the pump is always completely under
water when in operation. To produce an excellent fountain effect, leave the nozzles 5-10 cm above the water.
Connect the plug of the pump with the solar panel. For models with battery: Connect the cable from the battery compartment
with the solar panel. Connect the cable to the pump with the battery compartment.
For models with LED lighting: Connect the cable of the LED lamp with the pump. The solar pump is now ready to operate.
Please ensure (from the 5W-variant) to the pole of the contacts.
Beachten Sie unbedingt die geltenden Vorschriften zur elektrischen Sicherheit.
Lassen Sie die Pumpe niemals trocken laufen. Das Pumpen von entzündlichen, sowie allen anderen aggressiven
Flüssigkeiten ist nicht gestattet. Die Umgebungstemperatur darf 40°C nicht überschreiten.
Jegliche Änderung an den einzelnen Komponenten ist untersagt. Dadurch entfallen Gewährleistungs- u. Garantieansprüche.
Bei längeren Stillstandszeiten die Pumpe säubern, mit klarem Wasser spülen und bei Zimmertemperatur trocken lagern.
Die Pumpe ist nur für Gleichspannung ausgelegt. Schließen Sie die Pumpe niemals an Wechselspannung an.
Die Solar-Panels sind sehr empfindlich. Schützen Sie diese vor allem vor äußeren mechanischen Einwirkungen
(Schlag, Erschütterung etc.).
Bei Schäden aufgrund von Fahrlässigkeit oder Missachtung der Anweisungen bzw. bei unsachgemäßer Verwendung
übernimmt der Hersteller keine Verantwortung.
Obey absolutely valid regulations on the electrical security Never run pump dry Pumping inflammable, as well as
all other aggressive liquids is prohibited Pay attention to the medium / ambient temperature max. 40°C
Any altering of the product itself or changing of the components is forbidden, any warranty cannot be granted.
Operate the pump in freshwater or saltwater only (never above 50°C), especially keep it away from flammable liquids.
The solar panels are sensitive indeed - protect them from any mechanical impacts (blows, concussion etc.)
The manufacturer rejects every responsibility for any damages which originate from carelessness or the improper use
of the pump.
7. Erkennen und Beheben von Fehlern/ 7. Detect and resolve faults
Problem/ Problem:
Pumpe schaltet sich nicht ein/
Pump does not start
Pumpe läuft, es wird kein
Wasser gefördert/
Pump is running,
but does not draw water
Keine Wasserfontäne/
No water fountain
Mögliche Ursache/ Possible cause:
Keine Sonneneinstrahlung/
Verbindung zwischen Pumpe und
Panel unterbrochen/
Pumpe oder Solar-Panel defekt/
No solar radiation
Connection is interrupted between
pump and panel
Pump or solar panel faulty
Pumpenlaufrad bzw. Filtergehäuse verschmutzt
Verrohrung und/ oder Düsen verschmutzt/
Pump carrying wheel or filter box or piping
and/or ducting needs to be cleaned
Fontänendüse zu hoch oder zu niedrig
eingerichtet/
Fountain duct set-up too low or too high
Fontänendüse 5-10cm über der
Wasseroberfläche einrichten/
Verrohrung und/ oder Düsen reinigen/
Set up fountain duct 5-10 cm above
water surface
Lösung/ Solution:
Panel zur Sonne ausrichten/
Verbindung zwischen Pumpe und
Panel überprüfen
Pumpe oder Solar-Panel austauschen/
Direct panel to the sun
Check connection between pump and
panel
Exchange pump or solar panel
Reinigen siehe Punkt 5./
Verrohrung und/ oder Düsen reinigen/
Cleaning procedure under item 5
Clean piping and/or ducts
This manual suits for next models
5
Popular Pond Pump manuals by other brands

Hozelock Cyprio
Hozelock Cyprio Cascade 700 Installation and operating instructions

Waldbeck
Waldbeck Lagoon 3000 manual
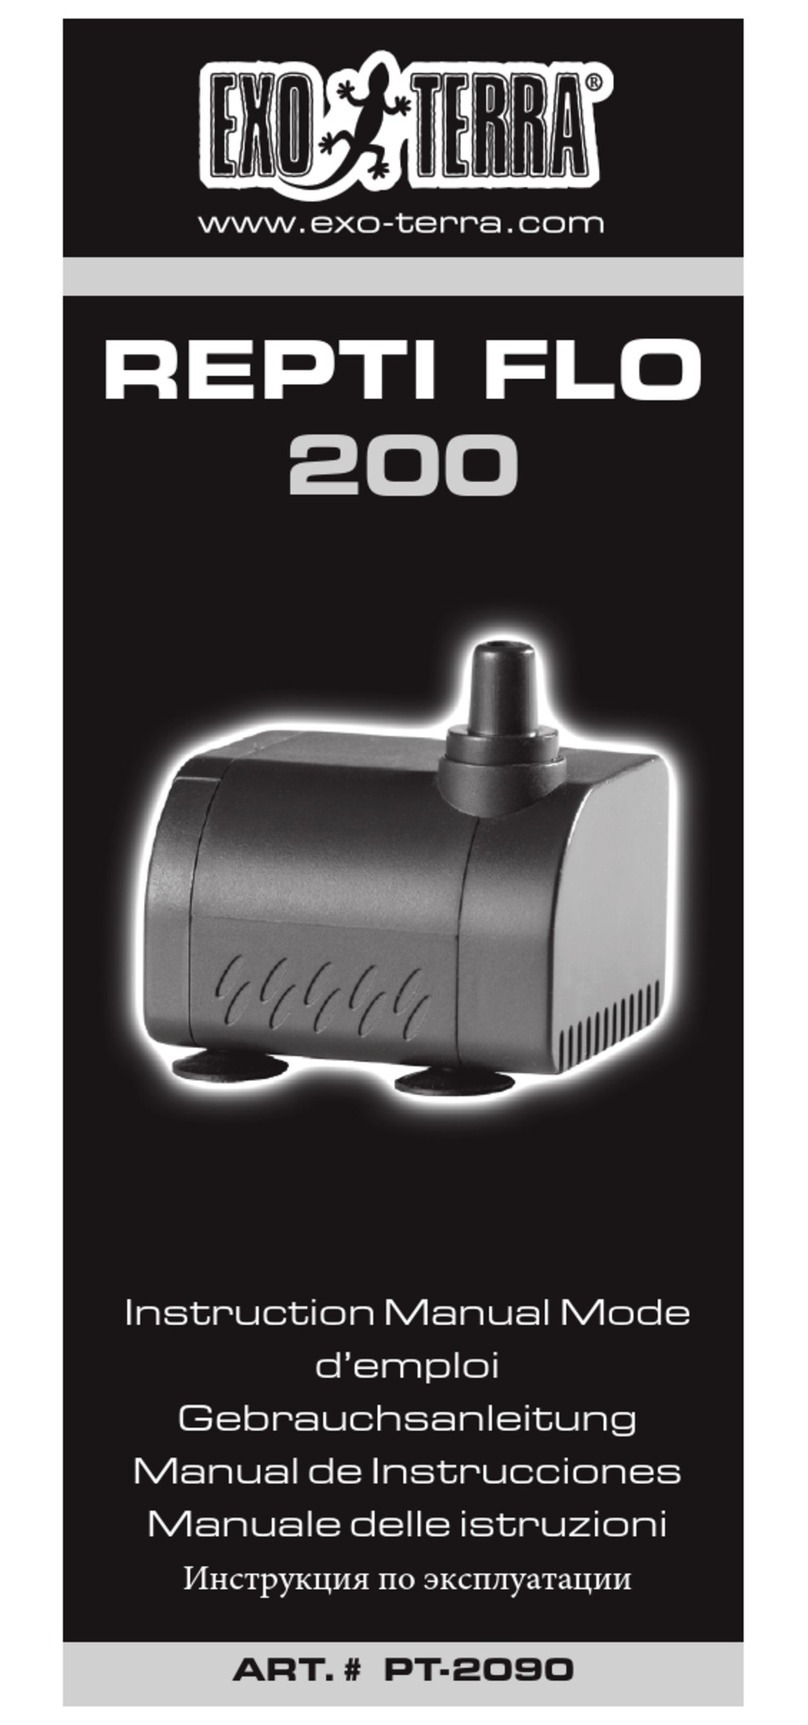
Exo Terra
Exo Terra REPTI FLO 200 instruction manual
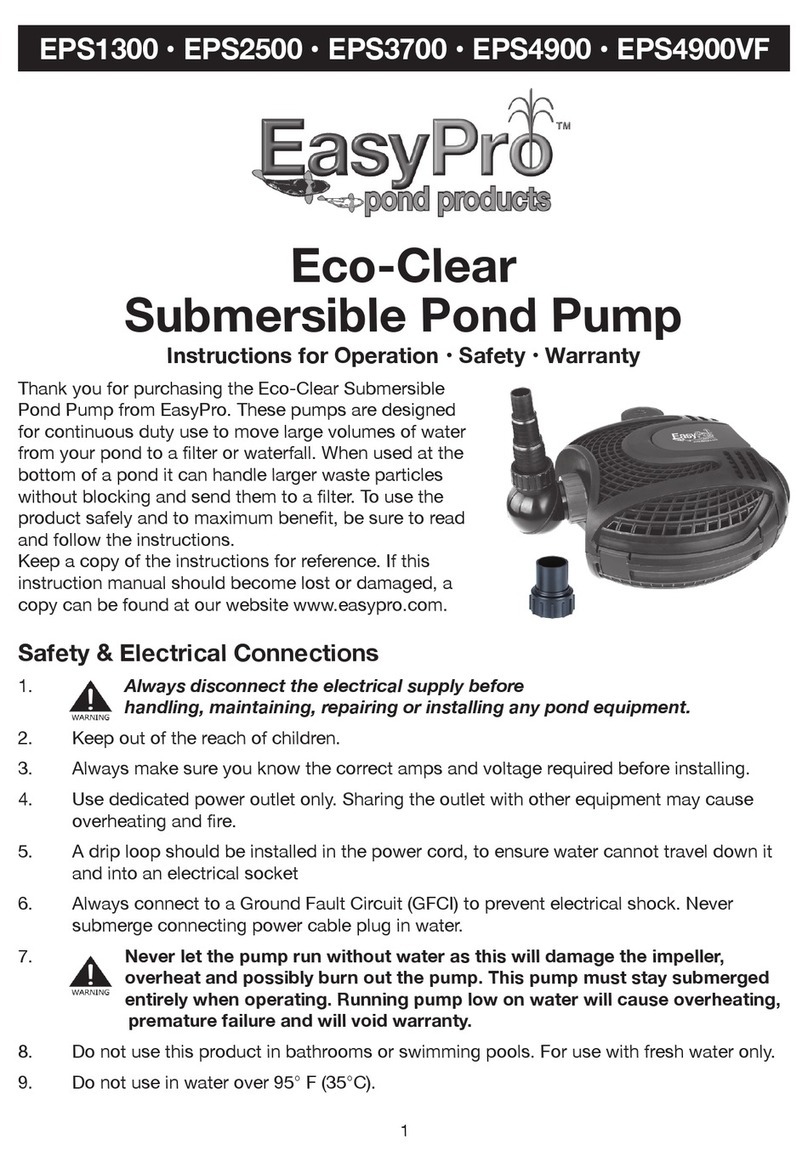
EasyPro
EasyPro Eco-Clear EPS1300 Instructions for Operation, Safety, Warranty
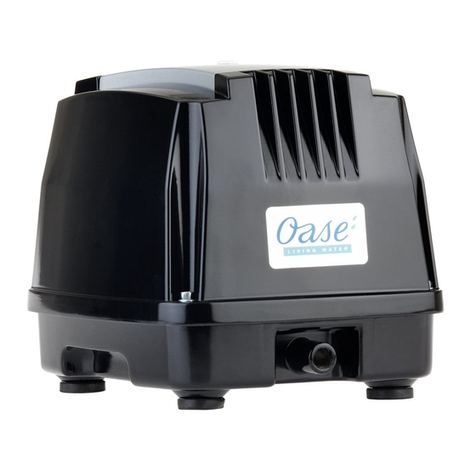
Oase
Oase AquaOxy 4800 operating instructions
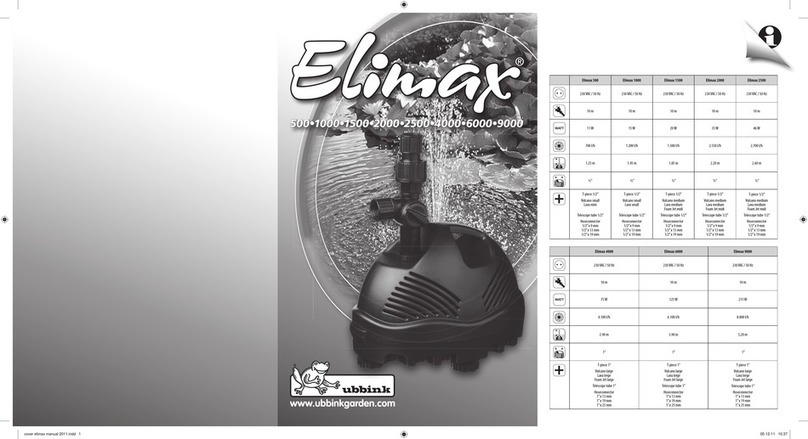
ubbink
ubbink Elimax Series manual
Oase
Oase Numa Aquarius 1000 operating instructions

Smartpond
Smartpond 52282 instruction manual

SunSun
SunSun SuperECO CET-26000 Operation manual

Tsurumi Pump
Tsurumi Pump AquascapePro 8-PN 5500 Instructions & maintenance
Profi-pumpe
Profi-pumpe Solar Aqua-Vital 9-UV-C operating instructions

Fiap
Fiap Aqua Active Profi manual