manuals.online logo
Brands
  1. Home
  2. •
  3. Brands
  4. •
  5. Agua
  6. •
  7. Bathtub
  8. •
  9. Agua BRIO-R User manual

Agua BRIO-R User manual

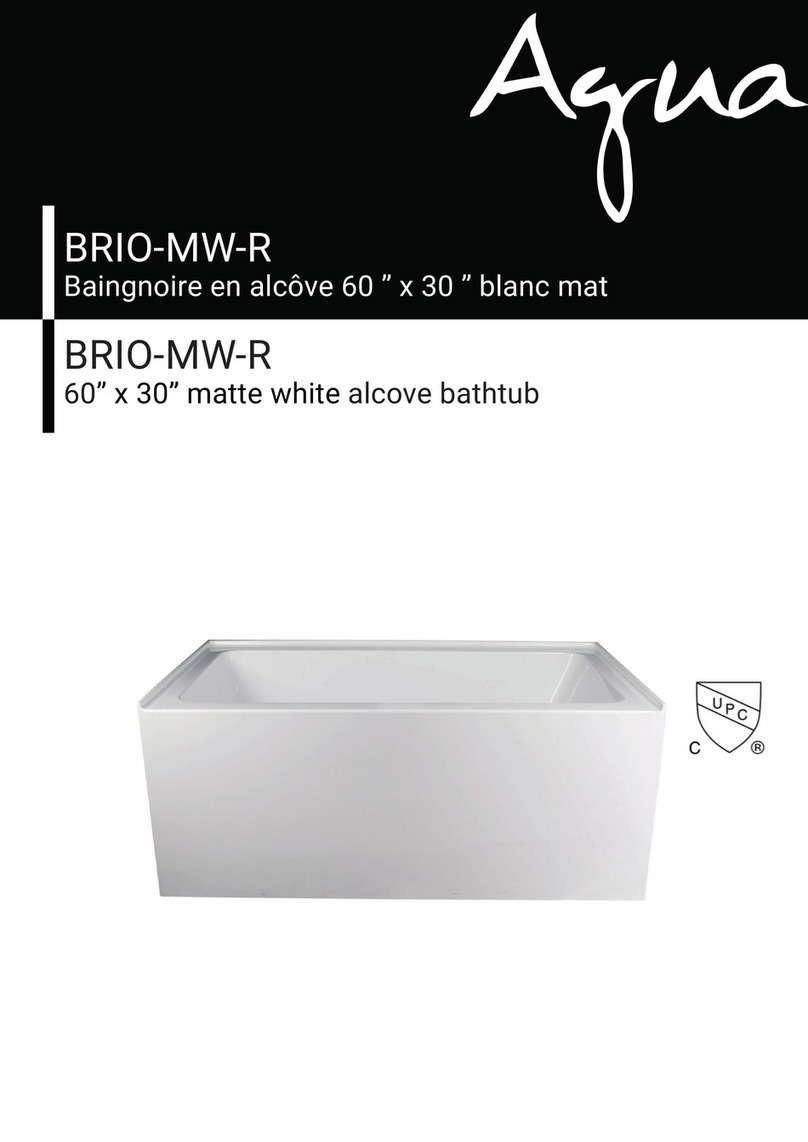
BRIO-R
Baignoire en alcôve
BRIO-R
Alcove Bathtub
AVANT TOUT / BEFORE EVEYTHING
SPECIFICATIONS
FRANCAIS
Nos produits sont soigneusement inspectés en usine et
emballés pour l’expédition. Il est important de bien
inspecter le produit avant l’installation. Si un item
défectueux est installé, l’installateur sera tenu responsable
de tous bris ou dommage a la suite de l’utilisation du
produit défectueux. Pour protéger l’item durant
l’installation il est recommandé de placer un morceau de
carton dans le fond de la baignoire.
Il est très important de vérifier l’emplacement du drain
avant de percer le plancher (voir le gabarit)
ENGLISH
Our products are carefully inspected and package in our
warehouse for shipping. Its very important that you
carefully inspect the product before installation. The
installer will be held responsible for any breakage or
damages following the use of a defective product. To
protect the unit during installation, place a cardboard
in the bottom of the bathtub.
It is important to verify the drain location before drilling a
hole in the floor (see the template )
CAPACITÉ D’EAU / WATER CAPACITY
59 Gallons / 223 litres
DESCRIPTION
Coquille du bain en fibre de verre recouvert d’acrylique 3mm / 3mm acrylic coated fiberglass bath shell
1524 mm
60’’
810 mm
31-7/8’’
535 mm
21-1/8’’
95 mm
3-3/4’’
15-1/2’’
395 mm
50-7/8’’
1294 mm
22-1/8’’
560 mm
90 mm
3-1/2’’
1
INSTALLATION
2
3 4
FRANCAIS
l. Assurez-vous que les montants soient droits et de
niveau. Après avoir bien vérifié l’emplacement du drain
sur le bain, percer le trou.
FRANCAIS
2. Vérifier à l’aide d’un niveau et d’une équerre que la
baignoire est bien droite et perpendiculaire.
ENGLISH
l. Make sure the studs are straight and square. After
carefully verifying the drain location, drill the drain hole.
ENGLISH
2. Use a level and a bracket to make sure that the bathtub
is straight and perpendicular.
FRANCAIS
3. Percer des trous de 3/16’’ sur les rebords supérieurs où
sont placés les montants. Sécurisez le bain à l’aide des
montants : Placer un carton ou une toile de l'intérieur de
la baignoire, se tenir à l'intérieur pour que le bain soit
bien appuyé au sol lors de la fixation aux montants.
Sécurisez la bride aux montants avec des vis de 1 1/4".
ENGLISH
3. Drill 3/16’’ holes at the stud locations on top flanges
Secure the tub with the studs. Place a cardboard or drop
cloth inside the tub, stand inside to press it to floor then
securing to all studs. Secure flanges to studs with 1 1/4“
screws.
FRANCAIS
4. Fixez le drain et le trop plein en suivant les instructions
du fabricant. Appliquer le silicone et enlever le film de
protection. Lorsque l’installation est terminé,
appliquer du silicone sur tous les bords extérieurs et à
l’endroit où la base et le mur se rencontrent.
ENGLISH
4. Attach drain and overflow following manufacturer’s
instructions. Apply silicone and remove the protection
film. After the installation is completed, apply silicone to
all outer edges and where the base and the wall meet.
Toute utilisation d'huile essentielle est non recommandée et pourrait occasionner une détérioration de l'acrylique
et n'est pas couvert par la garantie.
Any use of essential oil is not recommended and could cause deterioration of acrylic and is not covered by
the warranty.
FRANCAIS
Agua Canada garantit ses produits contre tout défaut de matériel ou de fabrication dans des conditions normales
d’utilisation et d’entretien. La garantie peut varier en fonction du type de produit.
Agua Canada procédera à sa discrétion à la réparation ou au remplacement de pièces, ou de produits trouvés
défectueux pour un usage domestique normal pour lequel ils ont été conçus.
Agua Canada n’est aucunement responsable des frais de main-d’œuvre ou tous les autres frais reliés à
l’installation d’un produit, sa réparation ou son remplacement ainsi que pour tout dommage ou incident, dépense,
perte directe ou indirecte.
ENGLISH
Agua Canada warrants all its products against material or workmanship defects under normal conditions of use
and maintenance. The warranty period may vary depending on the type of product.
Agua Canada will, at its discretion, repair or replace parts or products that are found defective for the normal
home use for which they were designed.
Agua Canada is not responsible in any way for costs related to labour or any other costs related to a product’s
installation, repair or replacement, nor for any damage, incident, expense, or direct or indirect loss.
BAIN EN ACRYLIQUE / ACRYLIC BATH
Garanties pour une durée de cinq (25) ans contre les défauts de fabrication.
/ Guaranteed for a period of five (25) years against defects in manufacturing
BAIN EN SURFACE SOLIDE / SOLIDE SURFACE BATH
Garantis pour une durée d'un (1) an contre les défauts de fabrication.
/ Guaranteed for duration of one (1) year against manufacturing defects.
aguacanada.com
833 689- 2482
Siege social / Head office
2732 Étienne Lenoir, Laval
Québec, H7R 0A3, Canada
SERVICE@AGUACANADA.COM
GARANTIE / WARRANTY

Other Agua Bathtub manuals

Agua BARILLIO-60 User manual

Agua

Agua BARILLIO-60 User manual

Agua BARTOLI-66 User manual

Agua

Agua BARTOLI-66 User manual

Agua BRIZE-66 User manual

Agua

Agua BRIZE-66 User manual

Agua BAILEY-60 User manual

Agua

Agua BAILEY-60 User manual

Agua BOSTON-60 User manual

Agua

Agua BOSTON-60 User manual

Agua BOSTON-66 User manual

Agua

Agua BOSTON-66 User manual

Agua BAHLI-BK60 User manual

Agua

Agua BAHLI-BK60 User manual

Agua BRIO-MW-R User manual

Agua

Agua BRIO-MW-R User manual

Agua BAHLI-60 User manual

Agua

Agua BAHLI-60 User manual

Agua BAILEY-66 User manual

Agua

Agua BAILEY-66 User manual

Agua BARTOLI-60 User manual

Agua

Agua BARTOLI-60 User manual

Agua BRIO-66-R User manual

Agua

Agua BRIO-66-R User manual

Popular Bathtub manuals by other brands

Kohler Maestro K-842-H installation instructions

Kohler

Kohler Maestro K-842-H installation instructions

Jason International MicroSilk Assembly

Jason International

Jason International MicroSilk Assembly

Fisher-Price DRD93 quick start guide

Fisher-Price

Fisher-Price DRD93 quick start guide

MAAX ModulR 410007 installation instructions

MAAX

MAAX ModulR 410007 installation instructions

Svedbergs Savon 59802 Assembly instruction

Svedbergs

Svedbergs Savon 59802 Assembly instruction

Teuco Accademia T13 Assembly instructions

Teuco

Teuco Accademia T13 Assembly instructions

Kaldewei SKIN TOUCH MEISTERSTUCK CENTRO DUO OVAL installation instructions

Kaldewei

Kaldewei SKIN TOUCH MEISTERSTUCK CENTRO DUO OVAL installation instructions

Ella WK-001L Installation and operation manual

Ella

Ella WK-001L Installation and operation manual

Jacuzzi Stella Installation and operation instructions

Jacuzzi

Jacuzzi Stella Installation and operation instructions

agape CUNA AVAS1079 Assembly instructions

agape

agape CUNA AVAS1079 Assembly instructions

Crosswater Puro US-N15CS installation instructions

Crosswater

Crosswater Puro US-N15CS installation instructions

American Standard Cadet Whirlpool 2771.018 parts list

American Standard

American Standard Cadet Whirlpool 2771.018 parts list

RAVAK PANEL ROSA manual

RAVAK

RAVAK PANEL ROSA manual

Clou InBe IB/05.40506 installation instructions

Clou

Clou InBe IB/05.40506 installation instructions

Jacob Delafon SOFA E6D091-00 user manual

Jacob Delafon

Jacob Delafon SOFA E6D091-00 user manual

Jacob Delafon Reve E6D440-0 user manual

Jacob Delafon

Jacob Delafon Reve E6D440-0 user manual

Aquatica Digital Pamela Installation & Care Manual

Aquatica Digital

Aquatica Digital Pamela Installation & Care Manual

Lippert Components Better Bath Alcove Bath Tub OEM INSTALLATION MANUAL

Lippert Components

Lippert Components Better Bath Alcove Bath Tub OEM INSTALLATION MANUAL

manuals.online logo
manuals.online logoBrands
  • About & Mission
  • Contact us
  • Privacy Policy
  • Terms and Conditions

Copyright 2025 Manuals.Online. All Rights Reserved.